Model, UV unwrap, texture and real-time render one of the following:
- Windmill
- Mantel Clock
- Treasure chest & treasure
- Sword & shield
- Sci-Fi door
- Old Well
- Magic Witch / Wizard Staff
This assignment will encourage you to design and practice the following skills:
- Using referencing images or creating your own concept from references
- 3D Modelling Techniques
- UV unwrapping
- Basic materials & textures
- Real-time rendering in Sketchfab
1. References and Concept Art
- Chest
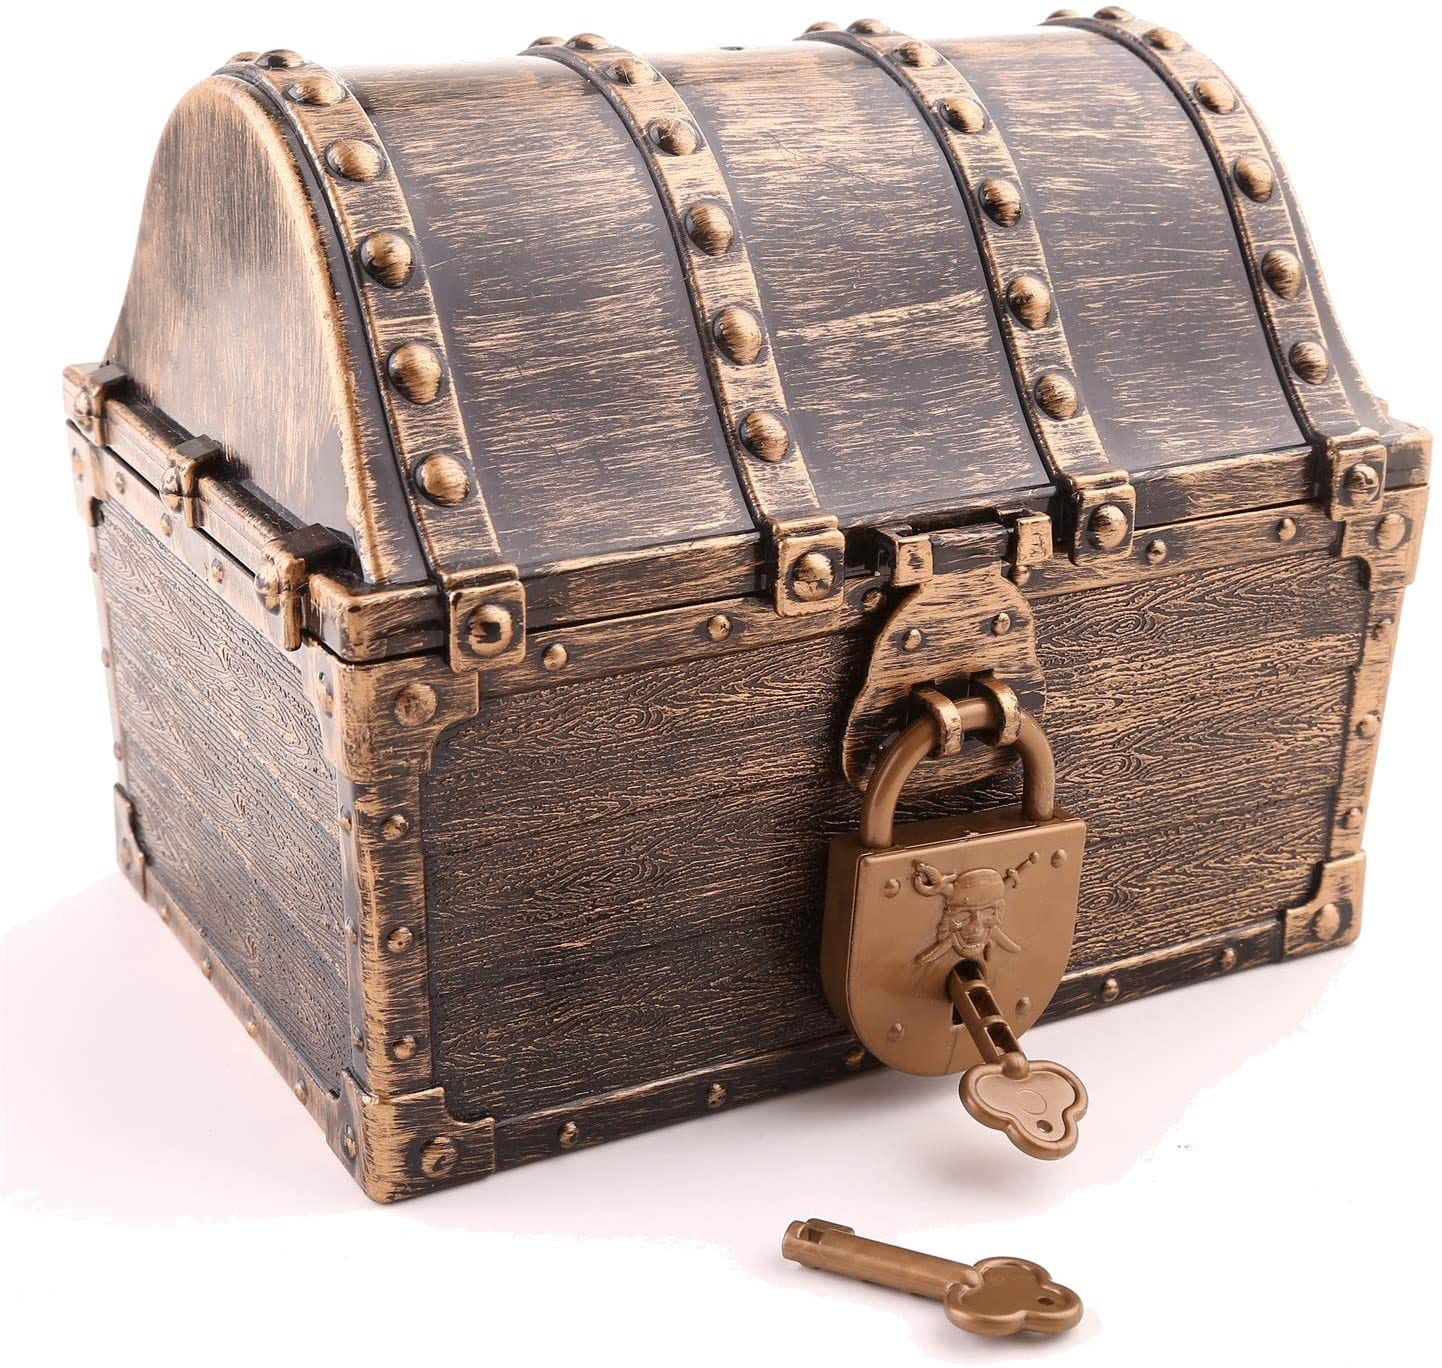
I’d decided to go for the chest design as I thought overall it would be the easiest, and it had definitely been the only idea that stuck out and interested me most. However, at this point, I hadn’t really thought about any themes and I was just planning on creating a standard, stereotypical treasure chest. so I gathered some reference images and began planning.
Initially, I thought I should go with a flat topped chest as it would be much easier for me when it came to modelling and texturing it.


But after some thought and research I though Id be better off doing a different shape as it would be more challenging for me and it would look more aesthetically pleasing for me to take on a more complicated shape. So, after some searching, I’d found a shape I liked
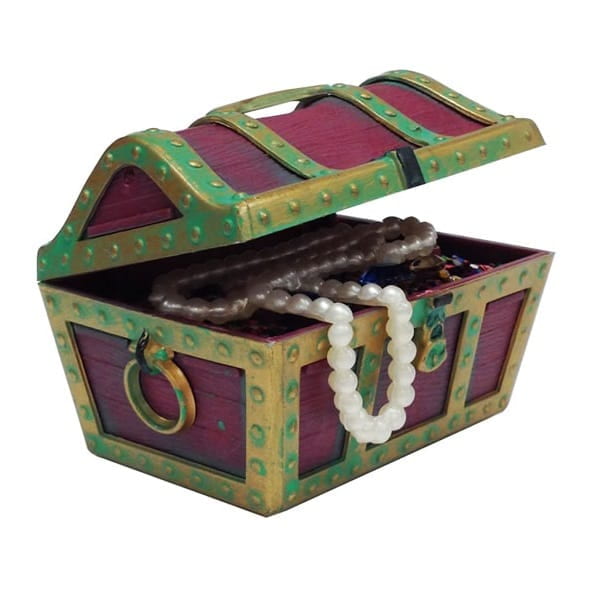
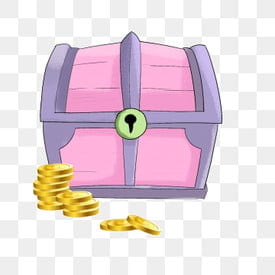
I then began to create some concept art of my own that I could use and refer to when modelling rather than basing all of my model off of the images, but half way through, when deciding on what colour I wanted it, I had an idea on what theme I wanted to do. Firstly, I’d decided that I wanted to make my chest pink, however, this colour wouldn’t make sense for if this was a chest for your typical pirate, so I thought it’d be a really good idea to base my chest off of a mermaid/under the sea theme.
I’d found some images of pink mermaid chests and used them for ideas to add to my concept art. This is the final sketch of what I want to achieve in my model.

- Extra details
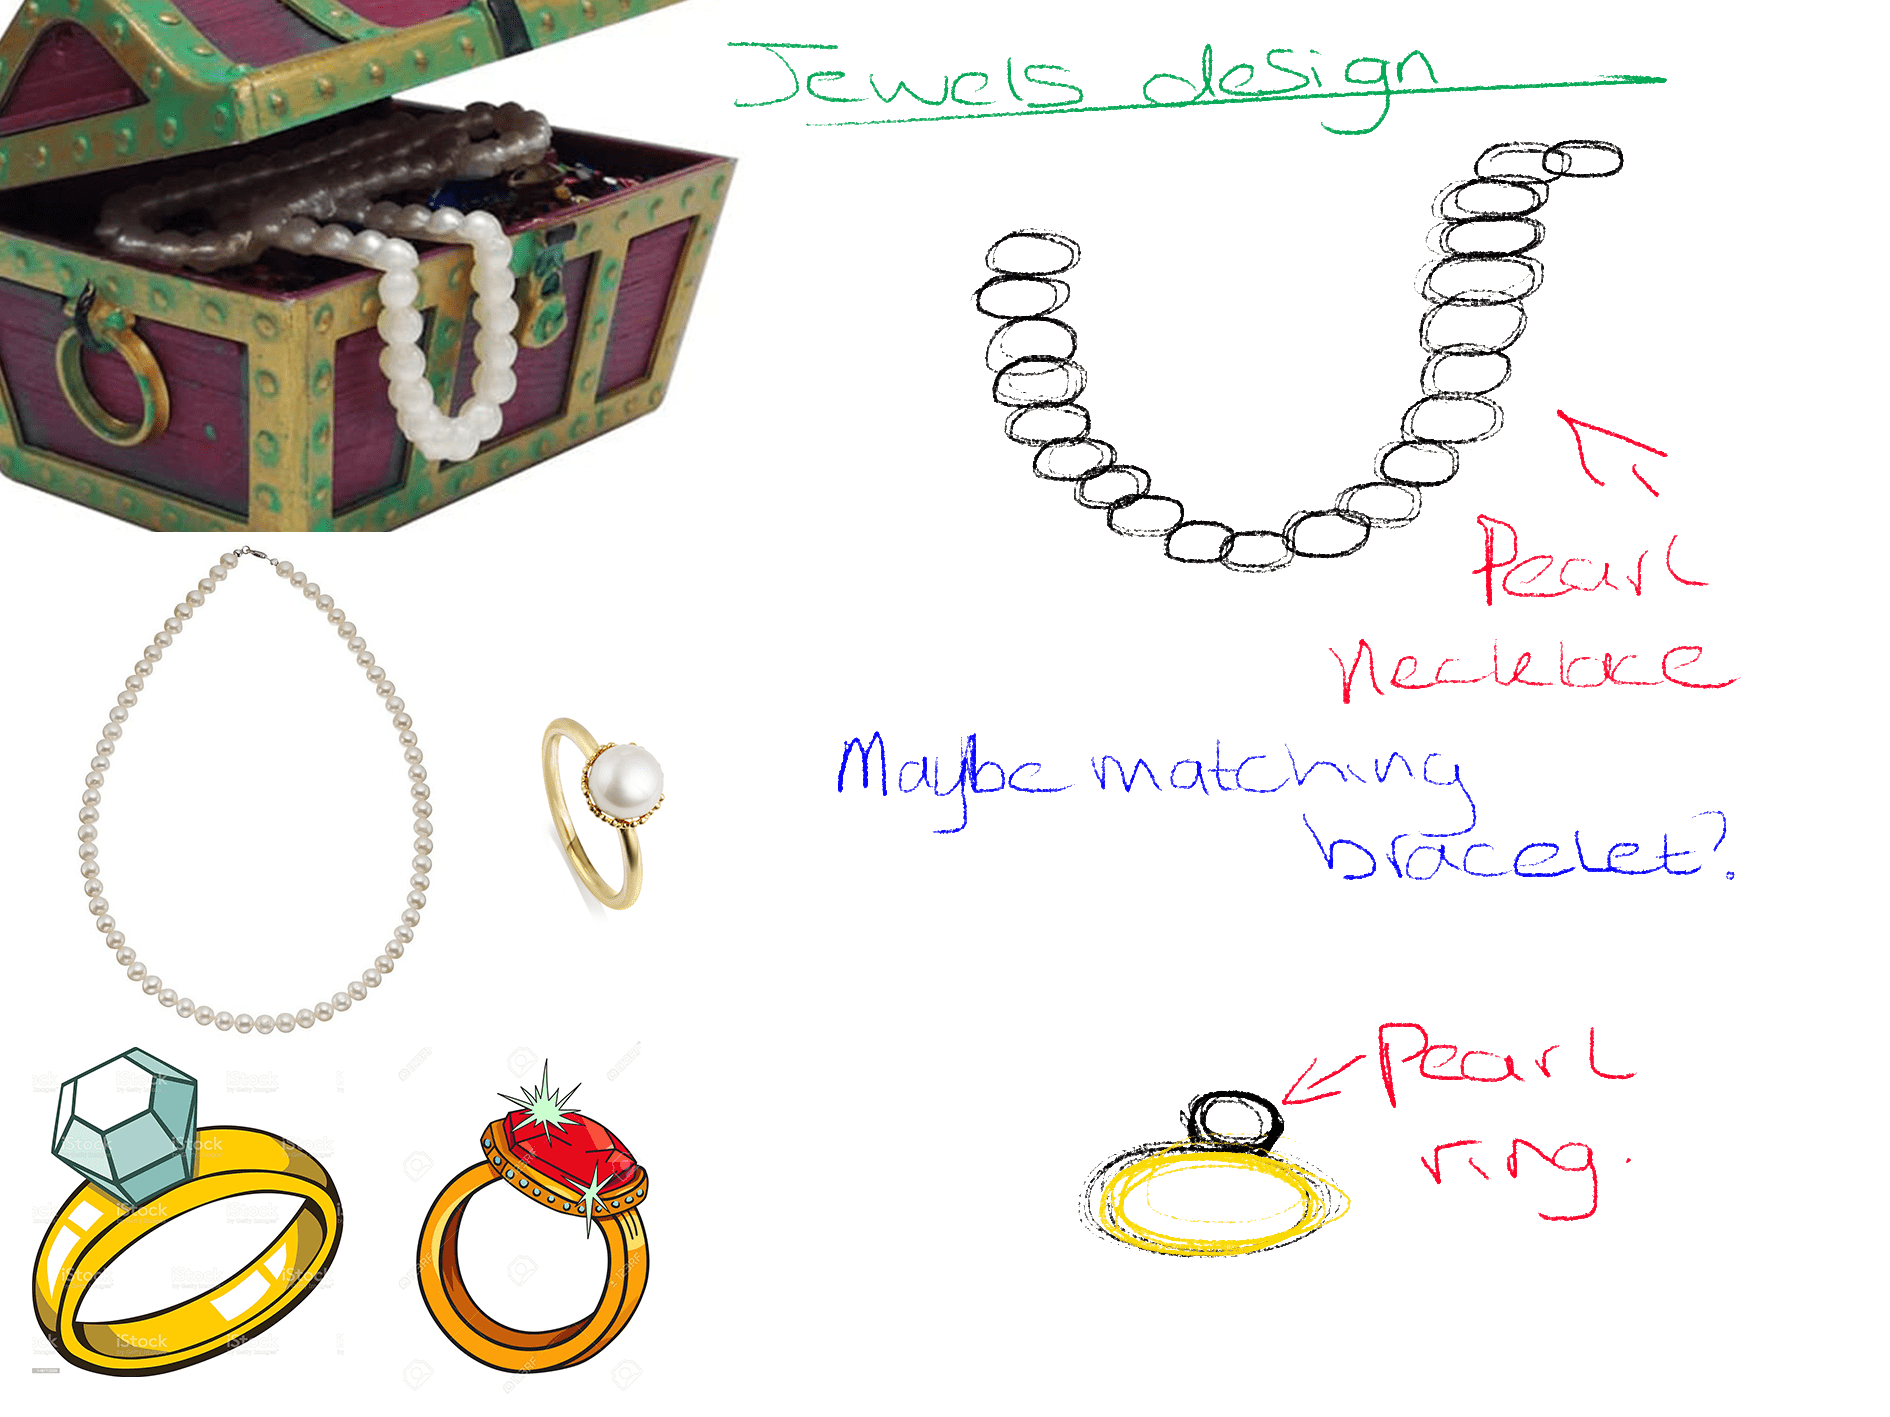
As if have chosen to design a treasure chest and treasure, I had to plan what kind of treasure I wanted to fill my chest with, so I made a list with some ideas;
- Coins.
- Lock.
- Key.
- Hairbrush.*
- Hand mirror.*
- Jewels and Jewellery.
*(I had to discard these ideas due to time restrictions/the difficulty of them)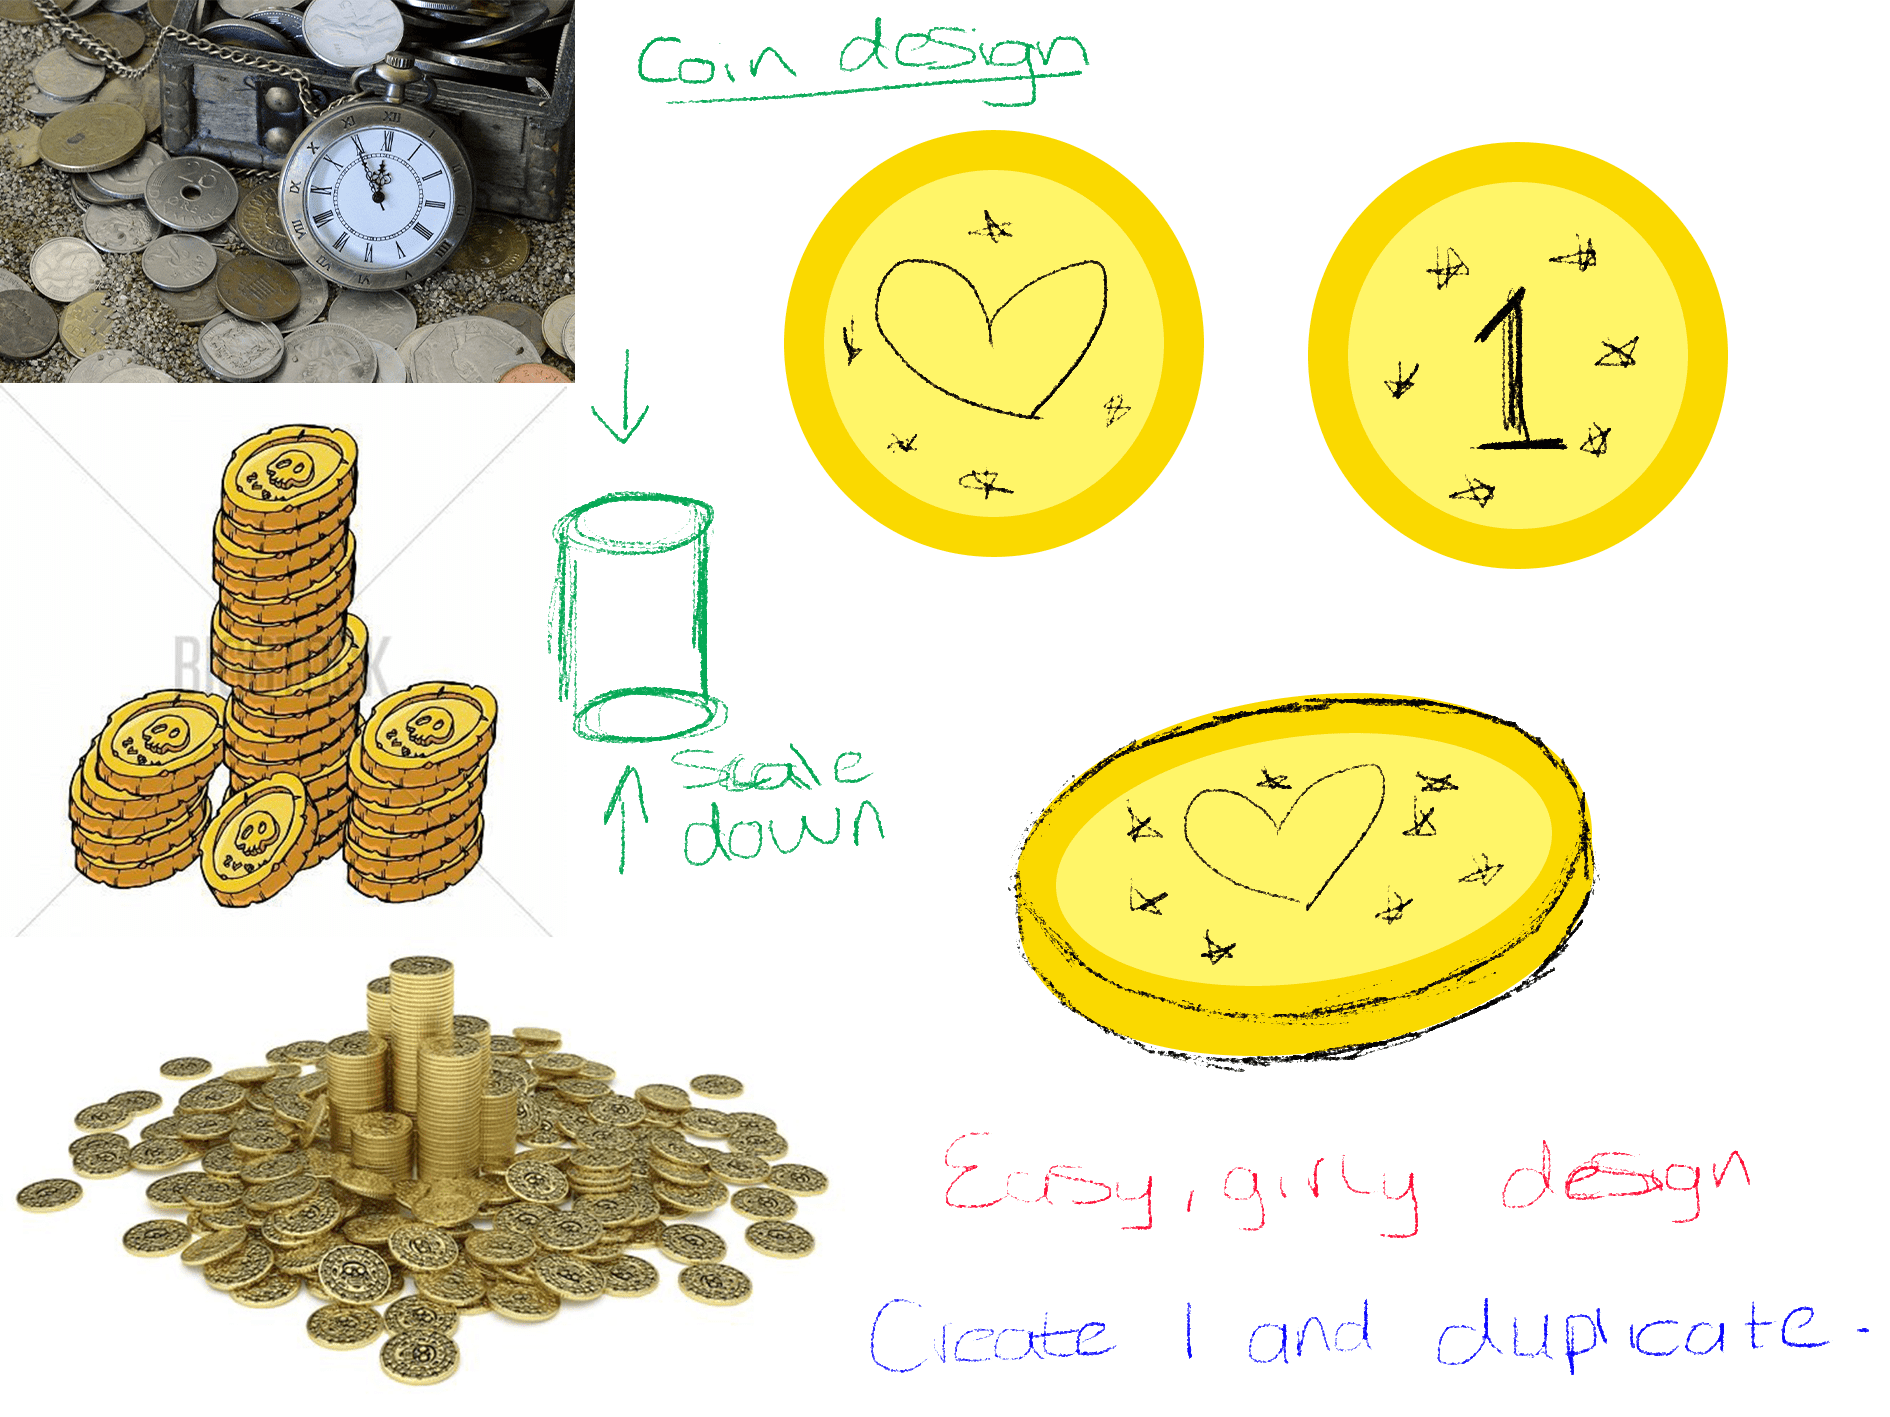

When designing the coins I realized that I was going to be making it difficult for myself if I have to fill the entire chest with coins and other small objects, so I was planning on just creating a false bottom in the chest.
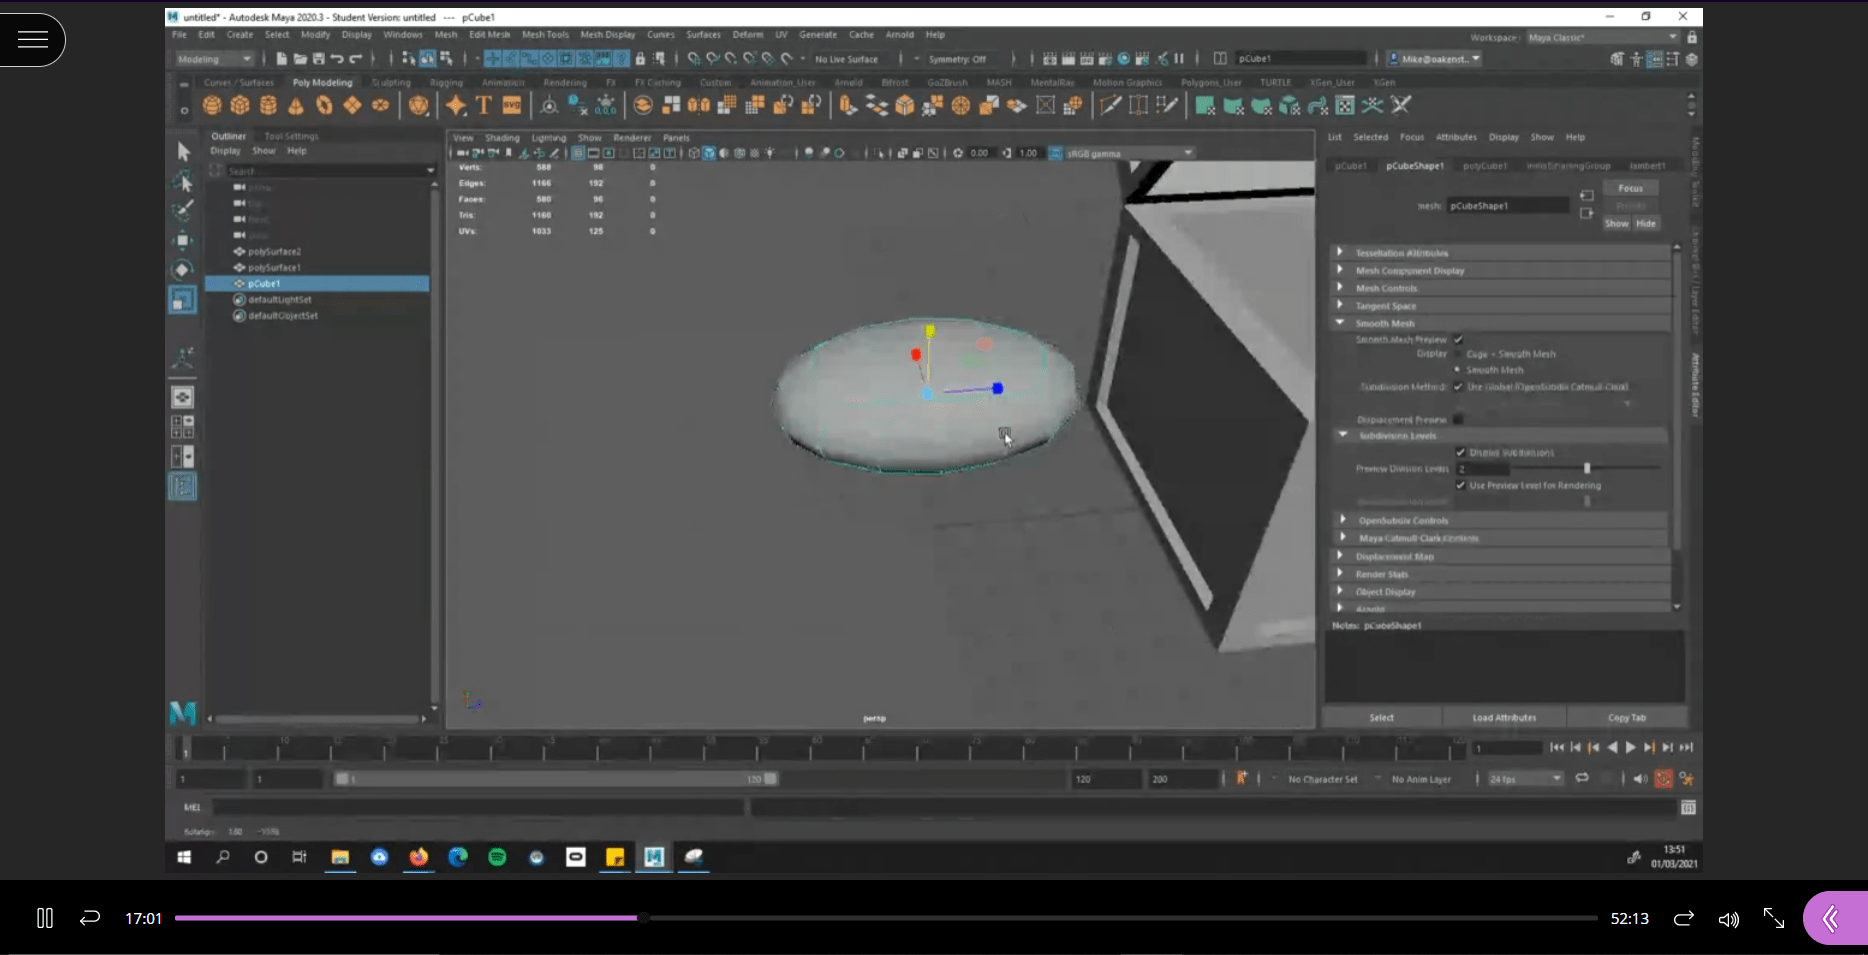
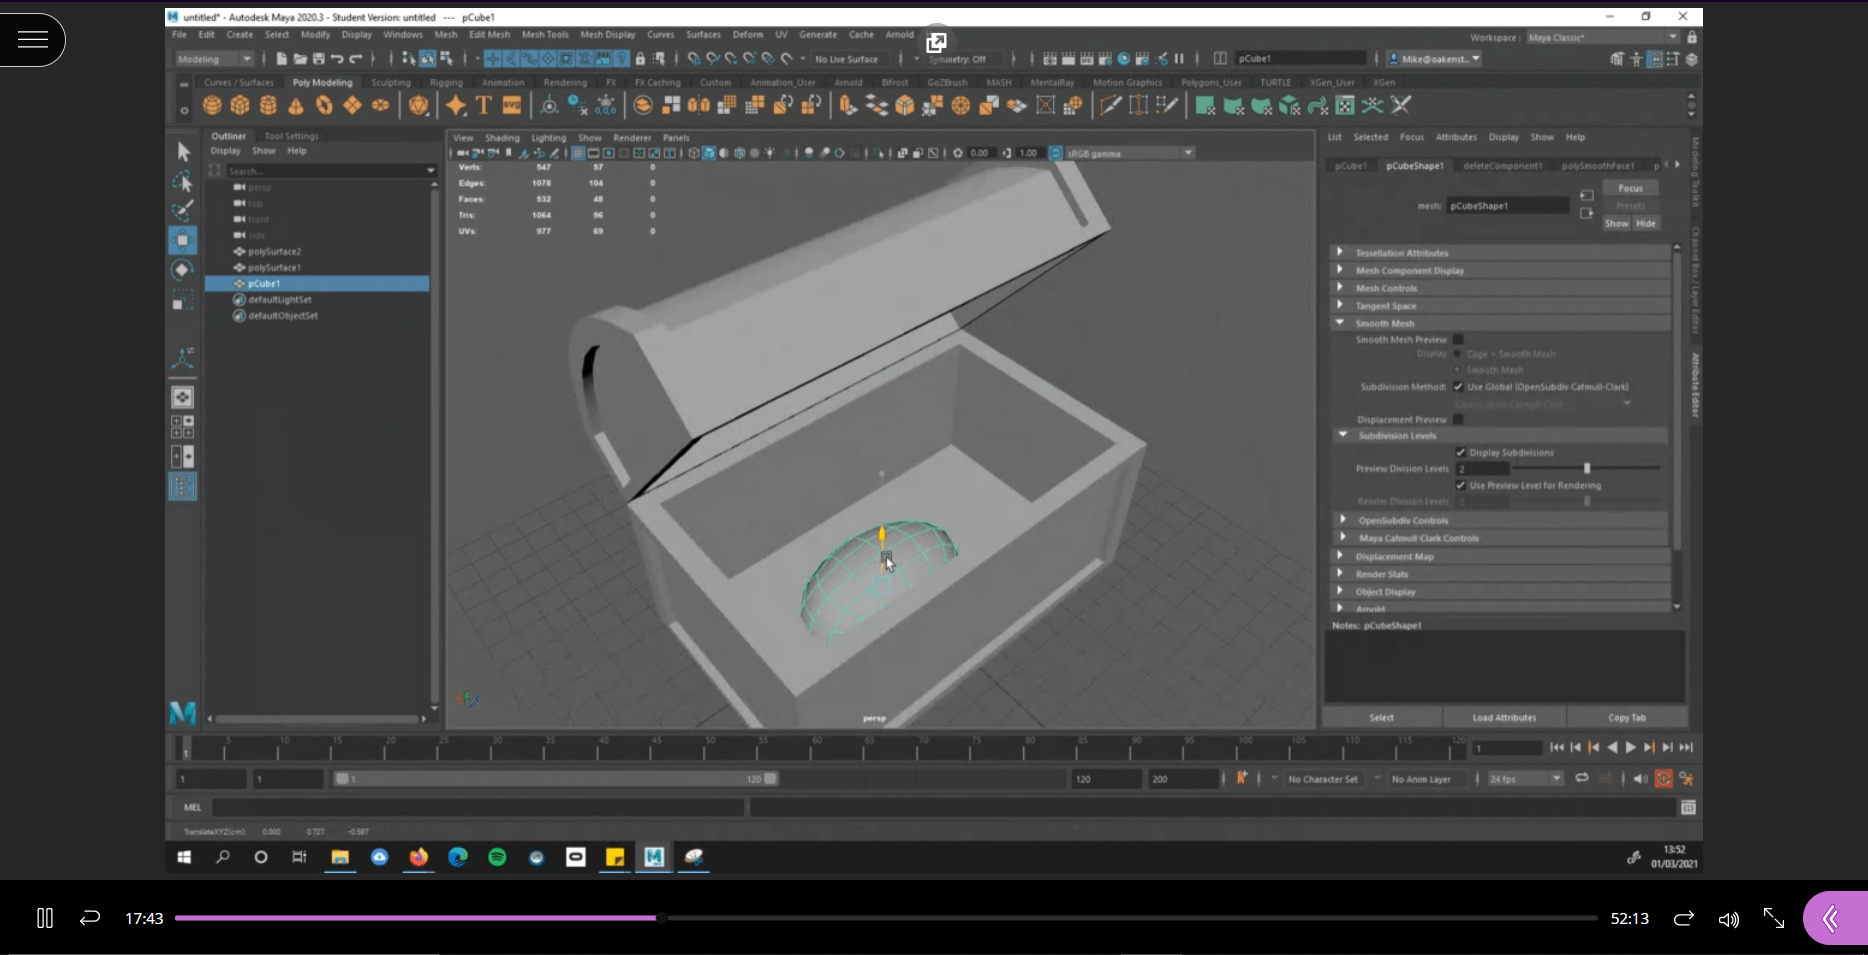
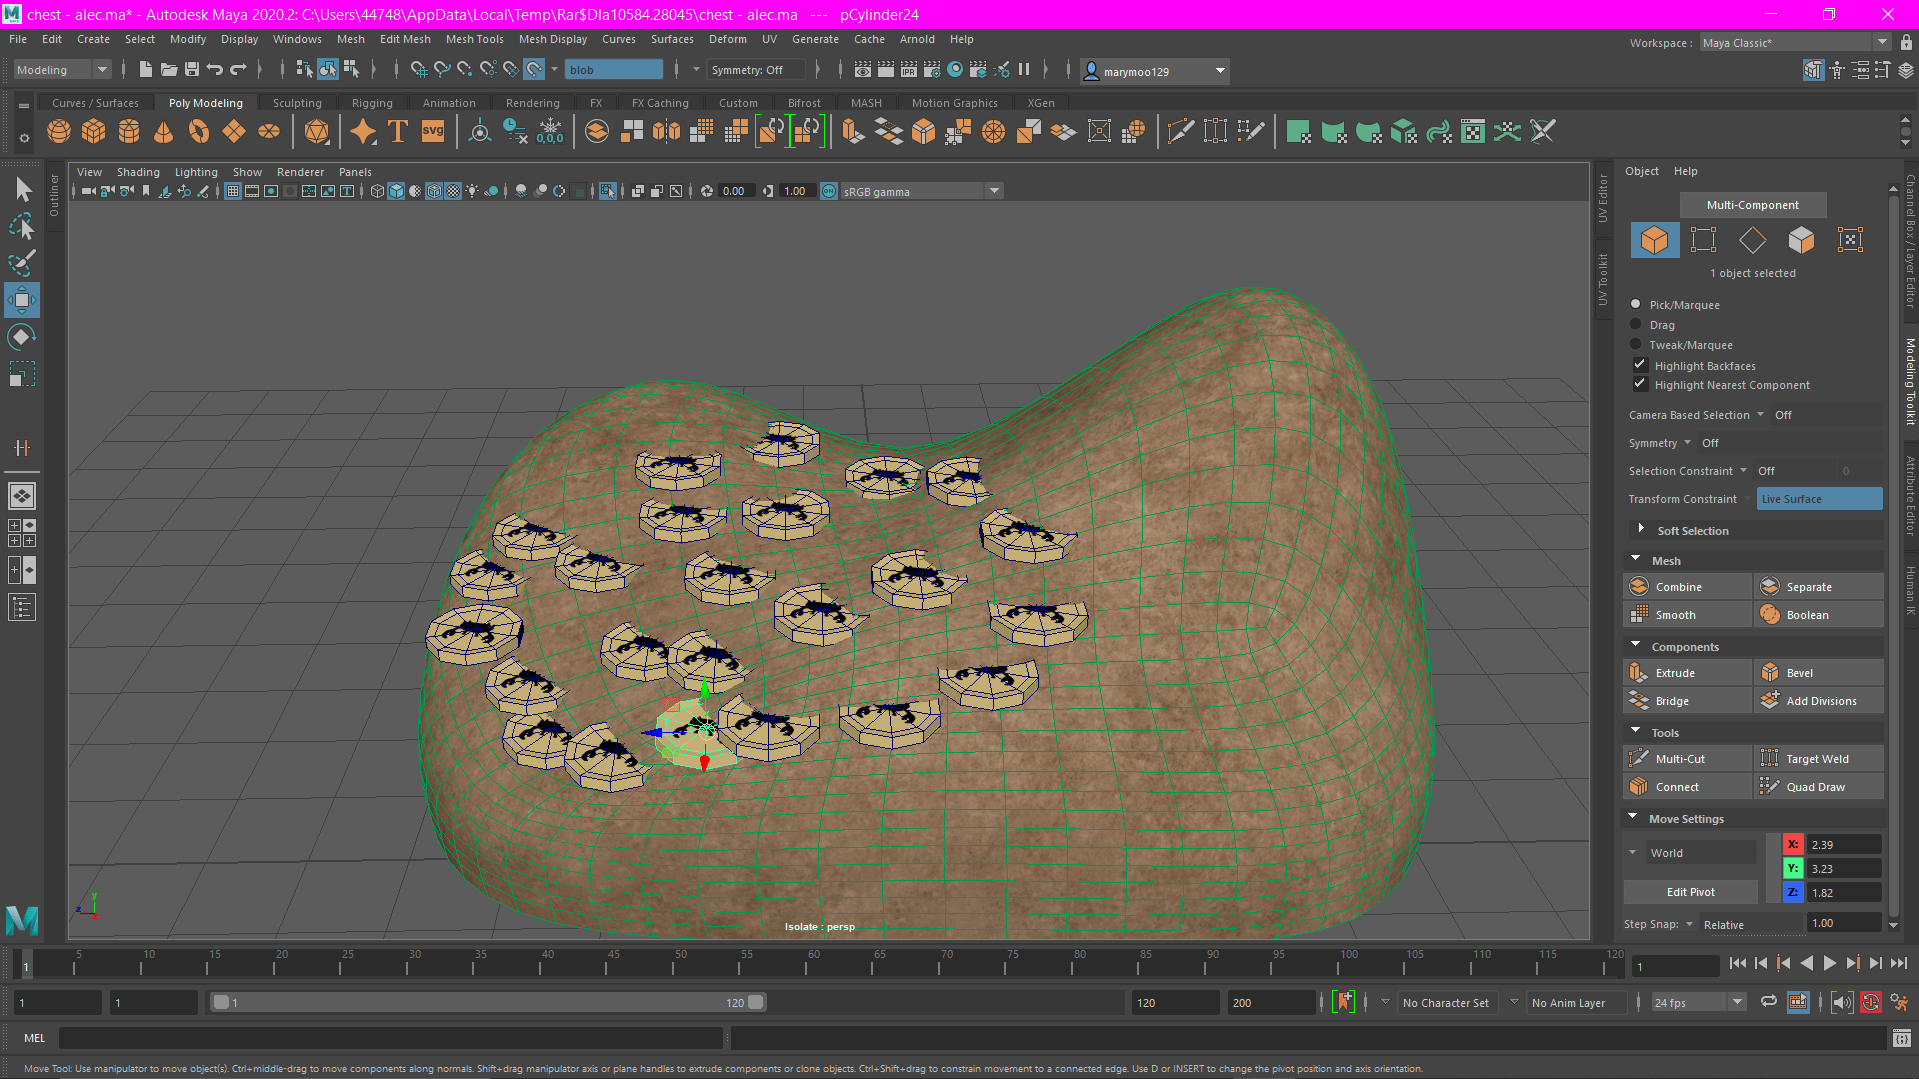
After my 1 to 1 tutorial with Michael on the 3rd of March, he was able to provide lots of tips and tricks, but he had a great suggestion that was much better than doing a false bottom. He suggested that I made what he referred to as a “blob” for the bottom of the chest that would later be textured and painted to look like a big pile of coins. I really liked this idea and it meant that now I wouldn’t have to duplicate and place hundreds of little coins.
2. Modelling
- Chest
Before I started modelling, I made sure I had the recording of my tutorial with Michael handy so I could follow along with his advice while model my chest.
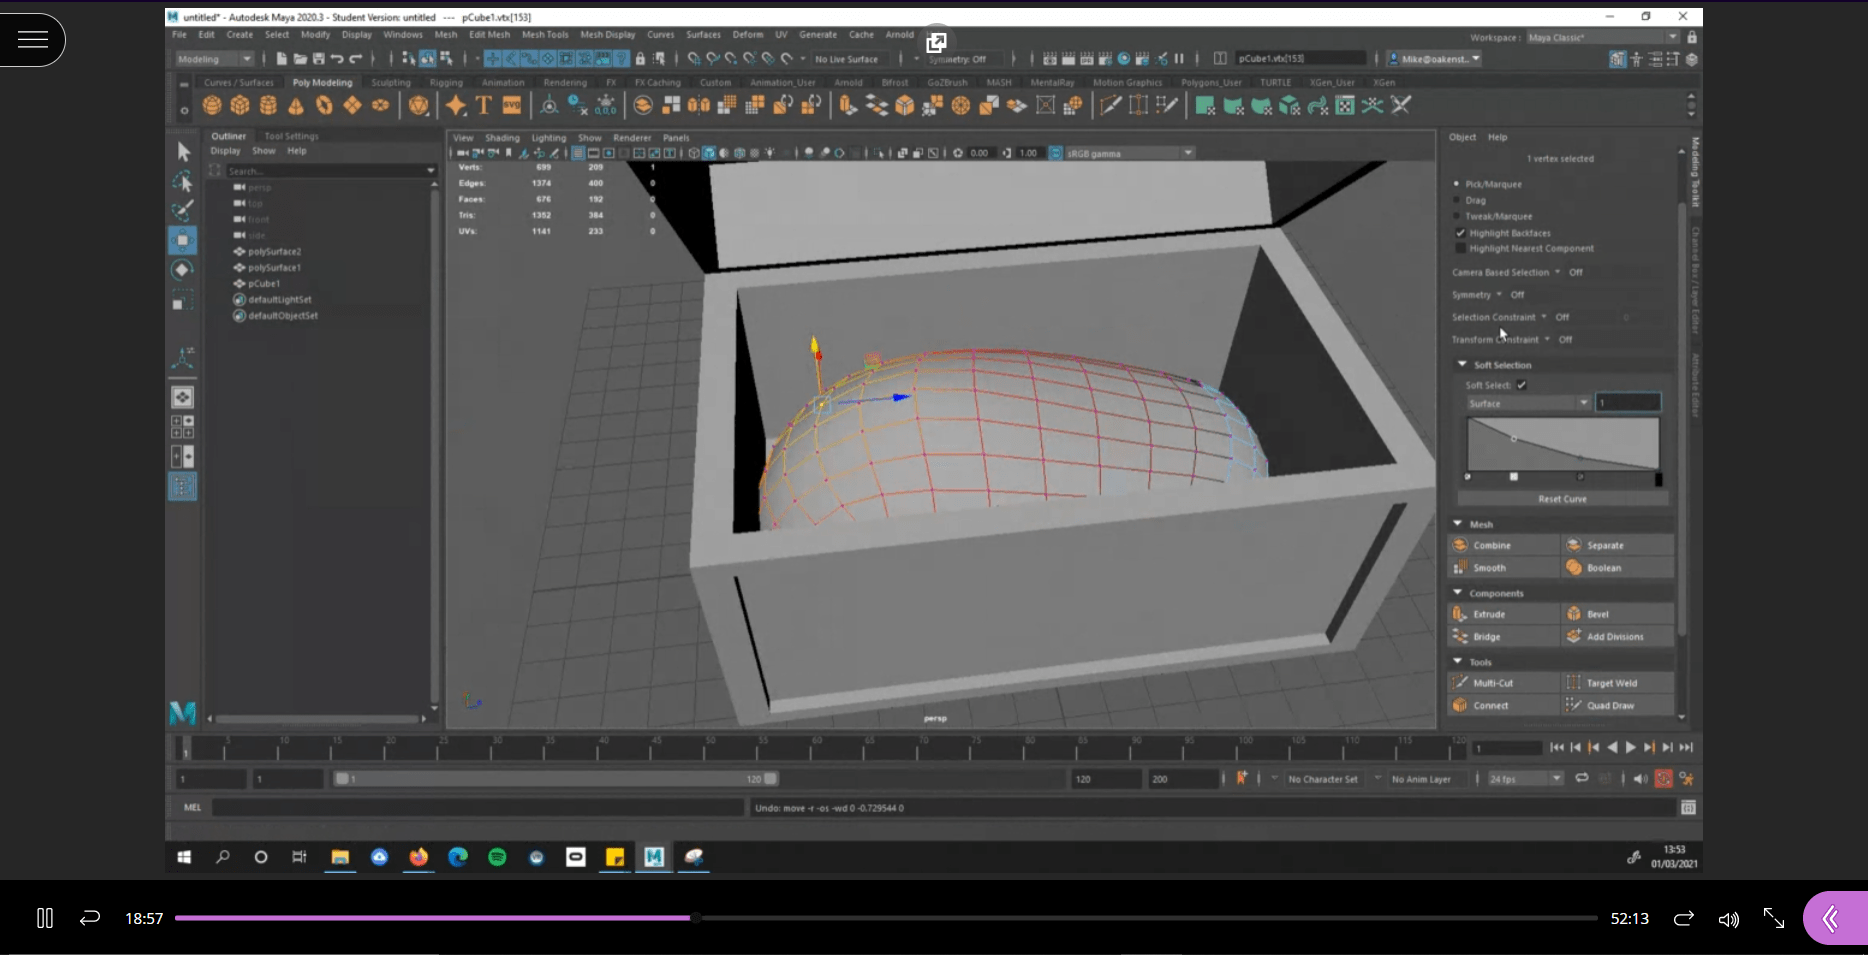
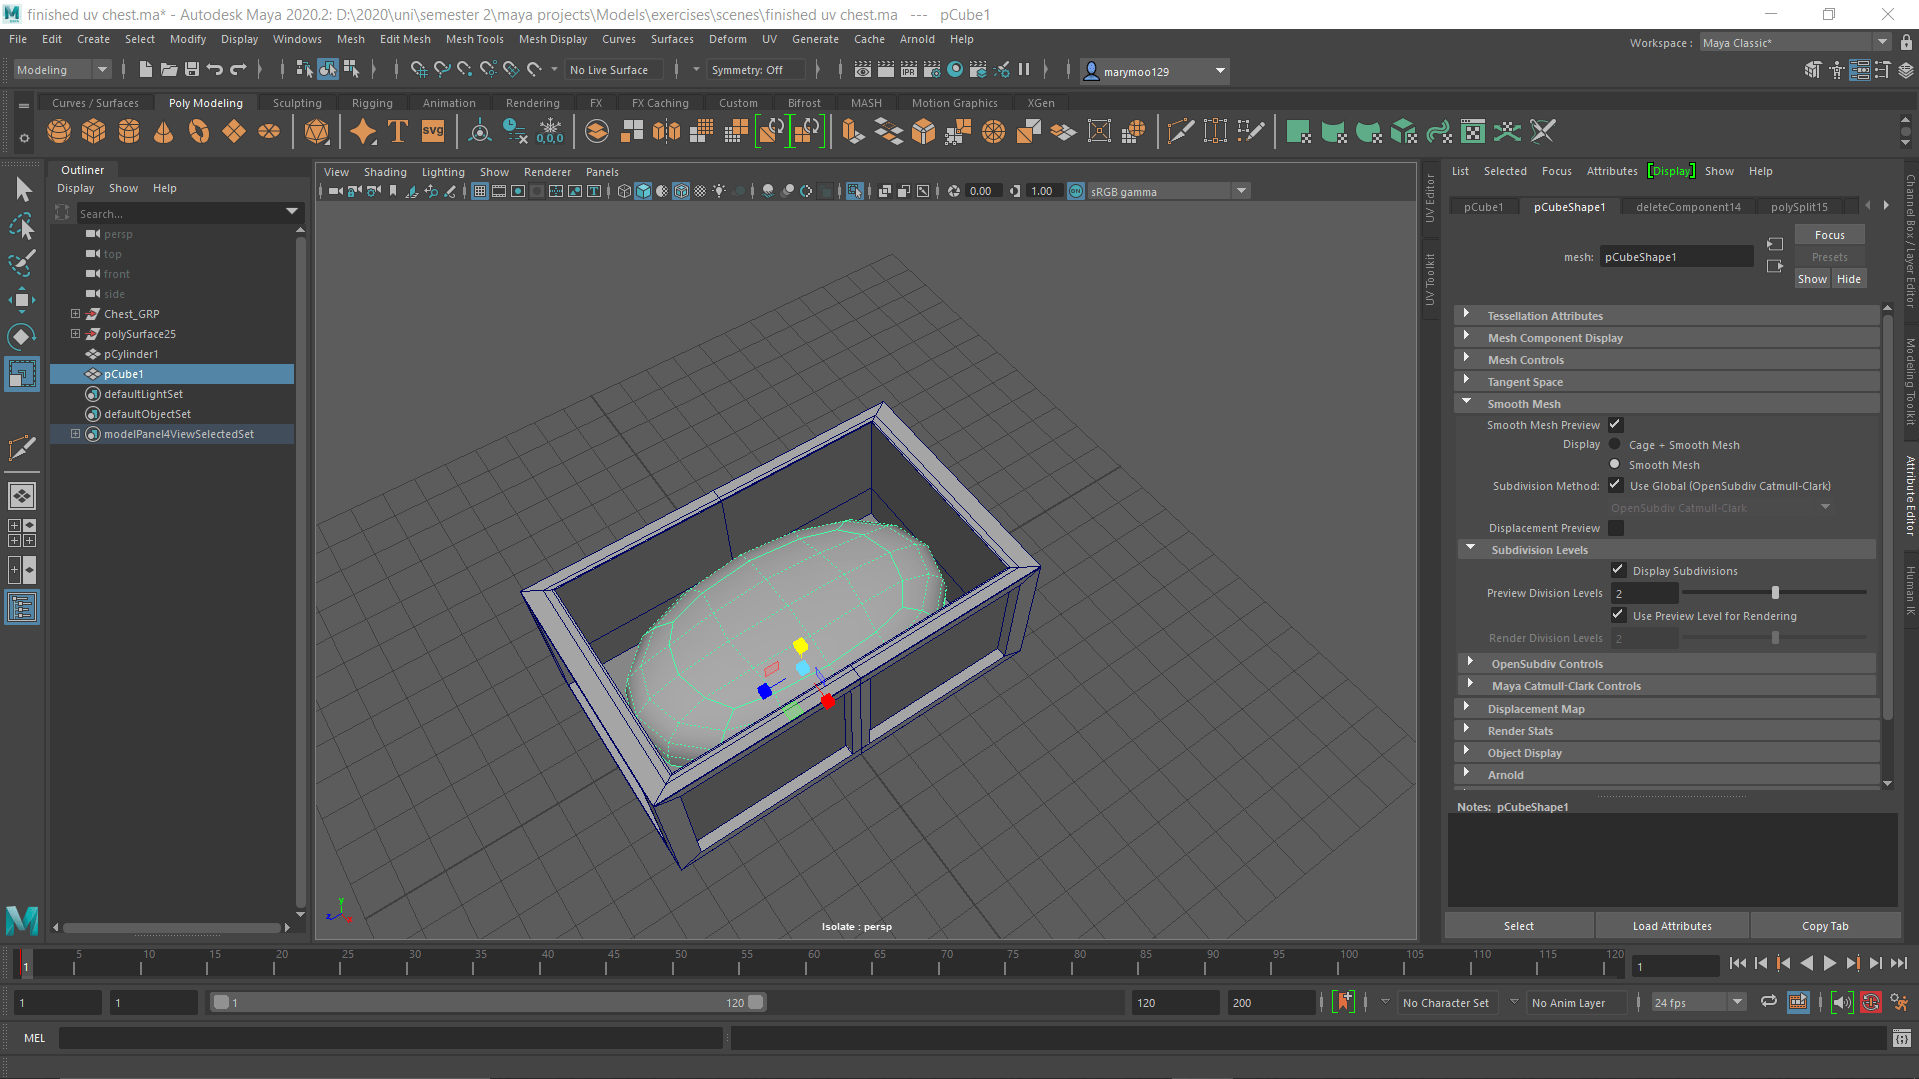
I started off my model with a basic cube and scaled it to the size I wanted the whole chest to be, top and bottom.
After I finished modelling, my lecturer helped me out with getting it ready for uv mapping etc. 
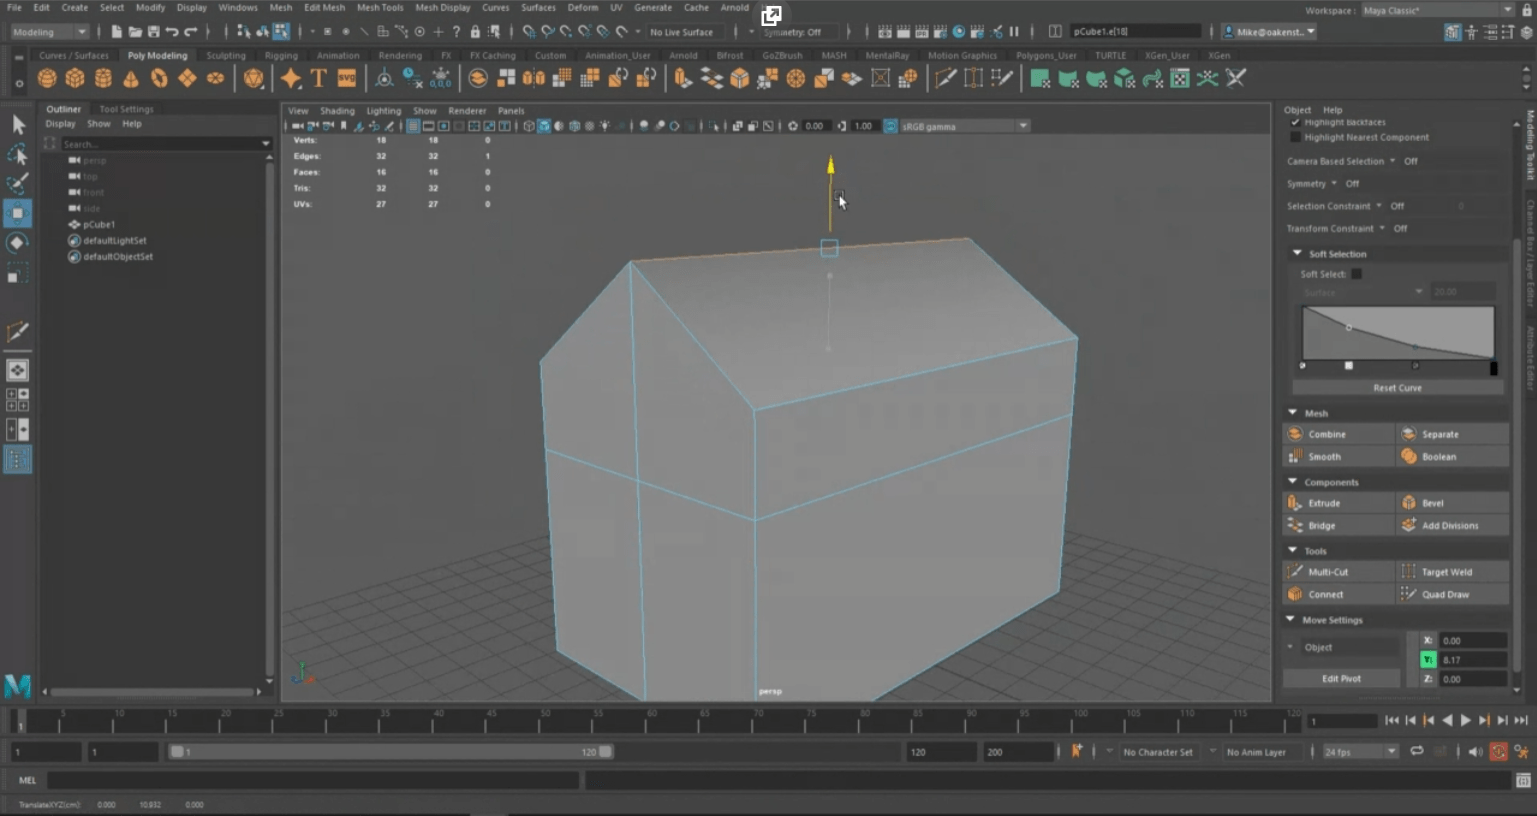
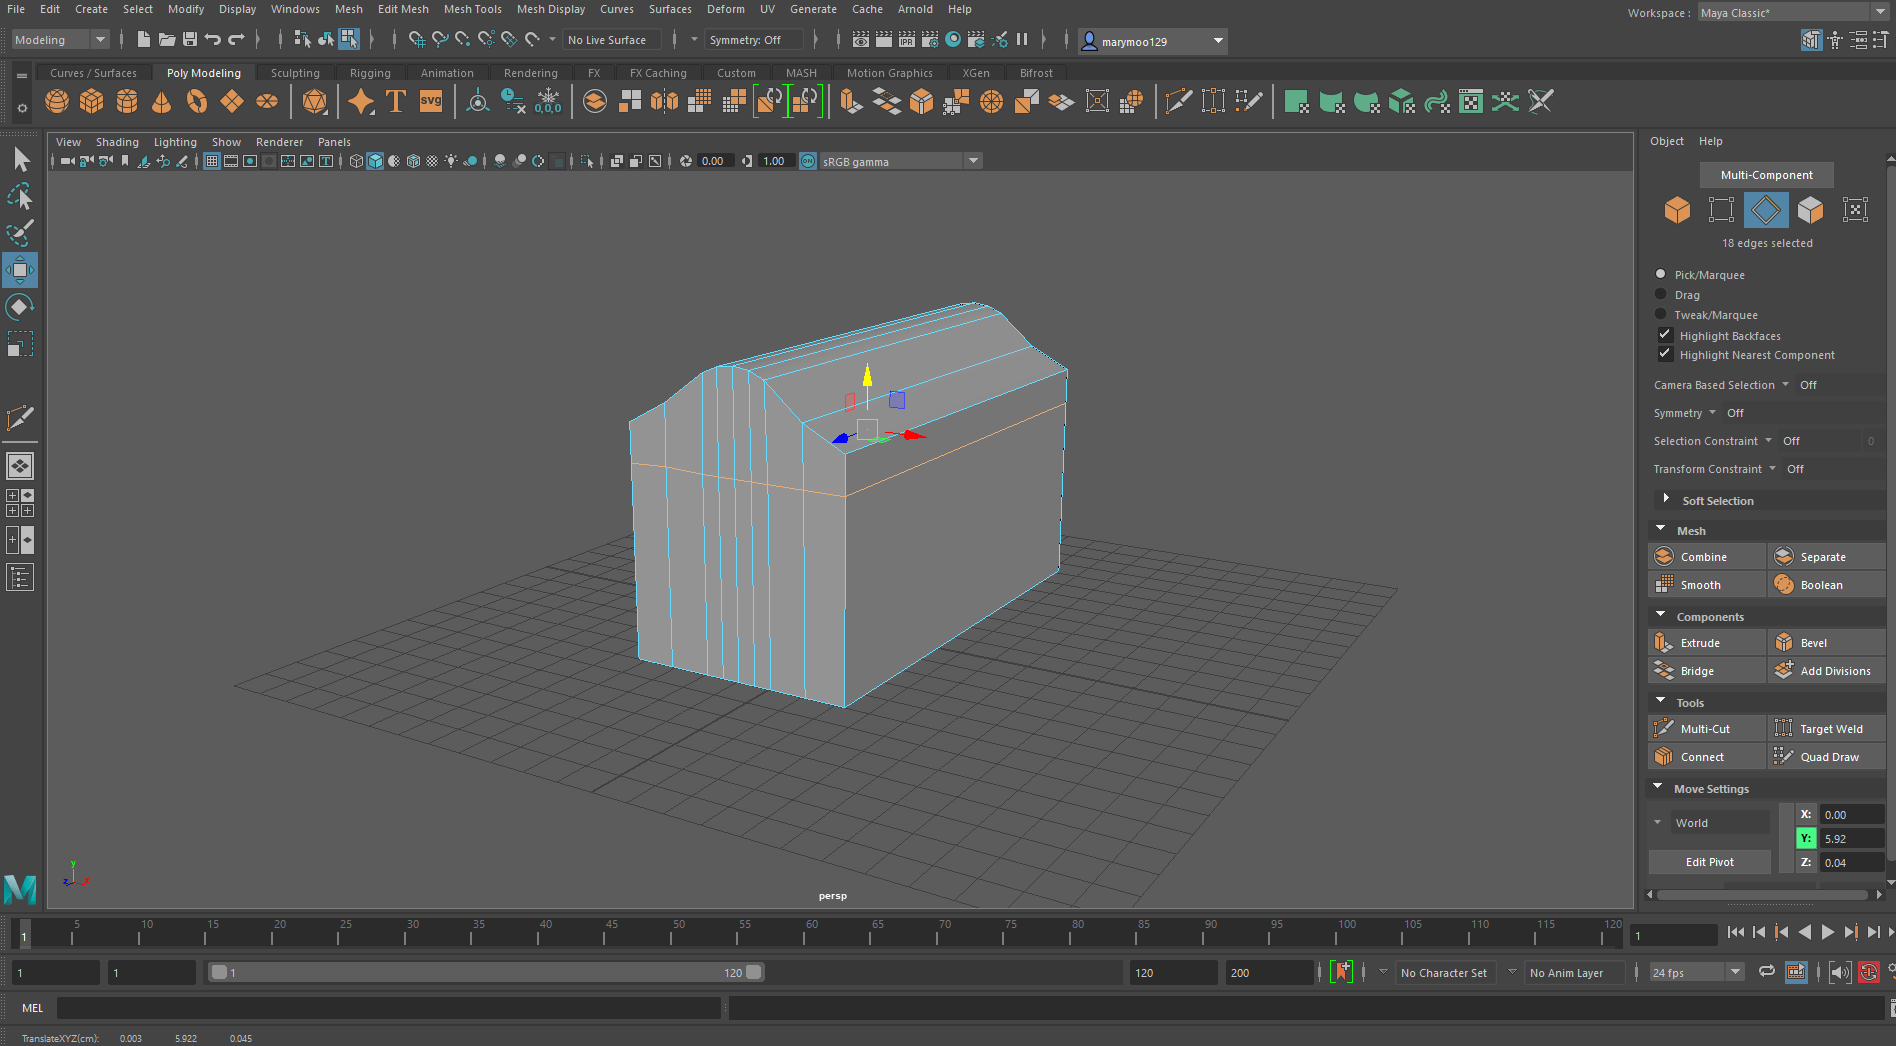

- Chest “loop”
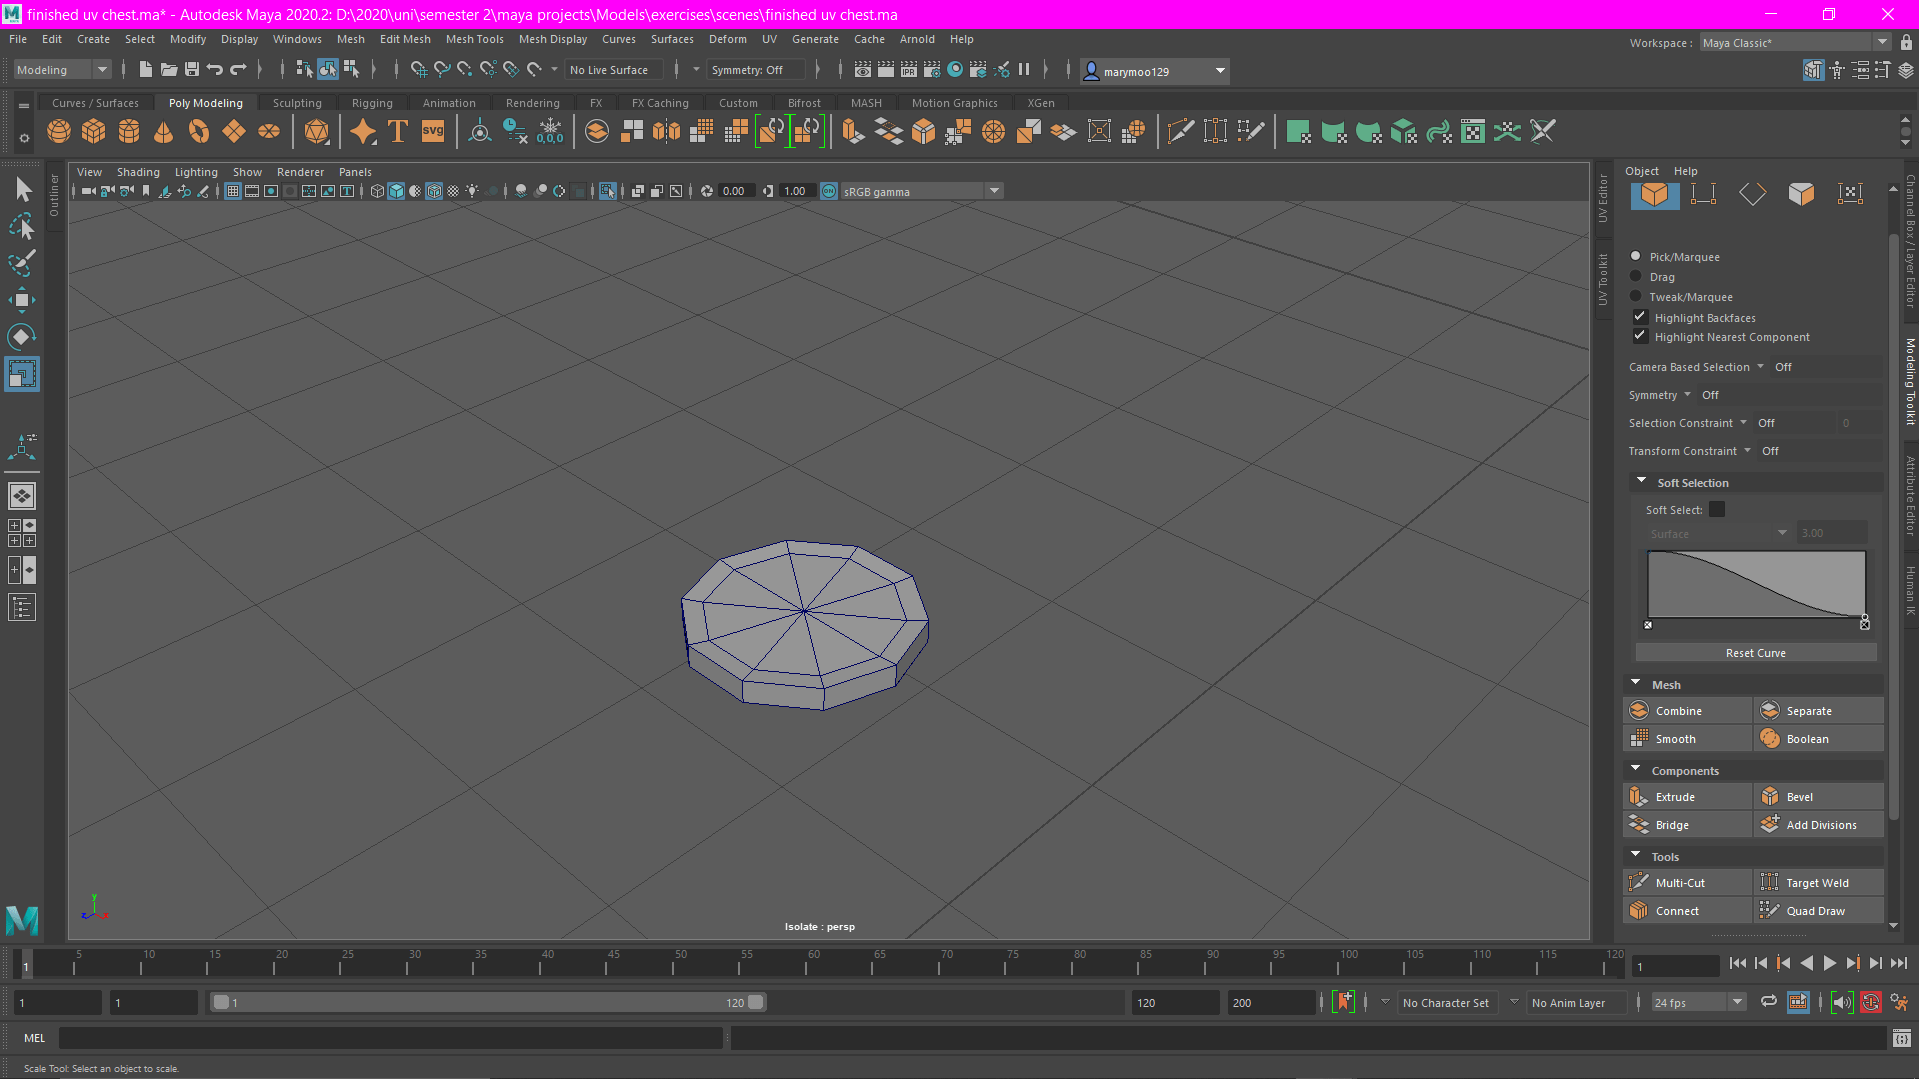
For the loop on the front of the chest I used the doughnut shape in Maya, scaled it down in size and then cut the shape in half. I then placed this on the front of the bottom part of the chest model.
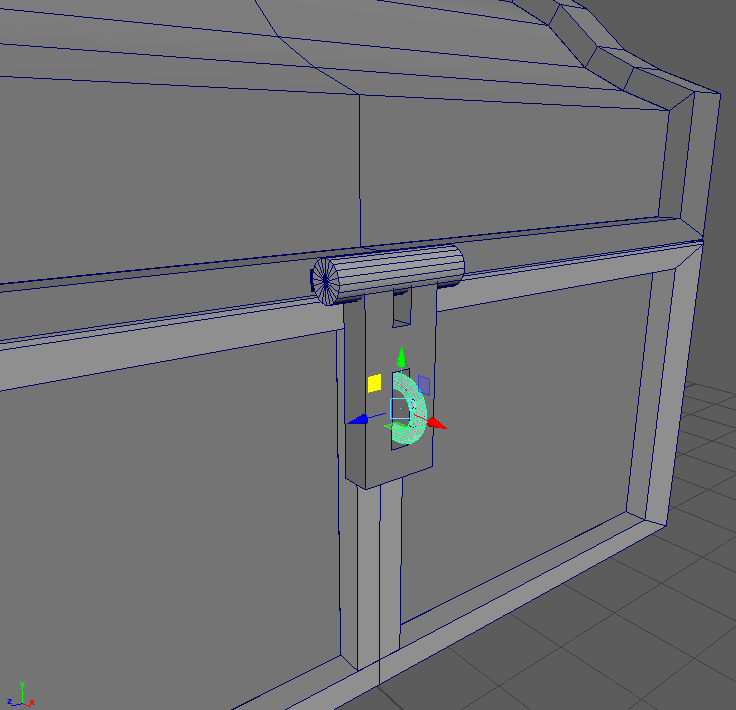
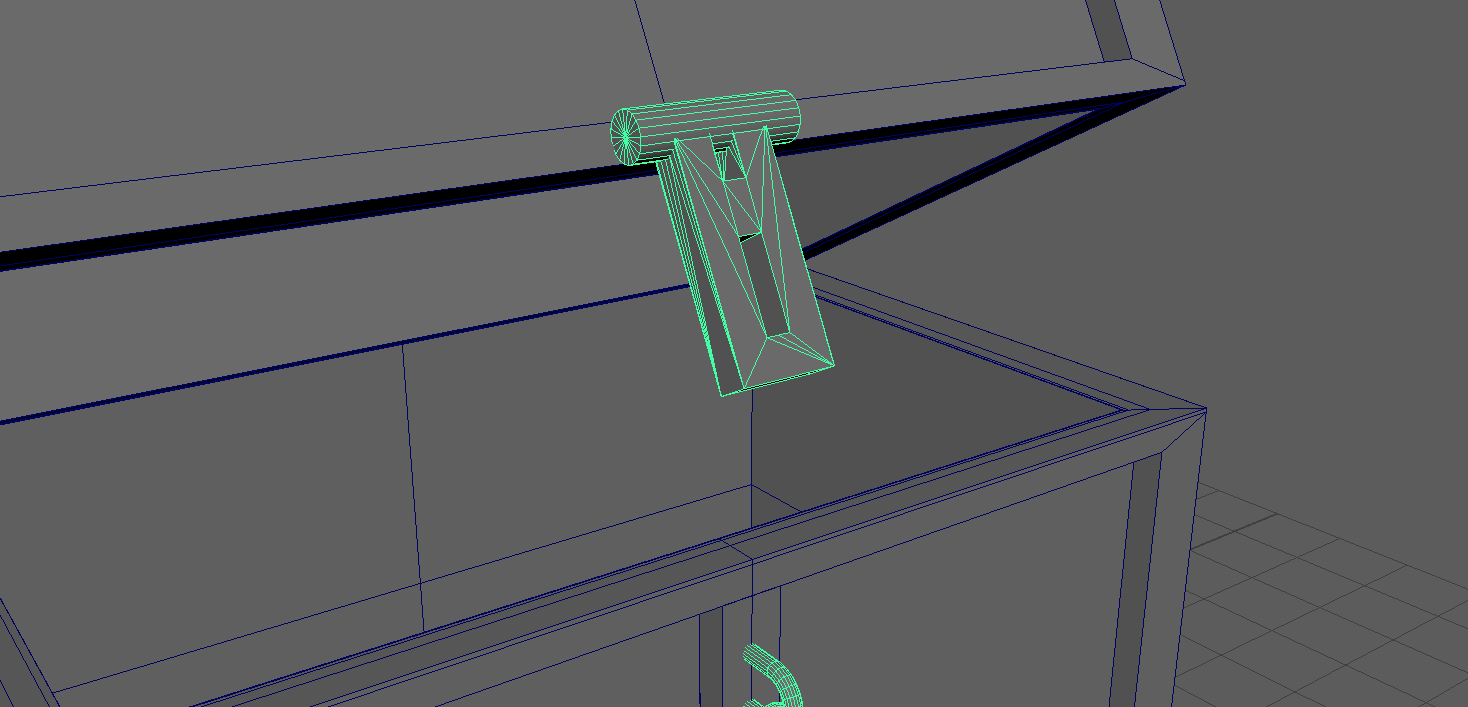
- Chest “latch”
For this, I used two separate shapes. I started with a cylinder and a cube and scaled them down to fit nicely.
After I’d achieved the shape and size I wanted, I created a hole in the latch for the loop of the chest to fit into, in order to lock the chest.
Here is the finished latch model.
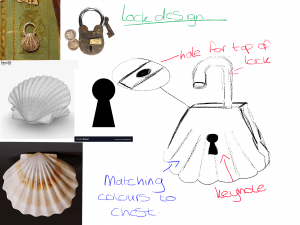
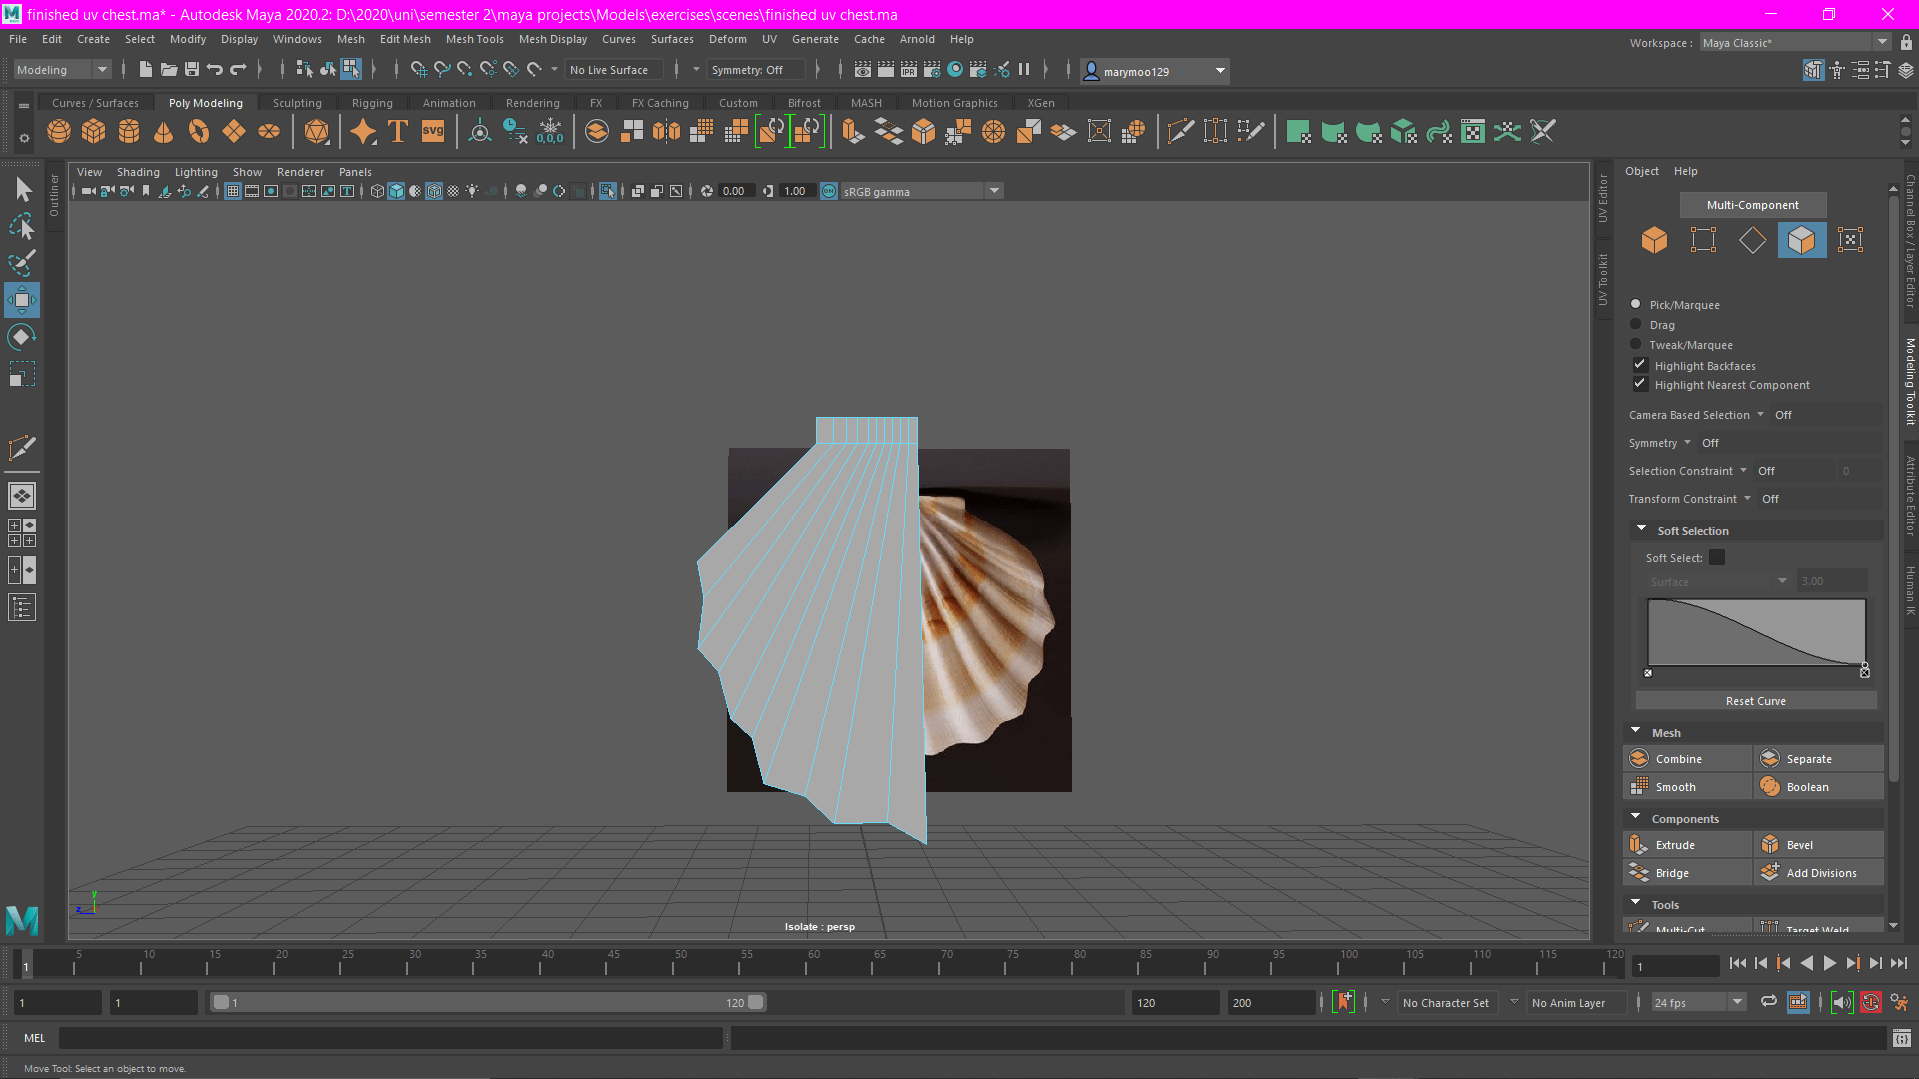
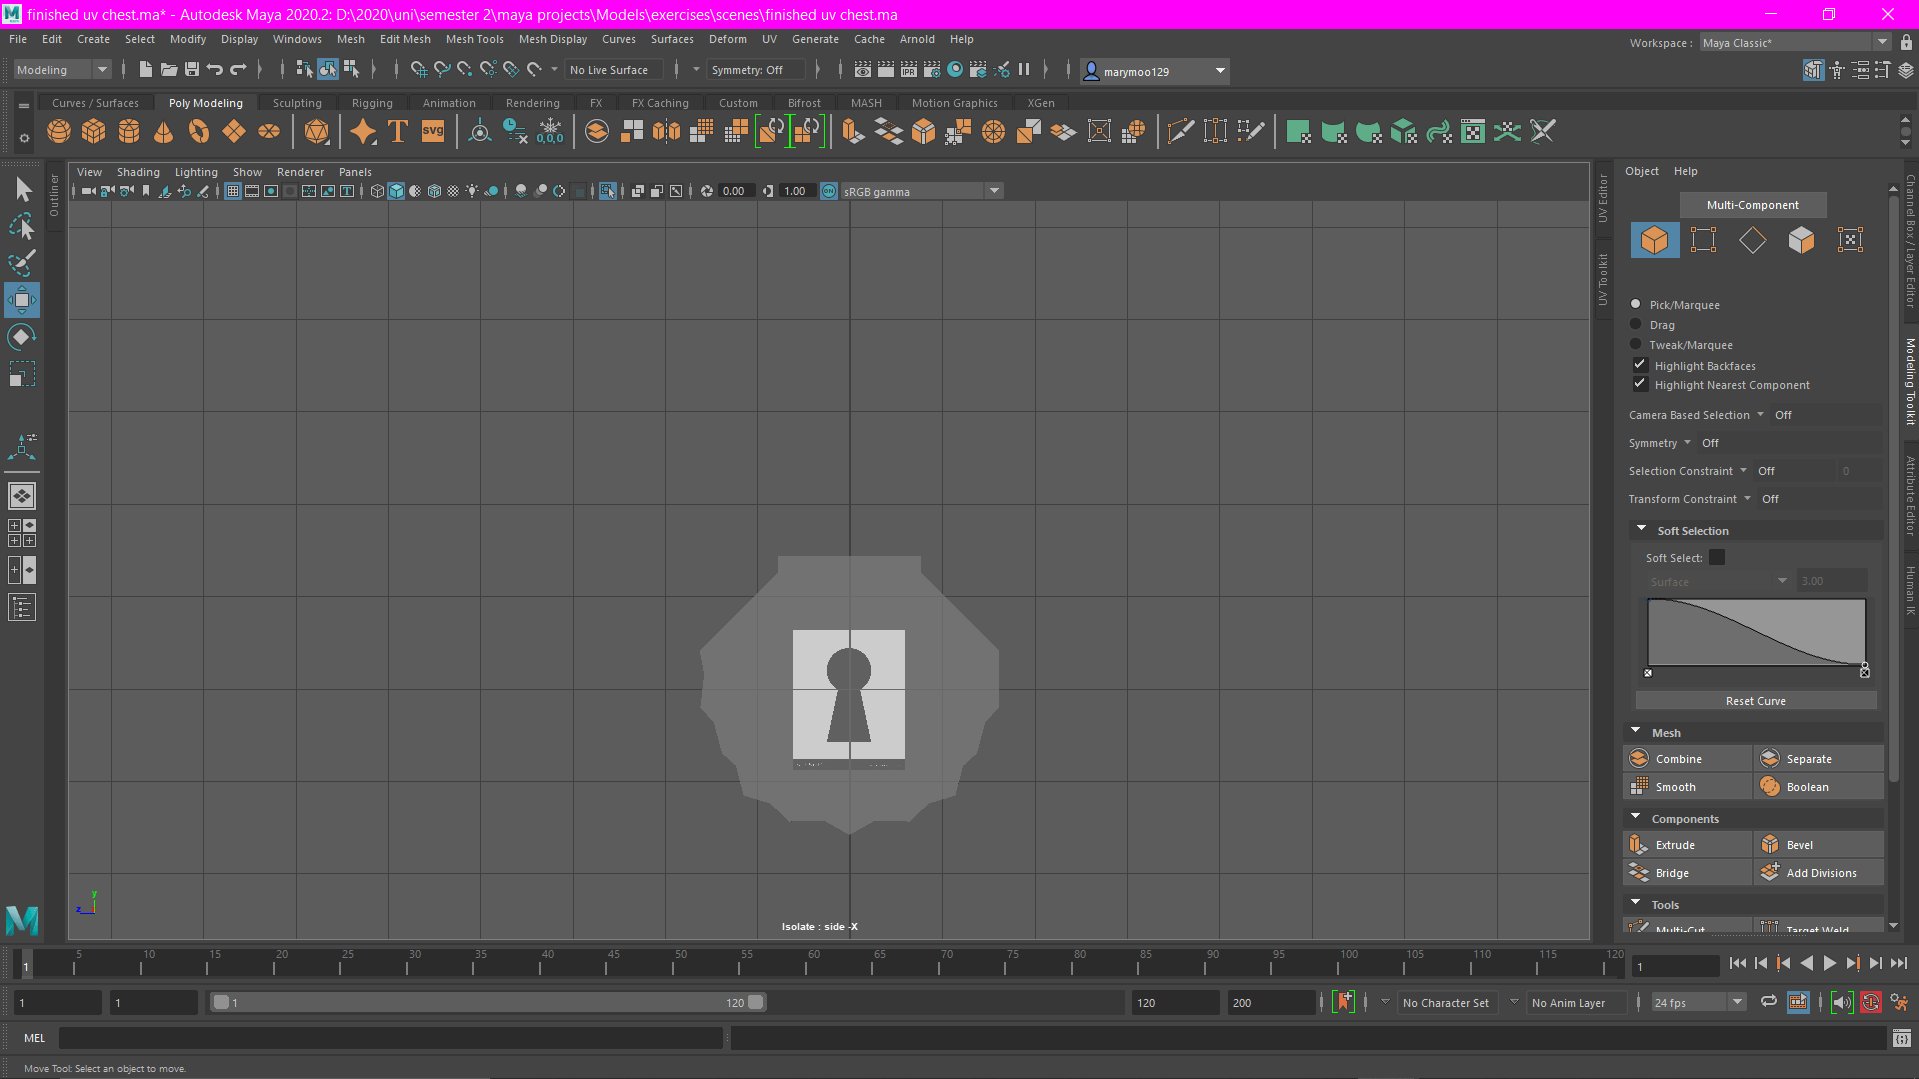
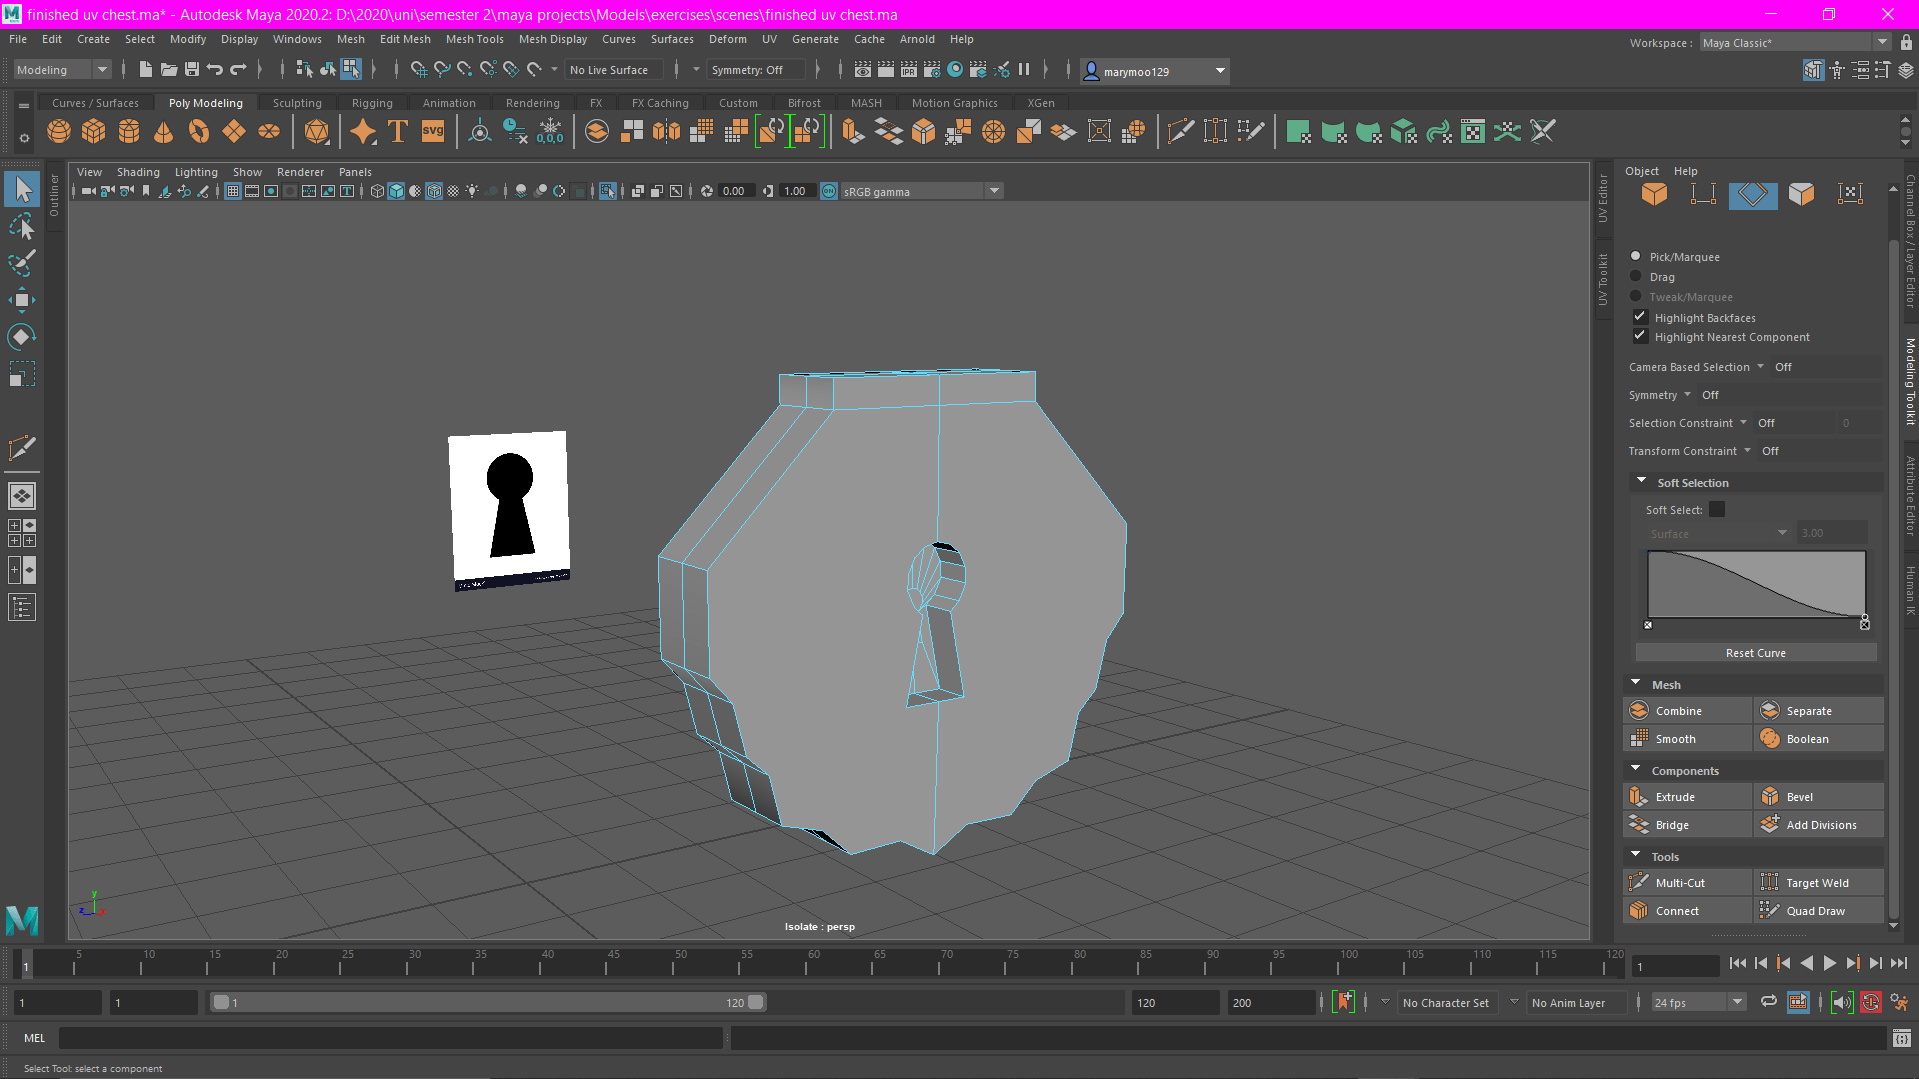
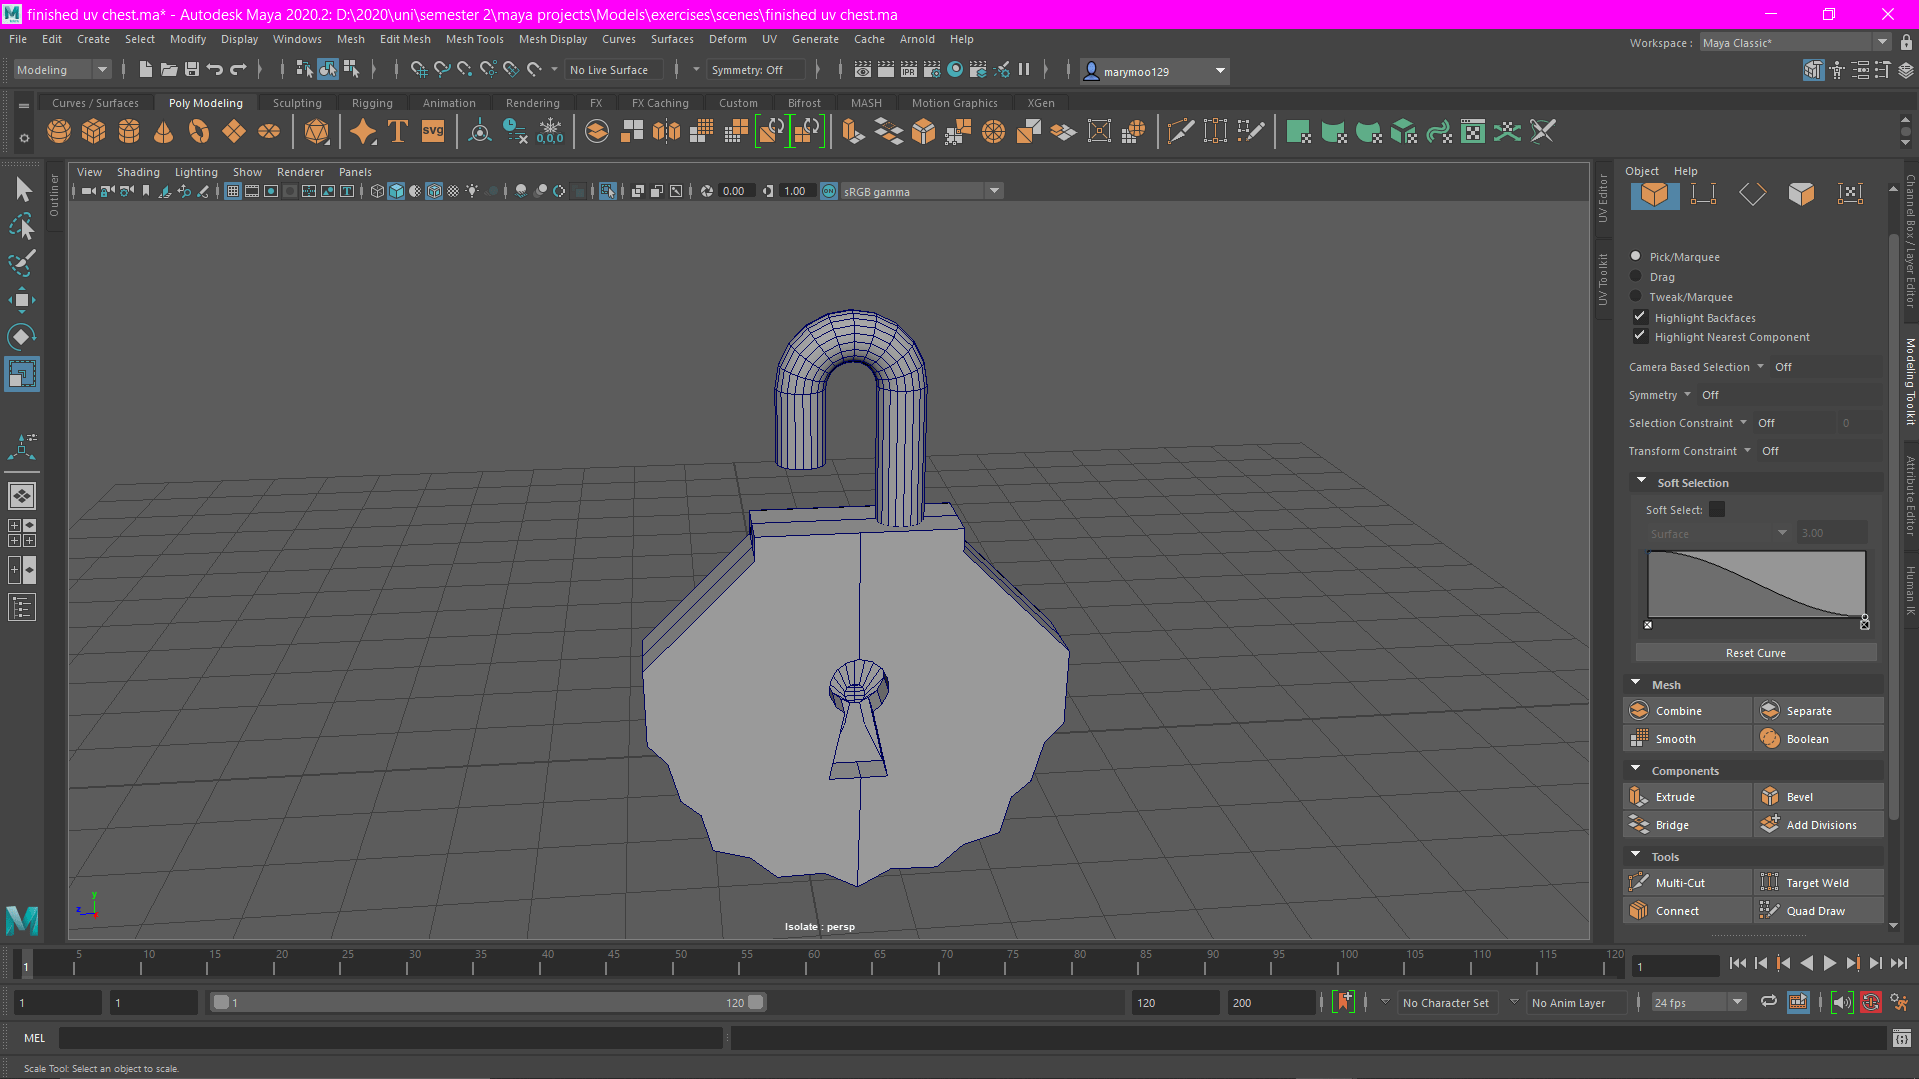
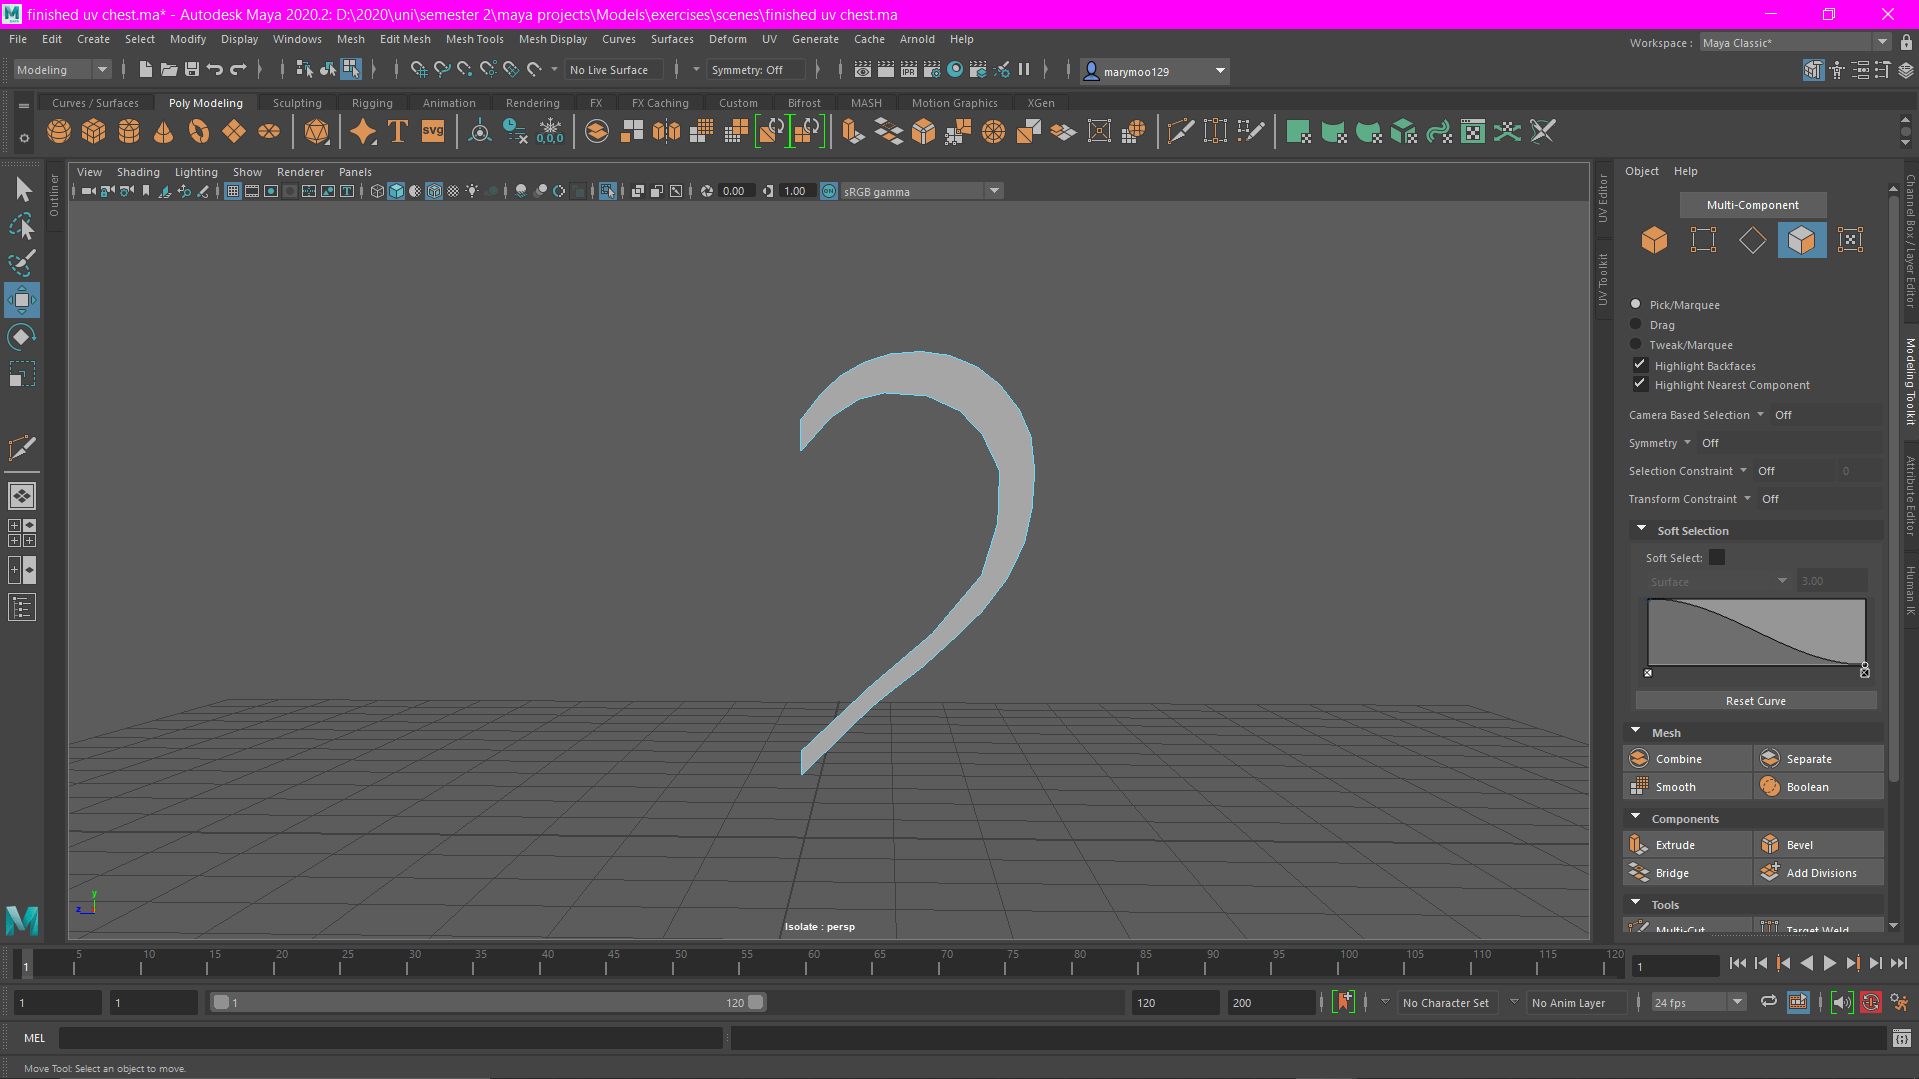
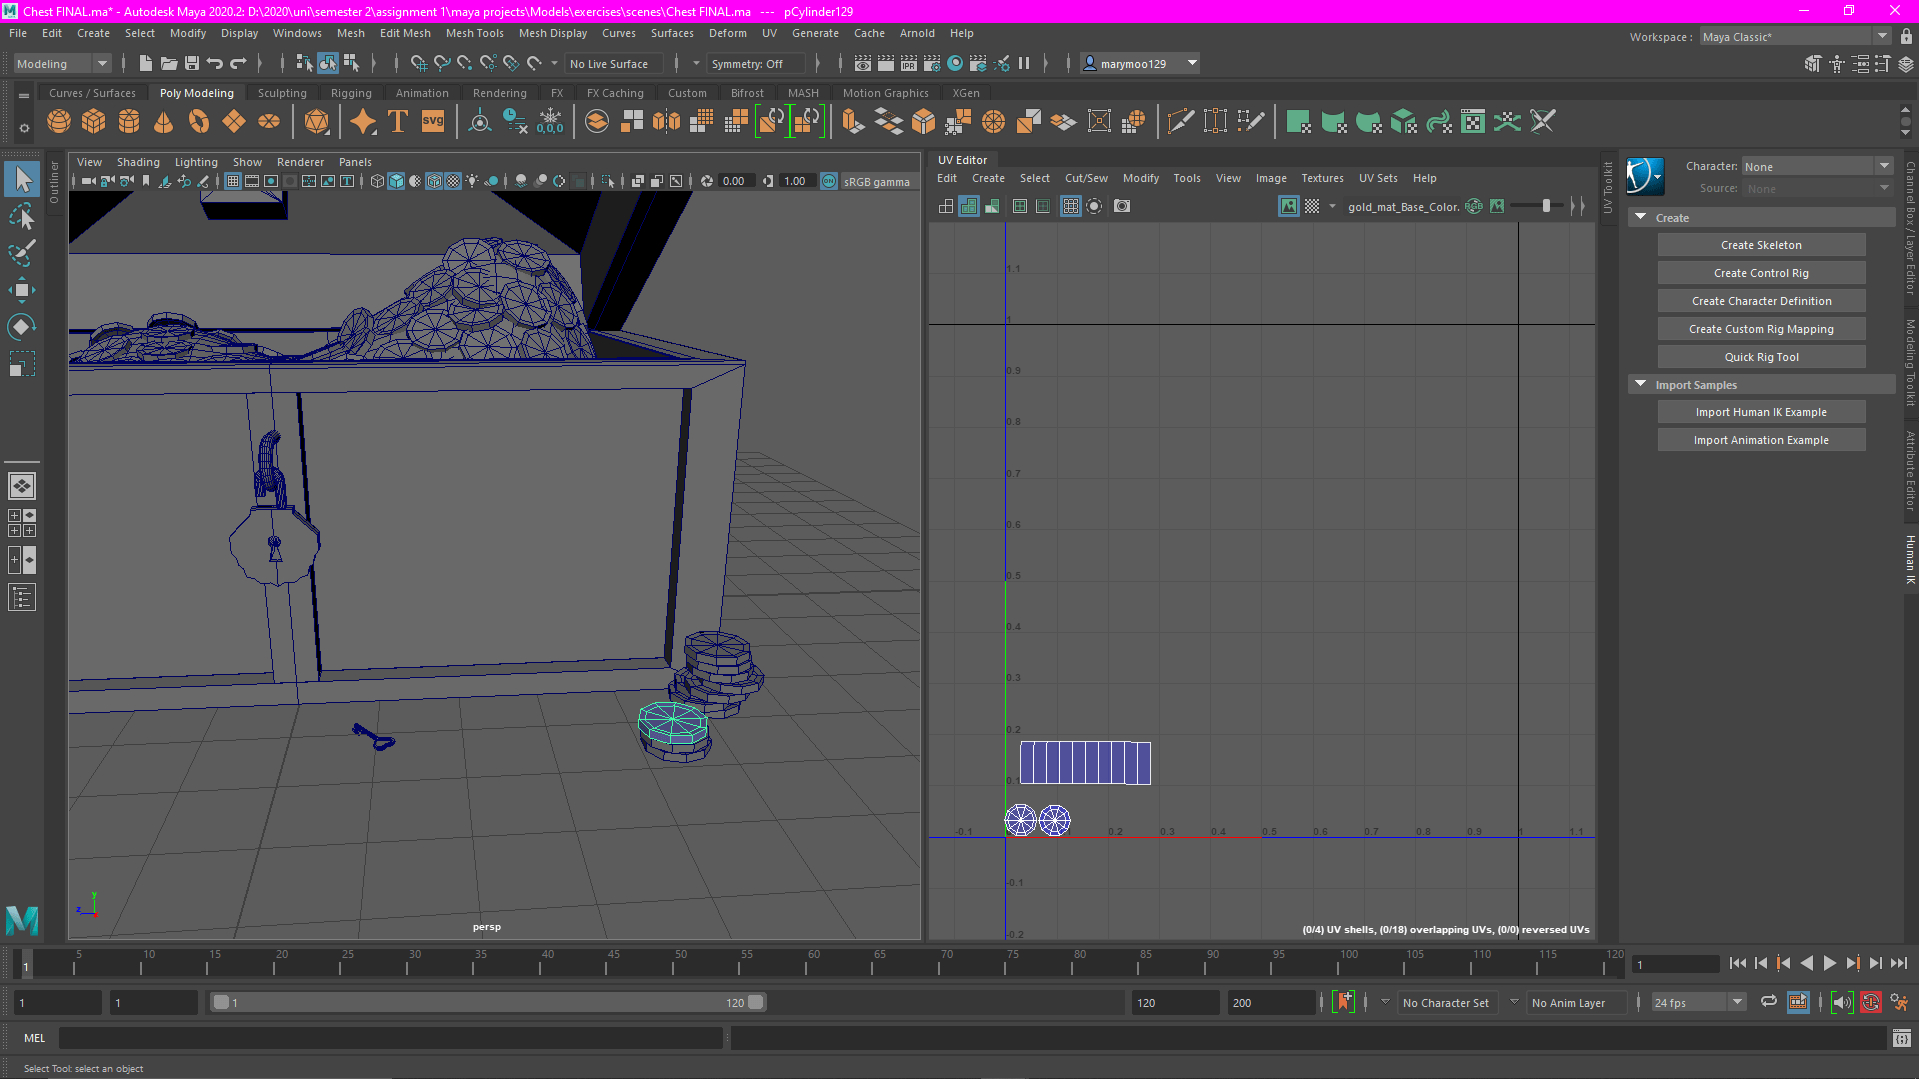
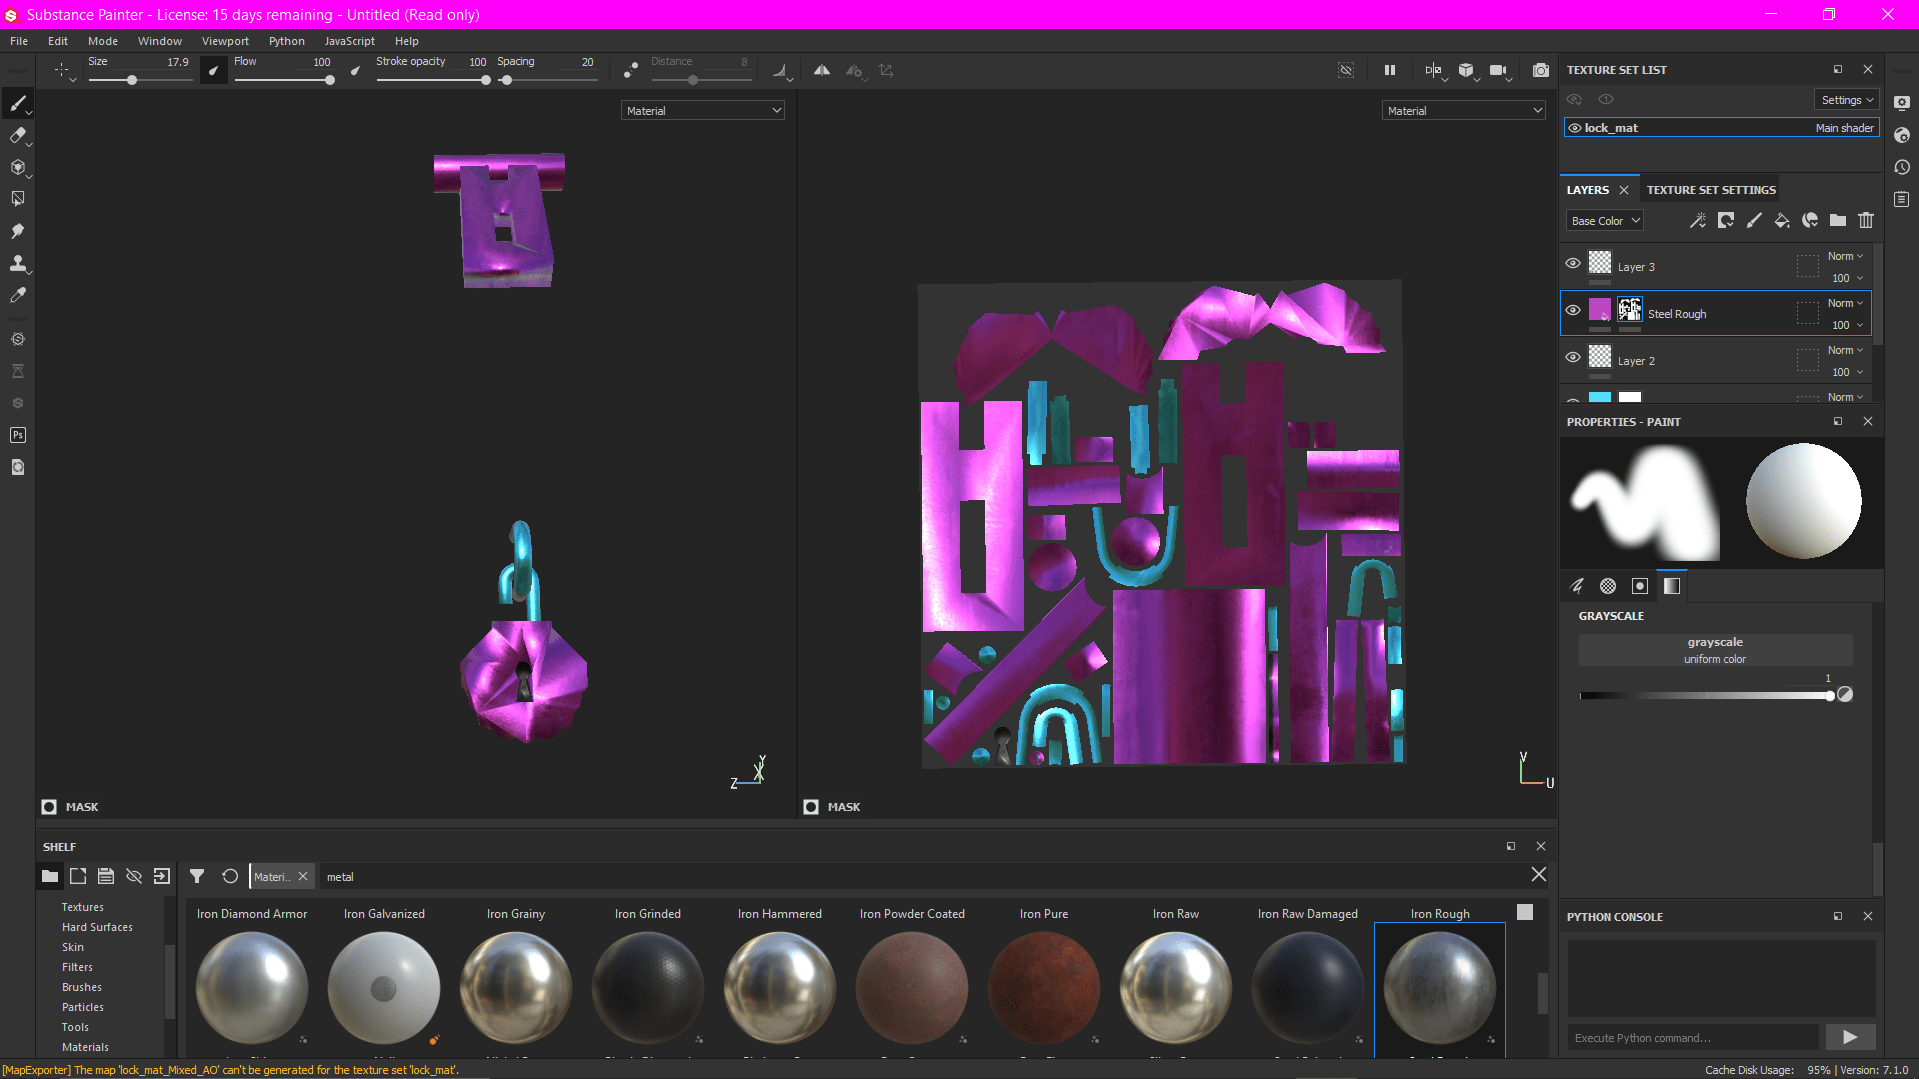
- Lock
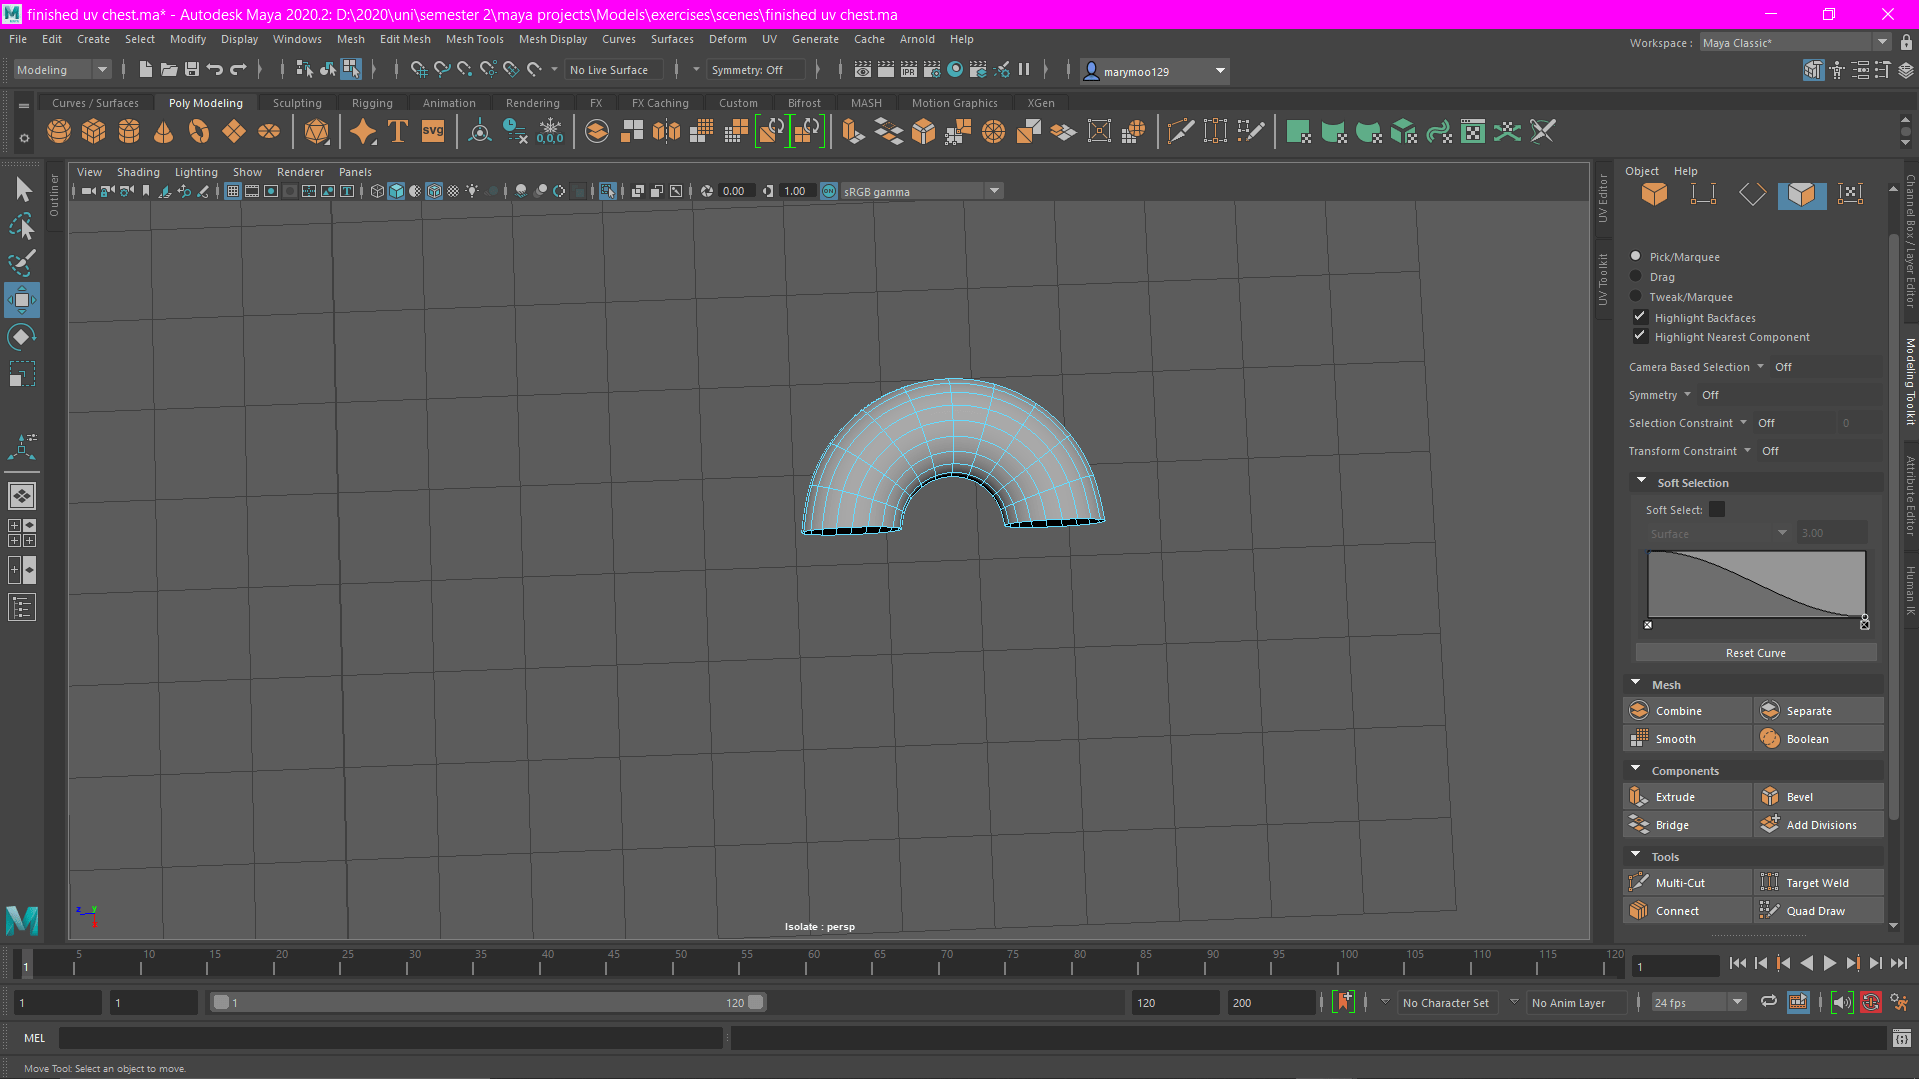
When modelling the lock I also used two separate shapes. I started with the same shape as I did for the chest loop and used the same method to achieve the shape, only this time i use the extrude tool to pull down either end of the loop to make it look more the the top of a padlock.
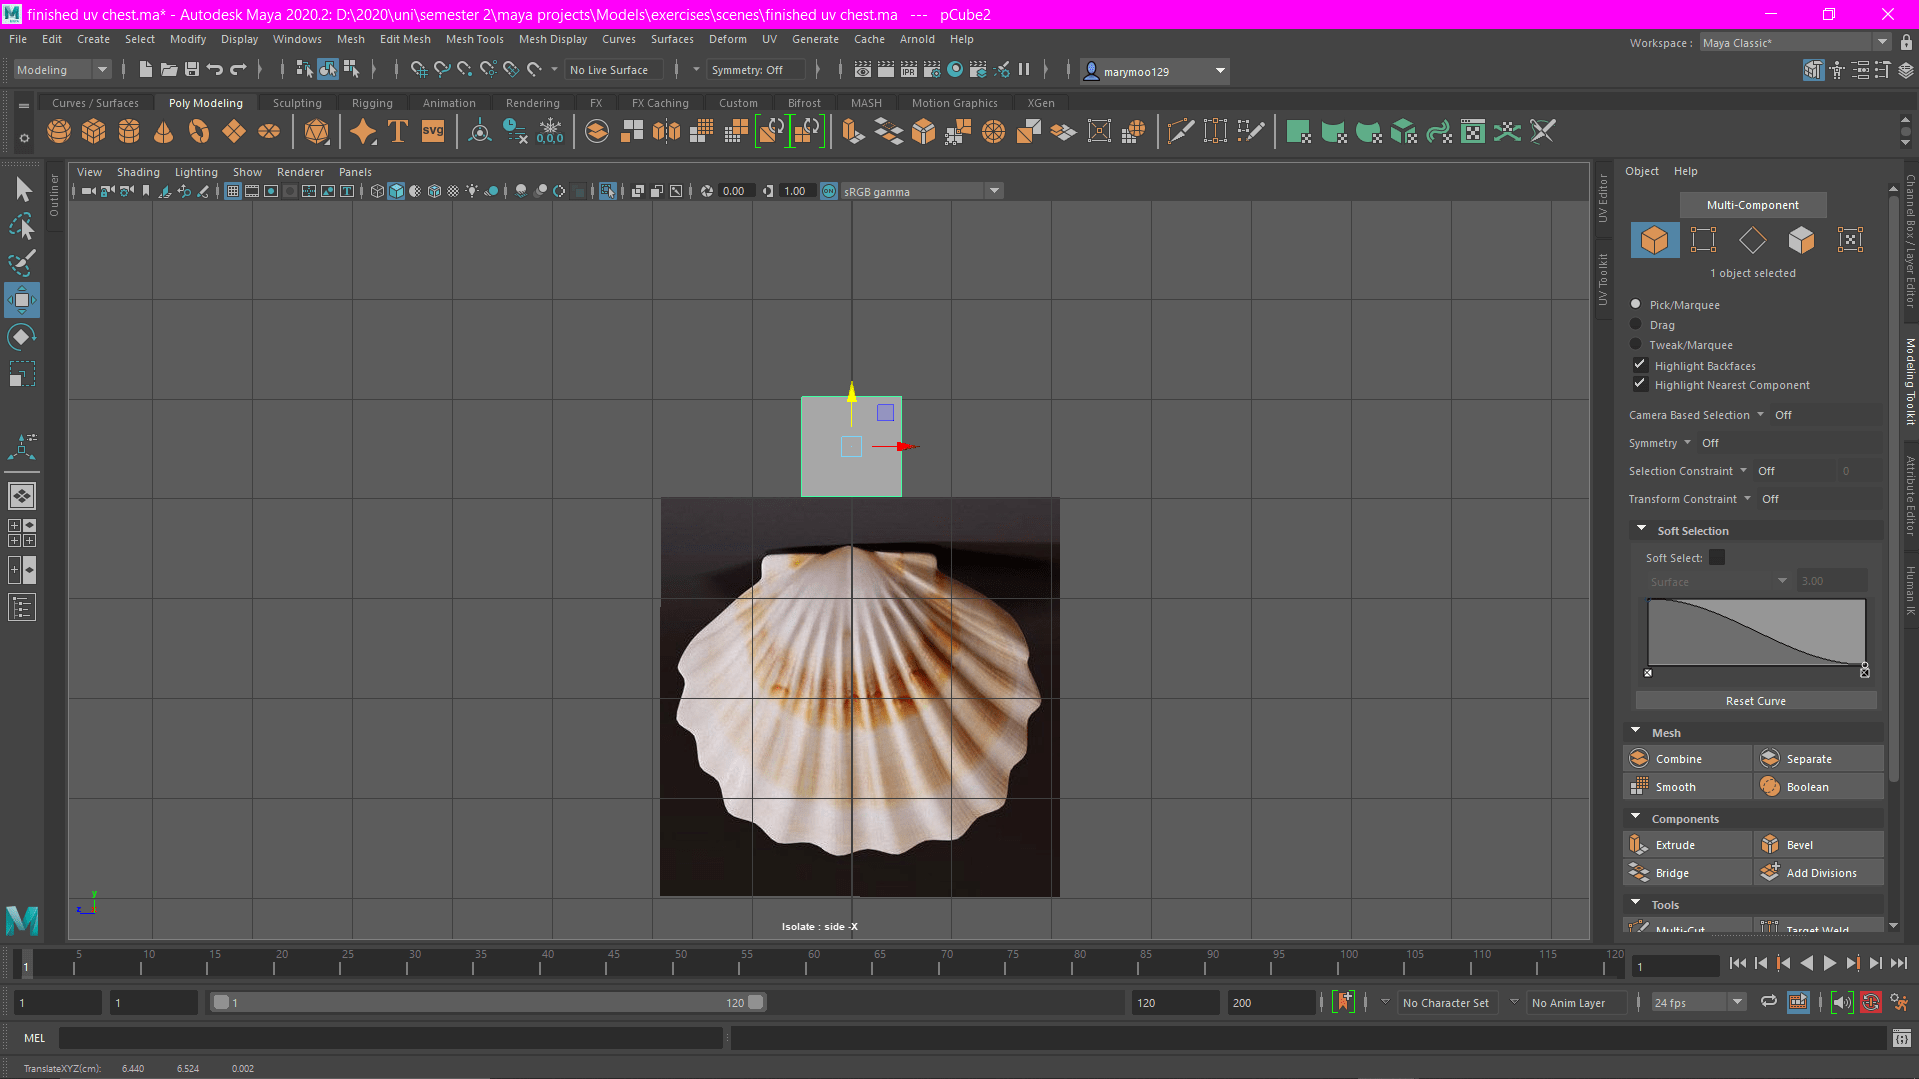
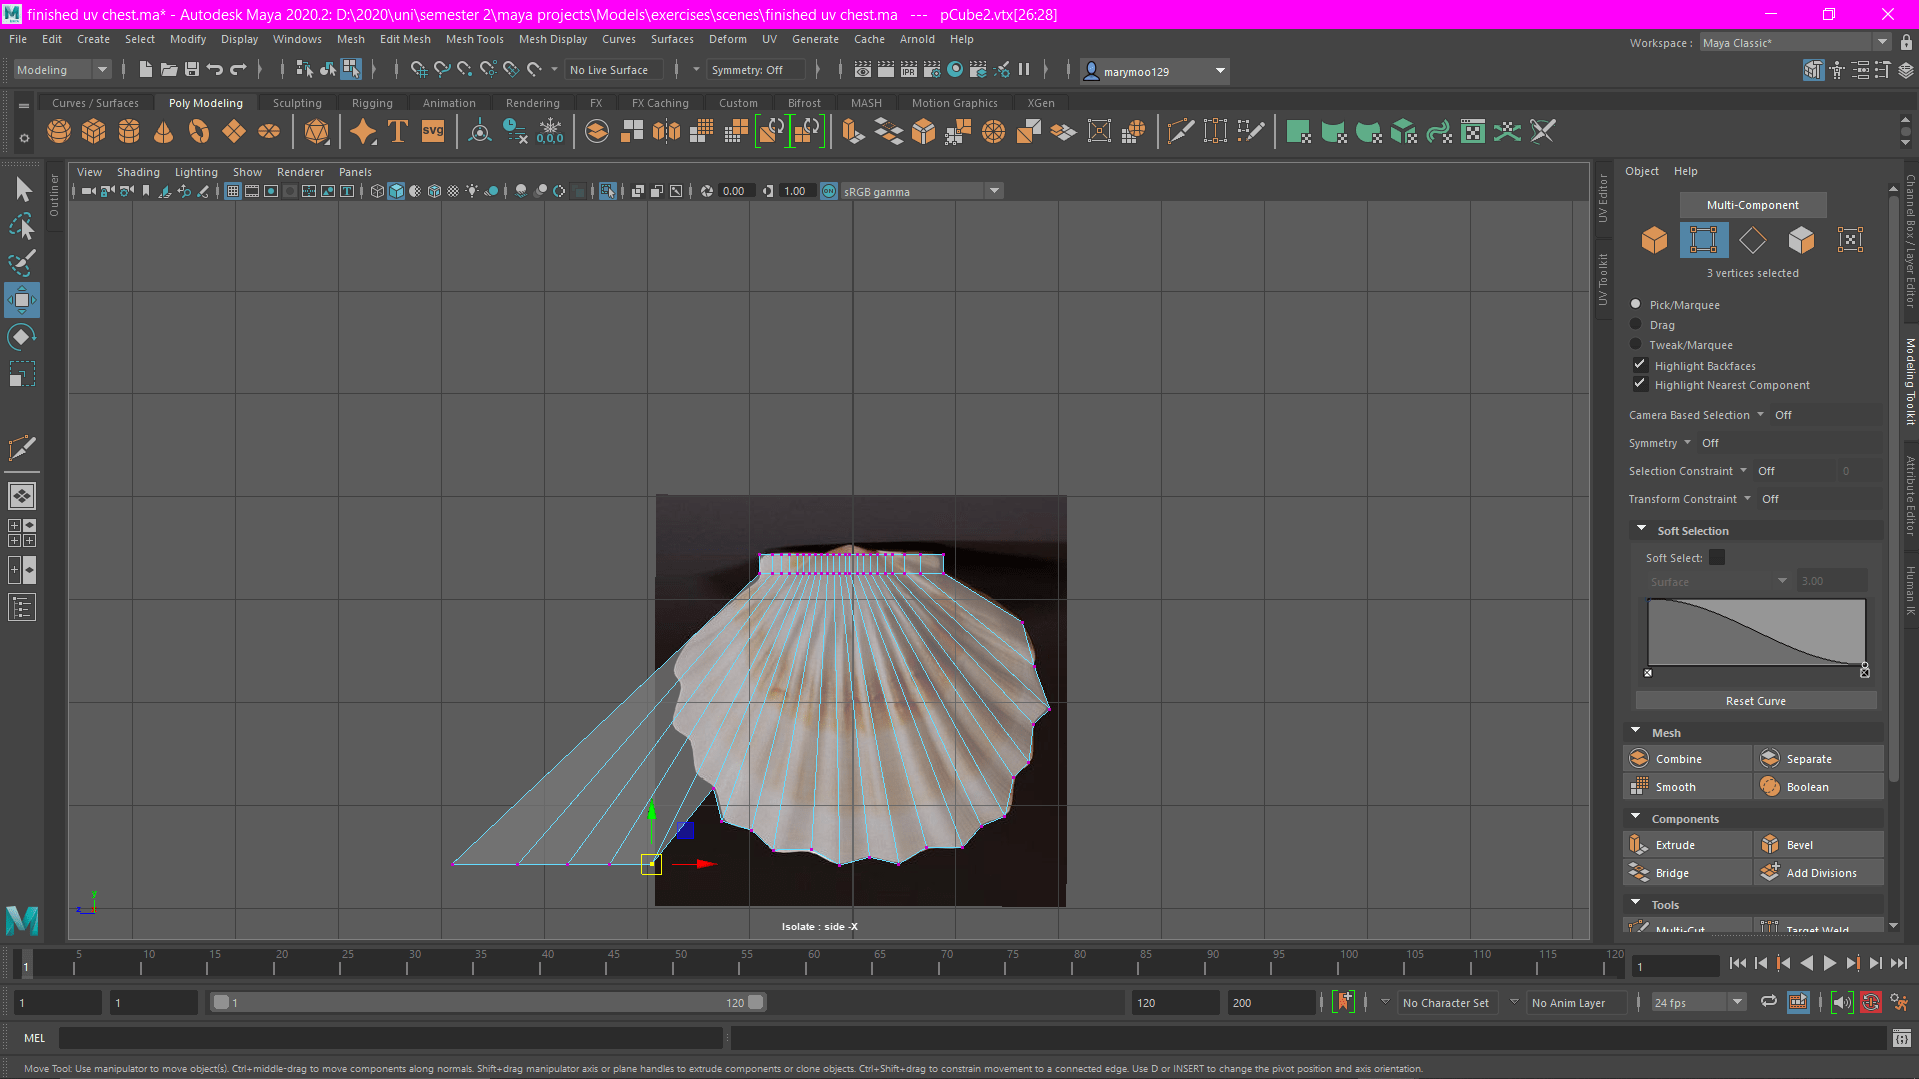
Then, for the bottom part of the lock, I used some more of Micheal’s advice from our 1 to 1 advice talk. He suggested for any complicated shapes, like the shell shape I’m using for my lock, that I started off with a large block and then use the multi-cut too cut out the shape I wanted. For this, I decided to use a reference image of a shell behind my model and follow the shape of that.
Before I got to cutting the shape, I decided to scale out the vertices on the top to create a trapezium-like shape. The I used the multi-cut tool to create lines where the bumps on the shell were going to be.
This is how it looked when I finished cutting it.
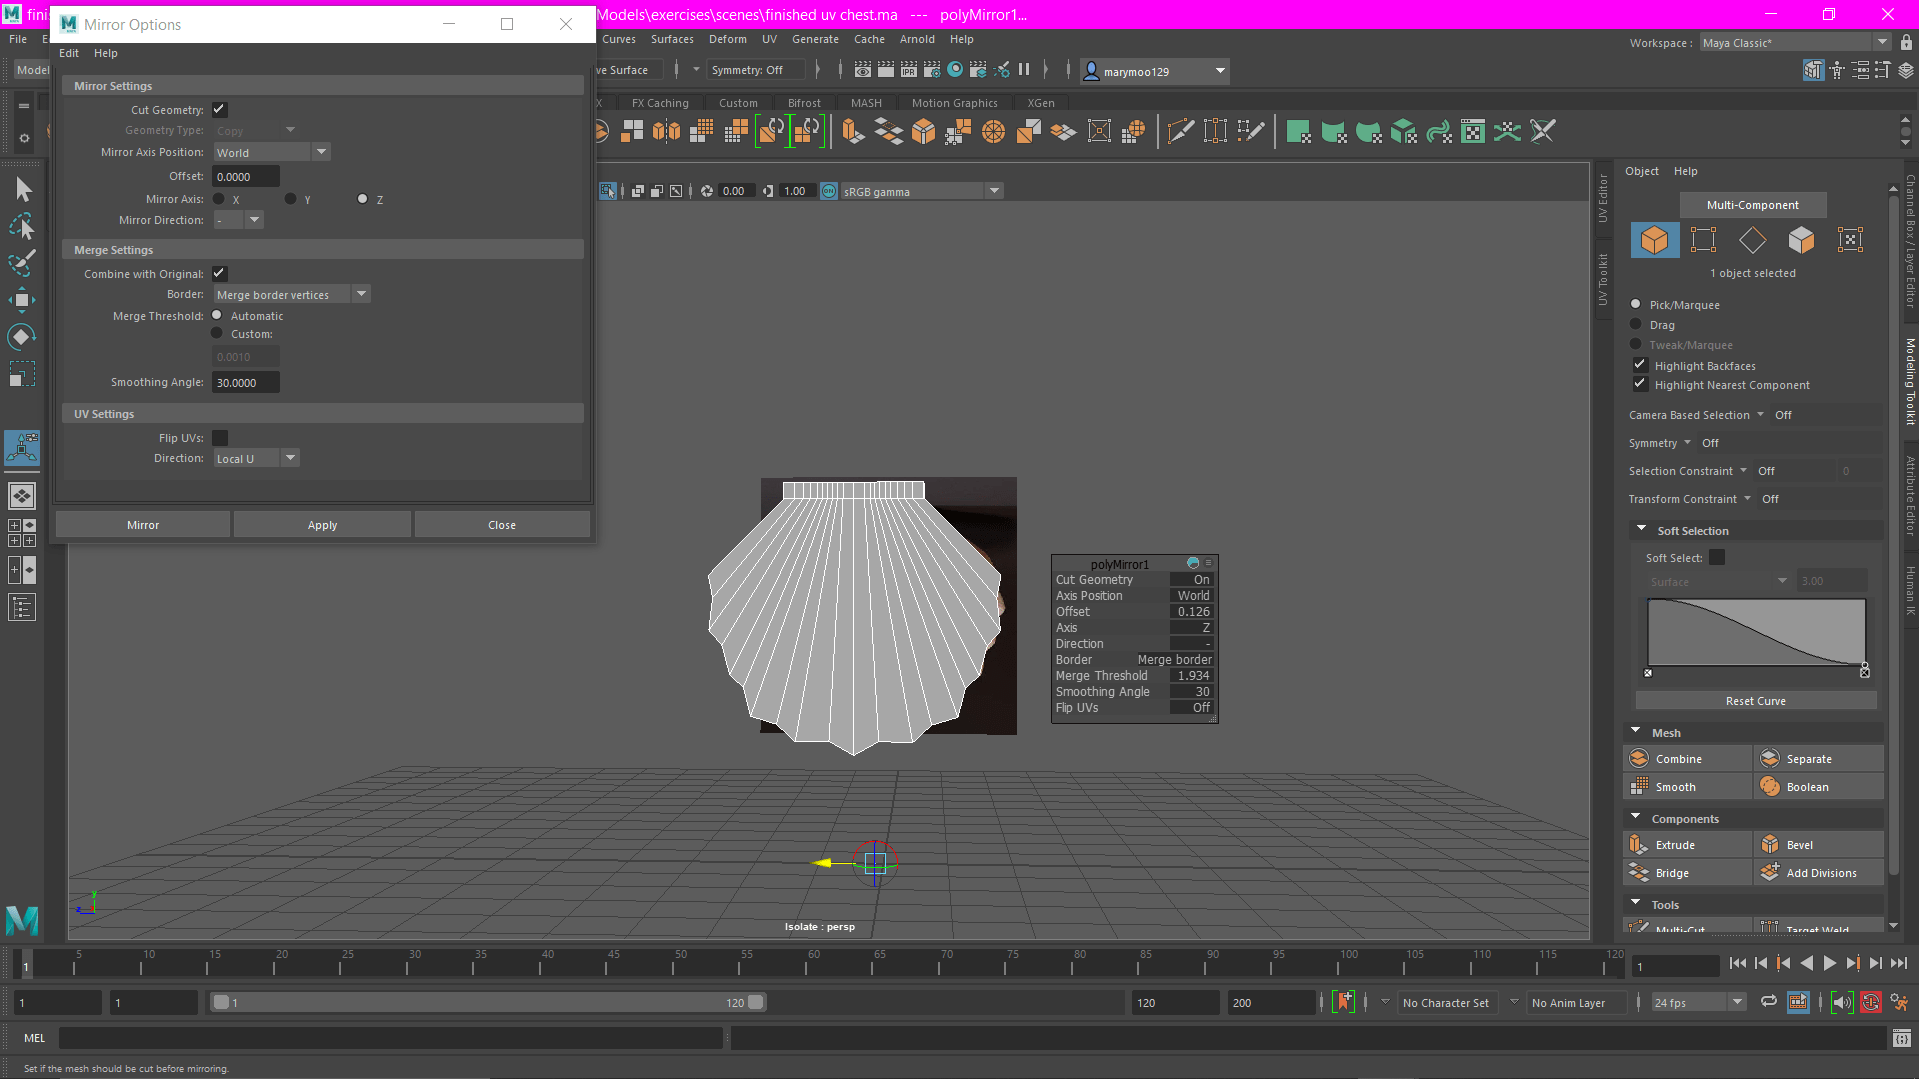
As I was only working off of one side on the model, I had to ensure that the other side looked the same, so I used the multi-cut tool again to cut the model in half. After this, I deleted the other side of the model and simply mirrored what I was left with.
I think I found the lock the hardest to model overall.

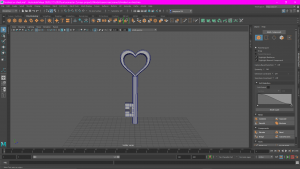
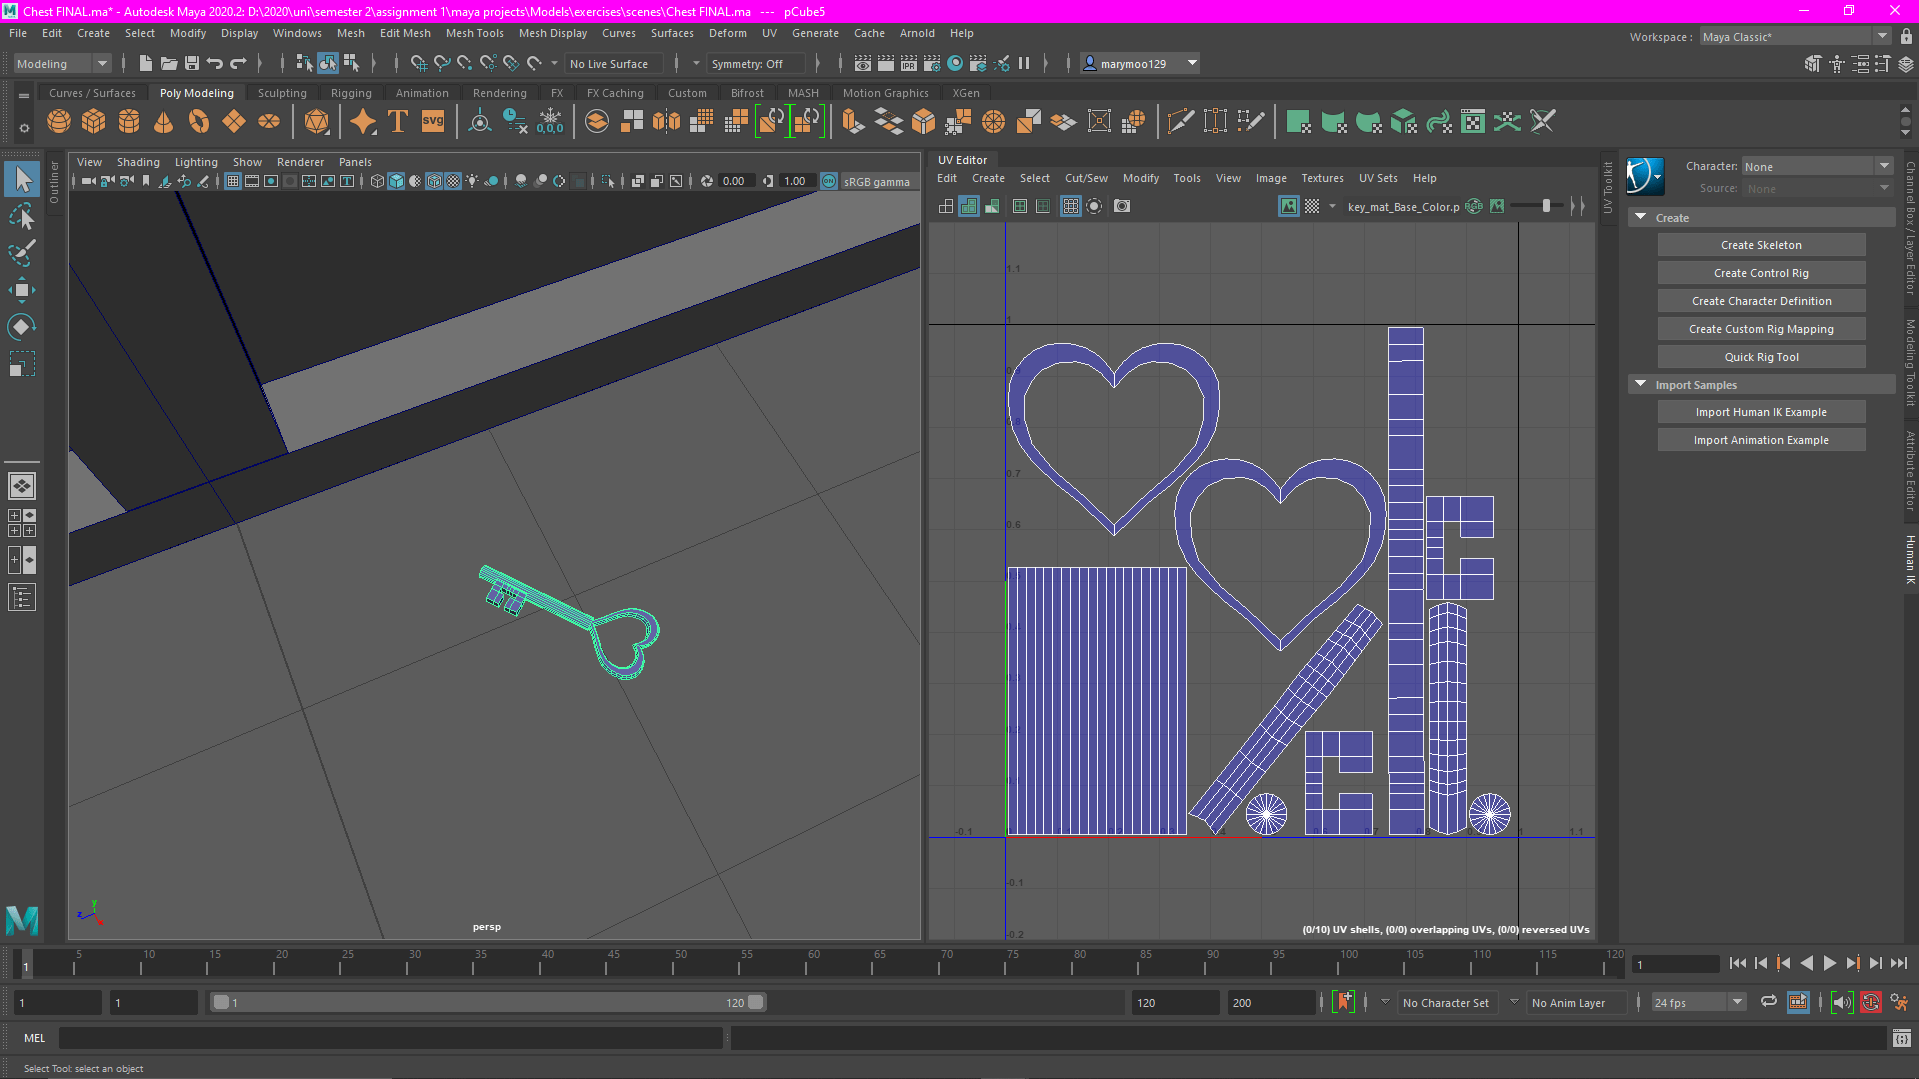
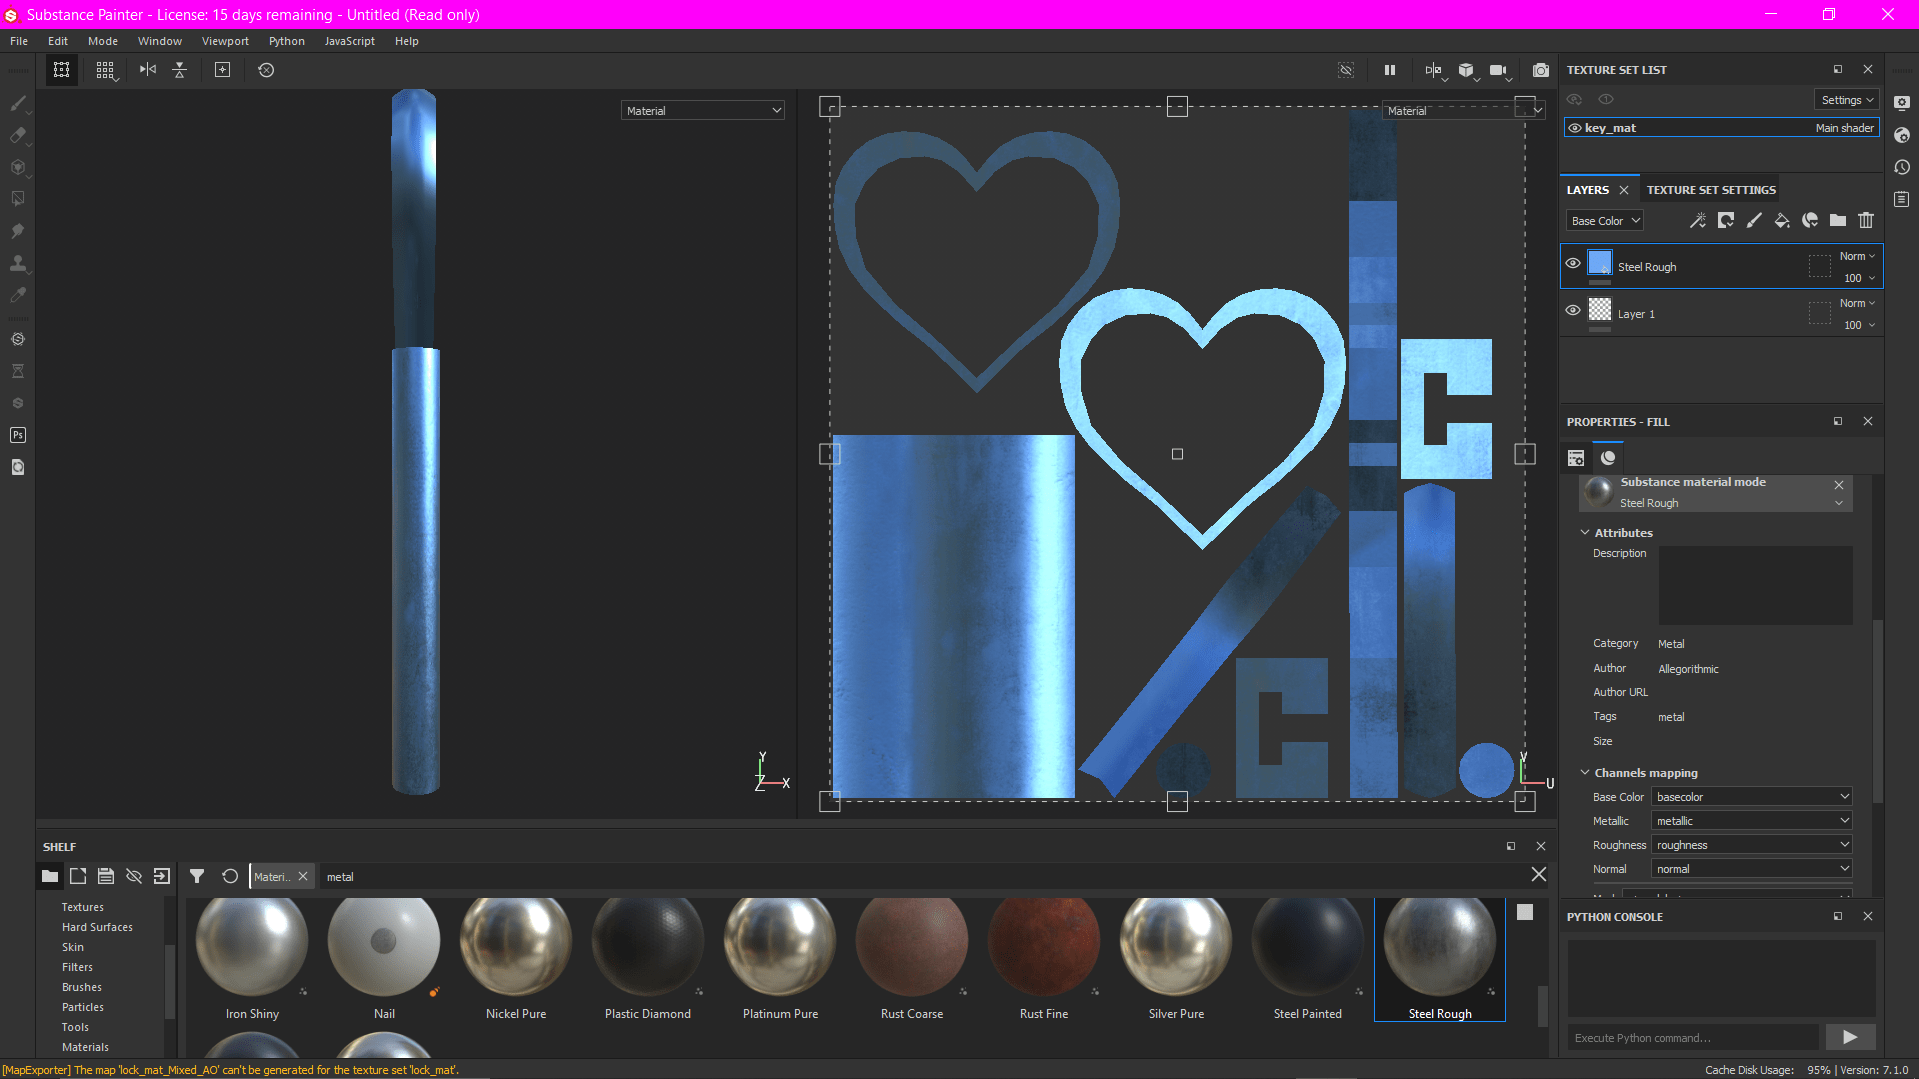
- Key
For the key I used two different cube shapes, cut into shape, and a cylinder shape. This model was also quite difficult but I really enjoyed the challenge.


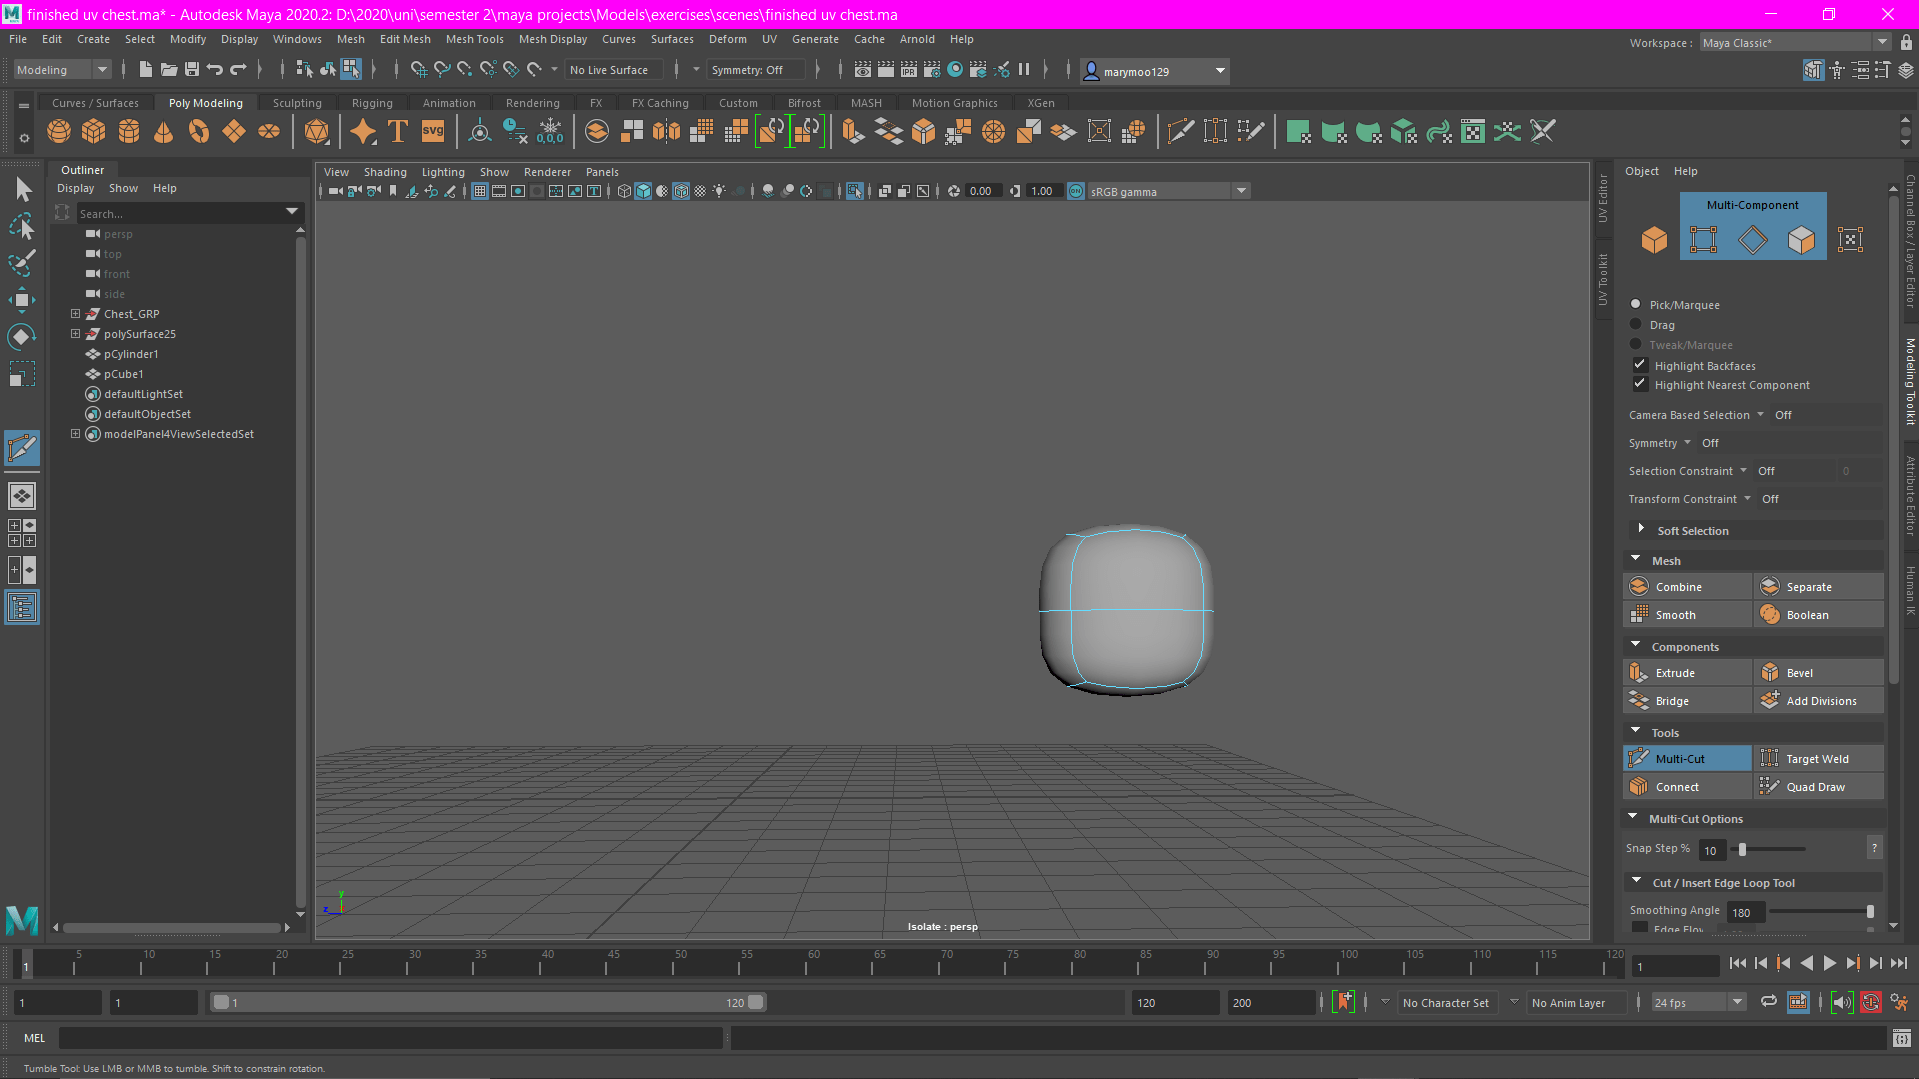
- Sand “blob”

- Coins
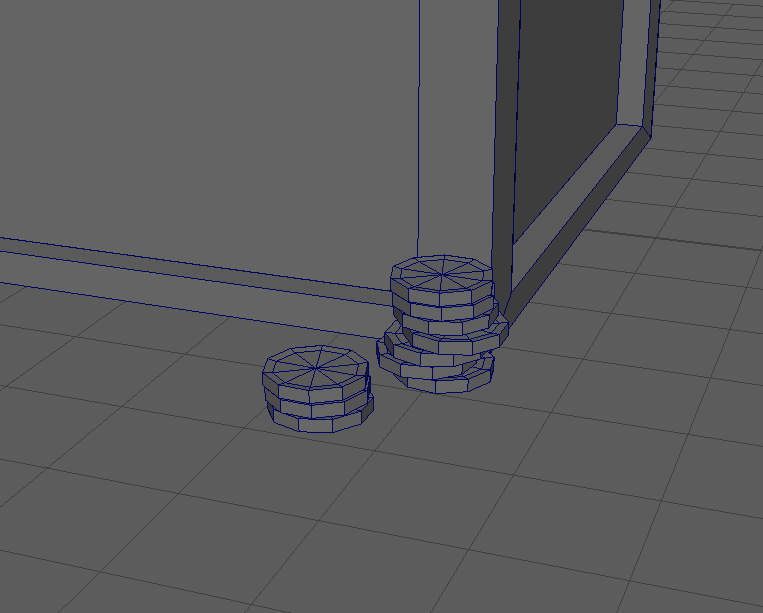
For the coins, I only had to model one, then I cloned it lots of times and placed them all around the sand blob, and some in front of the chest on the ground.
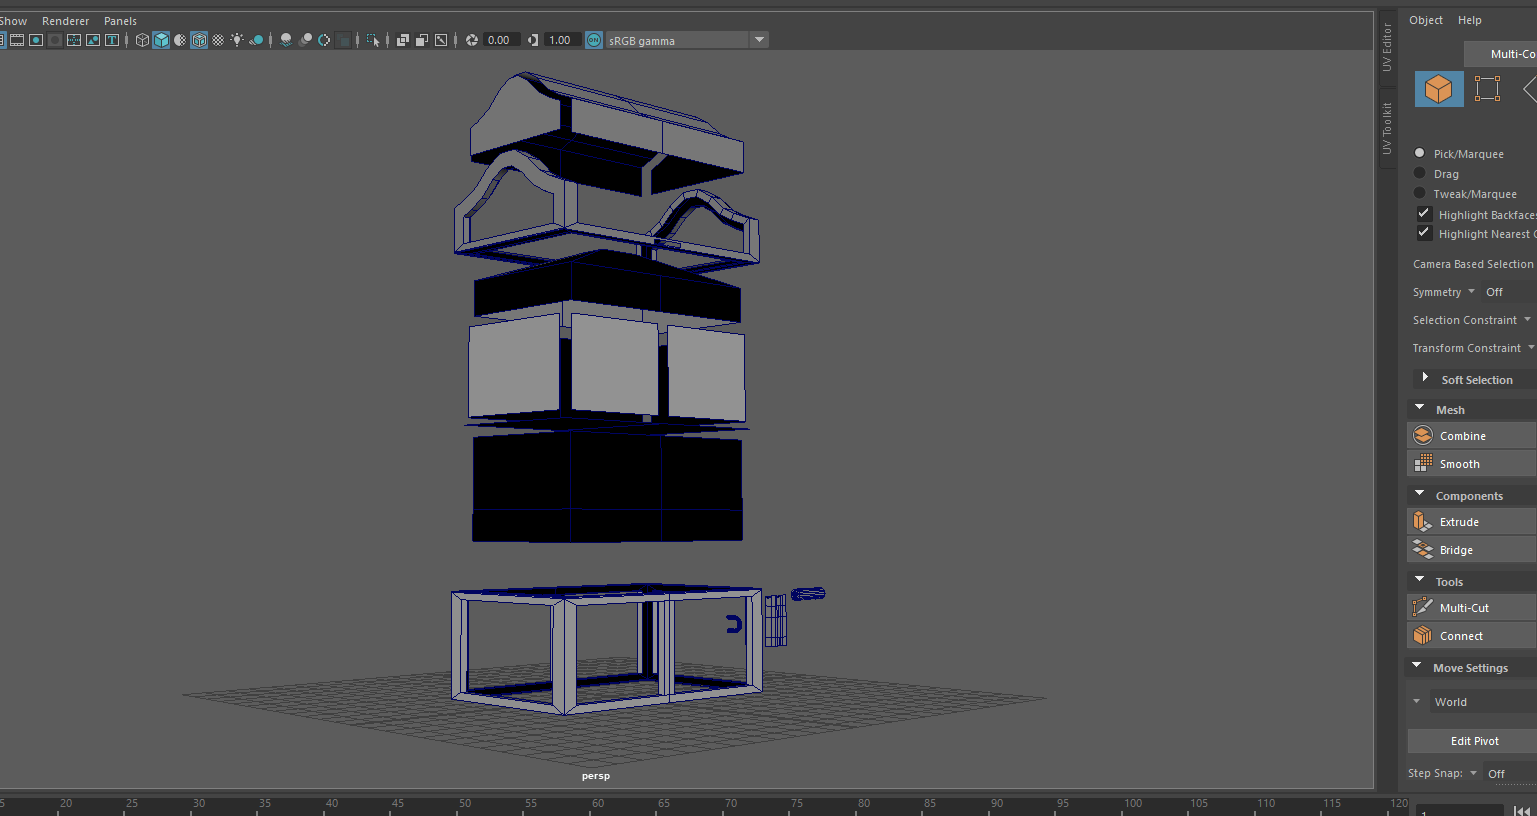
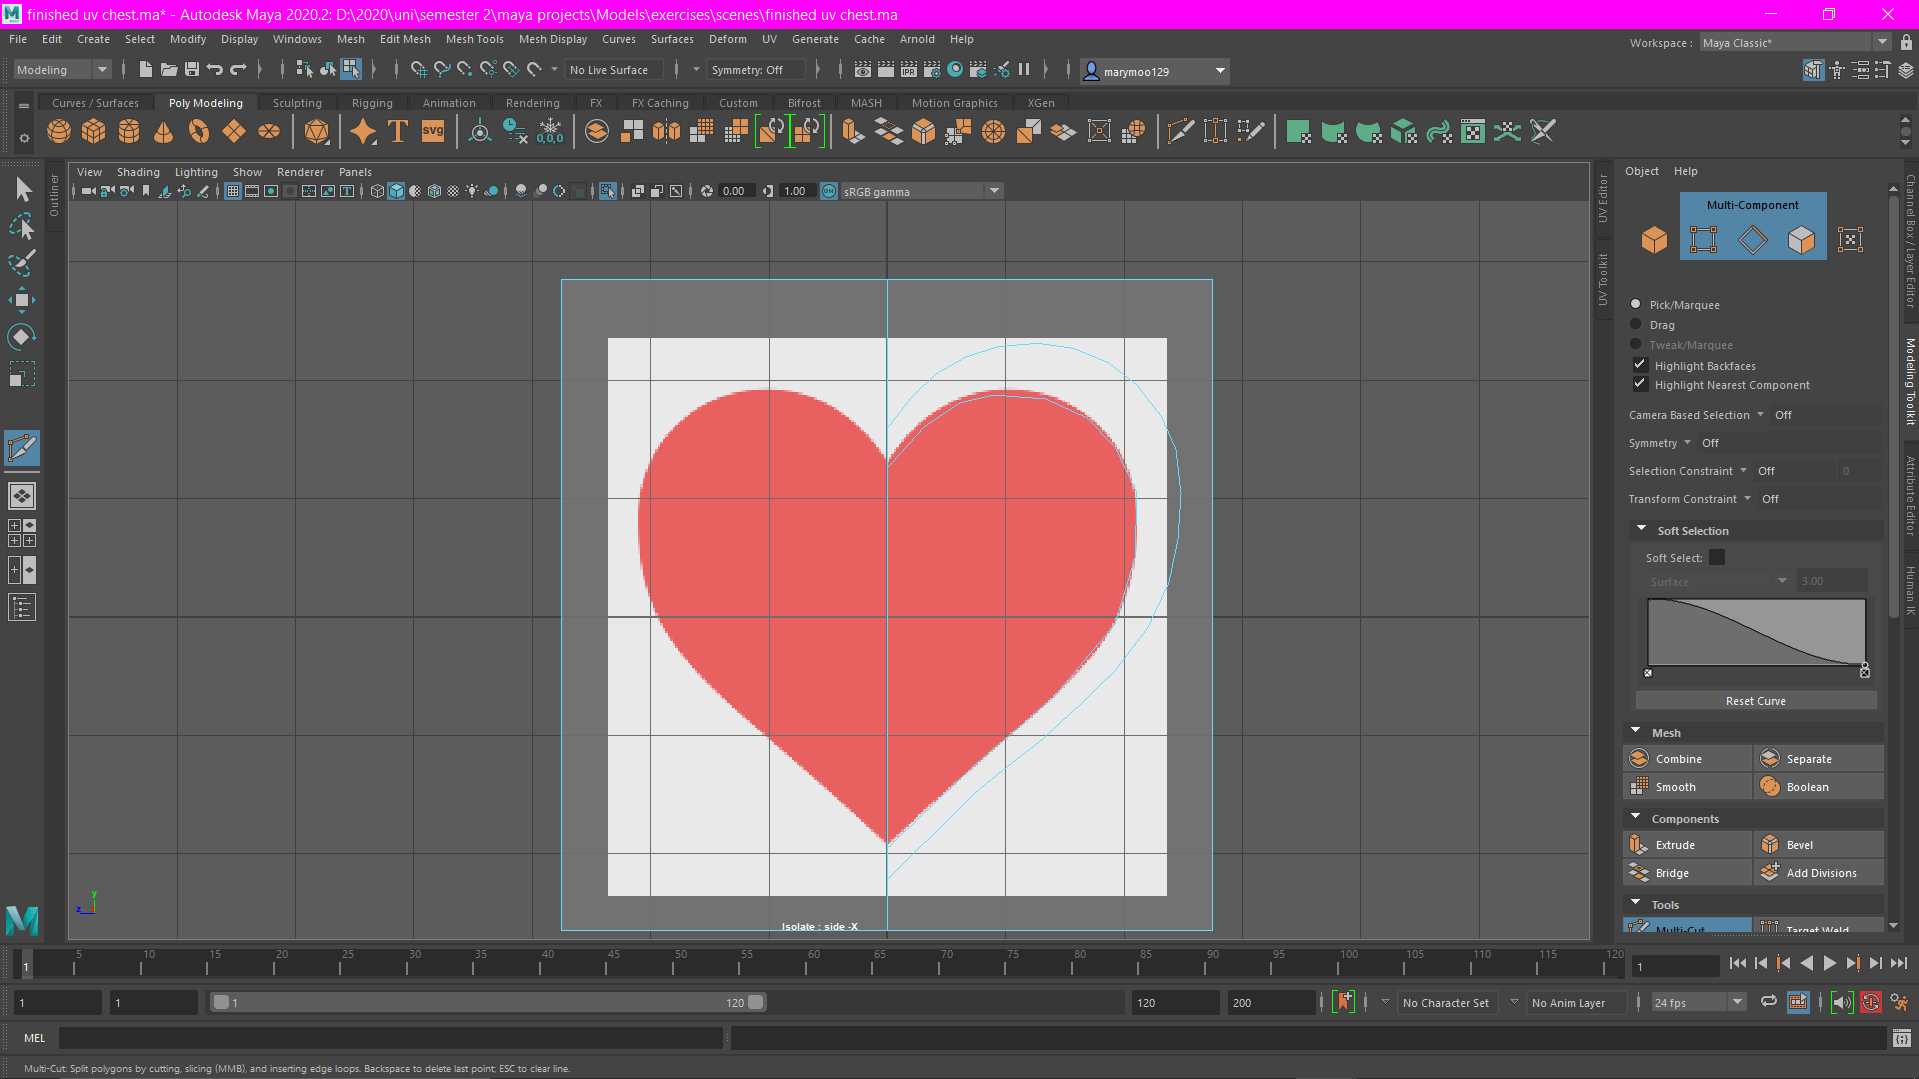
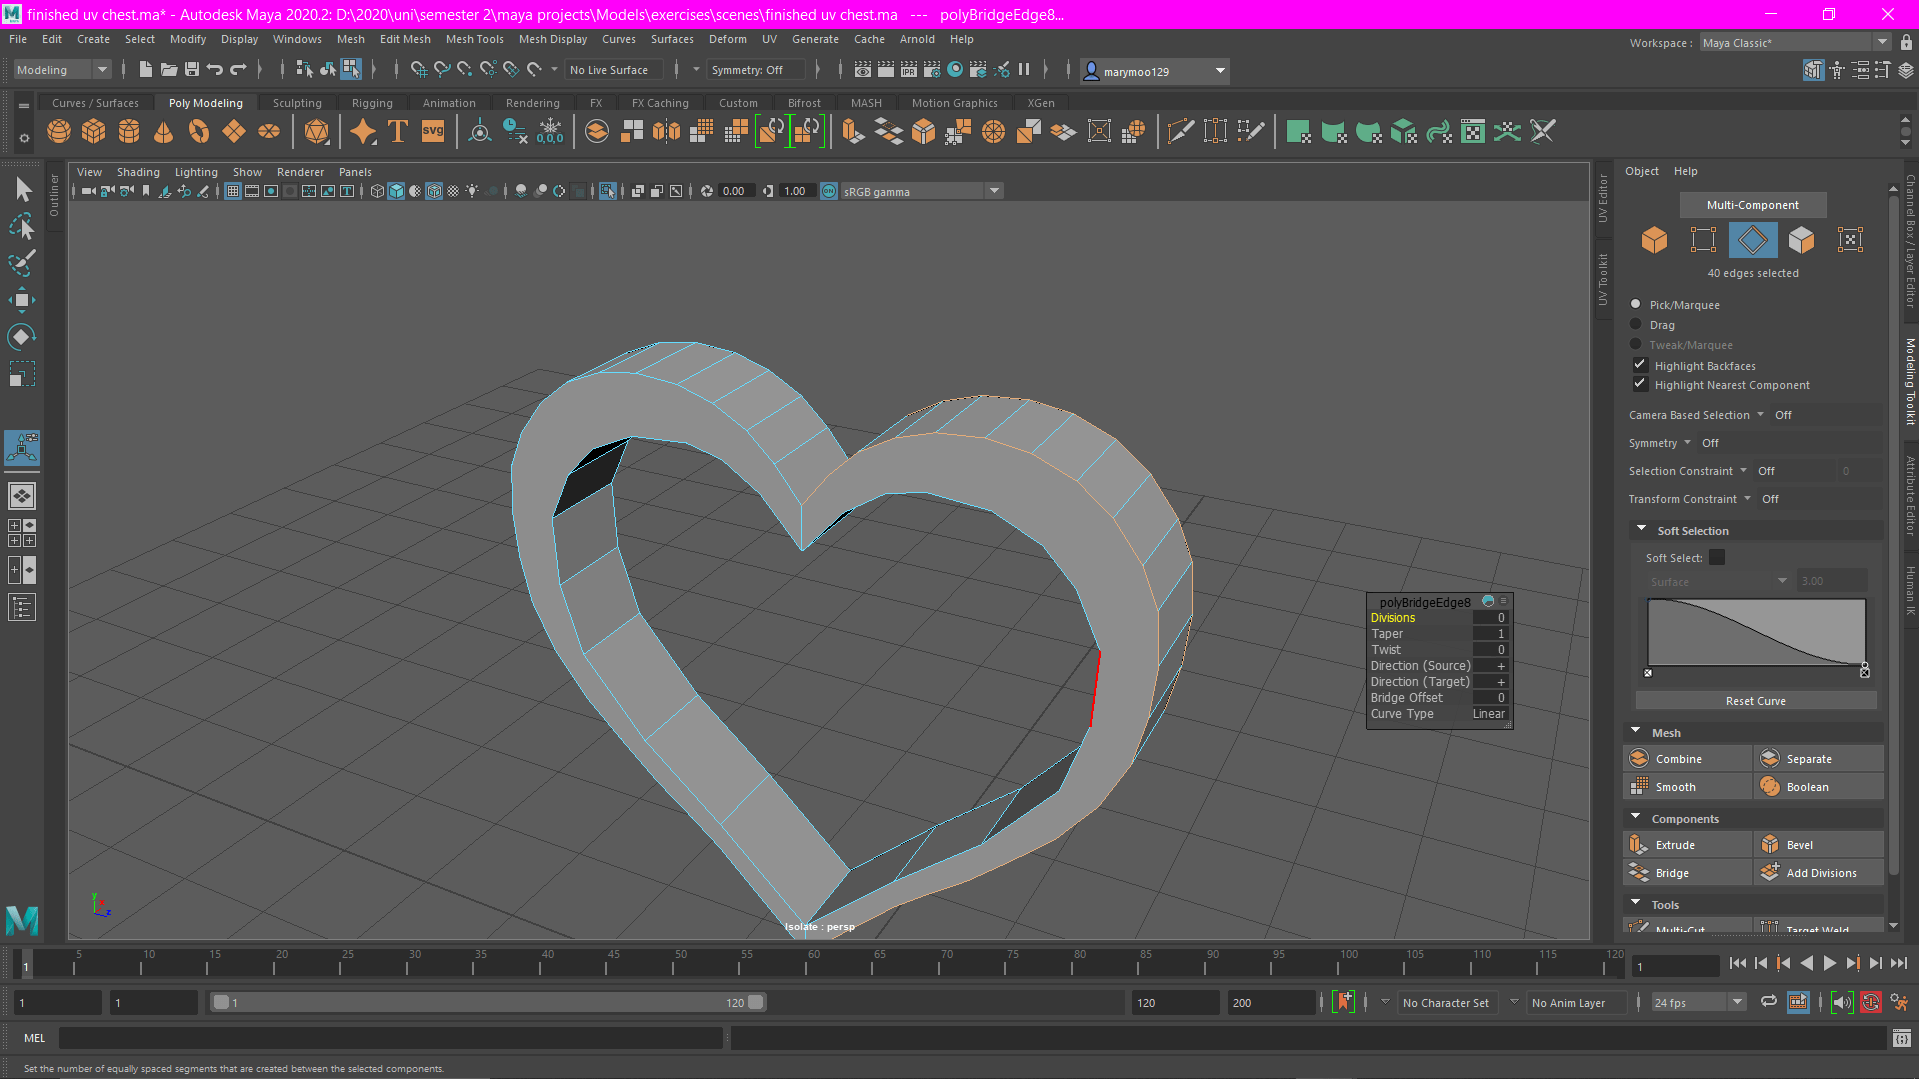
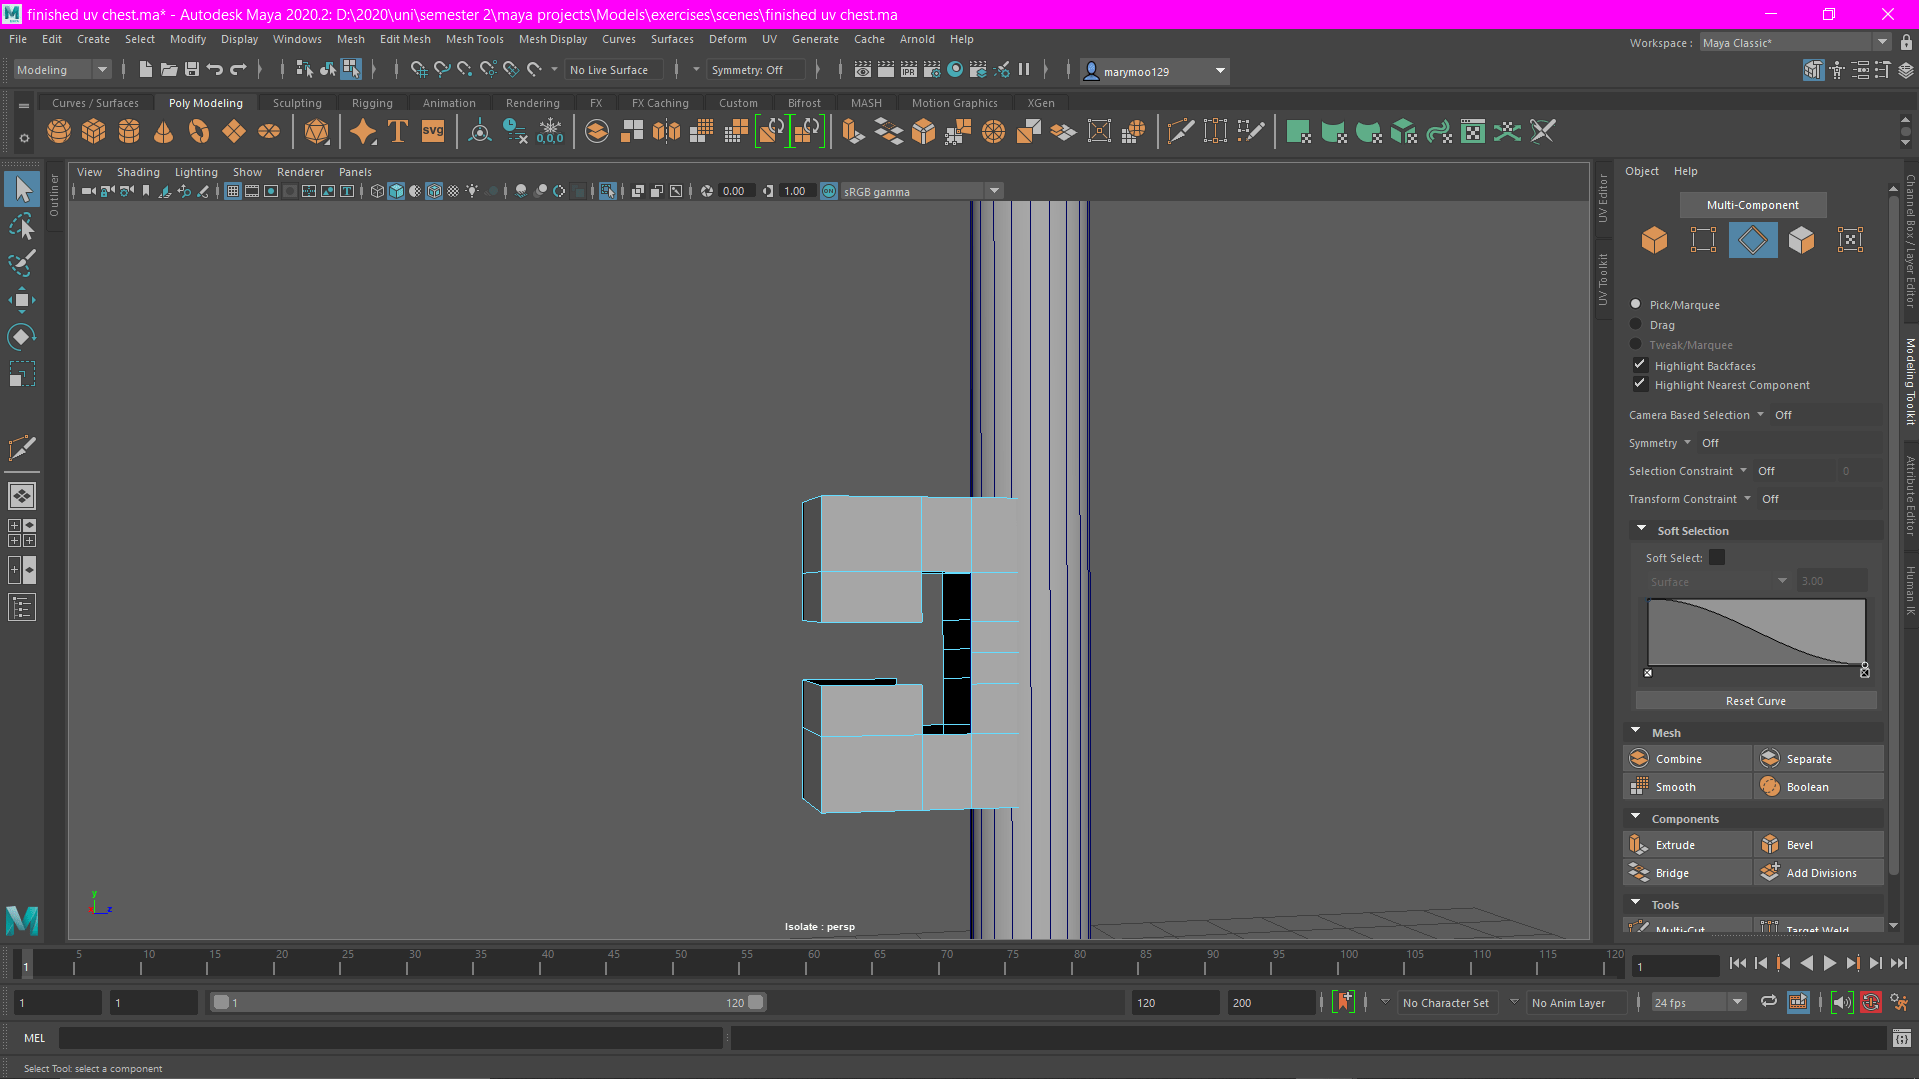
3. UV mapping
- Chest


- Loop, latch and lock

- Key
- Sand
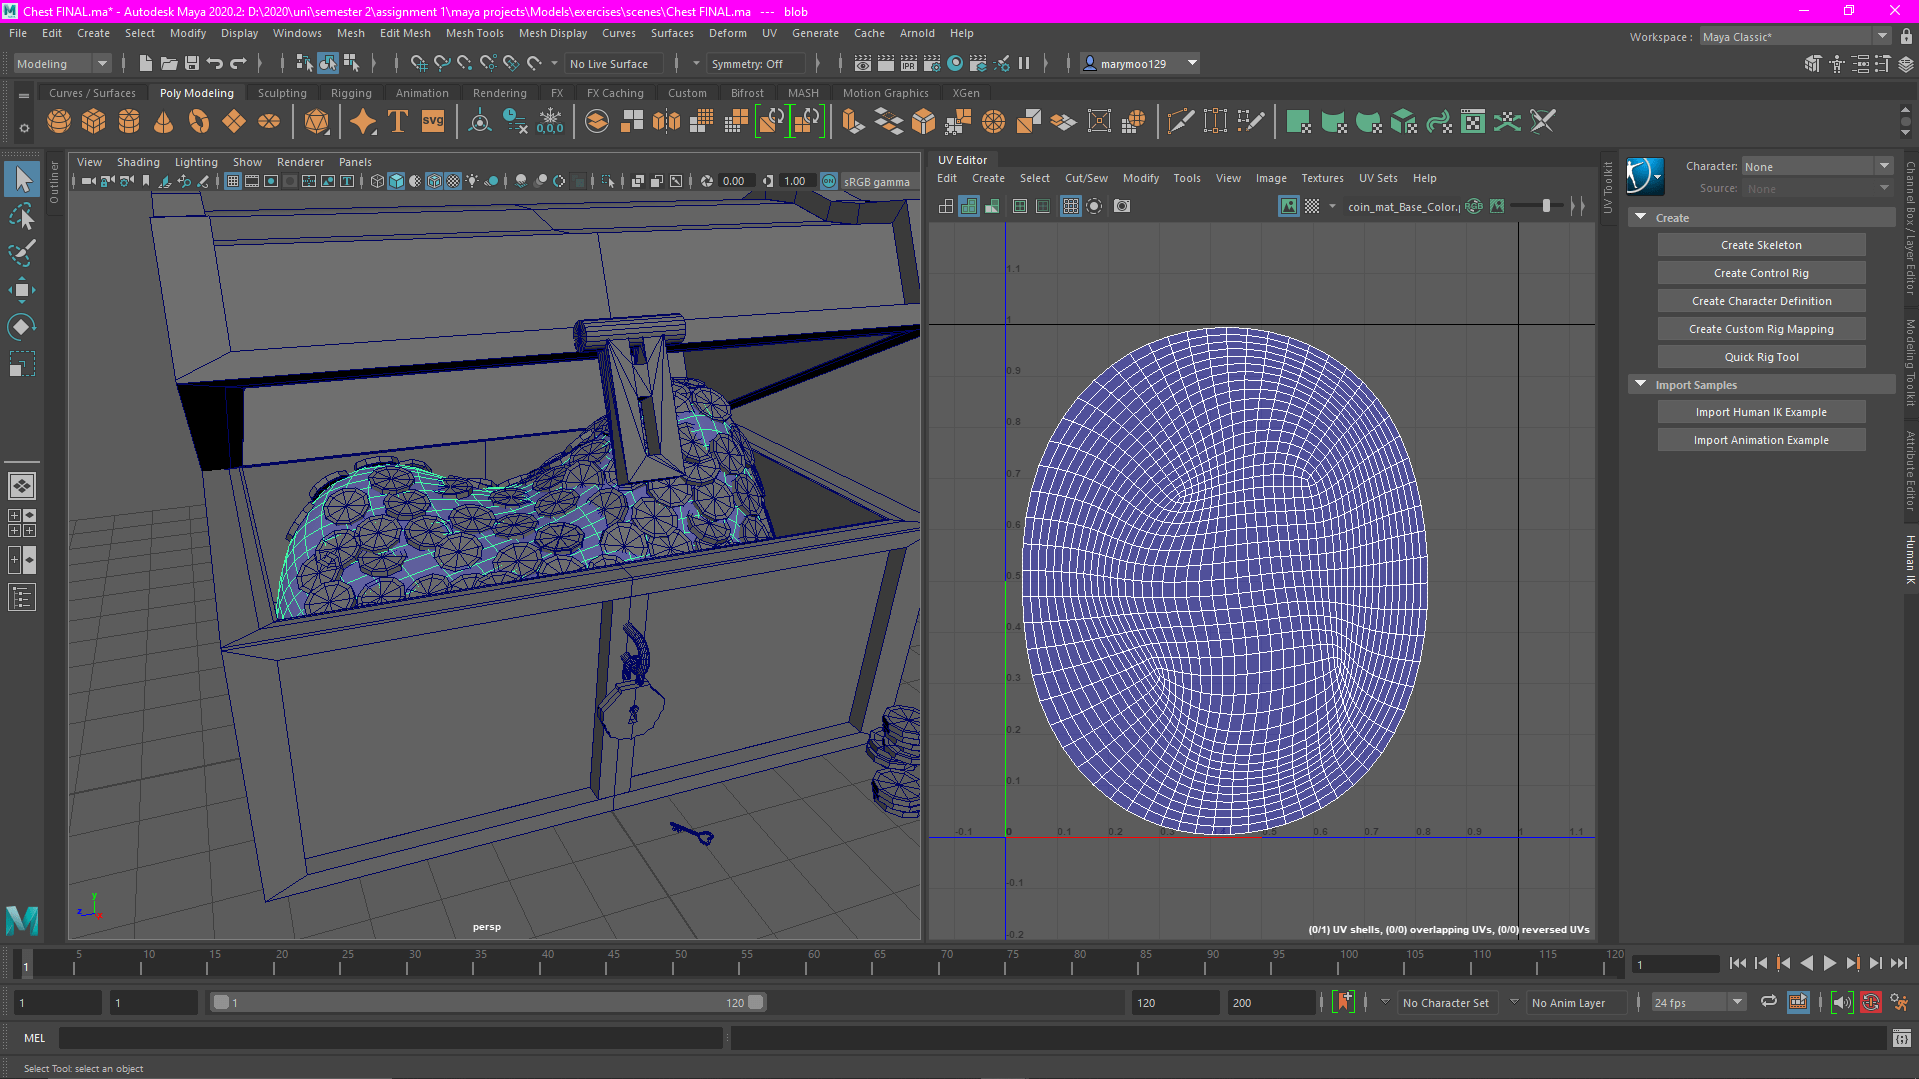
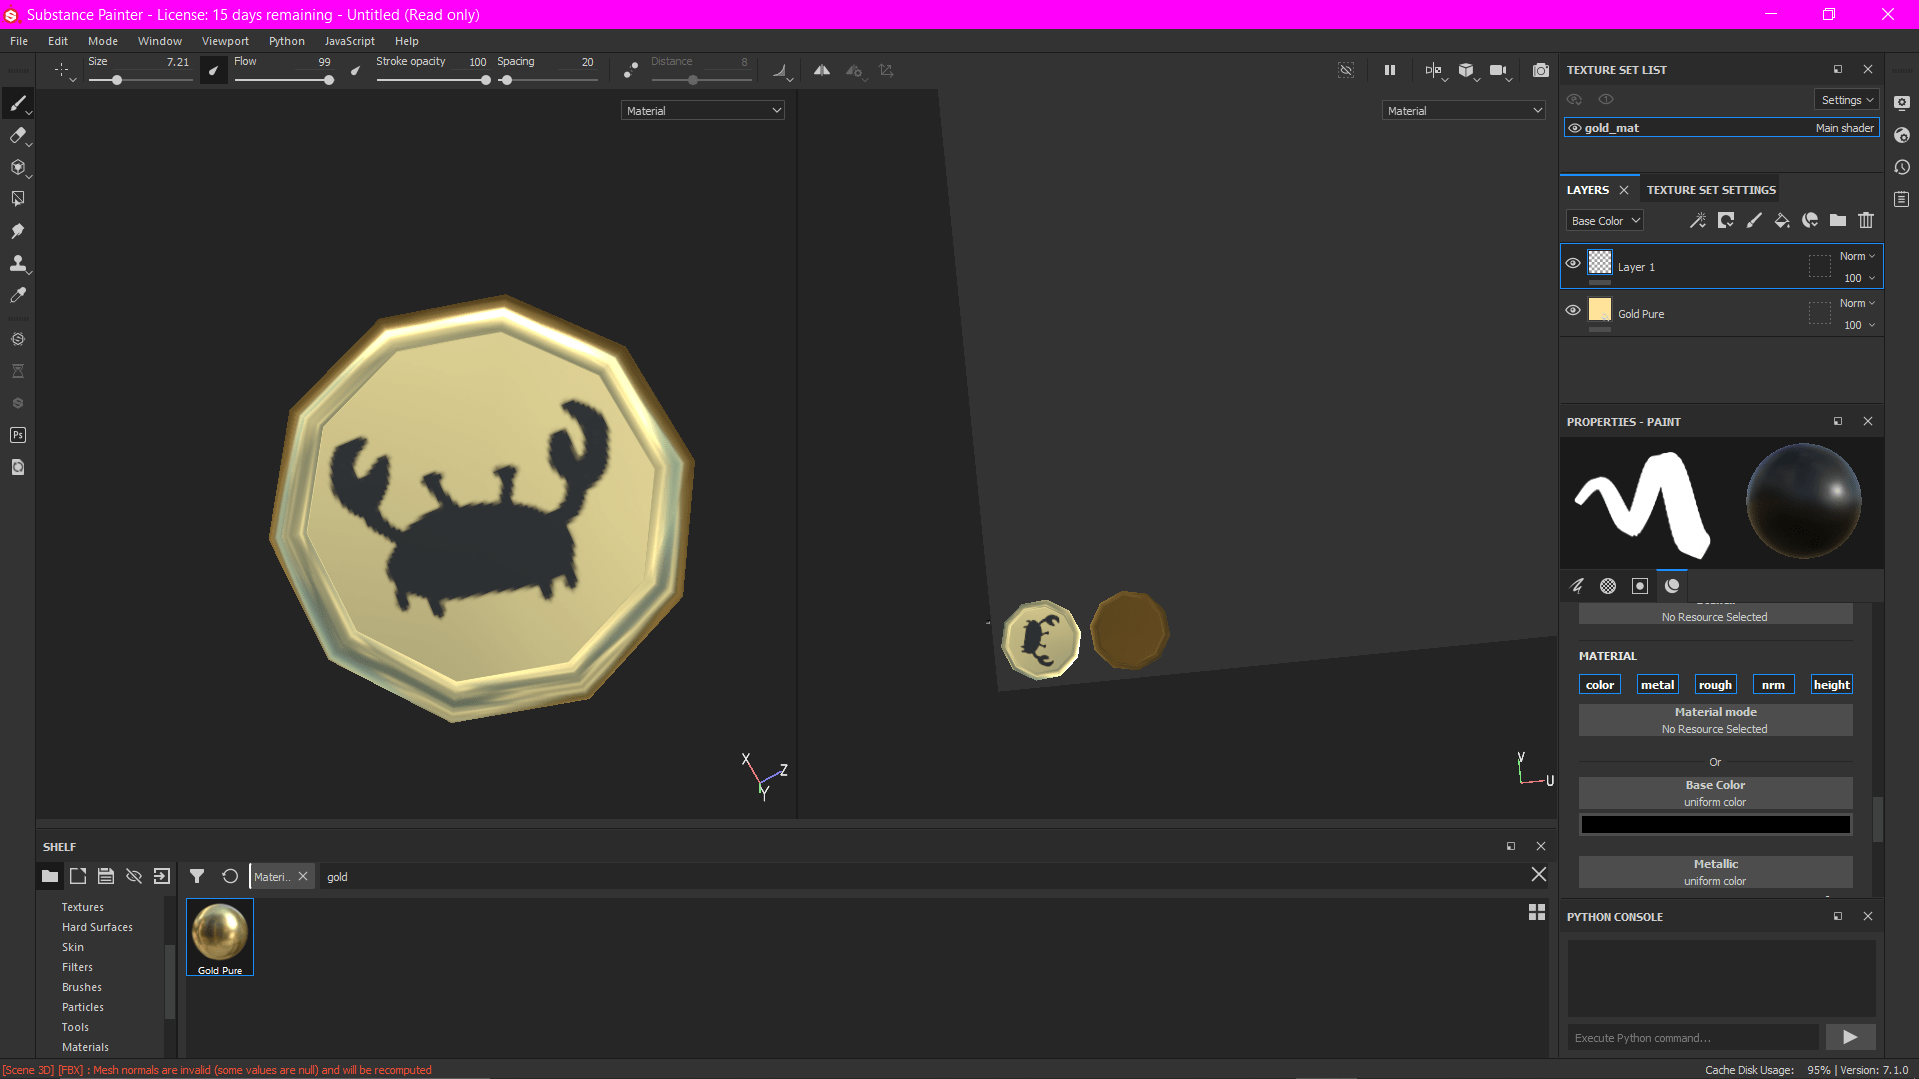
- Coins
4. Basic materials & textures
- Chest
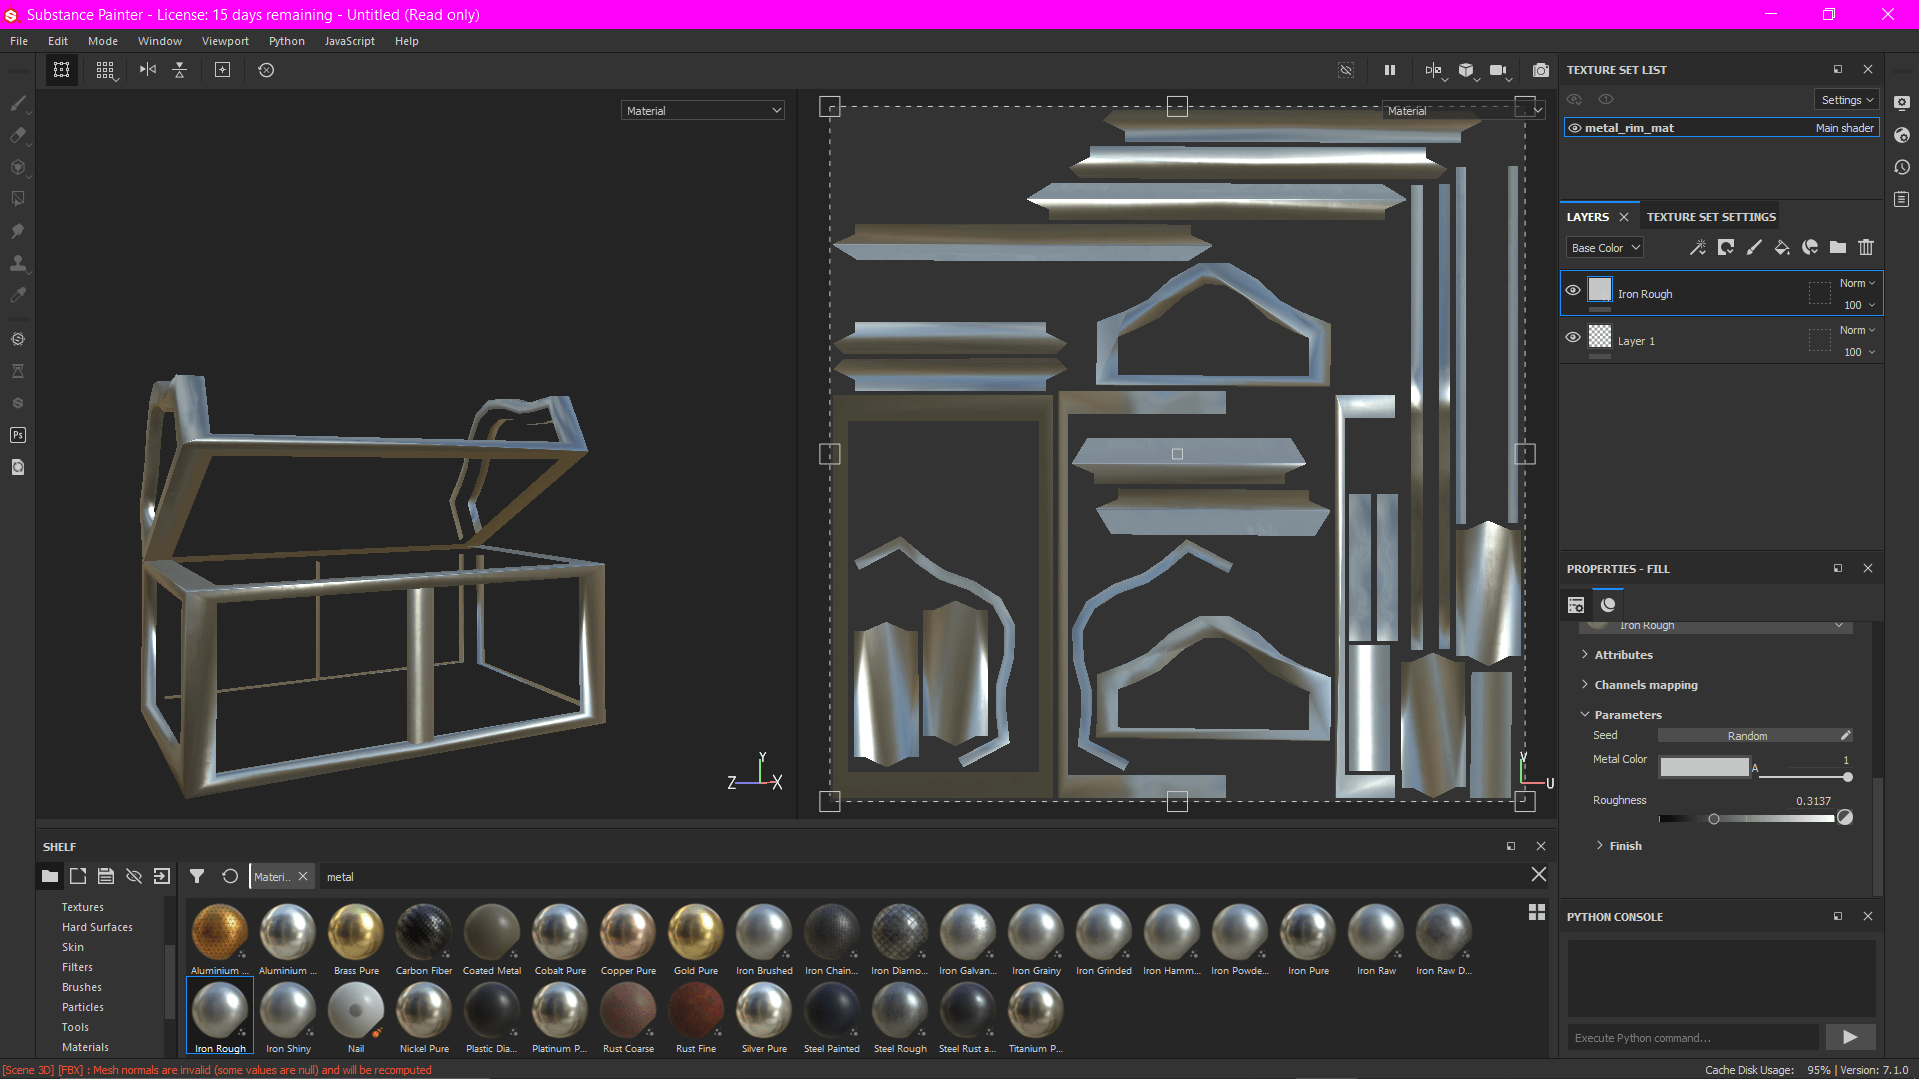

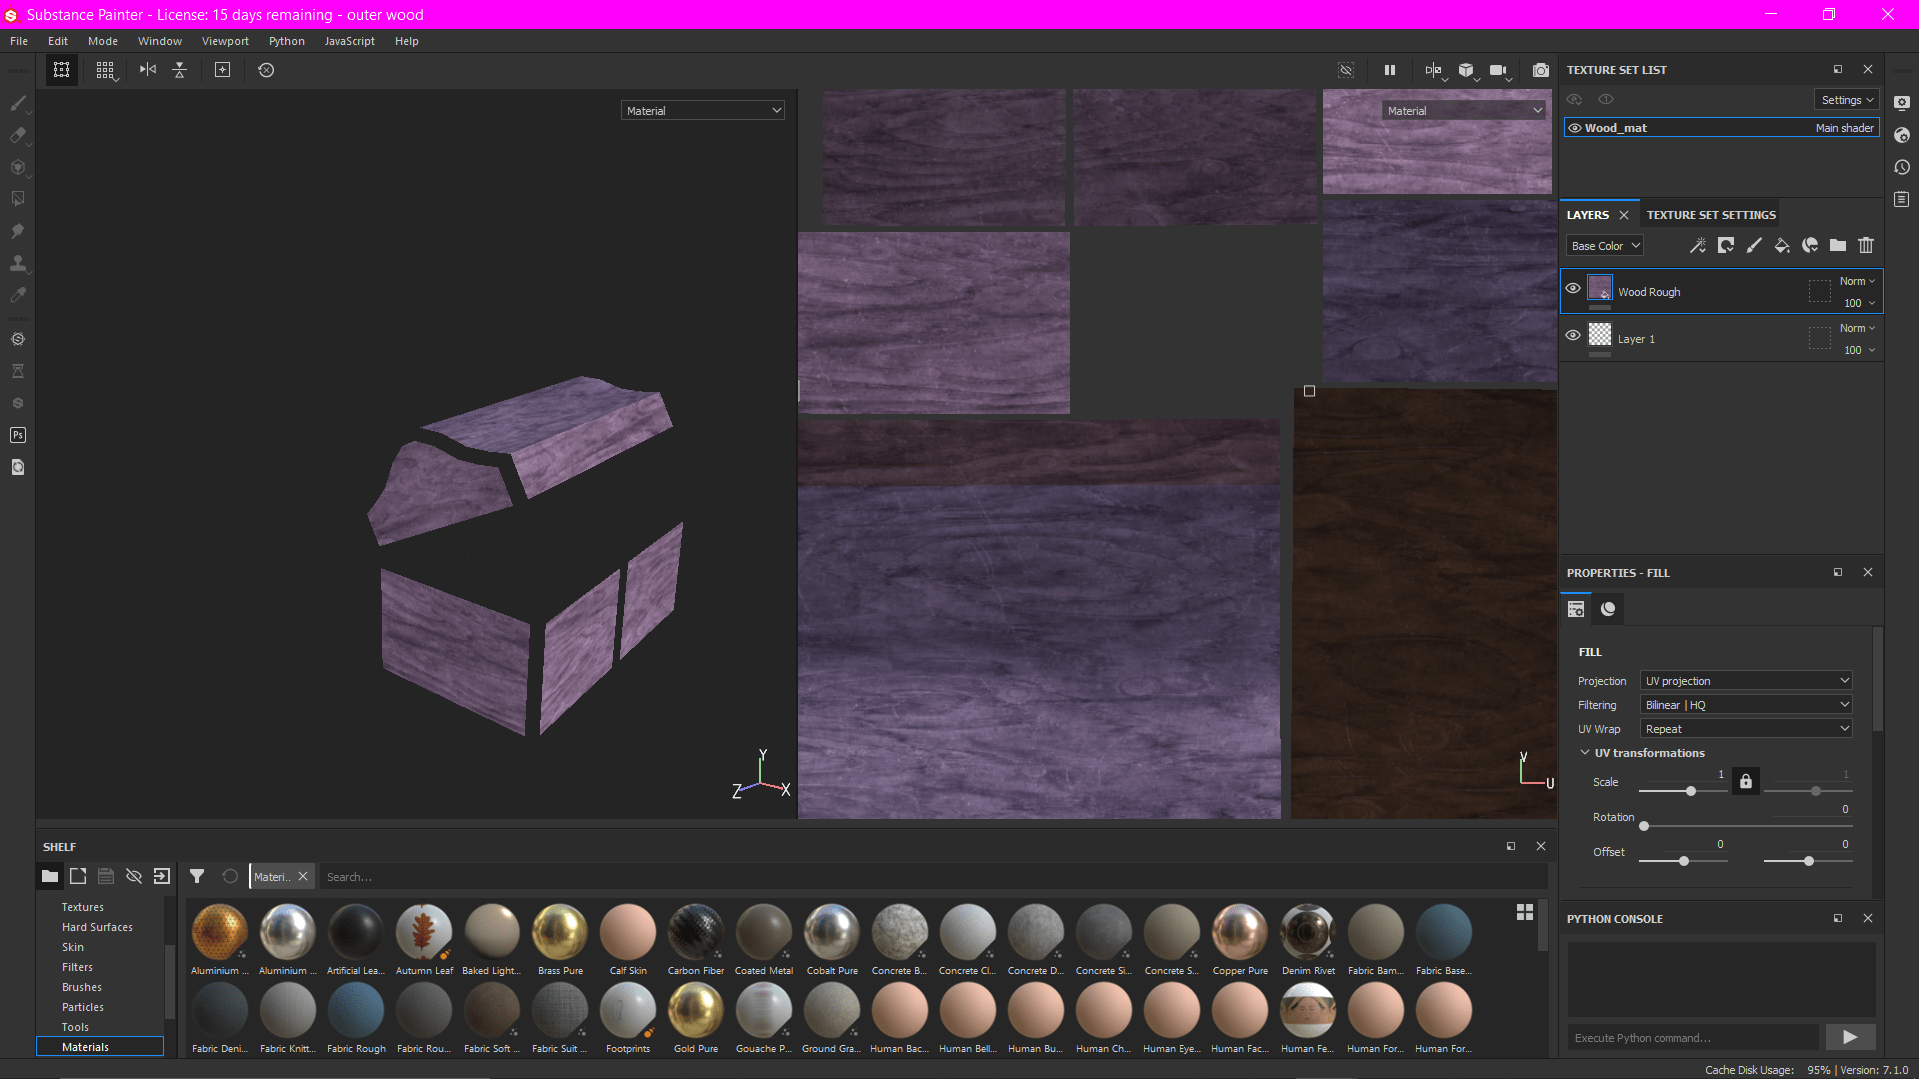
- Loop, Latch and Lock
- Key
- Sand
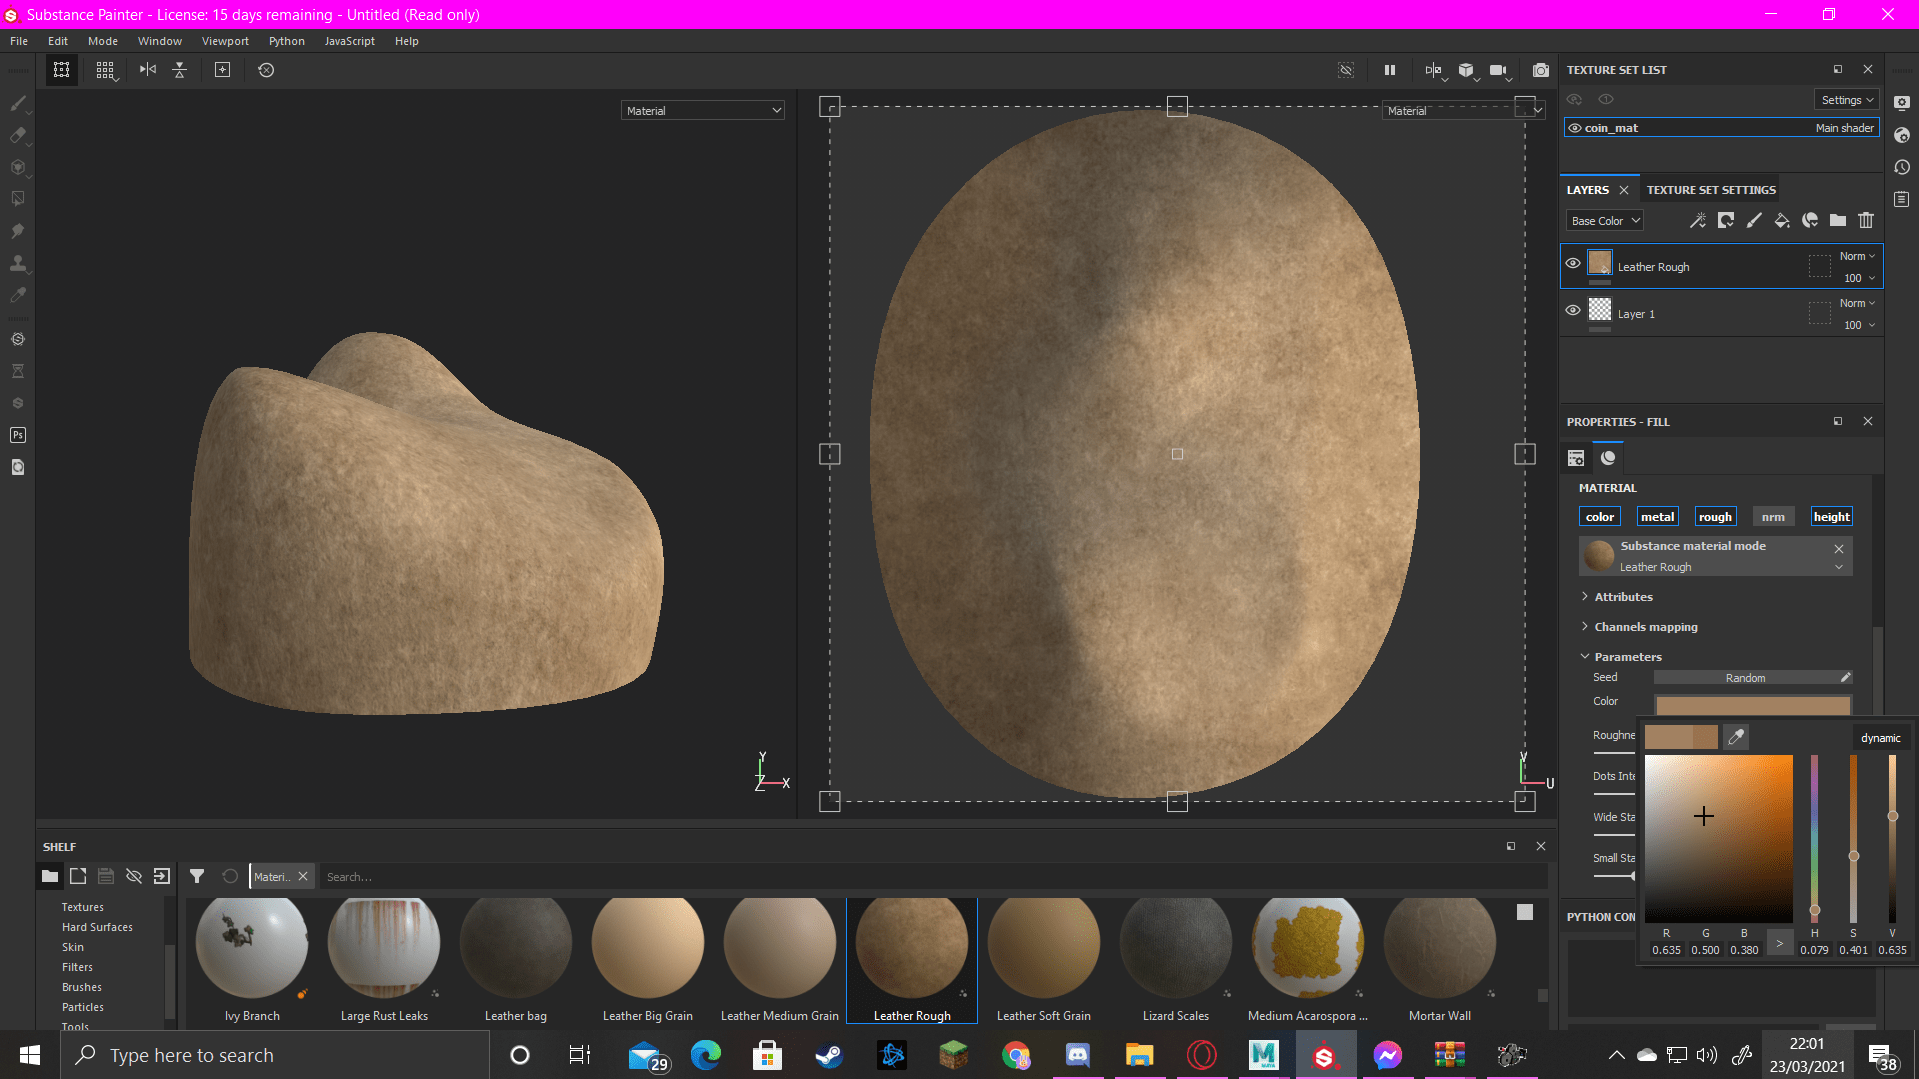
- Coins
5. Real-time rendering in Sketchfab
I used this YouTube tutorial for uploading my model to Sketchfab:
Reflection
I really enjoyed this assignment, it was really challenging but I learned so much from it. Unfortunately, I wasn’t able to achieve what I wanted overall in the final outcome but that was due to me underestimating the amount of time it would take. The biggest lesson I learned from this was the amount of time and commitment that goes into modelling/animation and I am definitely going to dedicate more of my time into working on my other assignments.
I’m still not 100% confident with UV mapping but I’m happy that I can now at least say I know what I’m doing! It was very helpful and reassuring that I was able to ask Alec for assistance with my mapping. I had also received some advice from a few classmates to help better my model.