Witch’s Staff
categories: Uncategorized
I found UV mapping my staff to be very daunting, at first and was absolutely dreading it – but towards the end, I became much more comfortable with it.
To create the UV map for my staff, I took each piece and created a camera based image.

I then cut it along areas I thought would be appropriate.

Then I unfolded after cutting.
And then layout.

For this part of the staff in particular, I realised I would need to make more cuts, So I started it again and added some more cuts. This time, I ended up with some strange overlap, which I could easily fix by adjusting the vertices.


I pretty much just repeated this process for every part of my staff. For some more complex objects I was unsure how to go about, I made an automatic UV map to see what the computer would do. I found the automatic ones always had too many cuts and little pieces, but were a good guide for more complex shapes such as the bat wings for when I got stuck.
My UVS ended up looking something similar to this. (I made some minor adjustments later.)
Next, I moved my staff into Substance painter.
For the rod of the staff, I used a metallic purple texture.

I was struggling a bit texturing the gemstones to actually look like gemstones and not just shiny, low poly bits of metal. After some experimentation, I found that making them more reflective and lowering the opacity achieved this look.


I gave the bat wings a dark purple textured look, and for the gold accents I simply used the gold texture available in Substance and adjusted the colour. After this, my textures were ready to export.

I first uploaded my model to my sketchfab account. The first time I uploaded it, the rod came out black. I had no idea why.

I still don’t know why it happened, because I didn’t really change anything the second time I uploaded it.

It just works
I then loaded my textures into Maya.
Because Arnold would not work on my PC, I loaded in my textures by exporting them as 2D in Substance attaching each texture to its respective object manually.
I’ll be adjusting the textures once again in Arnold once I have some time on the college PCs. But for the most part, that’s my staff finally done!!
Here is the sketchfab link to my final 3D rendered model.
Overall I learned a lot from making this staff. I really put into practice some of the techniques I learned in class and from homework exercises – I found sweep meshes in particular to be really useful for my model, given all the small curvy ornaments I had. I also learned a lot of new techniques, such as symmetry and the use of instances. The fact that I can make objects live in order to snap vertices and objects to them was another great thing I learned while making this – while I didn’t end up using this technique for the orb in the end, I still used the techniques to snap some of the other objects to the staff and adjust their placement.
I also (mostly) got over my fear of UV mapping – once I got into the rhythm of unwrapping my objects and laying them out, it didn’t seem so bad. I’ll probably take that back in the future though. I also learned some new little tricks for painting textures, such as the use of transparency for the outer orb and reflection for the gems. If I were to go back and do things differently, I would probably adjust the wings slightly. I’d like to make them curve a bit, or add golden bones/joints to make them look more like natural wings.
Overall though, I was happy with how my witch’s staff came out – It really came together after adding all the textures and find it hard to believe it’s something I actually made. I’d like to try challenge myself to make one of the other staffs I designed if I ever have the time.
To create the golden piece on the front of the staff, I created a sphere and flattened it + adjusted the vertices to get the shape I wanted.
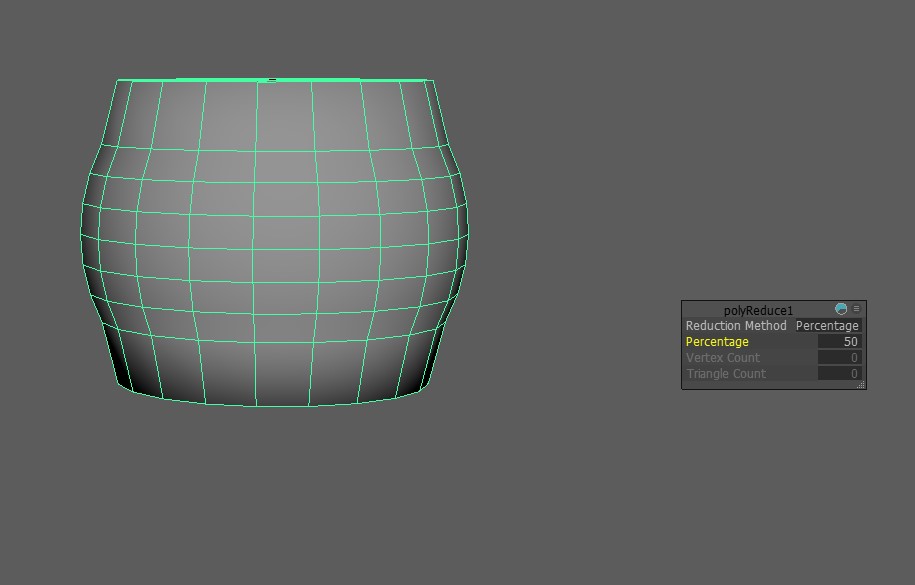
For the heart shapes, I got a sphere and lowered the subdivisions. The heart shaped gems have less subdivisions, to make them seem like a cut gem. The golden hearts have been smoothed.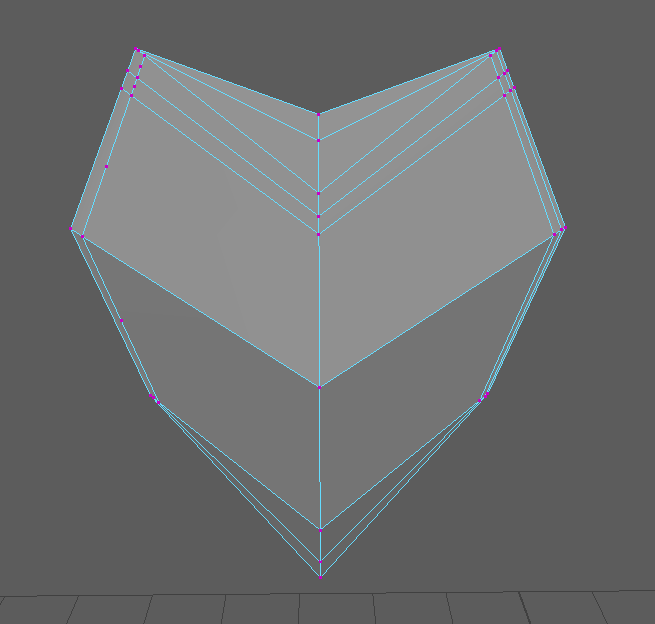


For the small golden curls decorating my staff, I used curves and sweep meshed to create them. I made an instance of each curl so I could make my adjustments carry over on both sides and have my staff symmetrical.

For the golden wraparound on my staff, I cut a line along my staff where I wanted it to be. I selected the edges I created and converted those edges to curves, then used a sweep mesh to create it.

For my batwings, when getting advice from my lecturer, I found the flat surface of my wings had no polys. I had to make cuts on the surface to create polys. However, when I smoothed my wings after creating those polys, I ended up with this mess. 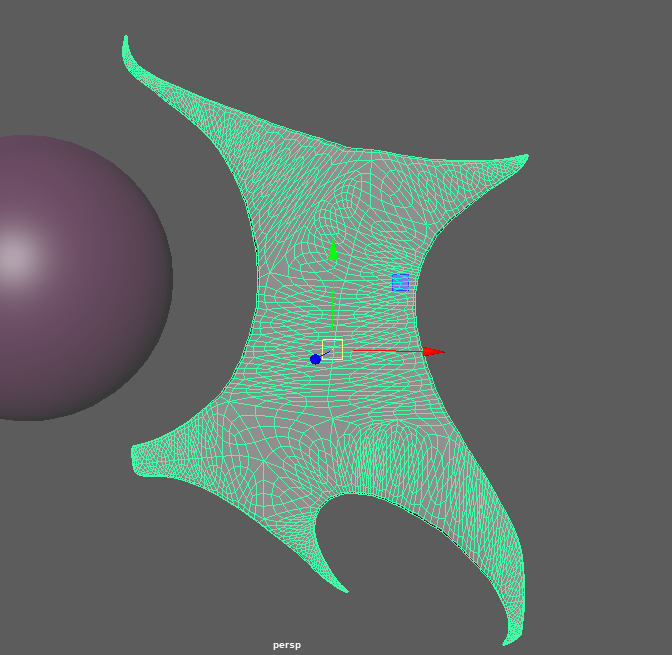
The wings also looked weird and wrinkled.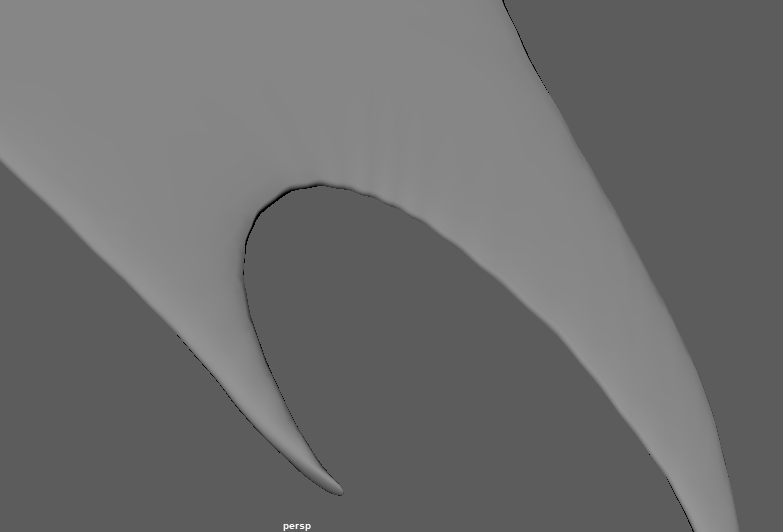
My new mesh ended up looking mush better. One of the problems I was having was that I was getting 3 sided polys instead of quads at the tips of the wings. To solve this I added two vertices really close together instead of having one at each tip.
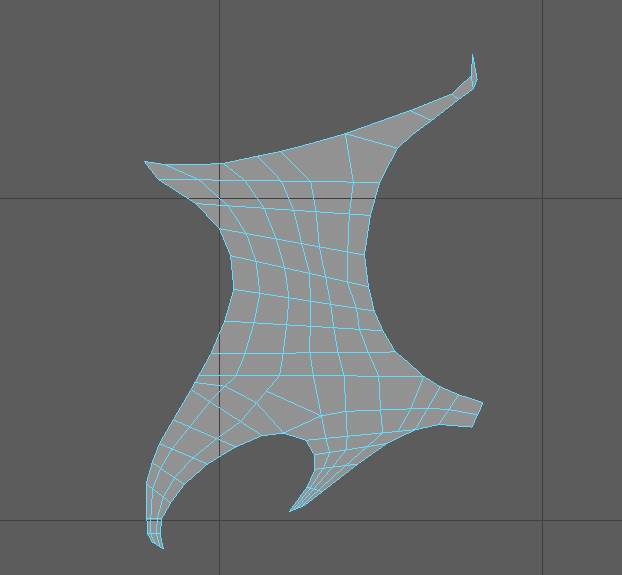
I made the other wing an instance so anything I did with the first wing would carry over.

I did the same for the set of smaller wings on the staff.
The cross on the top of the staff gave me quite a bit of trouble.
First, I traced over half of my cross and added polys.

Then I mirrored this and extruded both sides.
I kept having an issue where I was unable to merge both sides and kept ending up with a small gap in the middle.
I had to get help from my lecturers & go back and fix the polys to fix it.
To attach the cross to the orb, I initially planned to make the sphere a live object and wrap it around it that way.

This method ended up being time consuming, as the only way to make it look nice was to rotate and move each vertex individually, and I just wasn’t able to make it look natural. It took me quite a few failed attempts before I decided to try something else.
After some research online, I found a way to use bend handles to morph my object.

I duplicated my orb and used bend handles to morph my cross around the orb. I did some minor adjusting of the left and right sides of the cross to make it wrap around more neatly.
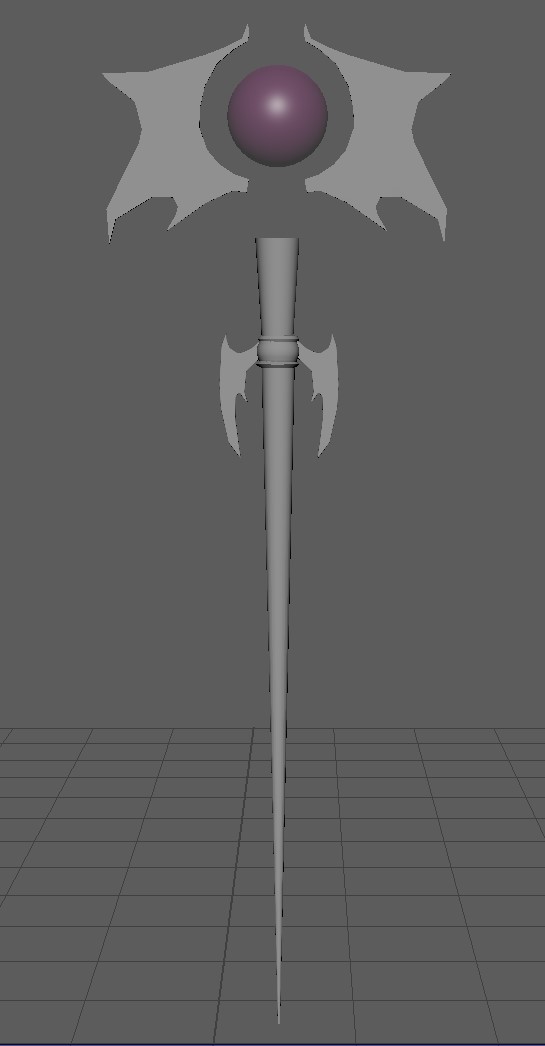
Once I finally completed the cross, my staff model was complete!

For my 3D project, I decided I would create a magic staff.
I drew a lot of inspiration from the magic staffs and weapons I would see in Magical Girl anime I used to watch while growing up. I created a PureRef board with some pictures of staffs and weapons to inspire my ideas.
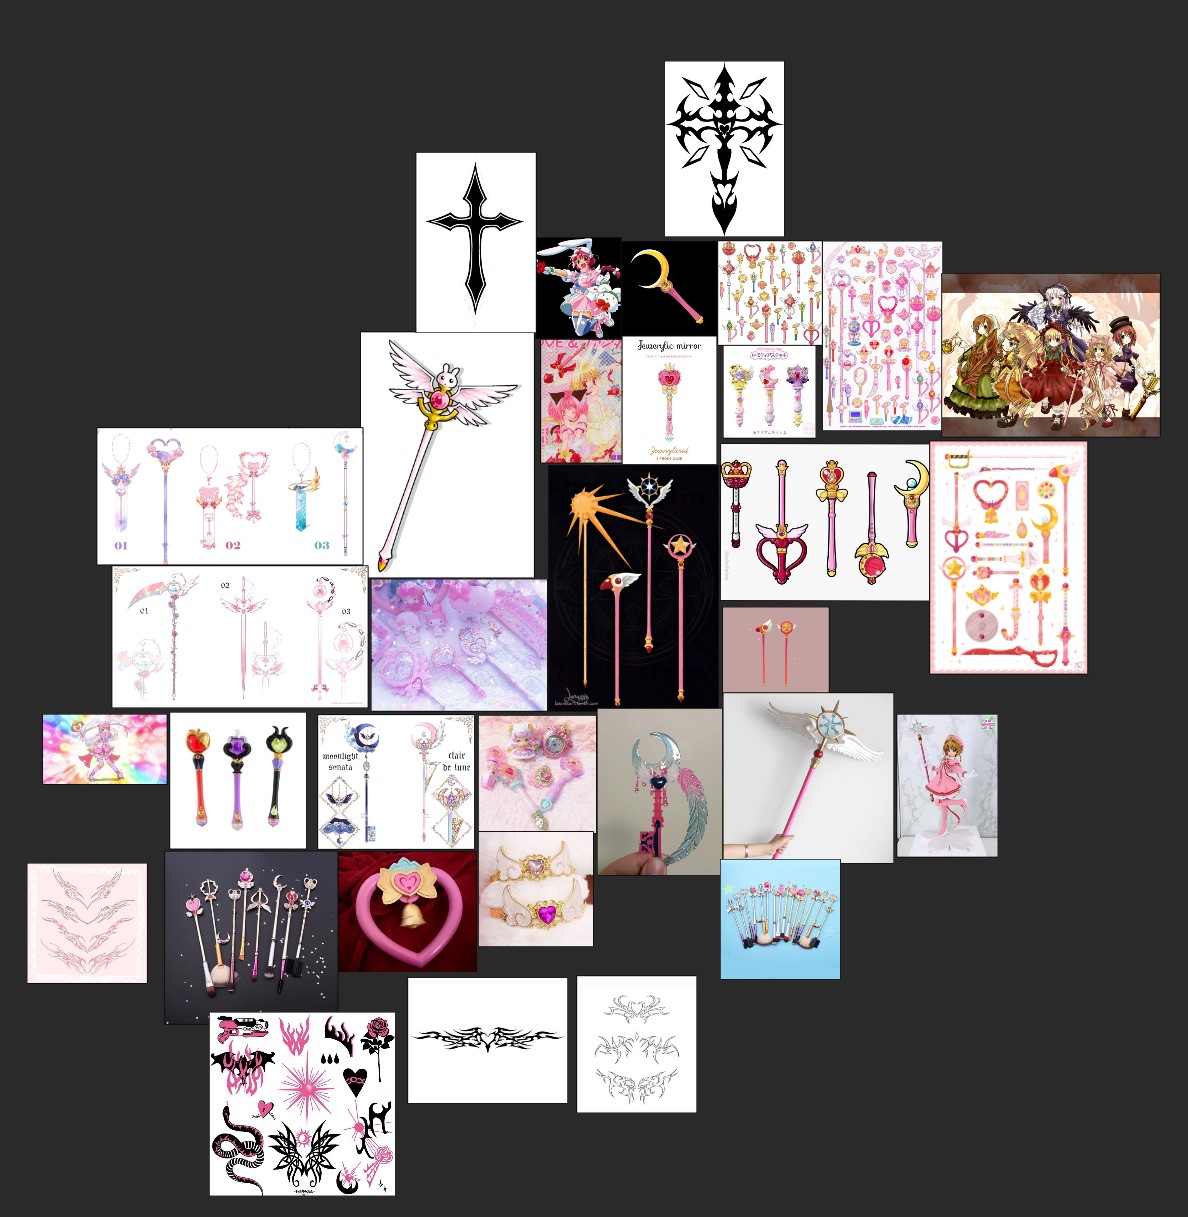 Magical girl staffs usually have cute motifs such as wings and hearts. I wanted to make my staff more of a witch’s staff, so I have some more gothic motifs here, such as crosses.
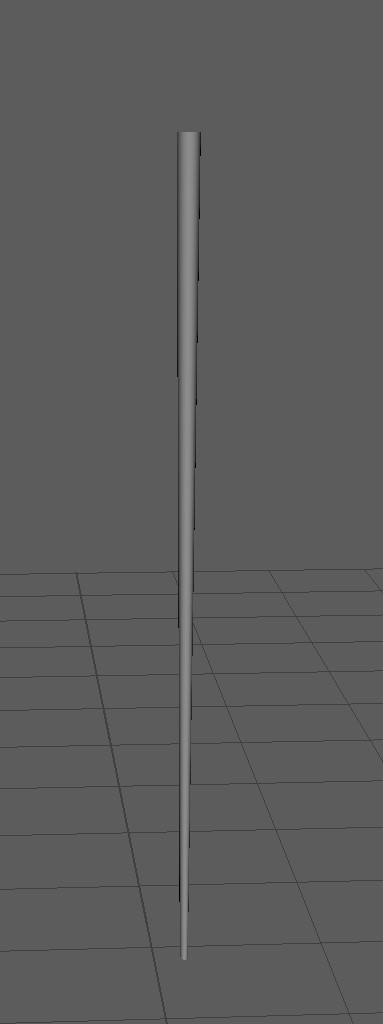
My staff started off as a simple cone, stretched and resized to mimic the one in my drawing.
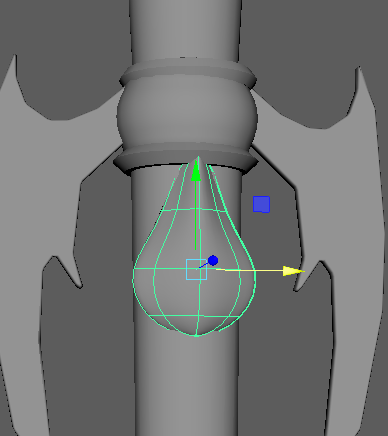
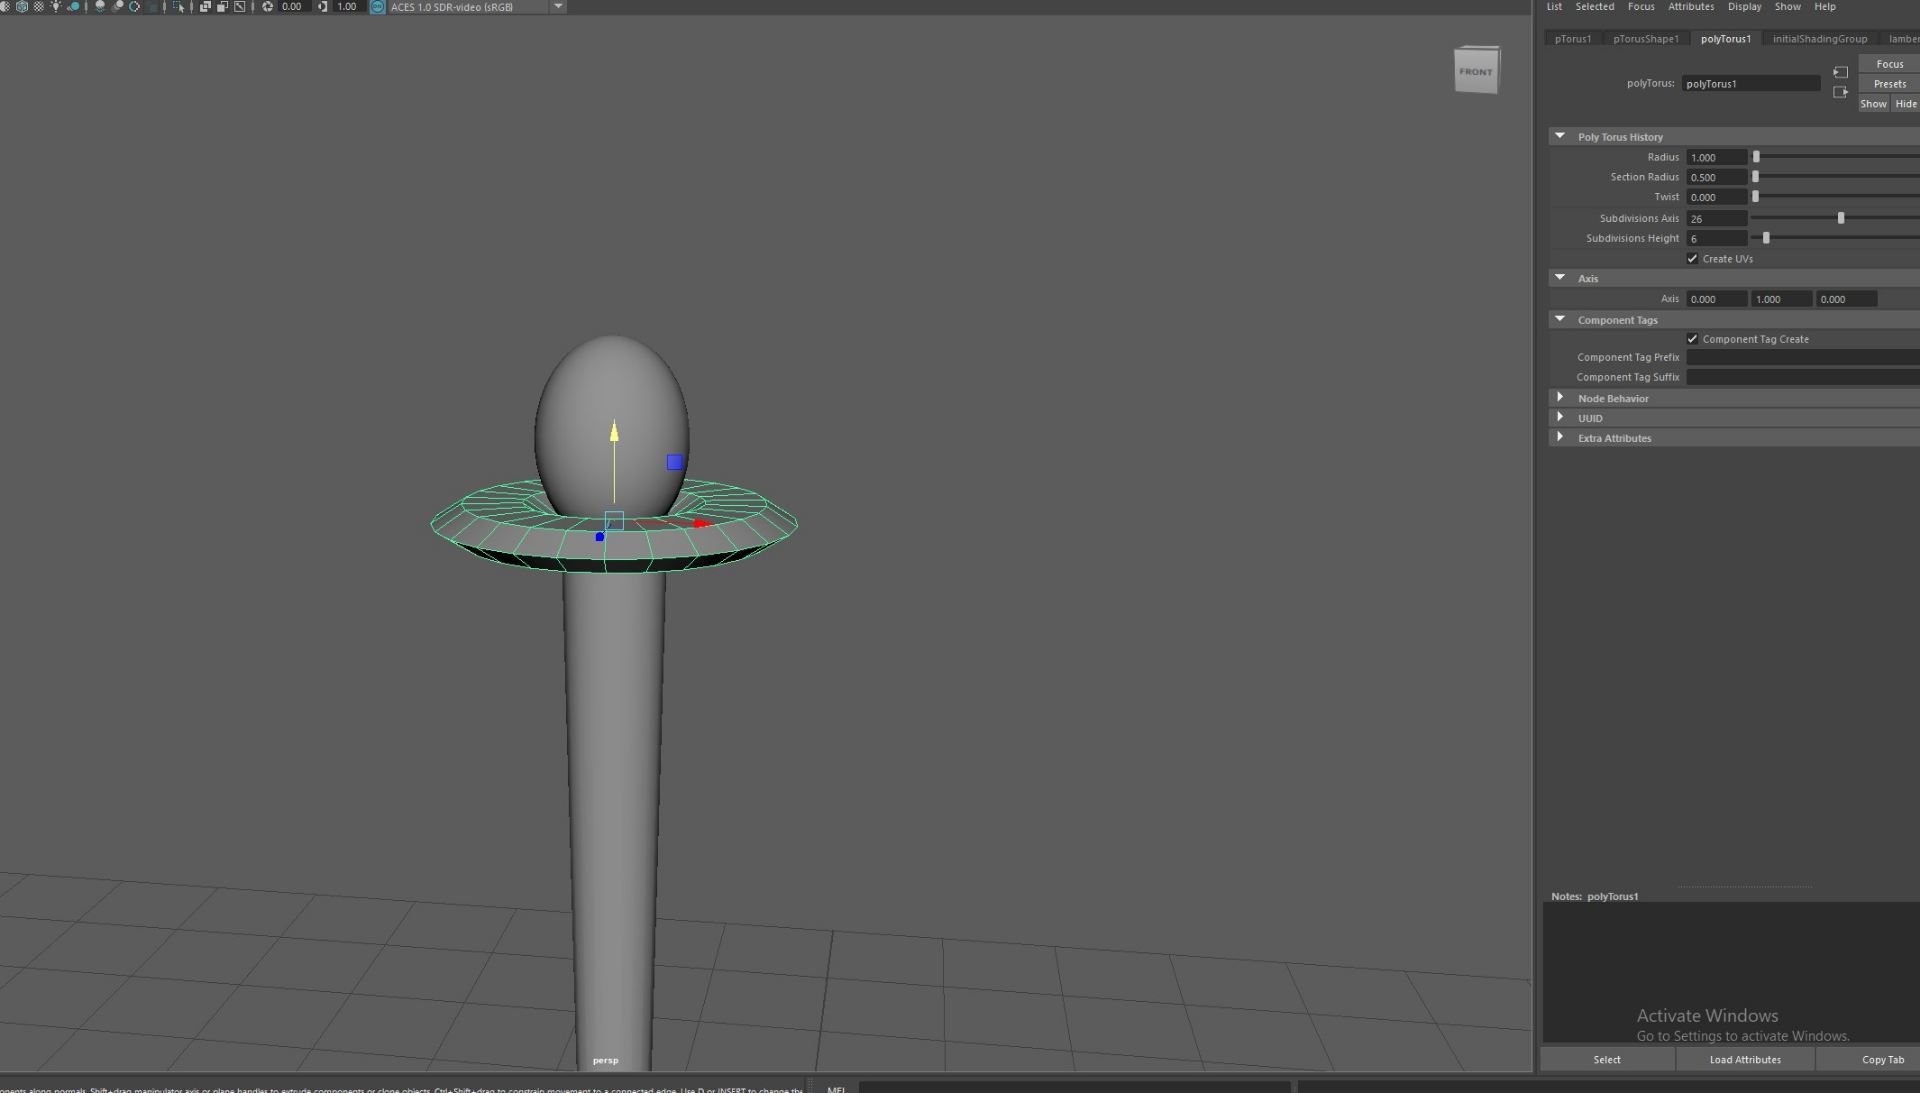
I had a bit of trouble with modeling this part in the center which looks a bit like a squashed sphere. I had to create a shape that was mostly round, but had straight edges where it met the gold. I used a simple beveled ring for the gold rings.

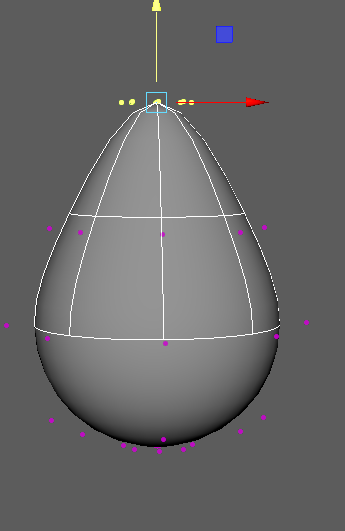
I found squashing a regular sphere didn’t give me the effect that I wanted.
 I cut some faces off both the top and bottom of the sphere.
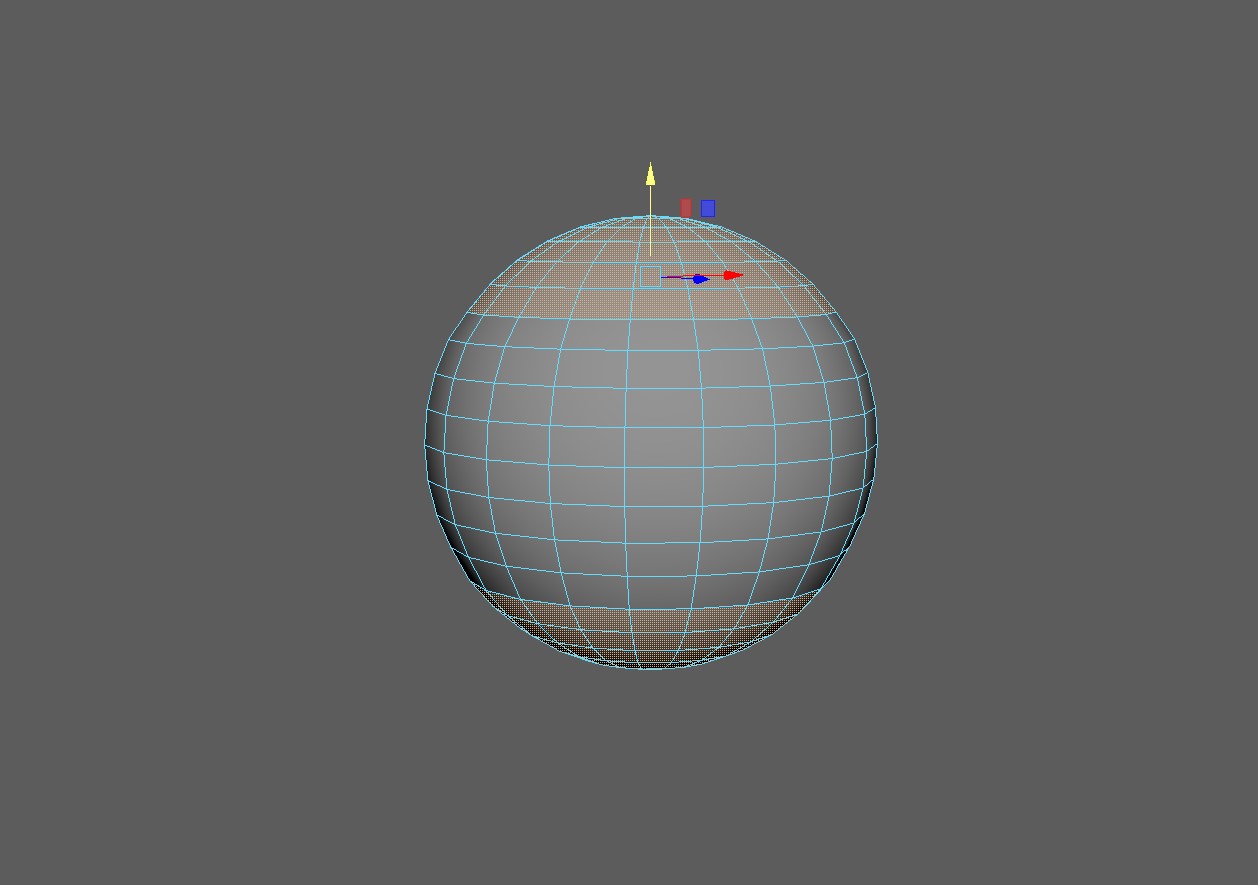 I modified its shape a bit, using symmetry to assure the bottom was the same as the top, and filled in the holes. This shape was much closer to what I was looking for.
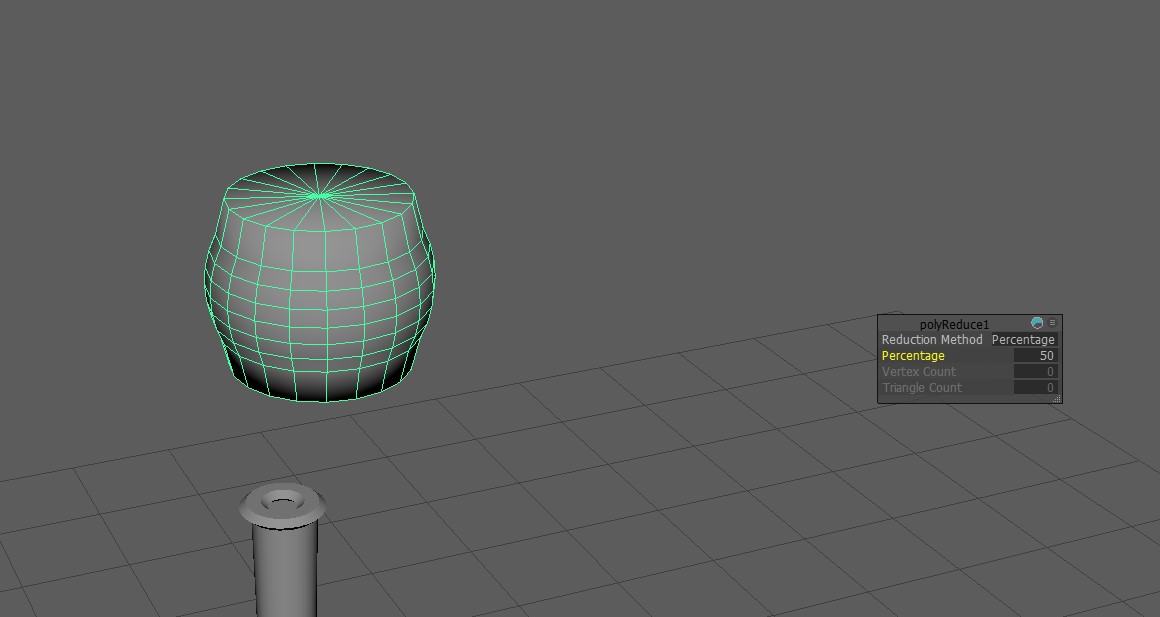
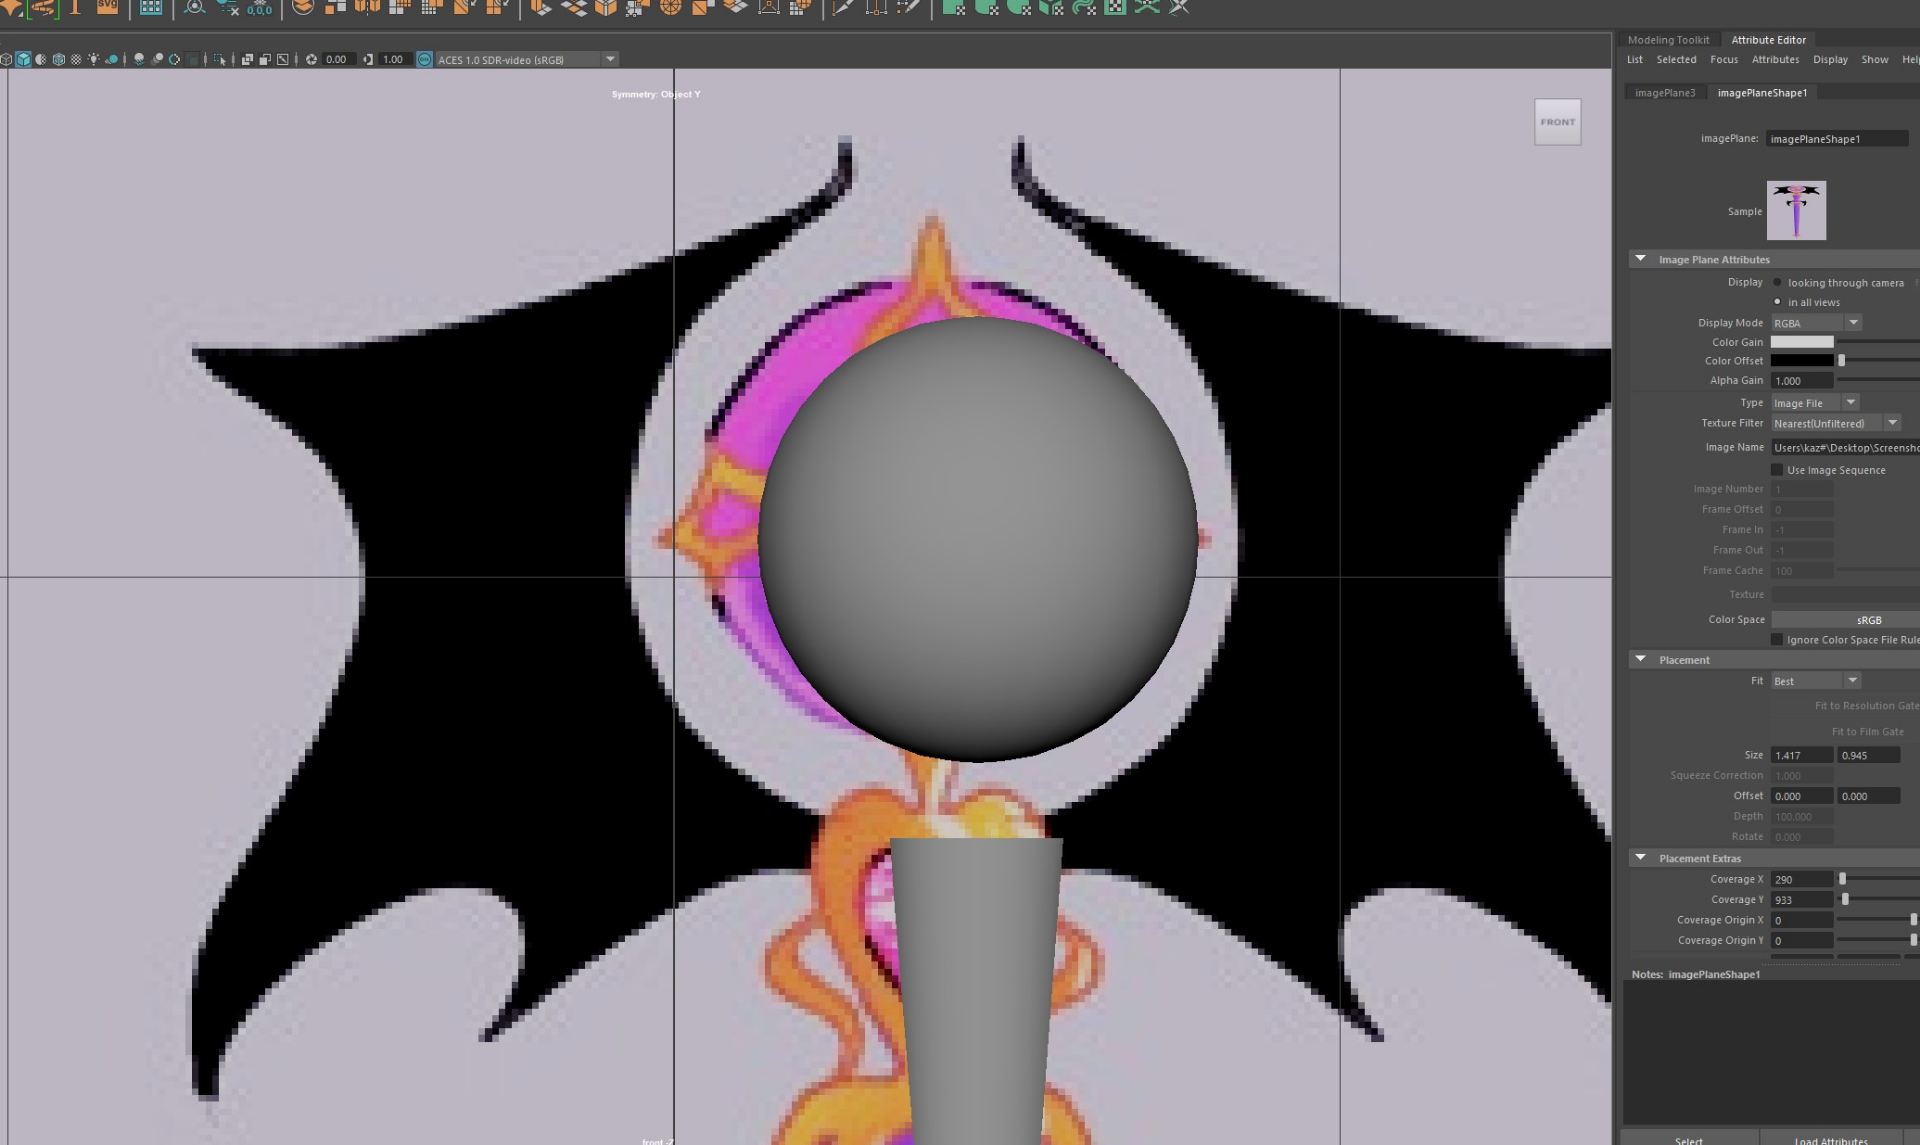
Modelling the bat wings was something I was unsure of, so I looked up a youtube tutorial on modelling custom shapes. I imported my drawing to Maya to trace over using the Create Polygons tool.
 Once my shape was created, it was totally flat.
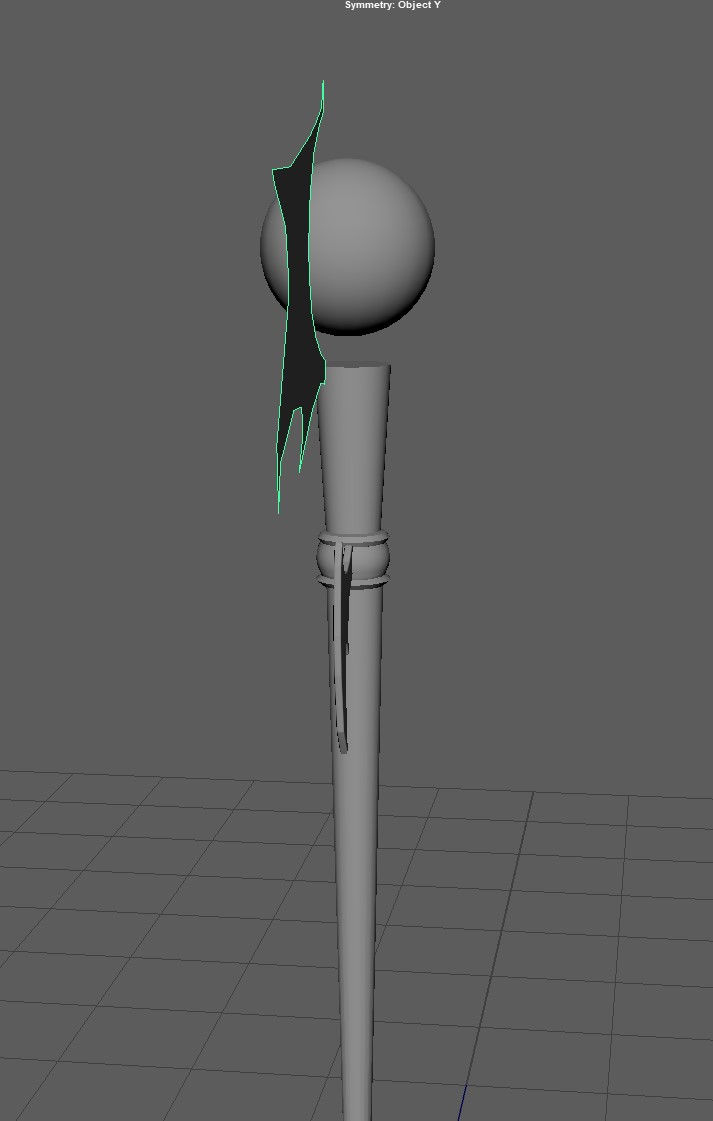 I extruded the shape to make it more 3 dimensional. I also beveled the edges to make the wings appear slightly rounded.
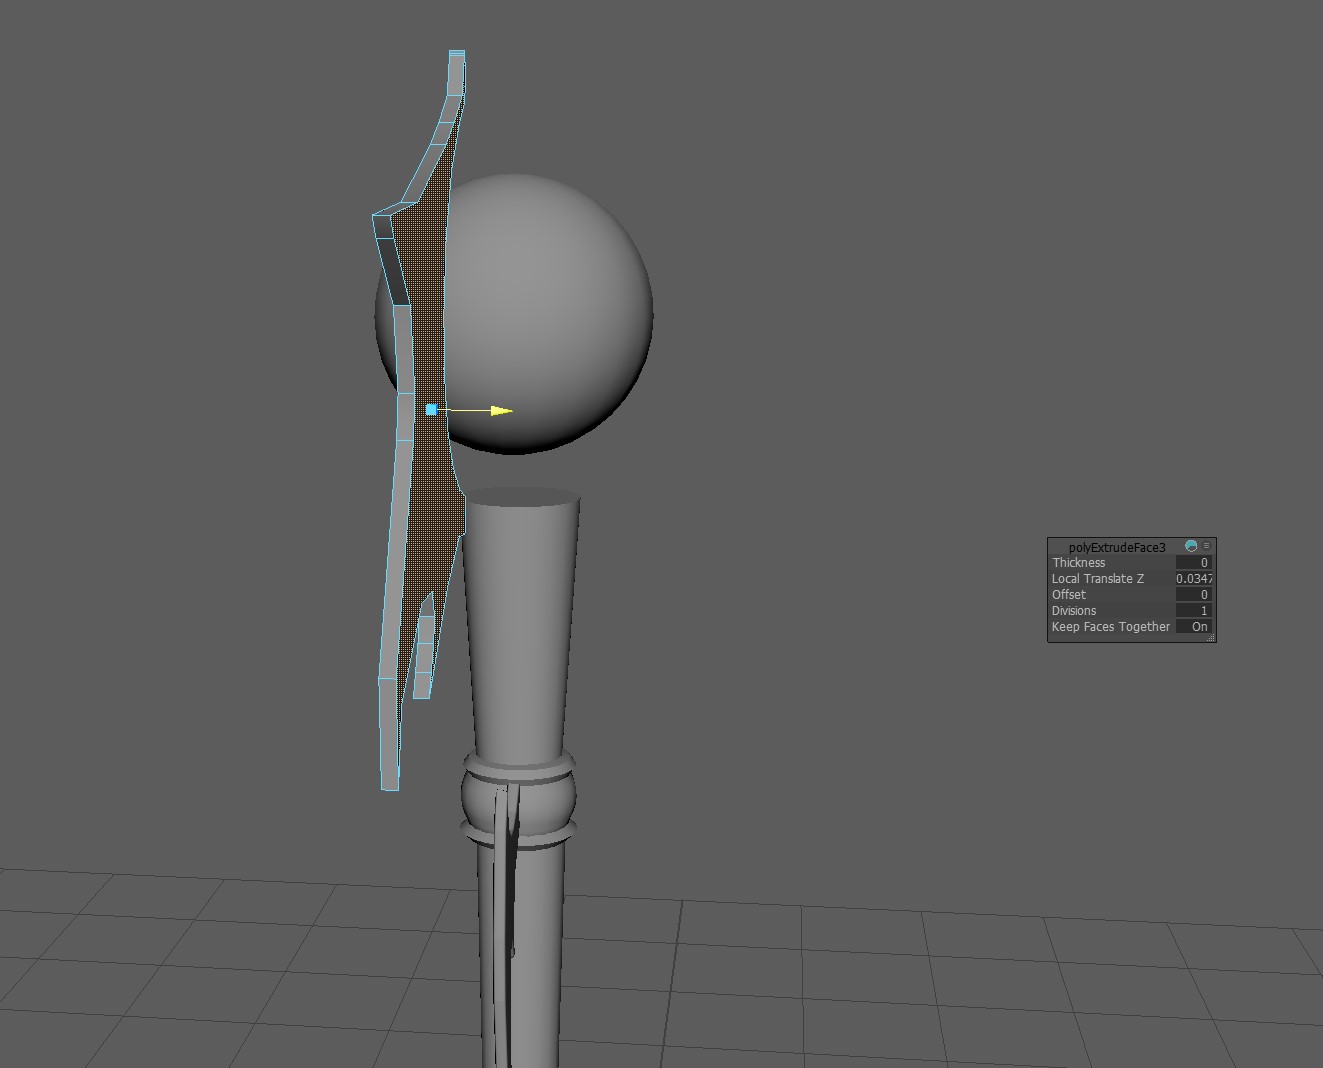
Once I had my basic shapes down, here was the bare bones of my staff. The bat wings were a little bit more rigid than I wanted, however I couldn’t figure out how to curve the edges.
My next step will be the gold embellishments on the top and bottom of the staff, and then the jewels.