Mar
2022
Witch’s Staff – Progress 2
To create the golden piece on the front of the staff, I created a sphere and flattened it + adjusted the vertices to get the shape I wanted.
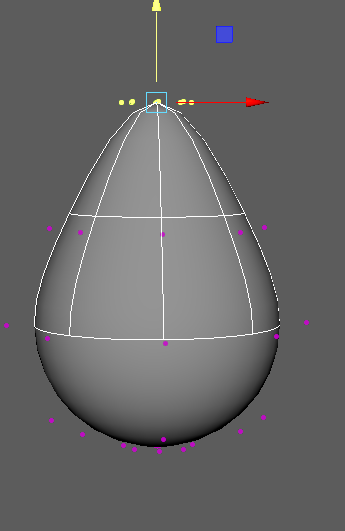
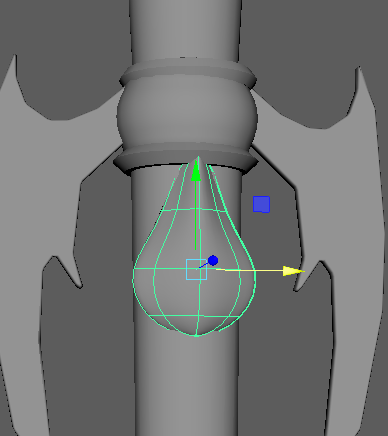
For the heart shapes, I got a sphere and lowered the subdivisions. The heart shaped gems have less subdivisions, to make them seem like a cut gem. The golden hearts have been smoothed.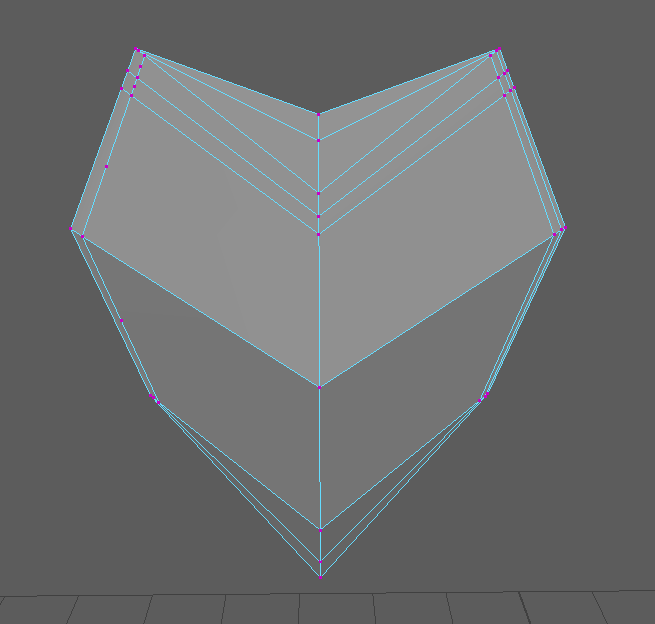


For the small golden curls decorating my staff, I used curves and sweep meshed to create them. I made an instance of each curl so I could make my adjustments carry over on both sides and have my staff symmetrical.

For the golden wraparound on my staff, I cut a line along my staff where I wanted it to be. I selected the edges I created and converted those edges to curves, then used a sweep mesh to create it.

For my batwings, when getting advice from my lecturer, I found the flat surface of my wings had no polys. I had to make cuts on the surface to create polys. However, when I smoothed my wings after creating those polys, I ended up with this mess. 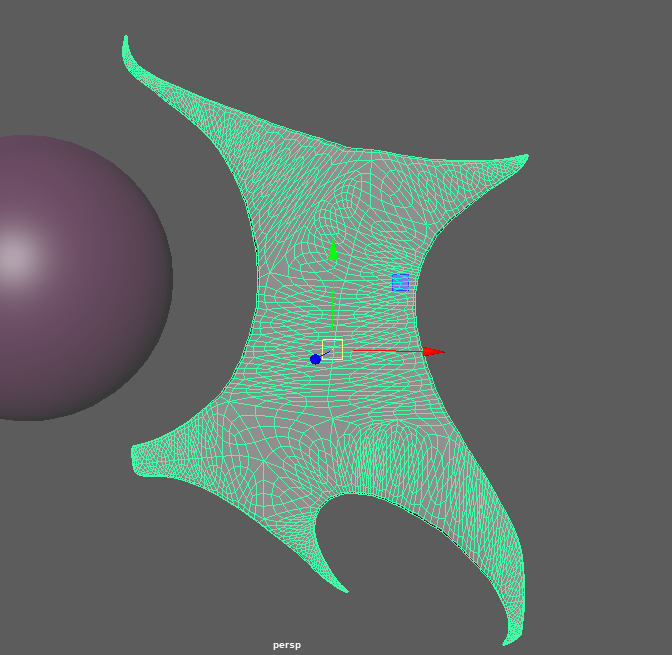
The wings also looked weird and wrinkled.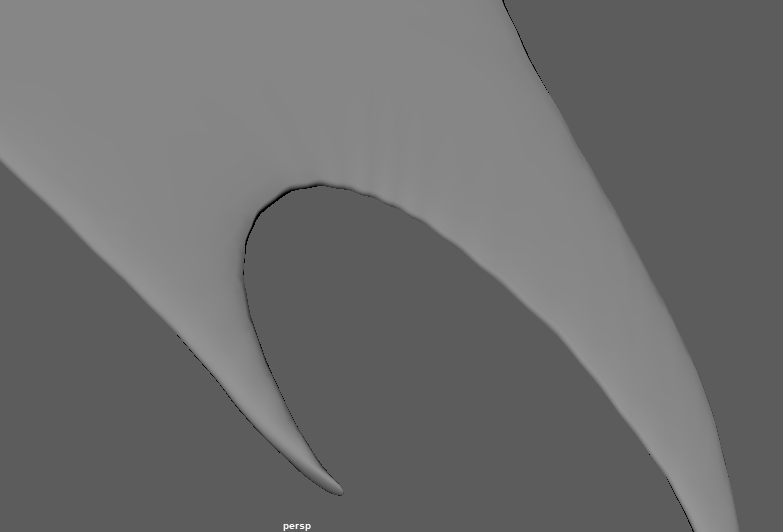
My new mesh ended up looking mush better. One of the problems I was having was that I was getting 3 sided polys instead of quads at the tips of the wings. To solve this I added two vertices really close together instead of having one at each tip.
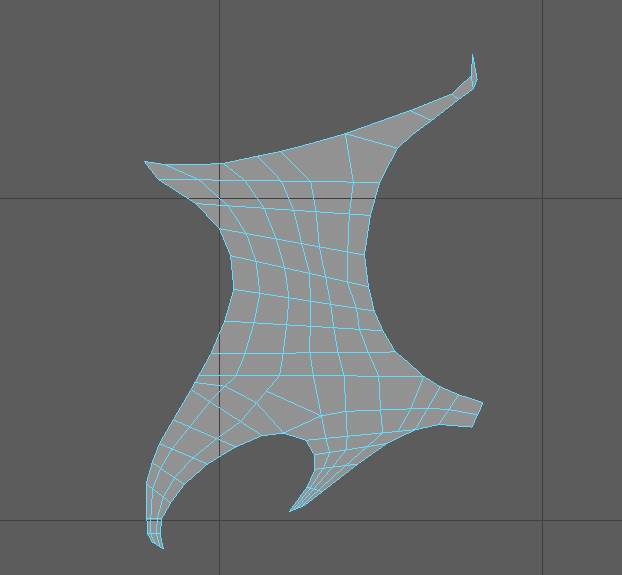
I made the other wing an instance so anything I did with the first wing would carry over.

I did the same for the set of smaller wings on the staff.
The cross on the top of the staff gave me quite a bit of trouble.
First, I traced over half of my cross and added polys.

Then I mirrored this and extruded both sides.
I kept having an issue where I was unable to merge both sides and kept ending up with a small gap in the middle.
I had to get help from my lecturers & go back and fix the polys to fix it.
To attach the cross to the orb, I initially planned to make the sphere a live object and wrap it around it that way.

This method ended up being time consuming, as the only way to make it look nice was to rotate and move each vertex individually, and I just wasn’t able to make it look natural. It took me quite a few failed attempts before I decided to try something else.
After some research online, I found a way to use bend handles to morph my object.

I duplicated my orb and used bend handles to morph my cross around the orb. I did some minor adjusting of the left and right sides of the cross to make it wrap around more neatly.
Once I finally completed the cross, my staff model was complete!
