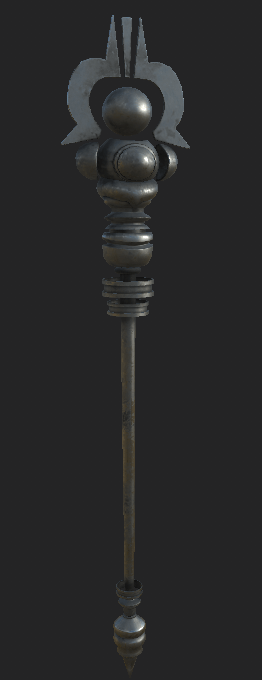
After finishing unwrapping my UVs for my model I was ready for it all to be textured in Substance painter so I froze the transformations on my model, made sure it was grouped, had its history deleted after that I exported the model as an FBX file and moved over to substance painter where I imported the model ready for it to be textured.
Research:
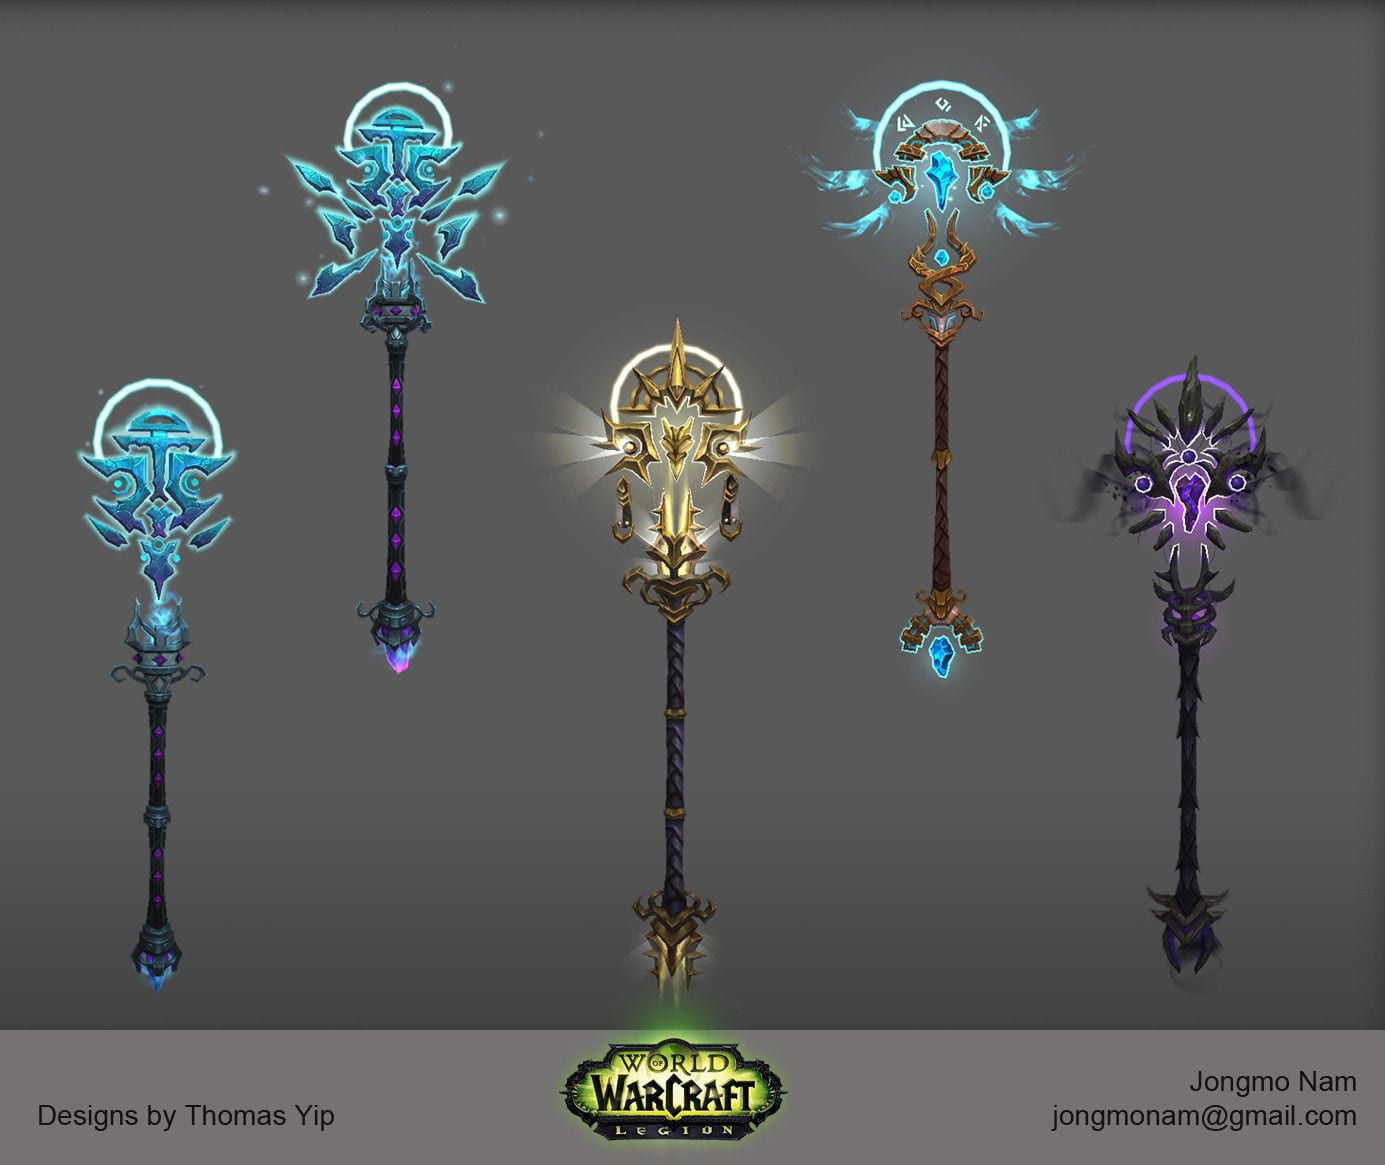
Before I began texturing my model I decided to go and do some research on different coloring schemes and or styles I could use for the staff. For that I looked up different games that have magic in them. At first I looked towards the game World of Warcraft as my initial inspiration the game has a wide verity of magic staffs with different kinds of magic users in them providing a lot of inspiration for color and style choices. However with some further thought I realized that the style the game has is a bit too animated and so I felt I should look for another source of inspiration due to the fact I wanted to work with the smart materials Substance Painter provides.
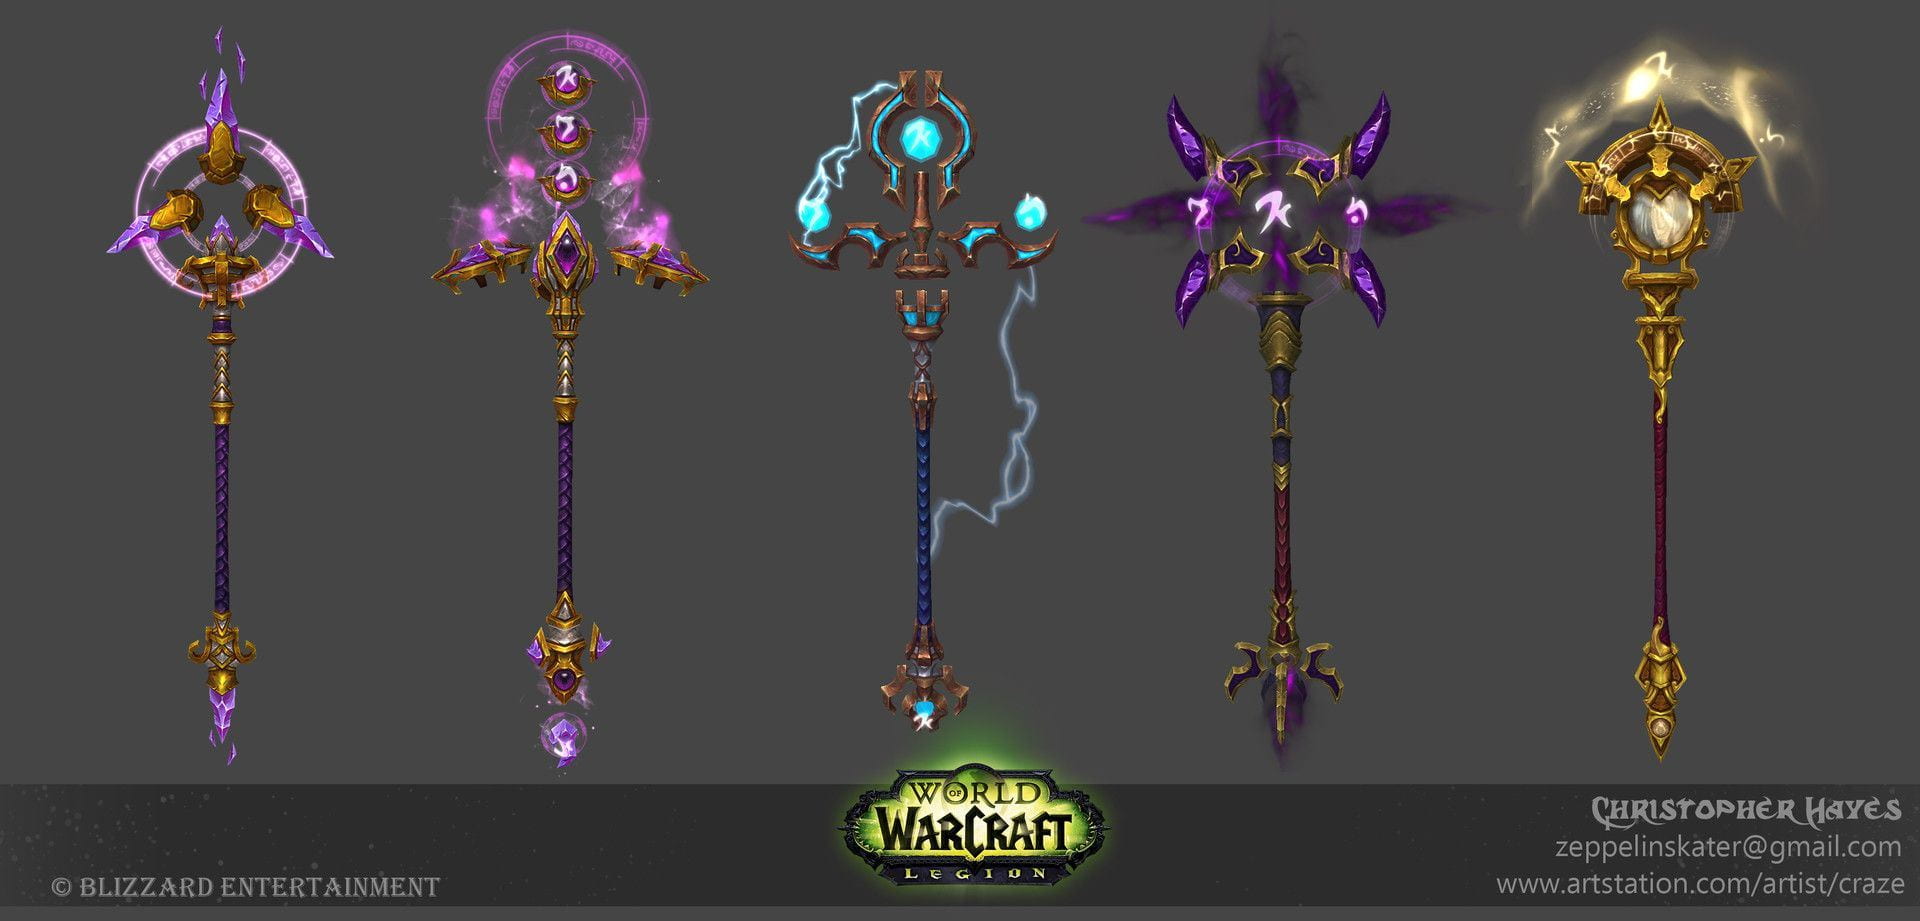
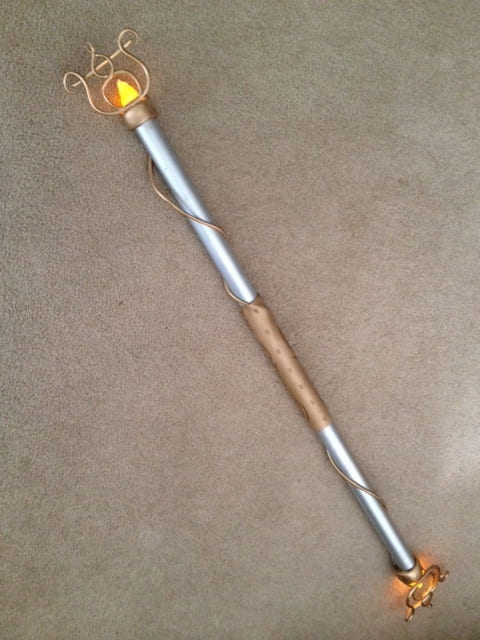
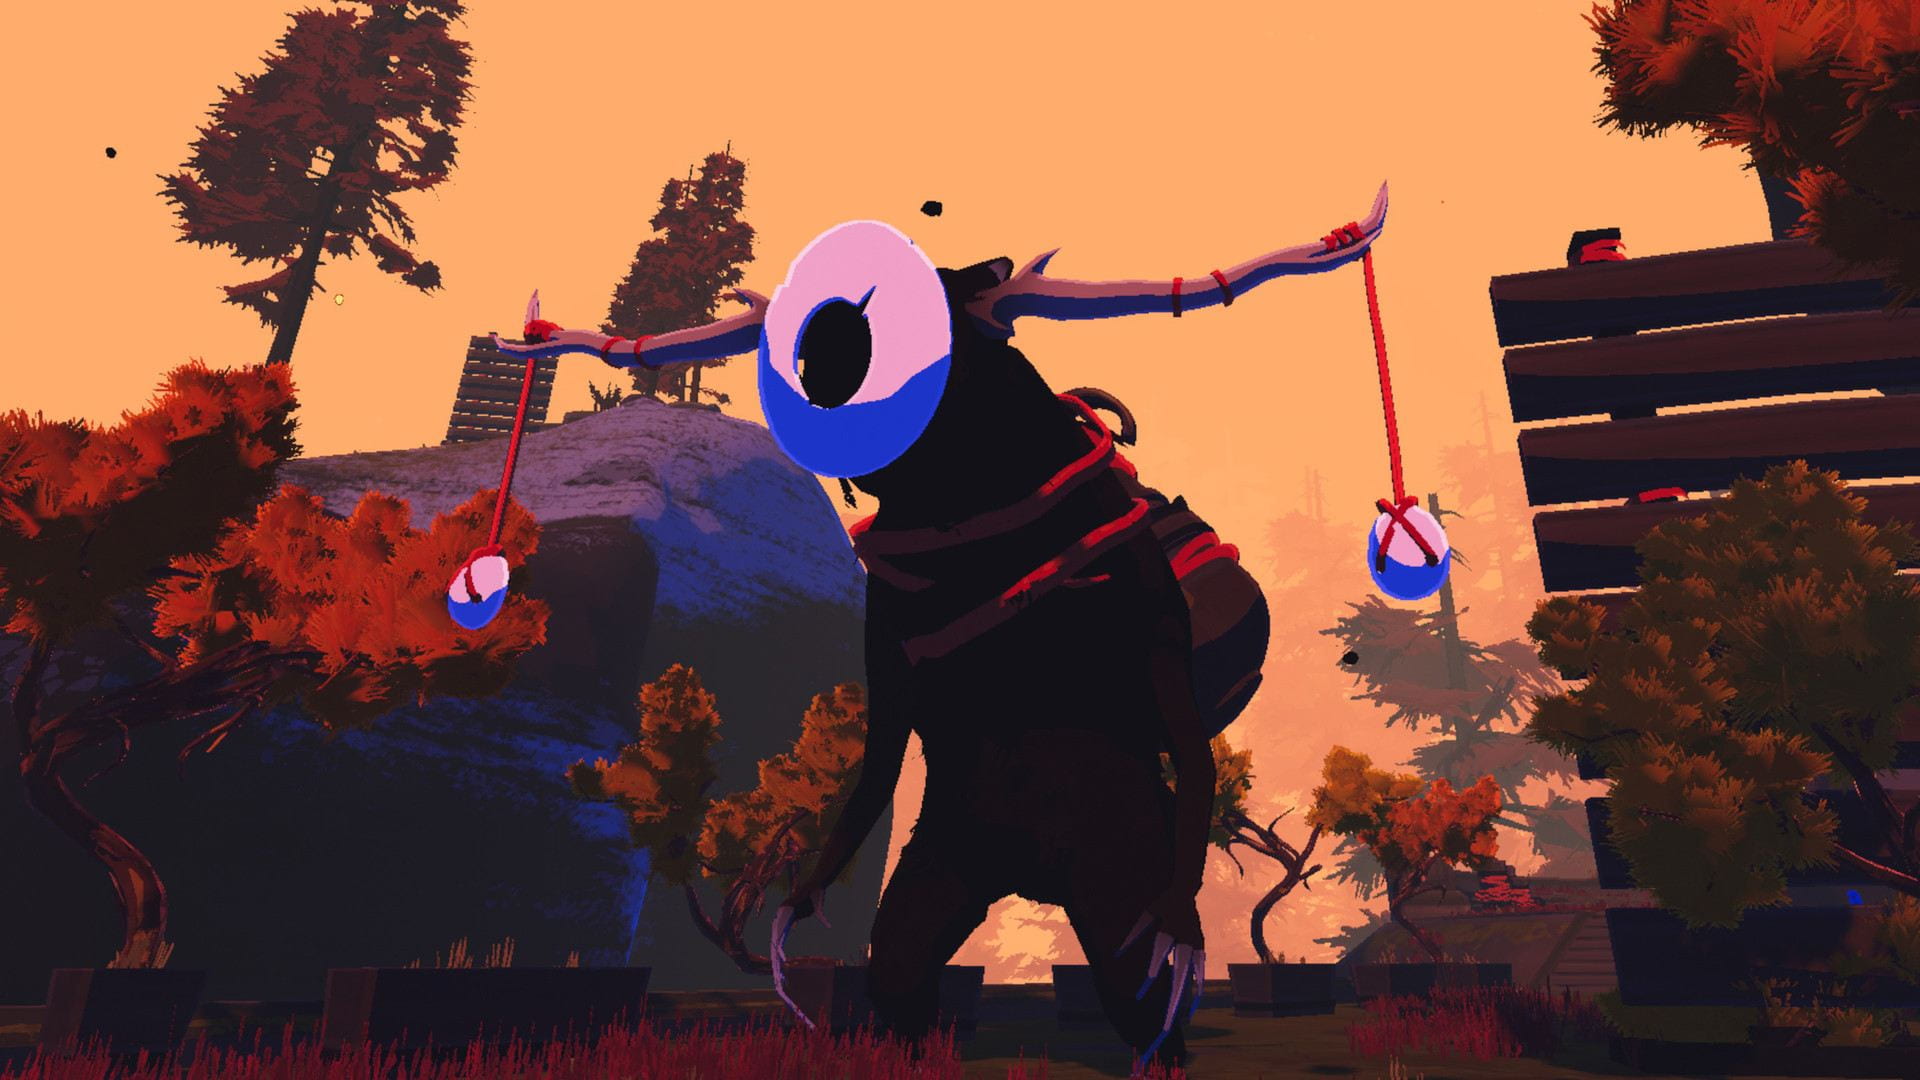
That’s when I was reminded of a game called League of Legends, it’s a game with many fantasy elements and so I began doing research into the magical assets of the game and when I found some of the concept art I knew I found what I was looking or, what especially caught my eye was a magic user called Lux, in the game she comes from a place known as Demaica, there they sport a pallet of mostly white gold and blue, and so I thought taking on the color scheme from that, along with parts from her magic staff along with other pieces of concept art would work perfectly with the design I already created.
Texturing:
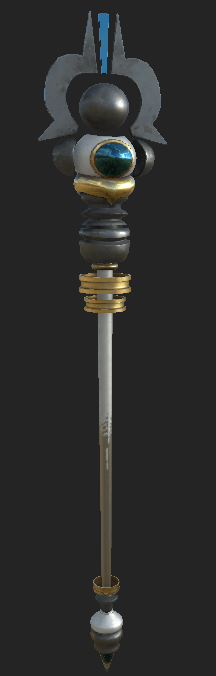
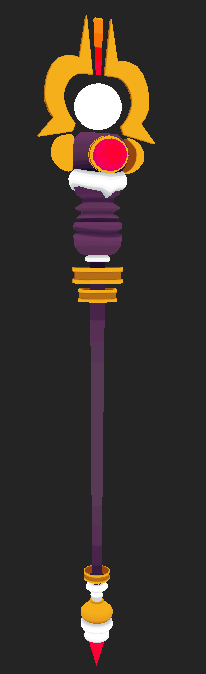
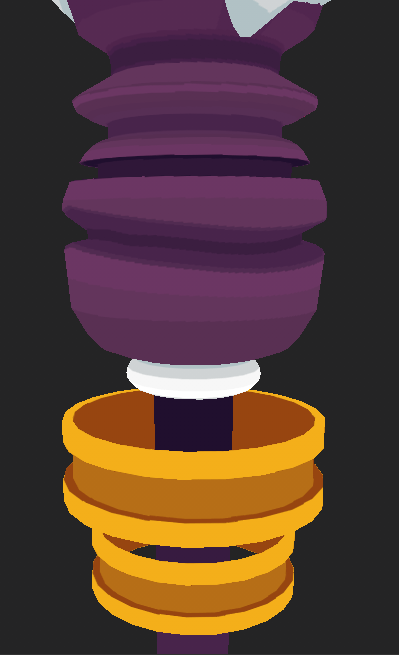
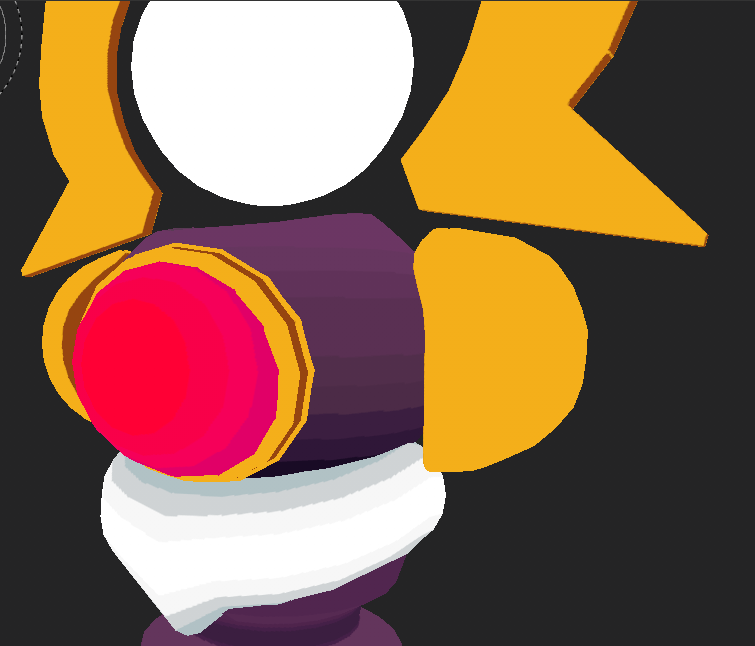
When texturing I went to the smart materials to see what it could offer me. I started off using the material called “Iron Forged Old” as a base, I wanted to try and make it seem like this staff was actually forged by hand and wasn’t sitting pristine and perfect, so the Iron Forged really gave the staff some grit with the old wear and tear look it provided.
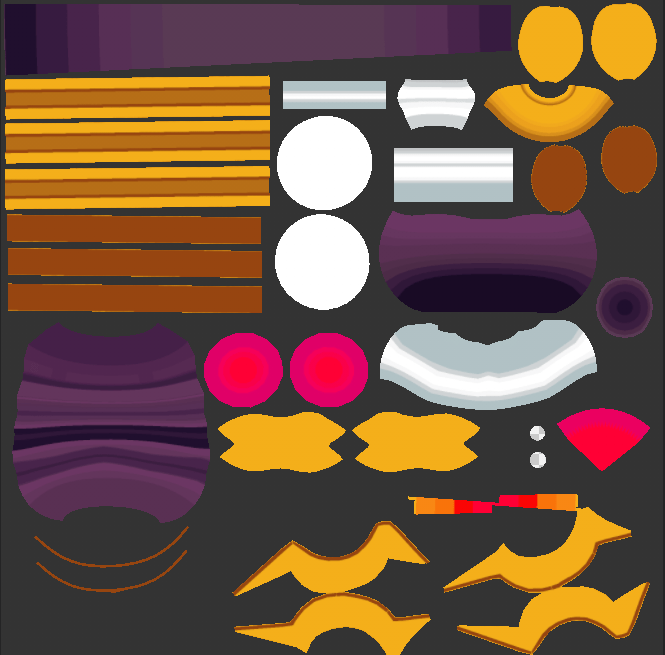
Next I wanted to add the smaller metal accents to try and contract against the old dark metal base, so for that I added the “Gold Damaged” material, it took up the entire model, however using the color selection mask I was able to use the ID Mask to pick out which parts of the model I wanted the material to cover, so for that I picked the floating rings around the handle of the staff, the loop connecting the handle to the mid-section of the staff, the loop under the platform part of model as well as the rings around the “eyes” at the top of the staff.


Next up I wanted to add a white or silver to the model so I went for the material called “Steel Bright Layered” I felt it worked perfectly for the handle and platform parts of the model due to the fact that two thirds of the way down the material the steel breaks down into a much more worn down texture in appearance which I felt worked perfectly for the style I was going for with my textures! I also added the material to one of the pieces at the bottom of the staff because there was too much of the one material being used down there and everything seemed to blend together.


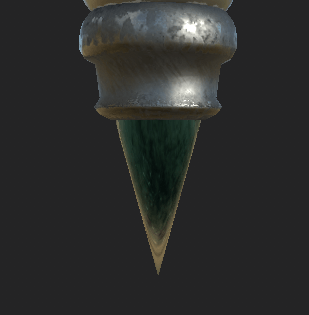
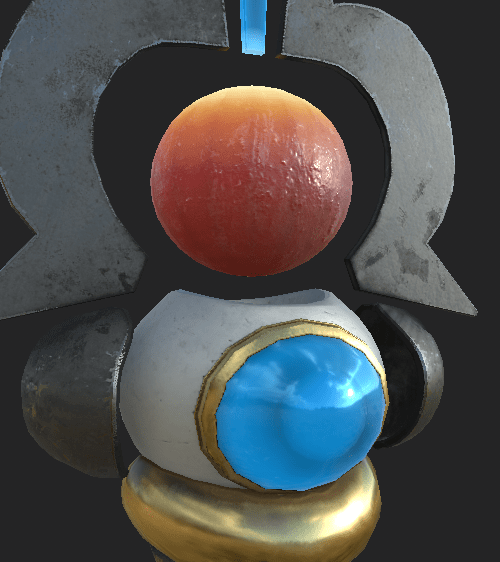
Finally there was the eye! In the beginning I wanted to use a glossy material then create my own pupil on top of the material. However that was until I found the glass visor material and applied that to the eye, that’s when I instantly changed my mind and decided to make it into a jewel, I felt aesthetically wise it fit so well with the model that I could’t use it, in-fact I also used the material for one of the floating pieces above the flying orb, in addition to the spike at the bottom.

Overall I was pretty happy with how the texturing came out, but I also felt like I could add more to it, part of me really wanted to change the orb floating at the top of the spear so I did some research into making a ball of fire to help give the staff more flavor however everything I could fire on making a fireball was either a just simulation or an outdated method which didn’t work anymore, that’s when I looked up to see if I could make a ball of fire in substance painter. I could find a tutorial for a fireball, however I did find a tutorial for a hot metal glow, that is when I discovered emissions in substance painter.
I took the information I used from substance painter and decided to use it for my model both turning my boring floating ball into forged steel, in addition to that also lighting up the jewel / crystal parts of my model

Texturing 2:
I also decided to do a second texture but this time do using exclusively using handmade texturing, while I wanted to do this I had no idea what I was doing do I went online where I found a video called “Getting Started with Hand painted Textures in Substance Painter” by Stylized Station on YouTube, there they showed me a few of the different features of Substance painter which I never discovered before. That being the wire-frame feature and the Polygon Fill Tool, both of these being instrumental to the process to the creation of the second texture. For the second texture I just wanted it to be plain color with no use of height, normal, roughness, metallic or emissions, mostly trying to emulate the kind of style you’d find in a game such as rick of rain 2 where most of the work is done with the lighting or hand painted shade on the texture.

When I first blocked in all of the colors I wanted to use for this texture I realized quickly that all of the colors seemed to blend together since there wasn’t anything in the textures to differentiate the shapes between each other besides their color, and I really enjoyed the effect


However I felt like they blended a bit too much, and so I went back to my UV map and turned on the wire-frame so I could go over each individual face and manually shade them using the polygon fill tool, I could have painted on the model directly with a brush, however I was a big fan of the look produced by the polygon fill tool so that’s what I used exclusively to add some shade to my texture.

Overall I was a huge fan of the outcome, however when going back to Maya to see how the texture would work I realized that I would’ve had to create my own cel-shade shader for my model and I simply didn’t have time to go though and learn how to make that work, so in the end I went and used the initial texture I made to be used as my final outcome for my assessment.
Videos referenced: