

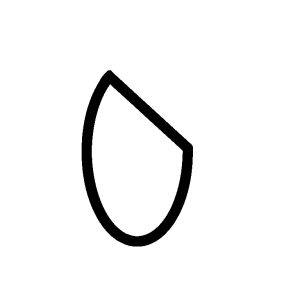
When it came to actually starting to model my bunny for the production of our animated short I reference the main shapes I seemed to utilize in the concept art for him and proceeded to use these shapes to set out the basis for Bean’s blender model.

![]()
For his ears and snout areas I used a cube which I then subdivided to get the rounded shapes that I could then use for those areas on his model. I also used a flattened cylinder with an inset face that was pushed down to create the button rim and the holes in the middle were created after a fellow group member showed me how to use the Boolean modifier which allowed me to use separate cylinders to cut out the shapes from the buttons. I also added small strings to the button using Bezier curves which proved very helpful for making the button appear as close to a button as possible.
Once the basis was down I then focused on getting his colour down and I knew that for the hair in particular the divided colour would be quite hard to achieve. I did however use the cutting tool to make it easier for me to colour everything after realising that it may be much more difficult to colour and texture the models through the use of a uv map as opposed to just colouring it through blender’s materials and so when I had marked out where the divides would be I used the material preview in blender to play about with getting his colour as close to the original concept as I could.

After figuring out how to colour my model I worked on creating eye pngs for him with a range of expressions including a neutral eye, angry eye, closed eyes, and two surprised eyes as shown below.


I used the method of importing these eye pngs into the blender fine as a plane in the software which I then located as close to the model of Bean as I possibly could without having the plane clip through his model in any way that is extremely noticeable.


I also went through the model to rig him and when I came to rigging his ears I realised that the topology on his ear tips was quite messed up due to the way that I had formed them and when I tried to fix the topology I realised that I would run in with further and further problems when trying to fix the issue, which could have wasted time I would need to be able to actually animate the shots I would be tasked with. So in favour of giving myself more time to spend on actual animation work I spoke to Mike about how I would overcome the topology in his ear being messed up and he had suggested that it should be relatively okay if the bend in the ear was located near the middle of the ear as opposed to the top where the tip of the ear would not be effected by the bending/stretching.
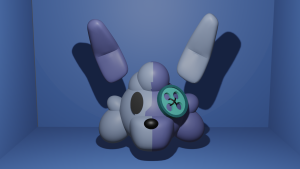
With this in mind I rigged Bean and managed to disguise the bones with empty circles etc. to make the rig easier to understand and work with for when others were working with his model. This is the rig he was left with at the end of his modelling process and what he looks like as a finished model.
