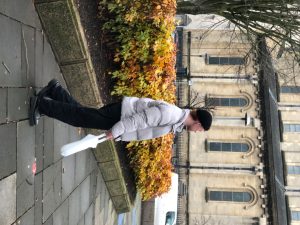
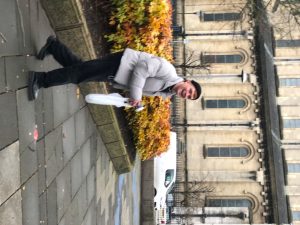
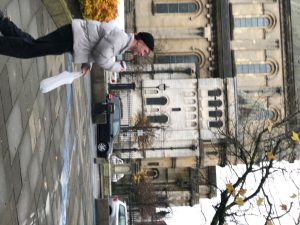
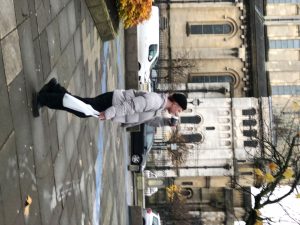
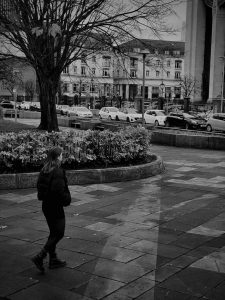
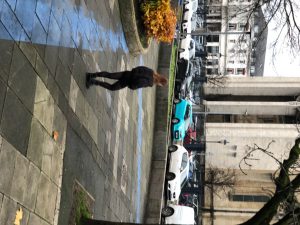
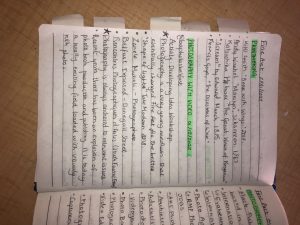
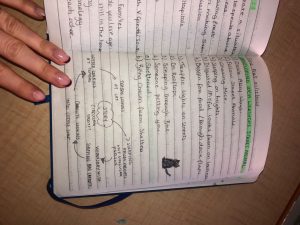
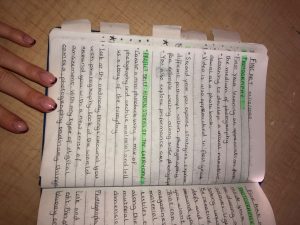
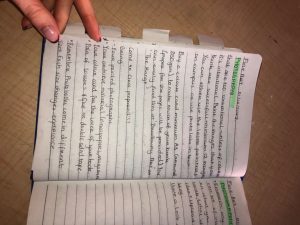
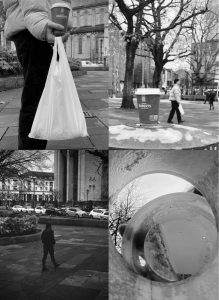
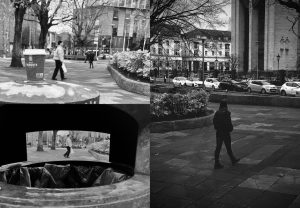
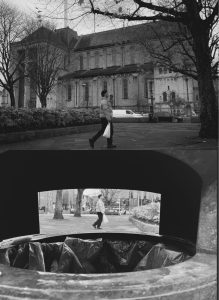
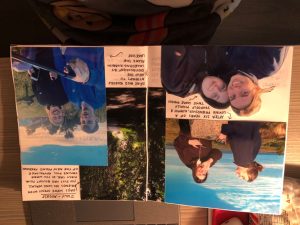
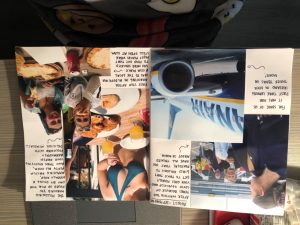
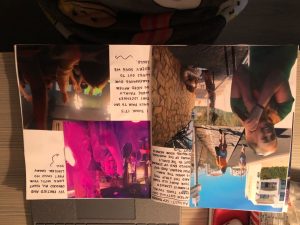
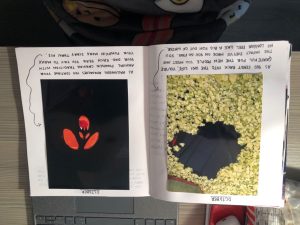
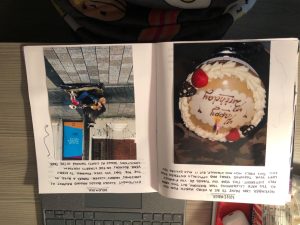
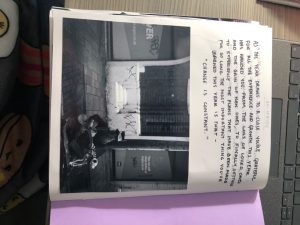
The photography workshop was a two day workshop spread out over a week. On our first day we were given a talk on what the photography course consisted of if we were thinking of choosing it next year. Below are some images of the notes i had taken based of this quick presentation and the job opportunities included. Our first task was the “developing ideas workshop”. For this workshop the aim was to create a situation where we were relaxed to speak about the nature of having ideas. The process involved first, individual ideas and then making them better through group discussion. Creating a list of six ideas on our own we then came together to discuss these ideas and how we could turn them into photographs. Our next task was as a group to each give one another an object, character, animal, person to be and think about the perspective of the thing you were given and how it might differ from your own. I was give the role of a street animal such as a stray cat or dog and this made me think of the perspective of a lonely street animal and how it might be more low to the ground or even climbing up a tree so a higher view perhaps. As a group we then decided to interlink all of our characters perspectives together to create a story board of all the different perspectives. I myself was a stray cat sitting in the tree , Amy played the character of Wednesday Addams which set the monochromatic theme, Sean was a carrot in the bag, Blathnaid was a coffee cup and Ethan was a teabag in the bin. Although all of our assigned roles were completely unrelated to one another we created our own story which I think can be seen in the story boards below. At the end of the day we were asked to take a series of a least 12 photos over the next week of the beauty of the everyday life or use photos that we may have already taken. We also had to gather a colour card and print of our photos. This was all in aim of creating our own photo books. When the following Thursday came round we had all printed out our photos and bought our card and got to work. The first step in the process was to decide on what size we wanted our books to be and then cut down the white card that was provided to the size we wanted it to be. The carefully either using the folding press or our hands we had to fold each page in half to create a book shape. The same had to be done with our coloured card. Then using the tools provided we had to puncture a whole in each page after measuring the inside of the staples that would hold our book together. Then slowly if possible you push the staples through the holes you have made. I quickly learned that you may not get them all through at the one time and that you might have to put it through each page individually. Once this step was completed and you had folded your staples over so that they wouldn’t prove to be a hazard in the future, you were free then to trim down the edges of your book using a sharp blade and a cutting board so that it looked neat and professional. Then was the fun step of sticking your photos into your new book and annotating them if necessary. You could also design the cover of your book and give it a title if you wanted. I choose to name mine “ A year in the life of Faye Ni Chleirchin” as all my photos seen in the book had been taken over the space of a year. I chose a simple floral design as i thought it added to the beauty of the simplicity of life. All of the work mentioned above can be viewed in the images below.