
With some practice done it was time for me to start on my final sculpt. This was something I was very nervous about as I kept doubting myself that it wouldn’t turn out right and telling myself it just wasn’t going to look how I wanted, but eventually I worked myself up to start.
First I had started sculpting my body all together and it just wasn’t going to turn out right, and after asking Mike I learnt you didn’t have to have it all sculpted out joined together. So I decided to redo my sculpt from the start but take it in smaller more manageable pieces. However, I did much prefer this shoe to my last attempt at making one, so I will try remake this in a similar way.


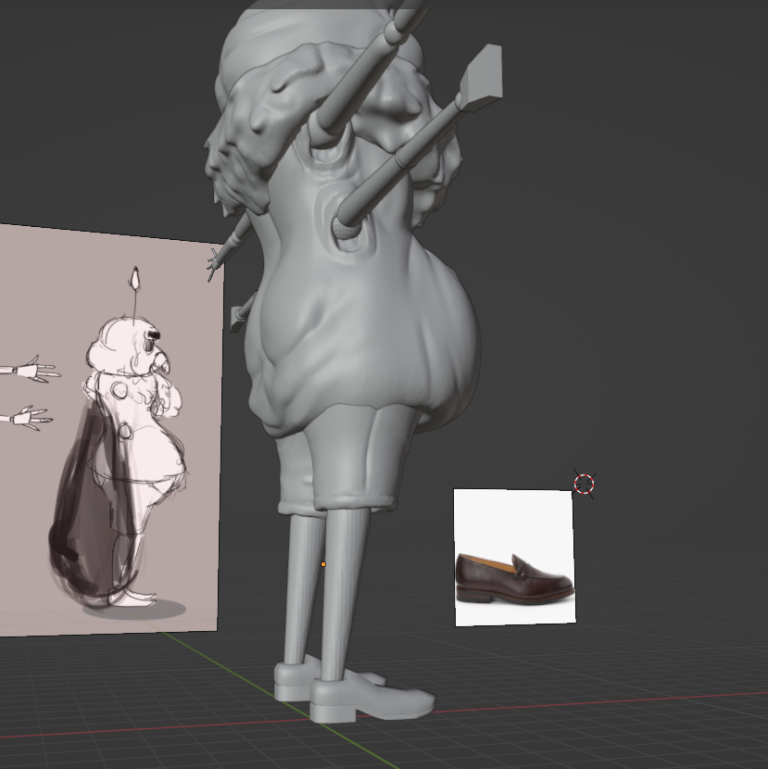
After this I went and did some more sculpts of my moth man that I wasn’t happy with so I restarted again after experimenting a bit with these (like a quick moustache practice and crease placement on the back of the head). Eventually I ended up with a blocking of my character that I was ok with, I’m starting to realise that not everything will go as I have planned, that I can’t expect this will be perfect because perfect doesn’t exist and because I am still learning. With this in mine I am settling on good enough, good for my skill level and attempting some more complicated techniques and enough to know that it won’t be executed like in tutorials because I am not at the level of those more experienced people. I left out the shoes and fingers for now because I knew I wanted to go into those in more detailed editing.

THE HEAD
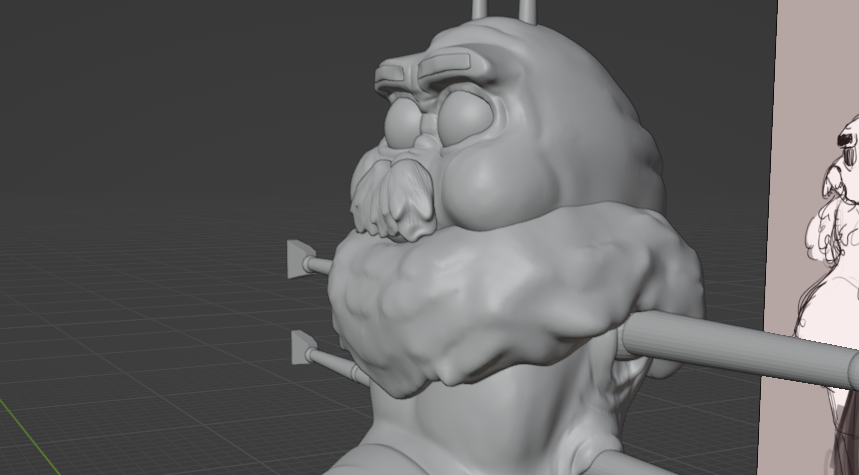
I decided to start with the head, I tried to sculpt this in a more neutral facial expression than I had drawn since emotions and things comes from the posing. I like to start with the head because I find it is the most fun, it is also where I am most comfortable anatomy wise. I started off my sculpt by carving out my eyes, and adding my cheeks eyebrows and adjusting the head proportions.

Then with some increased Dyntopo I went back in and sculpted in some wrinkles, eyebags and lids and made my eyebrows more blocky. At this point I was also figuring out how to do my moustache, I started this off with a mask and moved this outward and then tried to sculpt into this, but I really wasn’t liking any variation of this approach so I carved into this area, smoothed it over and just made the nose portion and a bit of the chin.
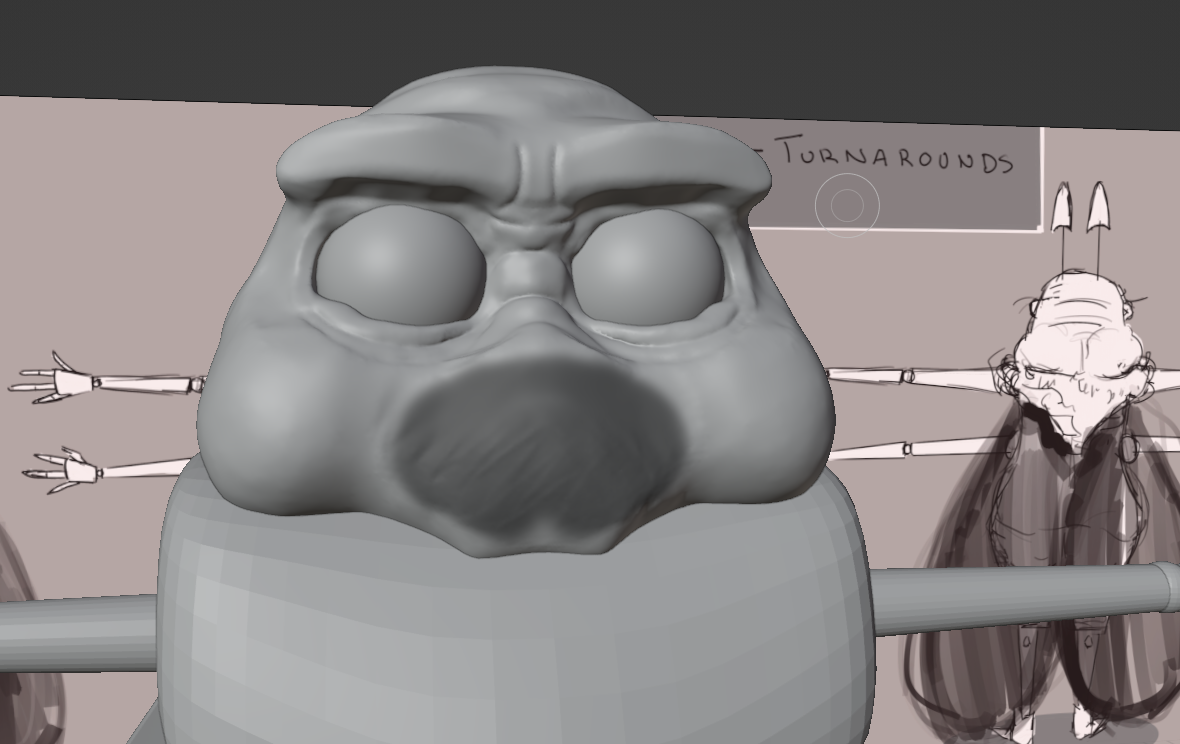
I then added in some temporary eyebrows, I want these to be bushy and have some stray hairs but for ease of now I made them from cubes and adjusted. Here you can see I strengthened my creases and went in with a scrape tool to define some more shapes to have both blocky and rounded parts of the face. I also went and added some creases on the back of the head to create this saggy, old skin.

I made my moustache here with a sphere I mirrored and then re-meshed, using the grab tool I got the idea of the shape I was looking for. I was trying to keep it simplified in the style of Hotel Transylvania so I went in with the snake hook tool and sculpted in this big droops of hair, I knew once I retopo’d this sculpt that I would lose any finer detail so I tried to think of the silhouette. I do go in with some of my created alpha brushes in my sculpt here but this is to test for later on in the modelling process.
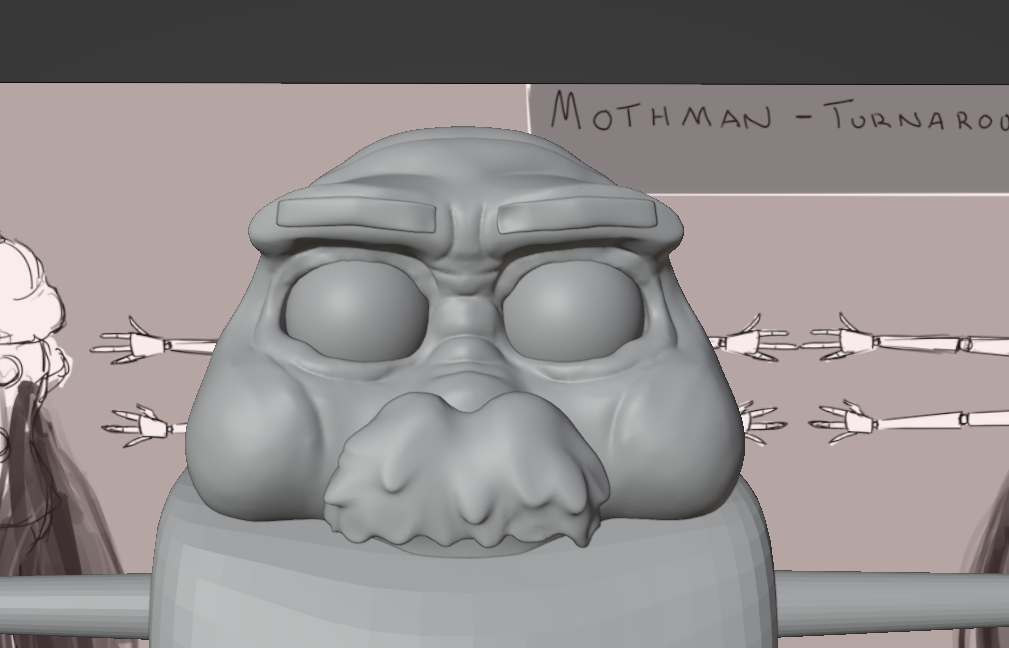
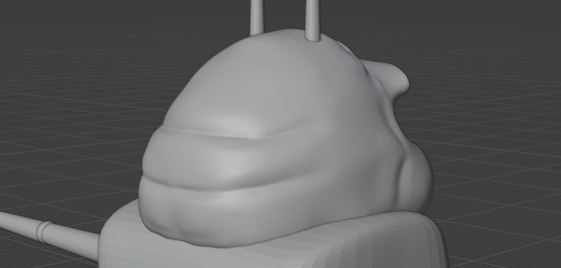
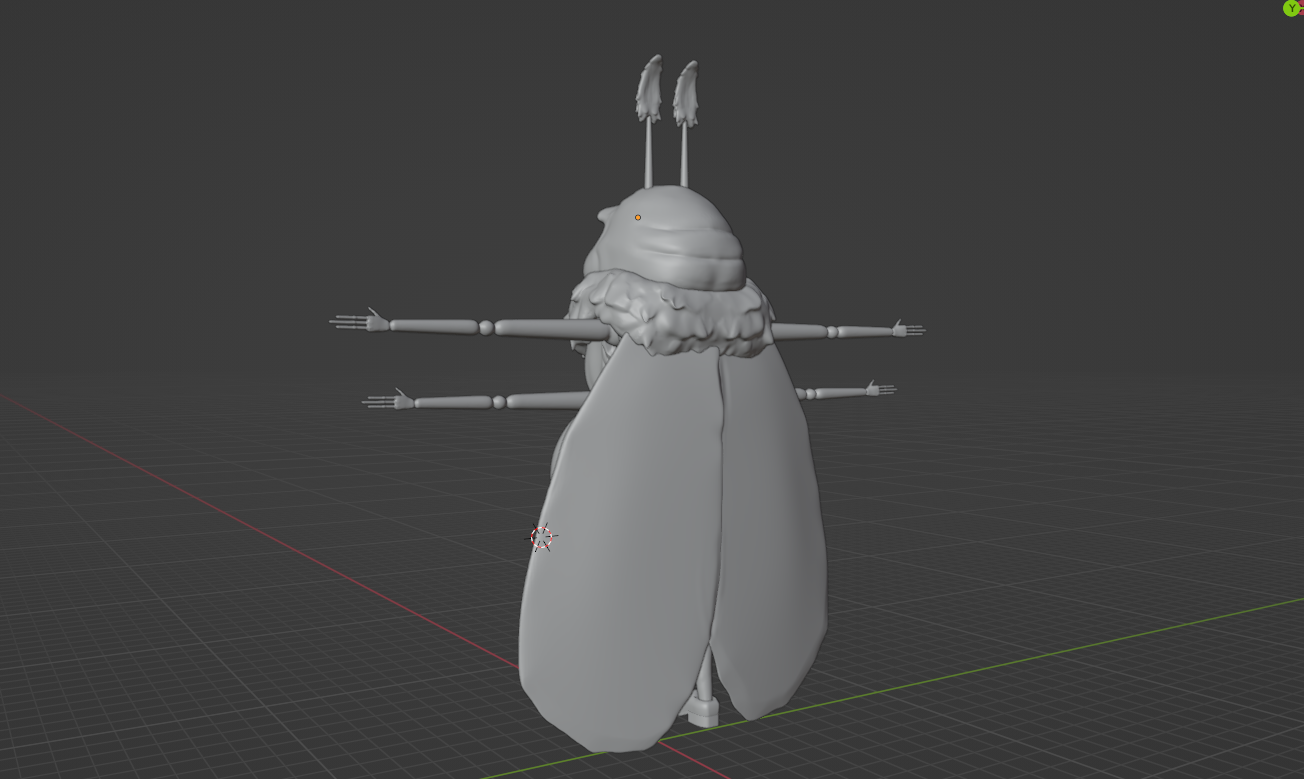
I had a little bit of trouble with the antennae shape, so I tried a couple times making them with different approaches until I created this leaf-like shape with a subdivided cube that I adjusted the verts of. I then took this into the sculpt menu to add some of this fur effect with my snake hook tool. Like before I made the stem of the antennae from a Bezier curve that I tapered to another curve. With this my head was done for now!


TORSO/NECK FLUFF
When tackling the torso I knew I wanted a nice rounded oblong stomach, fat on the back and sleeves. I went and smoothed out my initial blocking shapes and then went about sculpting in these sleeves, I looked up references of sweater vests and found that a lot of the mass sits on top of the arm and then droops down. I used a mask to colour in the shoulder areas and then inverted this to build around the shape, meaning I could put my fabric in the right area. I then went and carved out under the shoulder joints and smoothed these out.
I then went and added some mass to the chest of my Mothman, and started refining my fat and wrinkles using the crease tool. I tried to keep this more simple to contrast with the fur areas of my sculpt. I then defined the sleeves with the scrape tool to get smoother edges and create the idea of weight as well as separate the body from the jumper. For the back, on my blocking I had just left this rounded but I decided to lean into the chubby old man idea and so I added some simple back rolls and smoothed these, before refining with the crease tool.

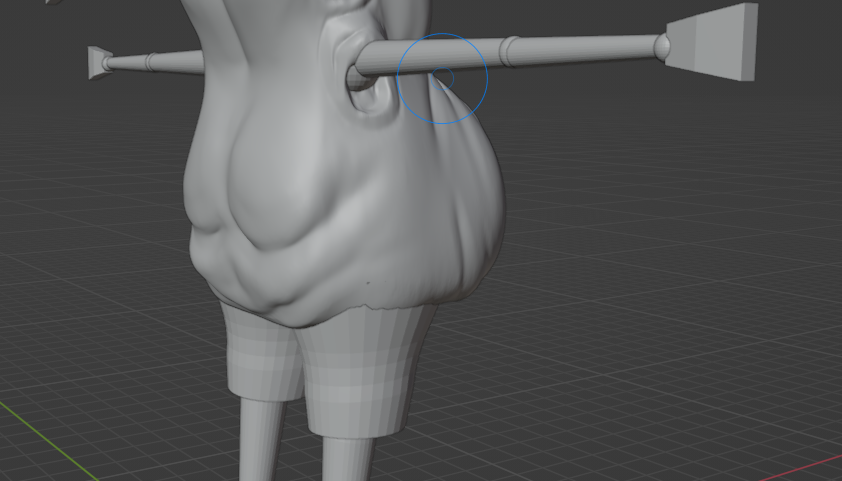
Coming to the fluff around the neck I used the snake hook tool to adjust the shape, trying to get a more organic and random shape with some bumps. I then went over this with my favourite clay strips brush in circles and smoothing to create some bumps, before making bigger clumps of fur with the snake hook tool in the same was as the antennae and moustache. I’m not entirely sure how much these will translate with the retopo process so I made it more simplistic and plan to have some more texture added later if needed.


I then made a cotton brush and wanted to test what this would look on the shirt, I tested two different sizes and I think I like the bigger texture version but it is something I will decide later on. I removed this with undo before continuing with the rest of my sculpt since I can go back and add this at the end once my sculpt is finished.


ARMS
When I started my arms I had two ideas in mine, make them with human anatomy in mind or lean into the bug idea a bit more, and I decided to stick with the bug style that I had drawn since it keeps the simple shapes of Tartakovsky’s style in mind. When I started sculpting this I did make the mistake of not setting the origin to geometry after applying my mirror modifier, so when using the mirroring in the sculpting menu it wasn’t doing it in the right location. To fix this I went and deleted the left arm, reset my origin and applied my mirror but this time set my origin correctly so I could sculpt on both arms at once.
With this I went ahead and re-meshed the arm and started smoothing and adding creases. I decided as I was sculpting to really crease the elbow area into this ball shape to create this alien look and then I went and creased lightly around the shoulder in a similar fashion.

With the arm done I then went and tried to approach the hand. I was quite nervous with this area as I hadn’t got it right in any of my practice sculpts, so I decided to just build it and see what would happen. I re-meshed and then smoothed it and started to build up the fleshy bump around the thumb as well as scraping the sides to be more flat. I went and looked at references of characters’ hands in Hotel Transylvania to see the variation of them, but mainly they had a human anatomy with some light variation added to make them more monstrous. This meant that I used my own hand as reference for this sculpt, but just a bit simpler in design. I decided that in my blocking I had made the palm longer than I wanted here and so I used the line project tool the top of to slice off the excess.
I then went and rounded this shape out more and started building up the other areas of fat of the palm, slowly but surely it was starting to look like a hand. I actually had to take a break from the hands and come back to them later because they were very frustrating to make.

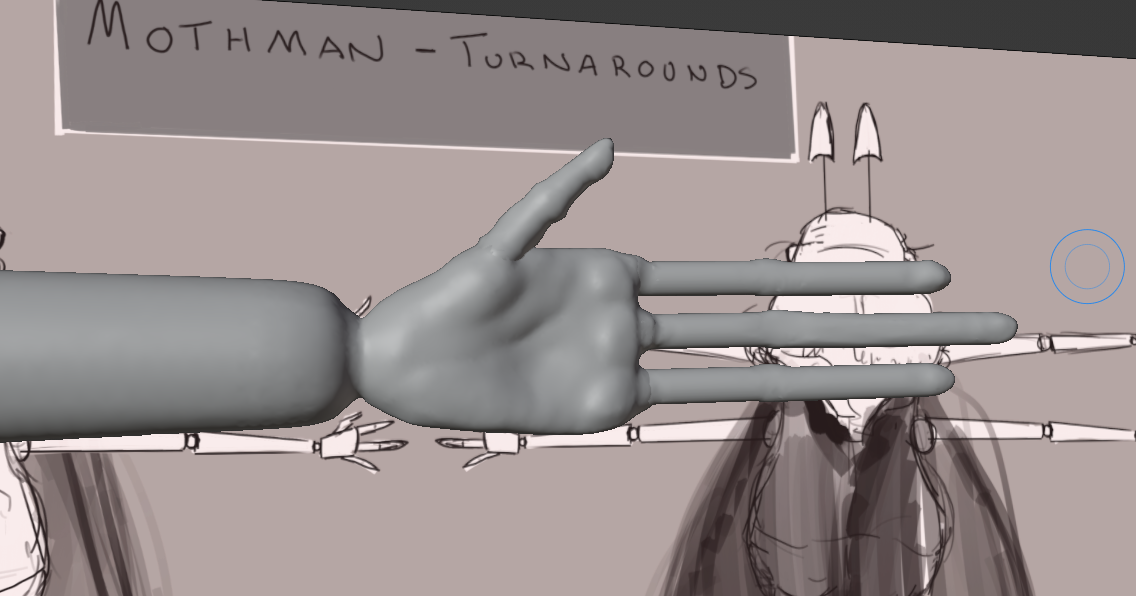
After a lot of time and patience I was finished with the palm, and went to start of the fingers. I had decided to sculpt these separately since I was having issues with the re-mesh tool when sculpting them together. After taking a look at my whole model I had seen that my Mothman’s hands were quite small, so I wanted to accentuate this with some long pointy fingers and when I went to sculpt this I really wasn’t liking it. So I went and made two other versions of the finger that were closer to my original art’s idea, (all of these were made using cylinder and sphere primitives), I wanted an outside perspective on these so I sent them to some peers and asked them which they preferred and they had all liked the middle finger. I decided to use both the middle and last finger on the hand to get the same design as my turnarounds (I just adjusted the positions and cloned the smaller finger for ease).


The next struggle was with the thumb, looking back at my hand references the thumb tends to be a bit thicker and shorter, so I needed to sculpt a different finger here, this took me a couple of attempts to get right, the first attempt ended up remeshing strangely, the second wasn’t looking like a thumb, but the third time I got something I could accept.

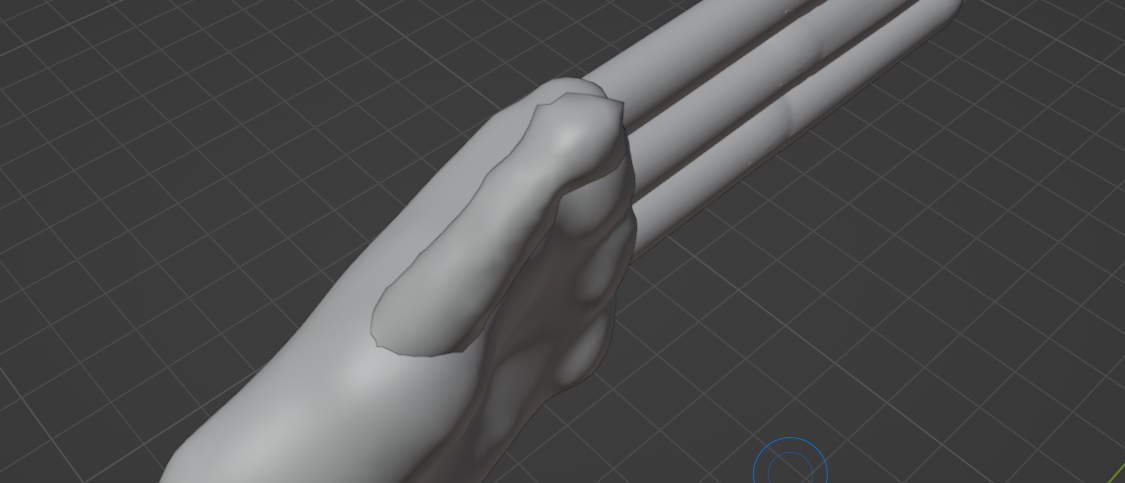
With these fingers done, I then joined them to the main hand and tried to blend them in without remeshing to lose my detail. I learnt this doesn’t join them the best since there is some disconnect between the objects, but since I am going to be retopologising on top of these they will be connected in the final model anyway.

SHORTS
The shorts started off as two cylinders, and I wanted these to have like, a khaki-like look to them. So I smoothed them out and then attempted to create creases by building some strips and smoothing this out. I then wanted to create the idea of the cuff pleat at the bottom of the shorts, so I added this with clay strips around the edge and smoothed and scraped these out. I only noticed this afterward but the inside of the shorts got mangled up so I decided to redo the bottom cuff again.


I redid the bottom cuff by adding a torus primitive to the bottom of the shorts, and then re-meshed and smoothed this out. As I re-meshed I had lost some of my earlier detail and had to go back and refine these creases again. I also went ahead with the scrape tool and carved move of the shape I wanted from this bottom pleat, defining this bottom edge to look like folded fabric. I might go back and build up these folds a bit more to get some more silhouette definition from these that come with baggy folded cloth.


LEGS/SHOES
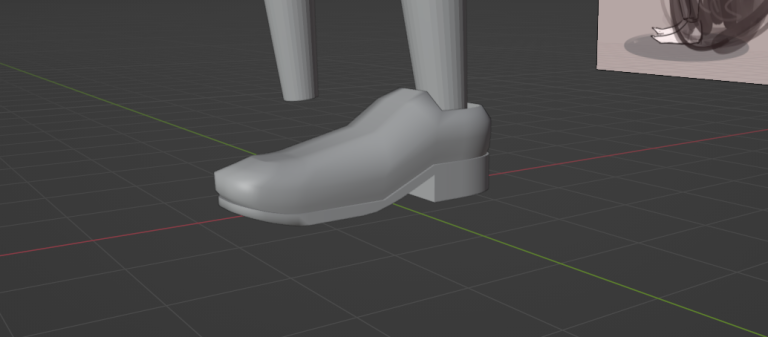
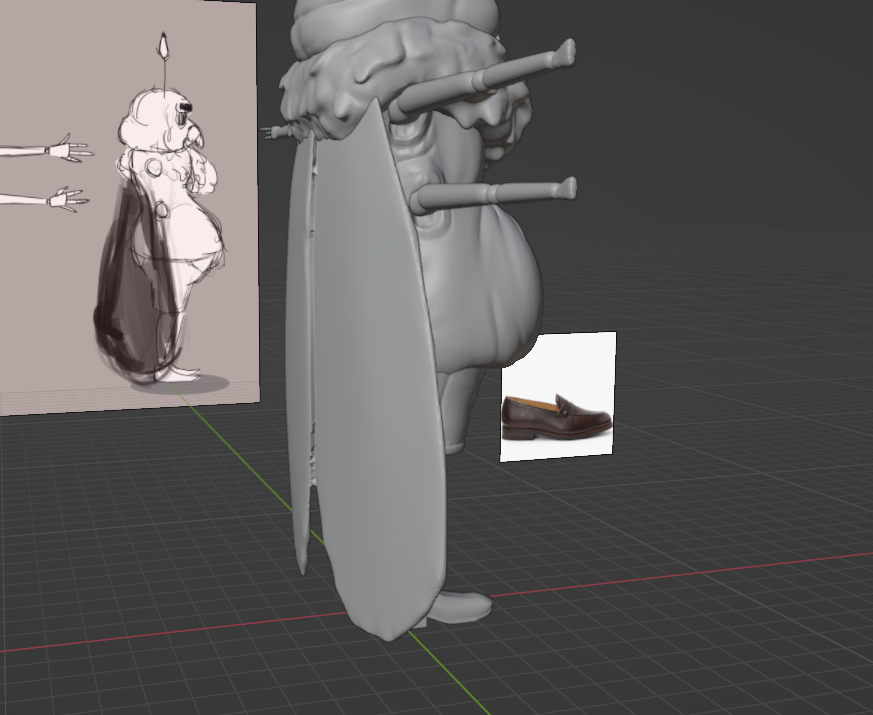
I decided to make the shoes with hardsurface sculpting since I wanted nice sharp corners on the soles. I brought in a reference image from the internet to base my shoe on and decided to start with the sole first, starting with a cub primitive I added a loop cut and then bevelled the edges a fair amount. I then extruded this face upwards and started to extrude out the silhouette of the sole (using a similar method from when I made the skateboard a couple weeks ago).

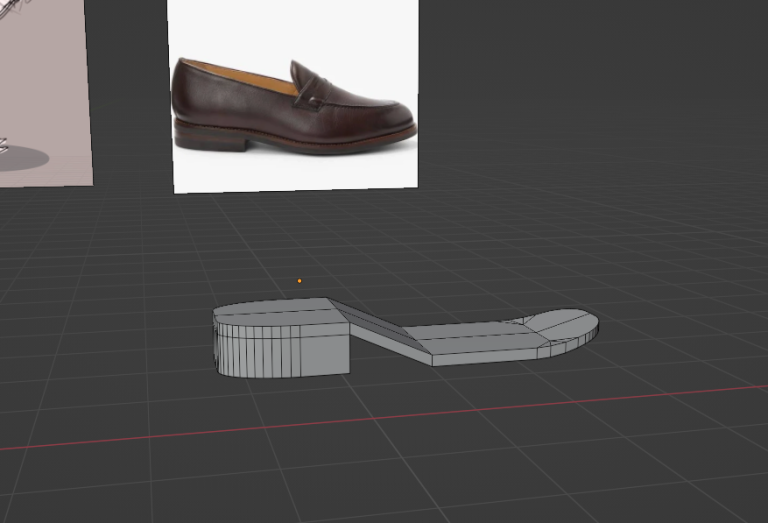
I then just inset the top faces of the sole and extruded these upwards and scaled then to try and achieve a low poly design on the shoe reference. To finish I tidied up my n-gons and inset a place for my leg to go into the shoe. I then shaded this smooth and scaled the shoe to fit my models size, applying the scale and adding a mirror modifier.

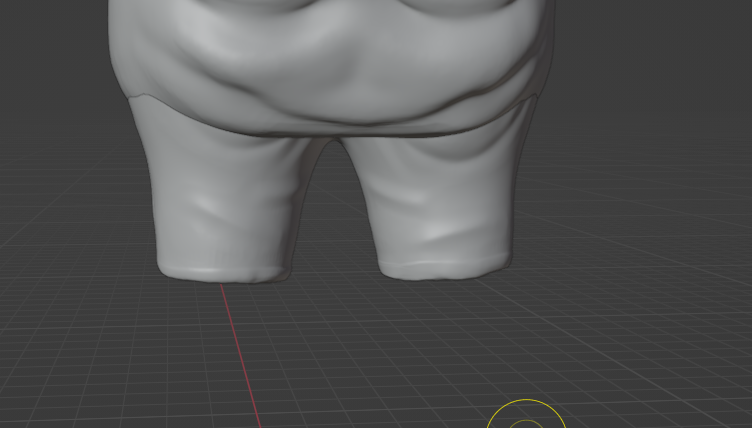
For the legs I kept this really simple, remeshing and trying to make this close to human anatomy as the characters have in Hotel Transylvania. So I built up a knee with my clay strips and smoothed, as well as carving in the dip for the back of the knee. I then went over with my crease brush and carved in some calf lines and defined my knee shape a bit more, (I was thinking of adding some wrinkles to my knee but I actually didn’t like how this looked so I scrapped this in favour of my original design), I kept this quite simple to keep in line with the style we are aiming for.

WINGS
When it came to my wings I didn’t want to overcomplicate them, so I just subdivided them and adjusted the positioning of them before remeshing so that they ended up connected in my sculpt menu. I then went over the crease of these with my scrape tool to just fix the way they connected and to separate the wings a bit as well as smoothing and creasing the inside faces of the wings.


THE FINAL SCULPT
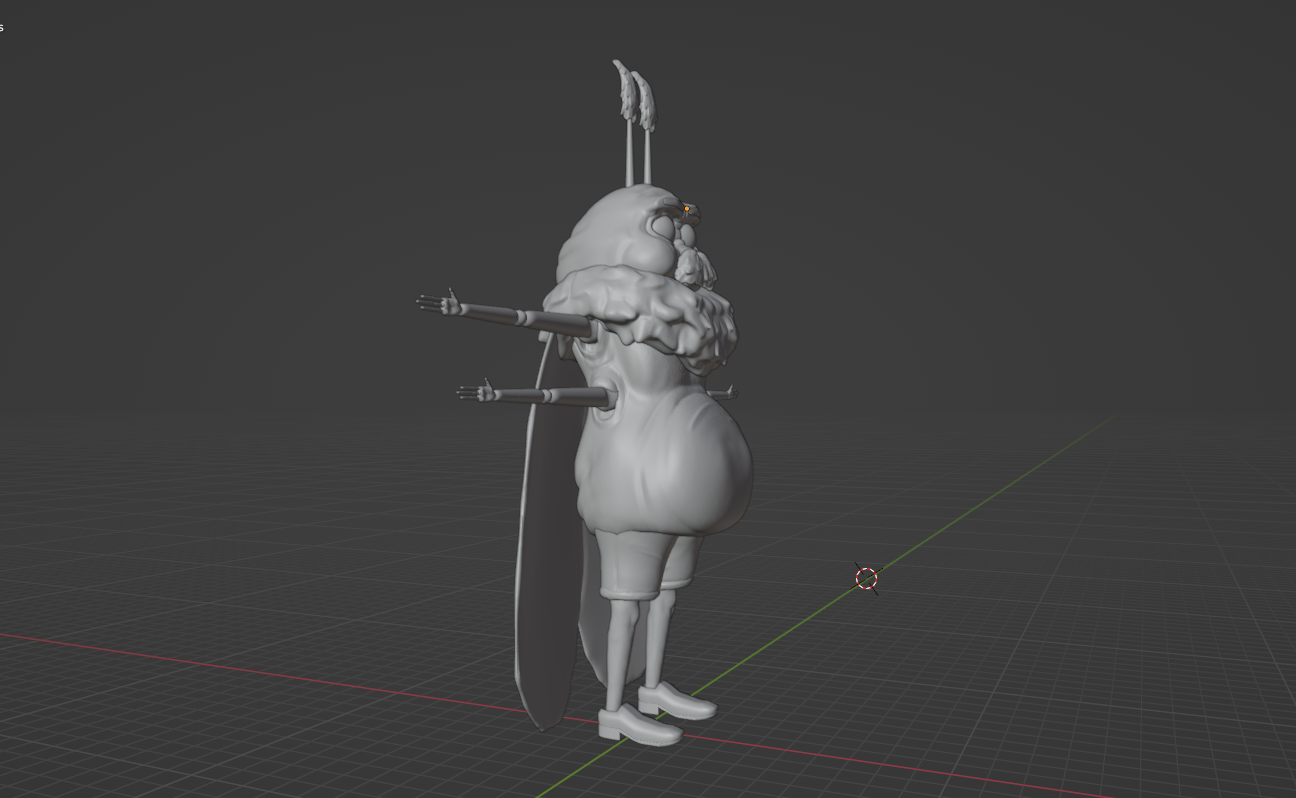
At this stage I was finished with the overall sculpt but I wanted to do one last pass to refine any shapes before retopology.
With this I went back and decided to refine the shape of my eyebrows a bit looking back at the designs of other Hotel Transylvania characters, initially I had wanted these to be thick and bushy, but really the main cast has thinner flat eyebrows so I stuck with this for my final sculpt. I also added just a slight bit of bulk on the silhouette folds on the legs again I was going to make these really baggy but I went and looked back at how Johnathan’s pants looked and realised that they were more like I had sculpted and so I kept it like this to fit. I really kept looking over my sculpt and picked out all the little things that I could do to make it more interesting and perfect, but simple is better and I realised that I can always go back and add surface detail after retopology.

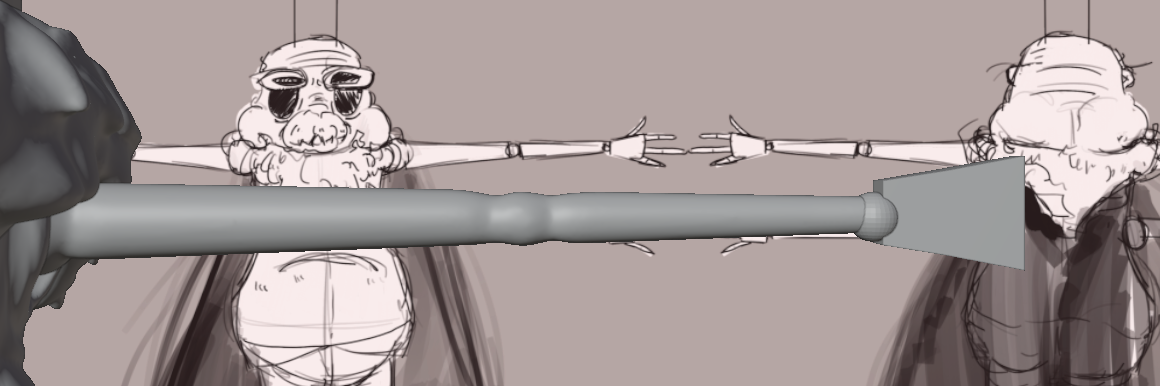
I then also quickly made a turnaround of this sculpt using the Turnaround camera add-on and rendered this out as an image sequence and compiled, I think once I have finished my final sculpt I might go back and set up a proper stage of turnarounds that take you through all the stages I went through to achieve my final model, it would be cool to visualise the process like this since I tend to heavily criticise my work instead of thoughtfully reflecting on things.