This week we were tasked with modelling and unwrapping a sword.
So, I went and looked at some references on what a sword looked like to break down what shapes I thought I would need.
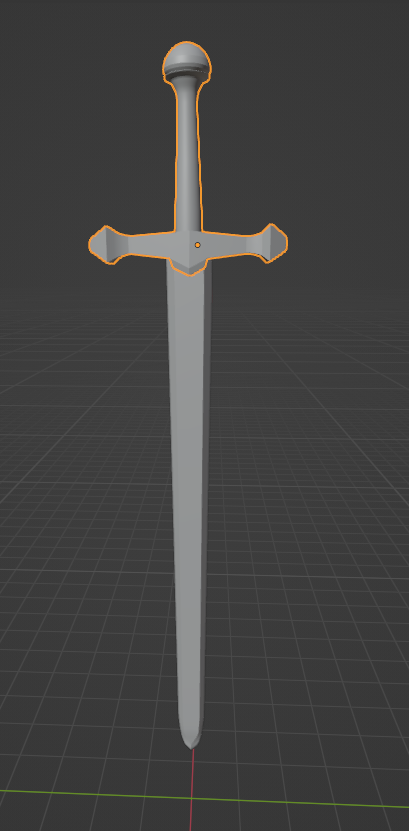
So, I started with the handle first. I used a sphere primitive to start (I knew I wanted some orb like design on the bottom of the handle), then I removed the top and bottom faces of this and extruded the bottom out to my desired length. I filled the top of the sphere and added a loop cut to create a lip around the ball-like shape, shaded it smooth and added some bevels to finish.

Then I started working on the cross-guard, I made this with a rectangle primitive and deleted one half and applied a mirror modifier. Then I extruded the end of the rectangle and added a bevel to smooth the edges. I finished by extruding the centre of the cross-guard to fit with what I saw in references.
Then I got to working on the blade, starting with a primitive cube. I sized the cube to fit my sword and extruded this to what I thought fit, then I scaled the point of my sword down and added loop cuts. I beveled the end of my sword and merged the points towards the end before dissolving the side edges and merging the vertex points at the bottom to make a point.
Then I went and unwrapped the sword model. First, I applied a checker texture material then I followed along the natural breaks and edges and marked these as my seams (and using a bit of trial and error) until I was happy and arranged these islands into groups of materials. I uploaded the UV map into Krita and found some textures online for wood, leather and metal and arranged them before exporting. I then uploaded this Albedo map back into Blender as a material.
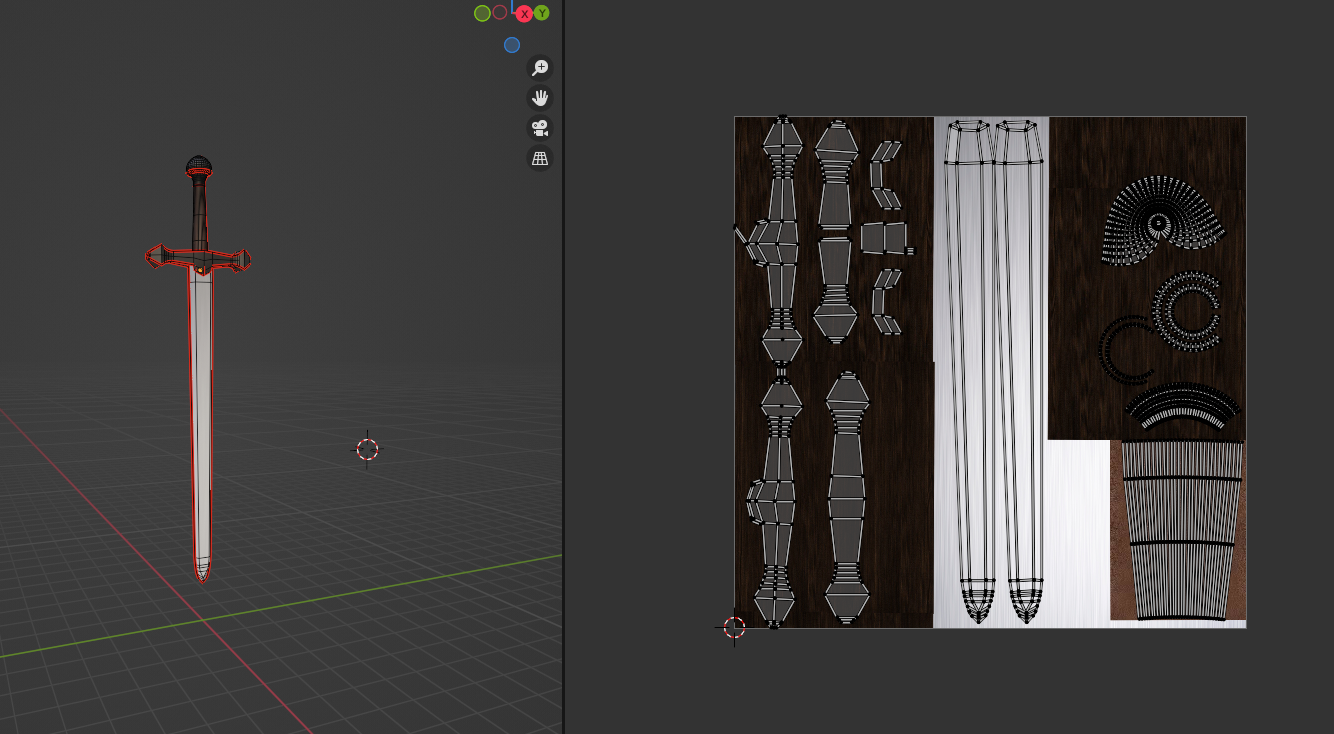
Then to separate the textures I went into the shader editor and added a bump texture and then edited my albedo map to black and white to use as a contrast image for my roughness and metallic scales. This gave me nice distinctive textures and gave my sword a reflective shine.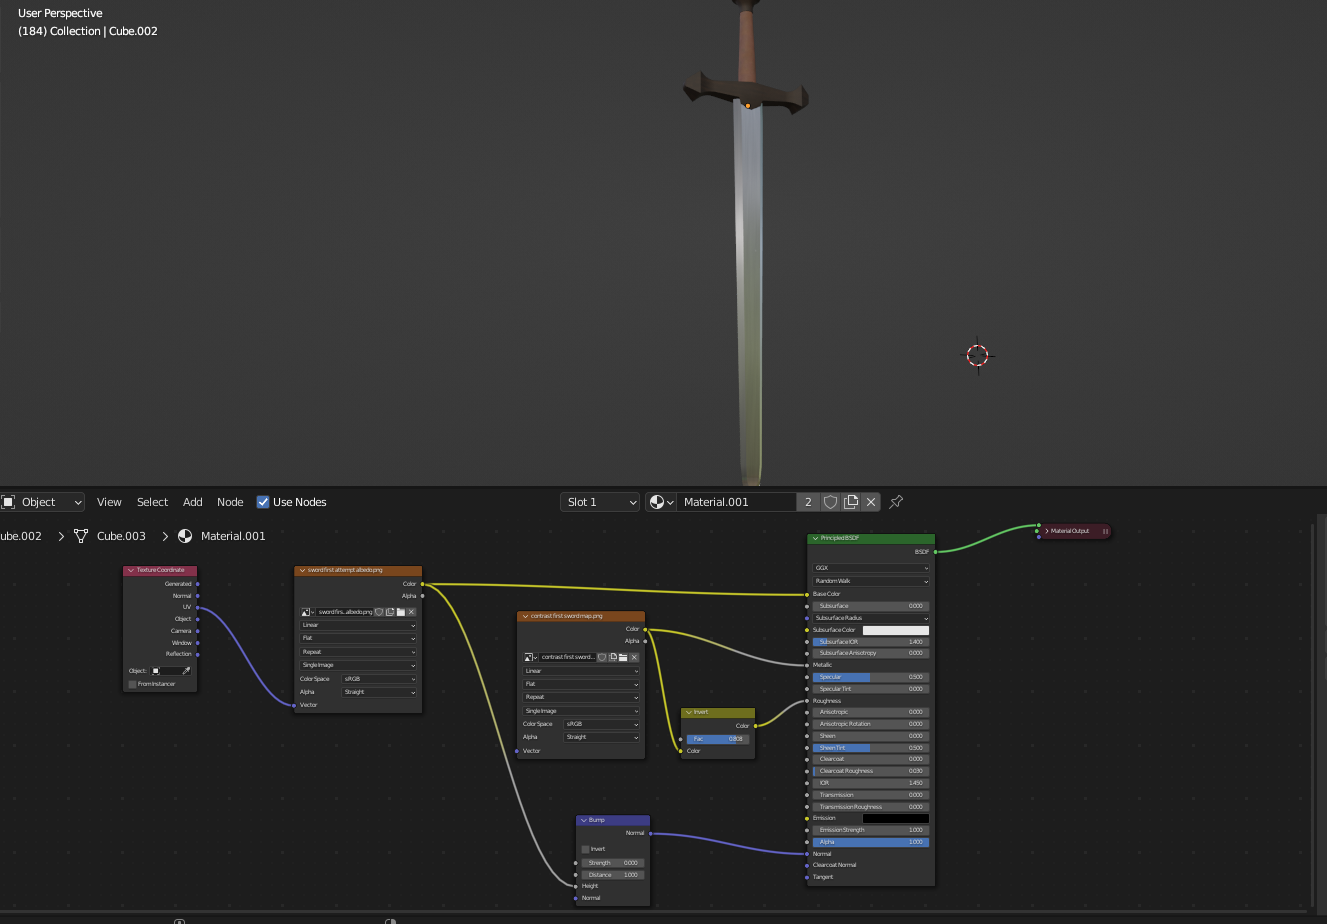
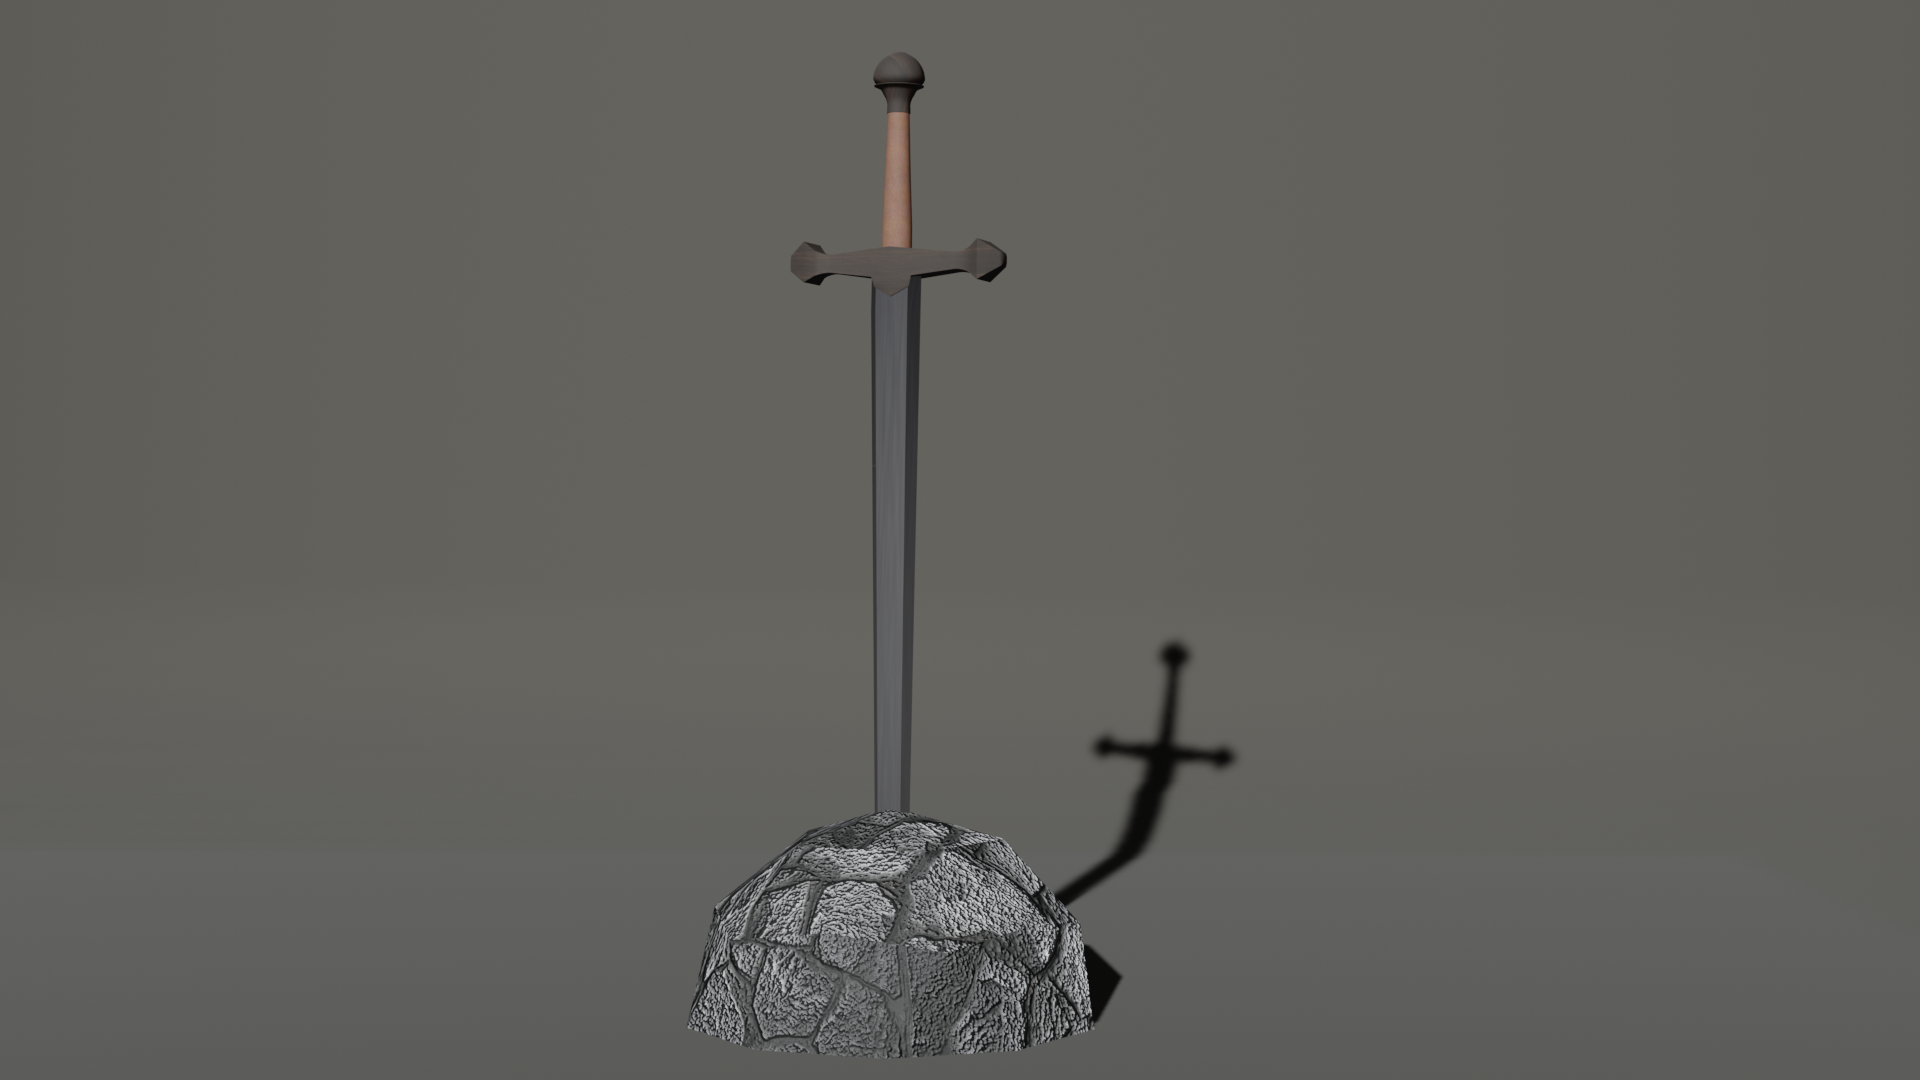
To finish I modelled a rock pile using a sphere primitive, I unwrapped this and added the texture using a similar process (as well as adding some bump and roughness) and put my sword in the stone. Surprisingly, this didn’t take me too long to make and I really like how the result turned out.
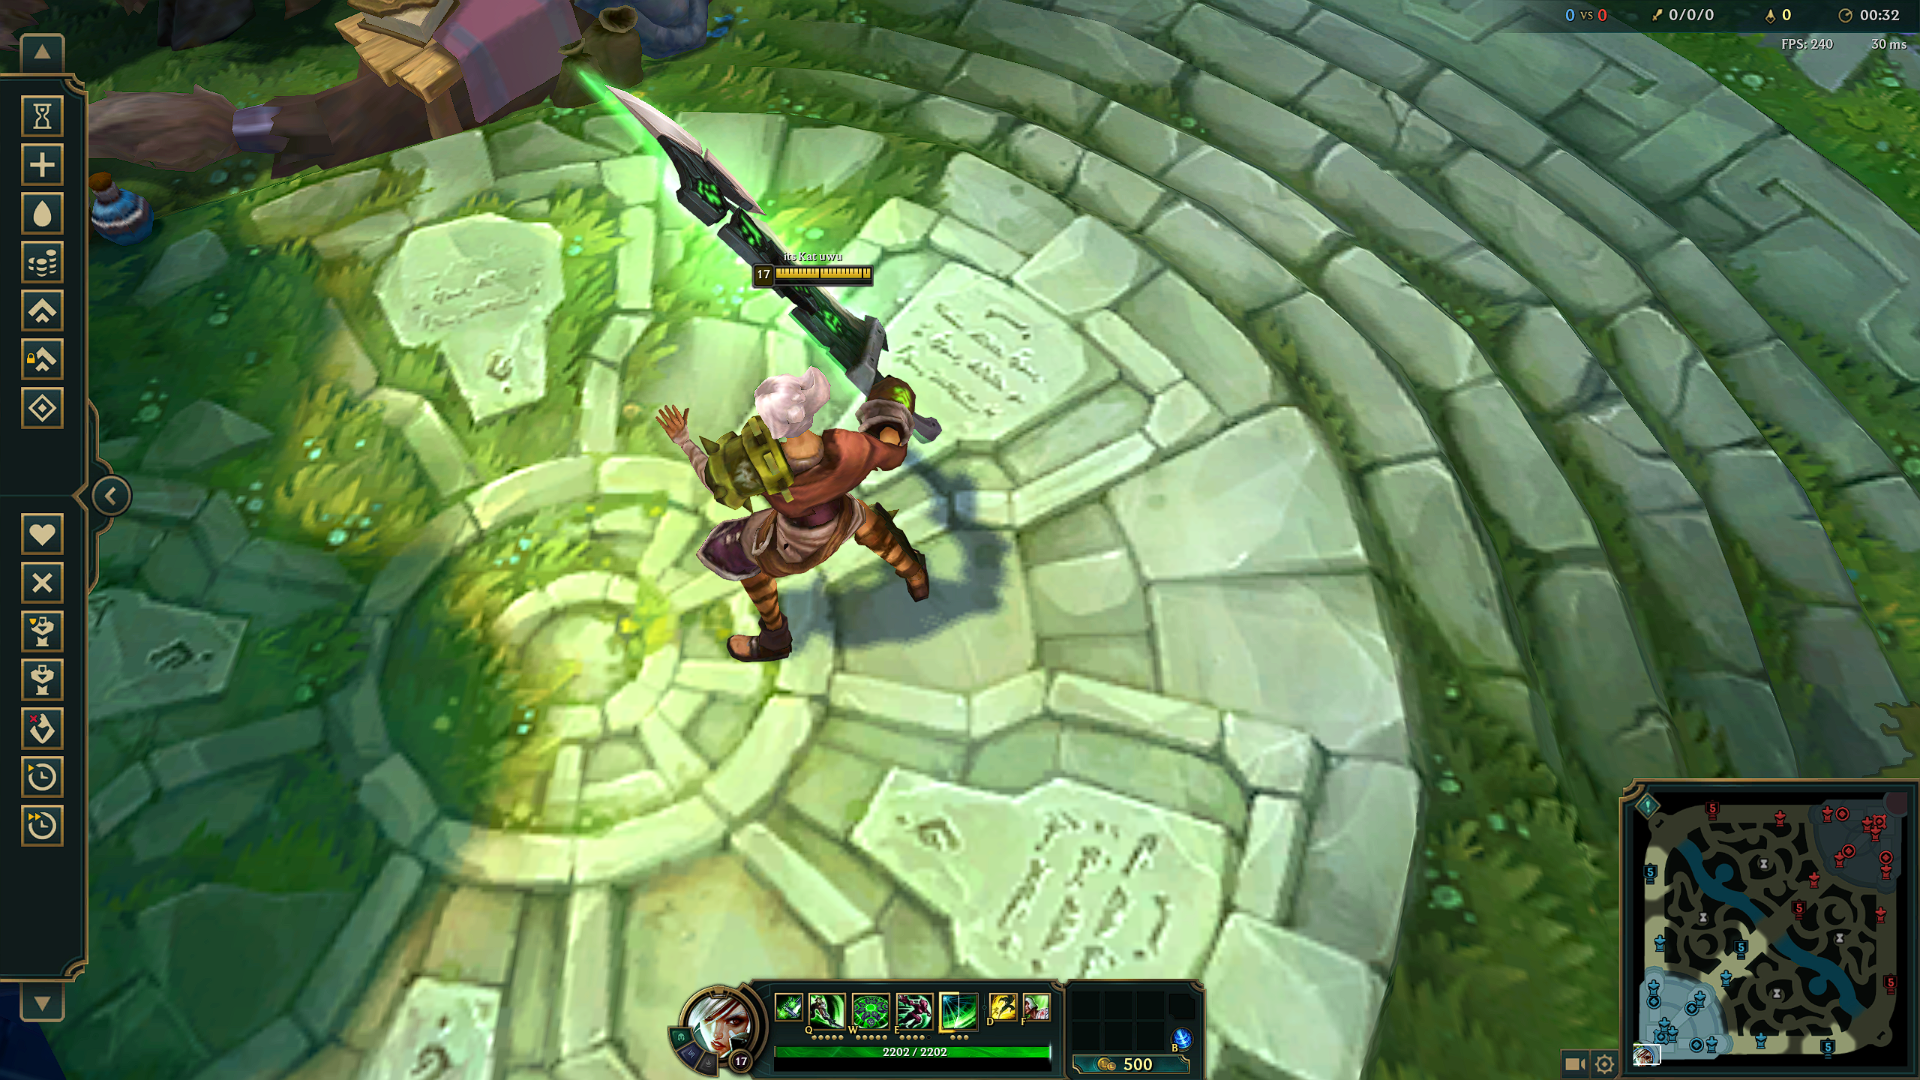
Once I was finished with my simple sword, I wanted to try challenge myself by making a more complex sword, and for this I decided on Riven’s broken sword from League of Legends. The first thing I did was look up a nice clear reference and I brought this into blender. Then I started with the handle, using a cylinder primitive (I deleted half of this and added a mirror modifier), and used many loop cuts and moved these on the Y axis to create the stony bumpy texture. I deleted the top and bottom faces and then extruded the edges at the bottom of the handle to independently construct the knobby ends and connected these with a bridge loop. To finish I used the vertex slider to refine my shapes a bit and shaded smooth.

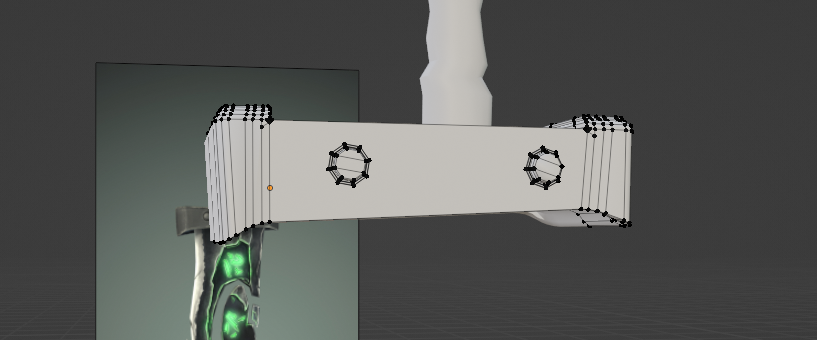
Then I worked on the cross-guard using a cube primitive (note for all my models in this I used a mirror modifier as I knew each side would be the same), and I stretched this outward to create the width. I added a loop cut towards the end to create an edge and beveled the other to replicate the nice smooth curve on the side. Then on the top and bottom faces I extruded outward and adjusted the shape to fit the reference and used scaling and beveling where I thought appropriate. The last thing I created was the octagonal bolts on the front, using a cylinder with 8 edges and scaling to fit the reference accurately- I then extruded in and out to create a sort of lip like on the reference and a small bevel to the edge before duplicating and joining both to the main cross-guard shape.
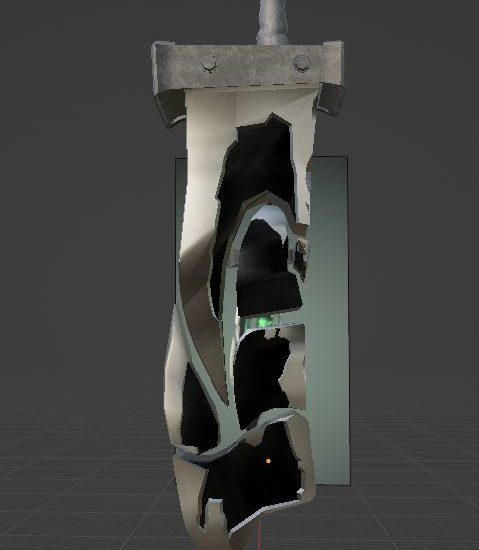
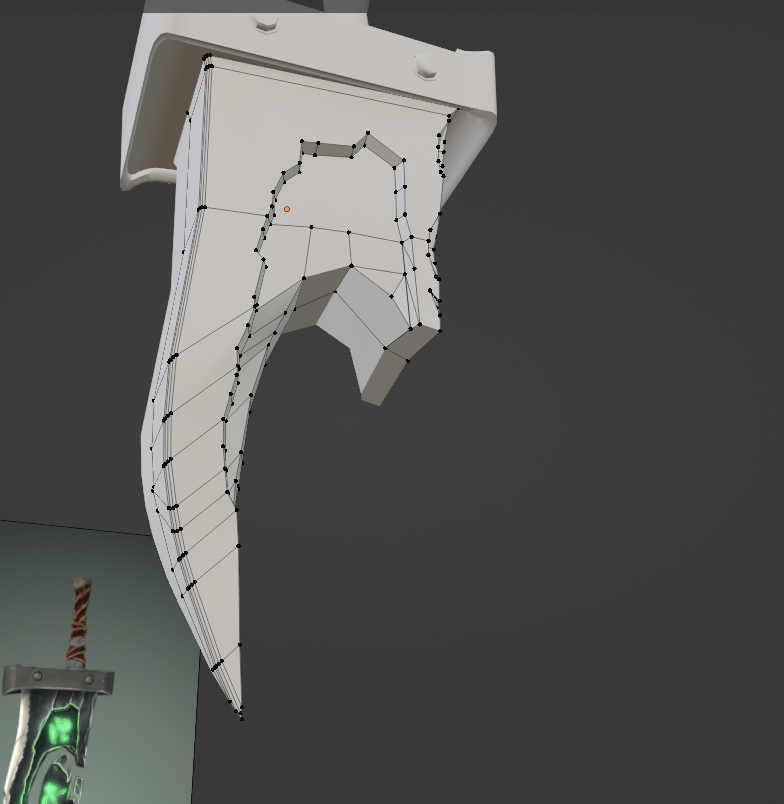
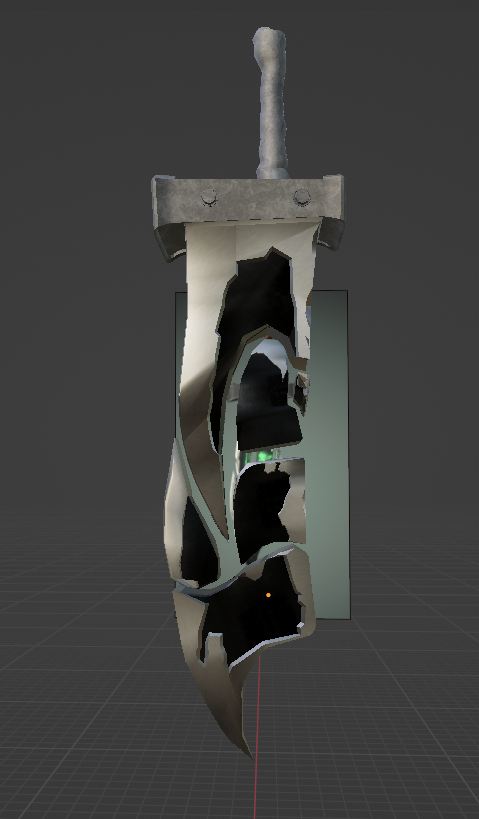
The last part of my main model was to make the sword, again I used the cube primitive to start. I scaled the cube to fit the rest of my models and then began extruding, adding loop cuts to separate the two ends of the blade. To cut out the inner rune area of the blade I traced the edge with the knife tool, and then made an outline of this before scaling the faces inwards and creating this cracked edge/lip. I added cuts into the sword in a similar way and beveled the smooth edge of the broken sword and merged the bottom vertexes into a point. For the 3D look I sourced help from my friend who knows a lot about the character, and she sent me screenshots of the base model to assist my modelling.
I shaded smooth and applied my scales before joining all 3 of these together into one model. To help me visualise how the model looked I applied some temporary materials that would help me plan for my proper texture map later.
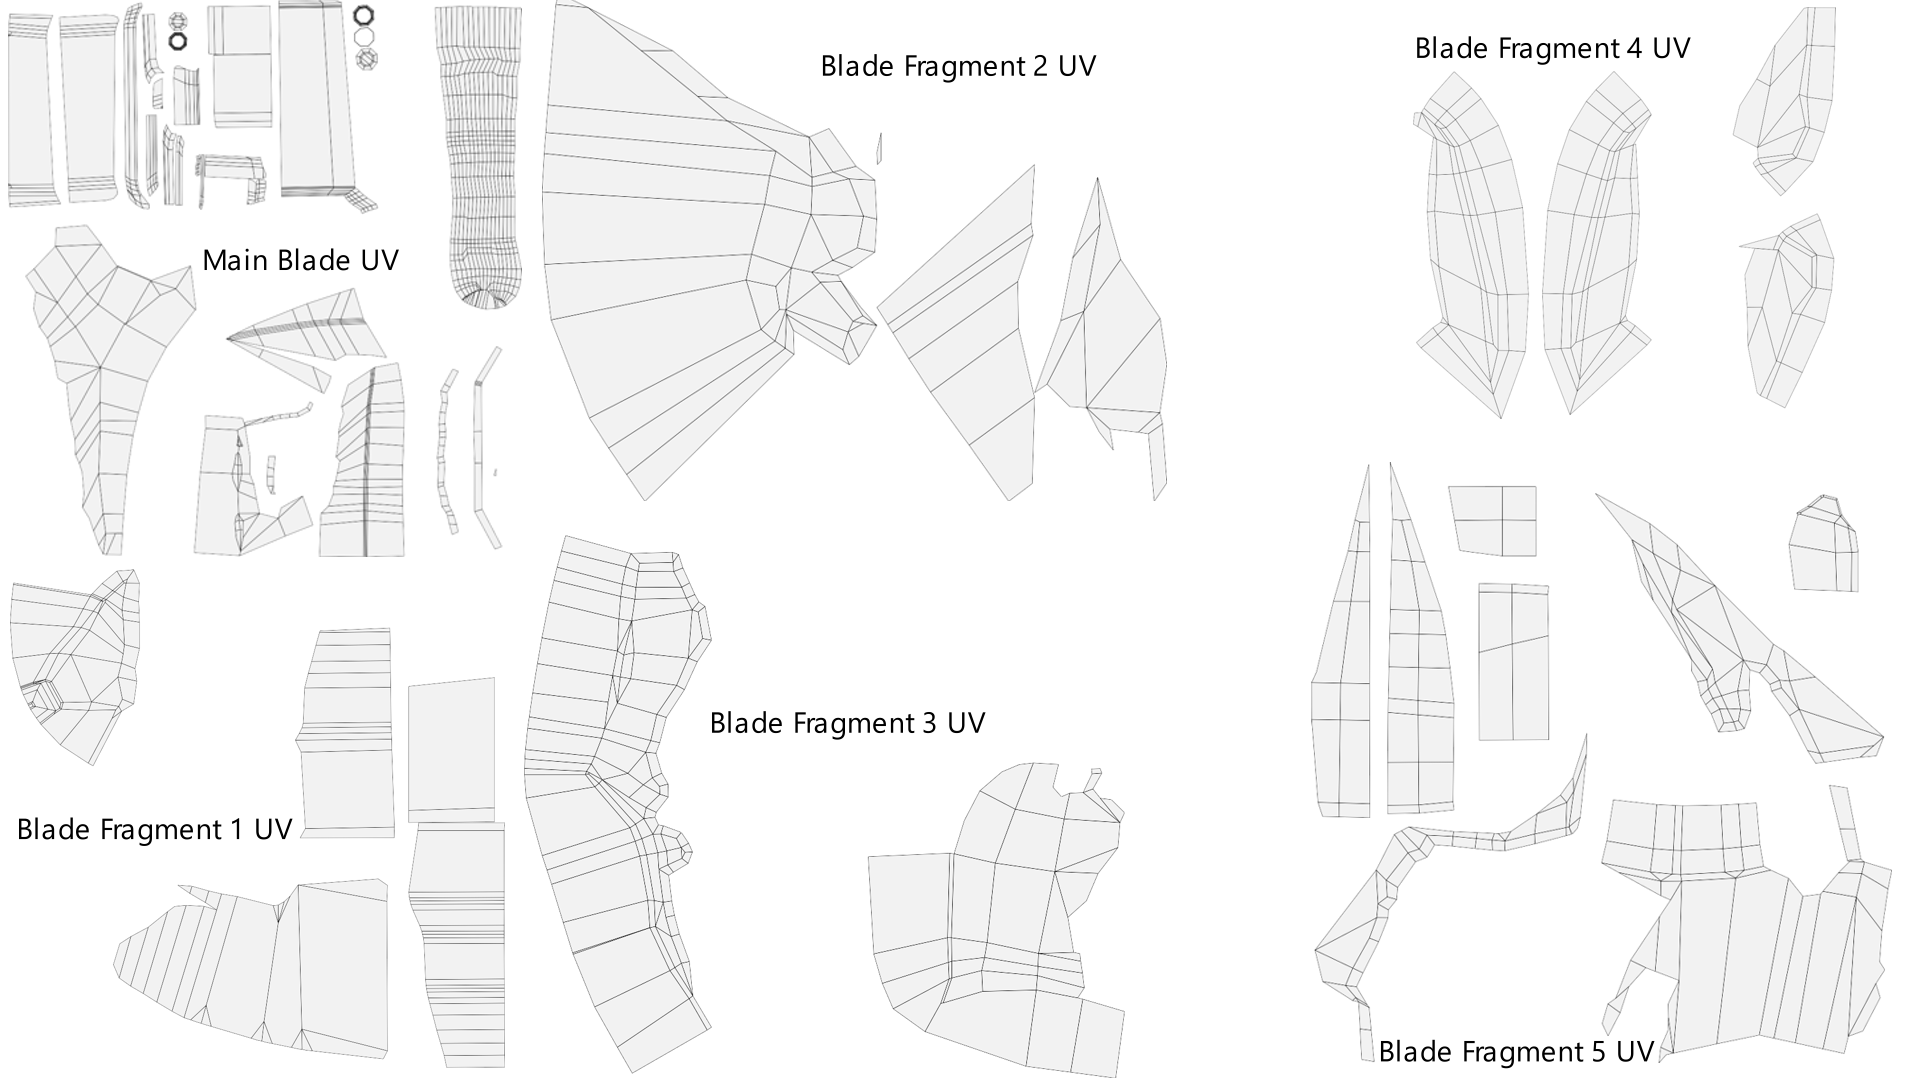
Then I got to work on all of the blade fragments, I made these the same way I made the blade of the sword (using a cube primitive and using the knife to cut out the centre area and scaling to adjust). This process took time but approaching each area the same way allowed me to stay calm and just work on the shapes for the piece. The end blade was the trickiest to make but using the reference image and the 3D view of the sword from my friend’s screenshot I was able to make it recognisable, by first creating the main shape and then going back and refining the sharpness of the blade with some proportional editing and beveling.


With these models done I started to unwrap my models and apply some nice texture. When I started UV mapping, I realised I left some n-gons and made sure to clean those into quads and triangles. Then I applied a checker texture and used a UV project modifier to help with breaking my model apart (also since each of my models are using the mirror modifier it meant that I only needed to do half the amount of work unwrapping them). Online I found some black metal texture, a silver metal texture, a dark grey rough metal texture and a stone texture. I used Krita to put these into the right areas of my UV maps before importing back into blender as image texture nodes.
Albedo Maps
With these imported I wanted to add a bit of extra texture to my models, so I went into the shader editor. For my main blade I made a contrast map to separate the roughness of the hilt of the sword and then used the metallic texture to get a shine on my blade. I then adjusted the blade fragments metallic and roughness scales to be the same on each and be similar to the main blade.

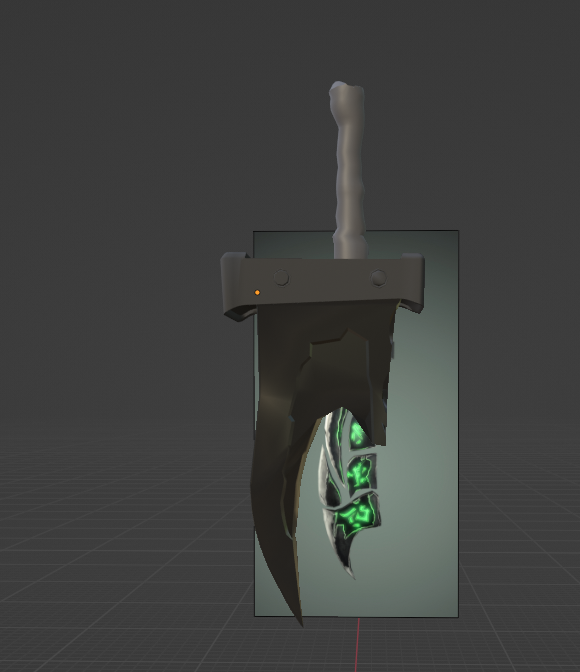
This was the final model I made, I’m not entirely content with it as you can see some of the breaks in my textures from where I used a seam and while it isn’t perfect, I am still proud and impressed that I was able to make this just using what I have learned over the last 4 weeks.
With the model done I then wanted to do a brief animation of the blade constructing together like it does in the game. So, I created a simple stage out of planes, added a camera and a light source before rotating and moving my model and the camera until I was happy with the result.