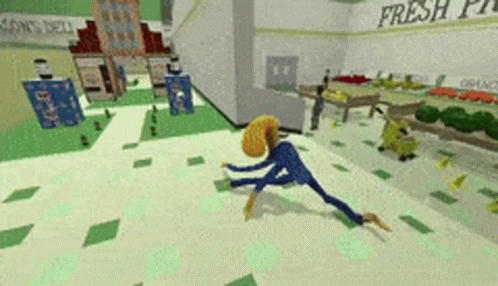
Again, I tried to go for something kinda goofy and overexaggerated. I’m actually pretty pleased with these, I think they’re probably good enough to be implemented to the game for Monday’s play-test, at least. I took a little reference video of myself to get an idea of the stride, and I referenced a simple stop-walk sequence on mixamo. Additionally, I took a little look at some octodad animations:
Obviously I haven’t gone quite this ridiculous, but I I do quite like the stretchy, silly limb movements.
I offered to help Amy, our animator, with some animations as she is working on those alone and it seems like a lot for one person to take on. I am not feeling very confident in this, it took me a long time to get myself back into the head space of animating digitally. I managed to finish my first pass of an idle animation today:
I think it’s OK for a first pass, and will work well enough for our play demo on Monday. I’m not too happy with the hands, I think I need to go back in and edit so that the swing is slightly more subtle, and so that it occurs from higher up on the arm.
I spoke to Amy about this, and she made some good suggestions:
I worked on the animation more after I spoke with Amy:
I added Amy’s given coordinates to make the arm ready for the basket rig. I also sped up the movement from leg to leg, as it was feeling very slow for me after a night’s sleep.
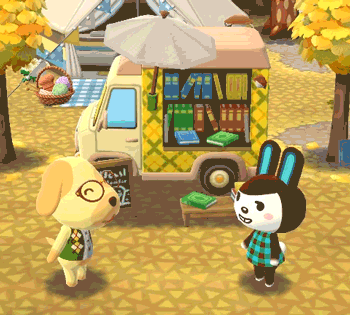
I took reference from simple idle stances in animal crossing:
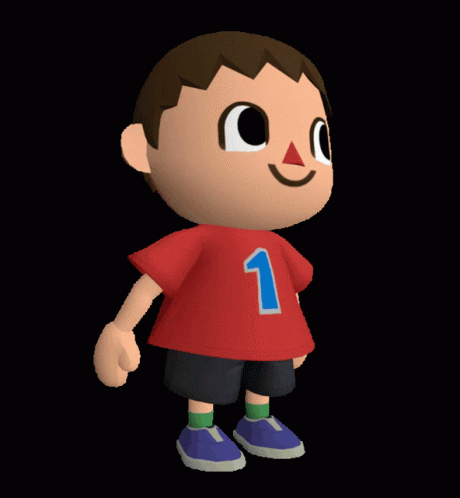
I also took some inspo from mixamo animations:
I liked that these were quite simple – I really liked the 3rd one as it’s very exaggerated, so I tried to emulate that with my idle animation.
Ryan had suggested that we should have more texture sheets, and this would allow us to have only one human model and we could apply the textures on to that, randomising which texture applied to the human’s skin.
As this was an opportunity to achieve higher resolution on the human model, I played around with the textures and the UV’s:
The cheeks and eyes were completely off, and the eyes felt a little small on my initial pass.
This was getting a little closer, but the cheek blush felt very in your face, I tried lowering its opacity:
The cheek blush felt a bit too big, so I scaled it down:
In the end, I just felt that the texture blush was a bit too silly looking on the face. It worked well for fingers and elbows, but as the face was going to be extremely noticable, I moved back to a subtle blush:
Ryan was able to get all of these elements pulled into UE:
I spent some of the day designing the additional characters for my lip sync animation cycle, first I went on the hunt for some reference:
I didn’t want to labor over designing these characters for too long, as they’re only in use to establish scale and a little bit of narrative for my main character gigabyte:
I’m really happy with the way these characters turned out, and I think that their little composition is cute. I plan on having Facs be emitting light, like a photocopier, her eyes flickering over to the camera; I want Keyz typing on his keyboard and characters appearing on his monitor display; I will have Tef turn around to look at the camera whilst on the phone defensively, and Buzz will simply be floating up and down and will also turn around to face the camera.
I am feeling incredibly overwhelmed and burnt out, I would love to make some real headway with this animation this week and be asking for feedback moving towards the weekend.
Due to a dip in productivity, I wanted to bring my audio into rough animator on ipad so that I would be able to go to my local library and work, to get out of the house for a while. I followed this tutorial to get that working:
I also changed up the audio a bit, as per Alec’s feedback. He told me that the animation was a little long, and it might help to lighten the load by taking the bulk of Ali’s dialogue out, and just have her come in at the end to take Giga-Byte’s battery out and interact with him for a very short time. I also added a little break in between “What is wrong with you people?” and “We are office drones” so that the scene can cut to some office-robots performing administration tasks. Alec had mentioned that it was quite difficult to contextualise the surroundings and situation that my two characters were in, which made the animation hard to follow. I think by adding some administrative robots to cut to, will add a little bit of humour but also allow me to establish the scale of gigabyte and make it a little easier to introduce ali to the scene:
I also spent the evening making a rough story board for the animtion, to get my mind around the camera, movements etc:
I am planning to spend tomorrow working on the administration robot designs, and nailing their composition for their short few seconds on screen. I want to make sure that they’re well designed, and as they will have very minimal movement I believe that I am OK to use this time to focus on their design and layout.