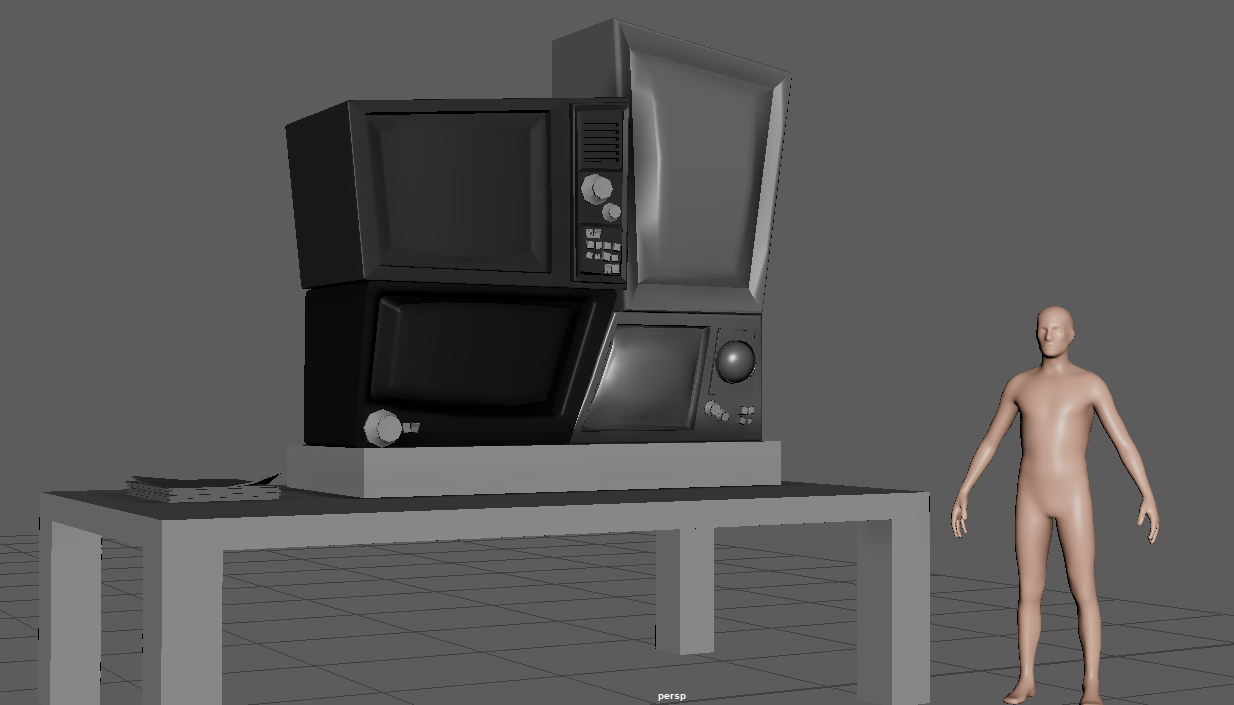

I liked this pass on the monitors more, so I decided to work on the more after this initial model.
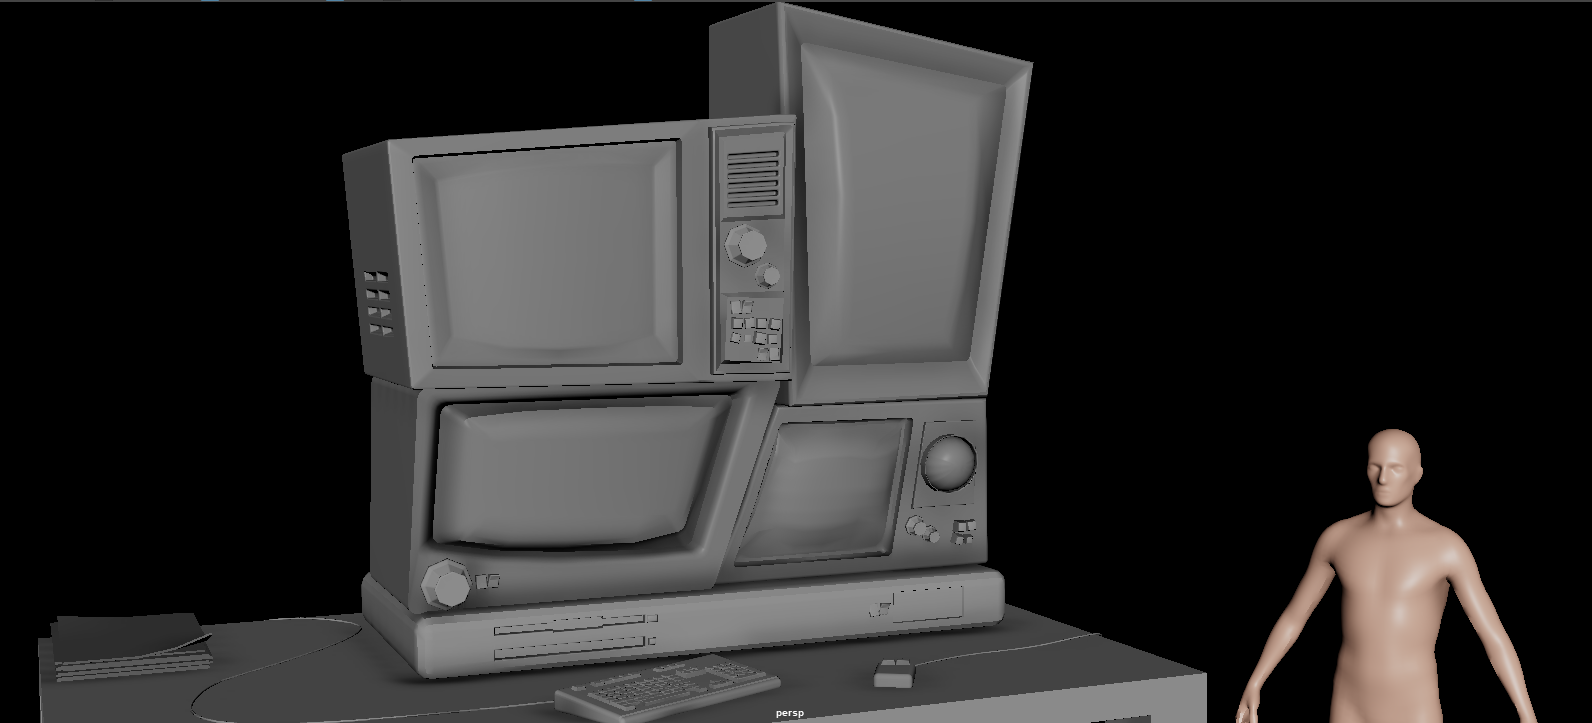

I added more soft edges and generally cleaned up the initial models, and also added a mouse and keyboard.
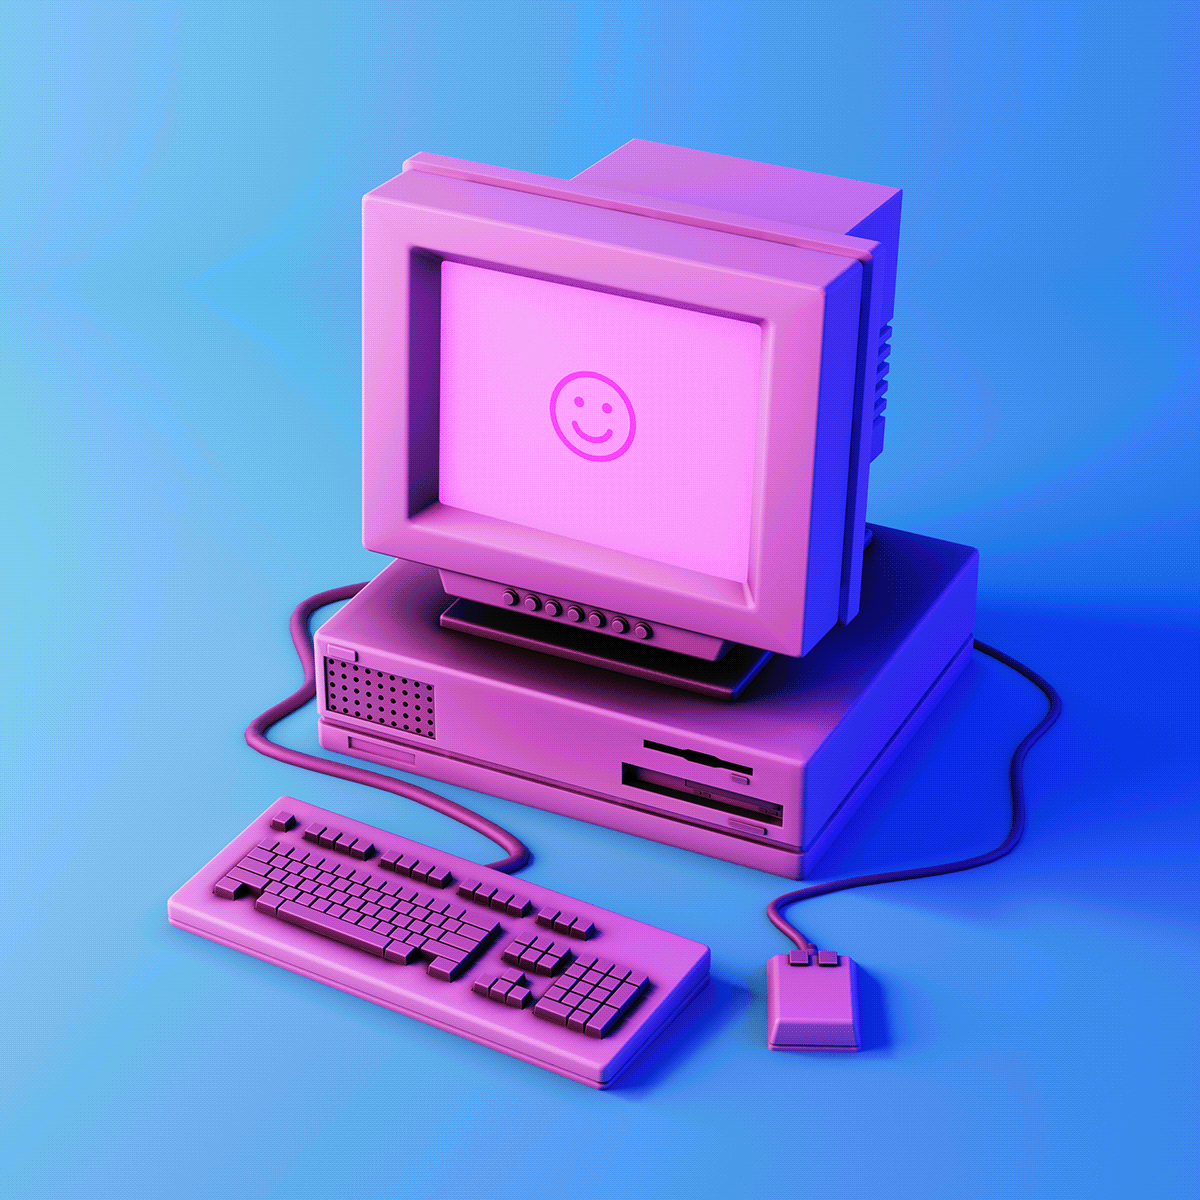
I used this as reference for the keyboard and generally smoothing out the model.
I tried getting these assets into zBrush as they were, however there were a lot of Ngons. I tried to fix these and pull the asset back into unreal, but I was unsuccessful, so I decided to model them again, along with the mouse and keyboard:

I felt that they were not looking as good as they could, and I wanted to try and push myself to create something better looking. I took the TV monitor assets into Zbrush to sculpt:

I actually really like how these look, I think they’re textured enough through the sculpt but still keep the sort of style we’re going for. The only issue with these, are that they’re very dense in polygons:
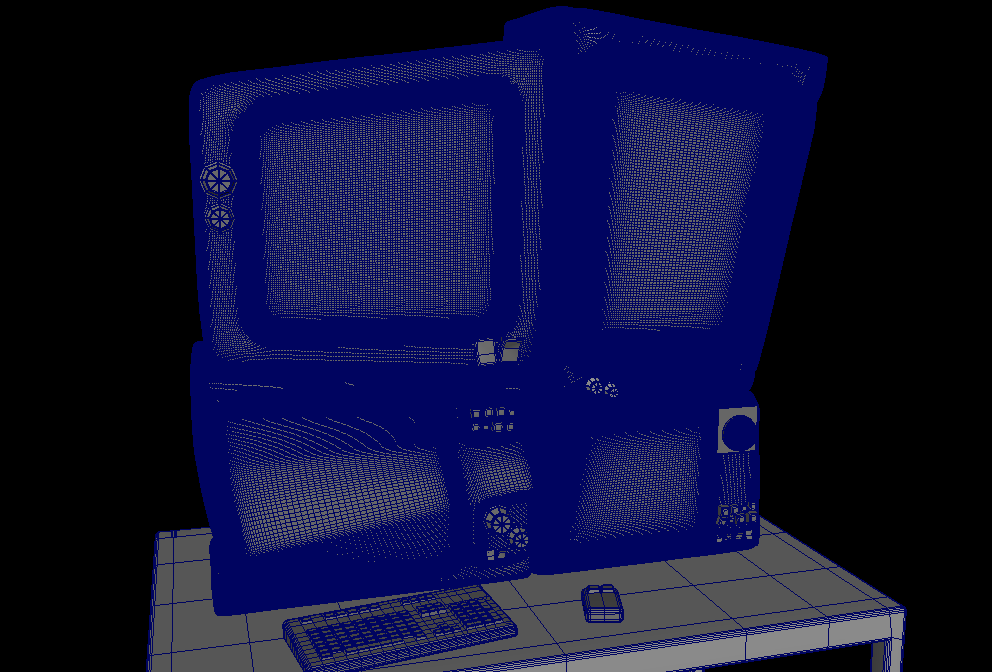
I don’t particularly enjoy the way these look baked, and therefore I am currently thinking about whether or not just to keep the original low-poly asset as is and texture, if I should bake the textures onto the low poly models, or if I should run with the high poly mesh as these will likely be a subject of focus in the cinematic.
I have also began modelling my server asset:
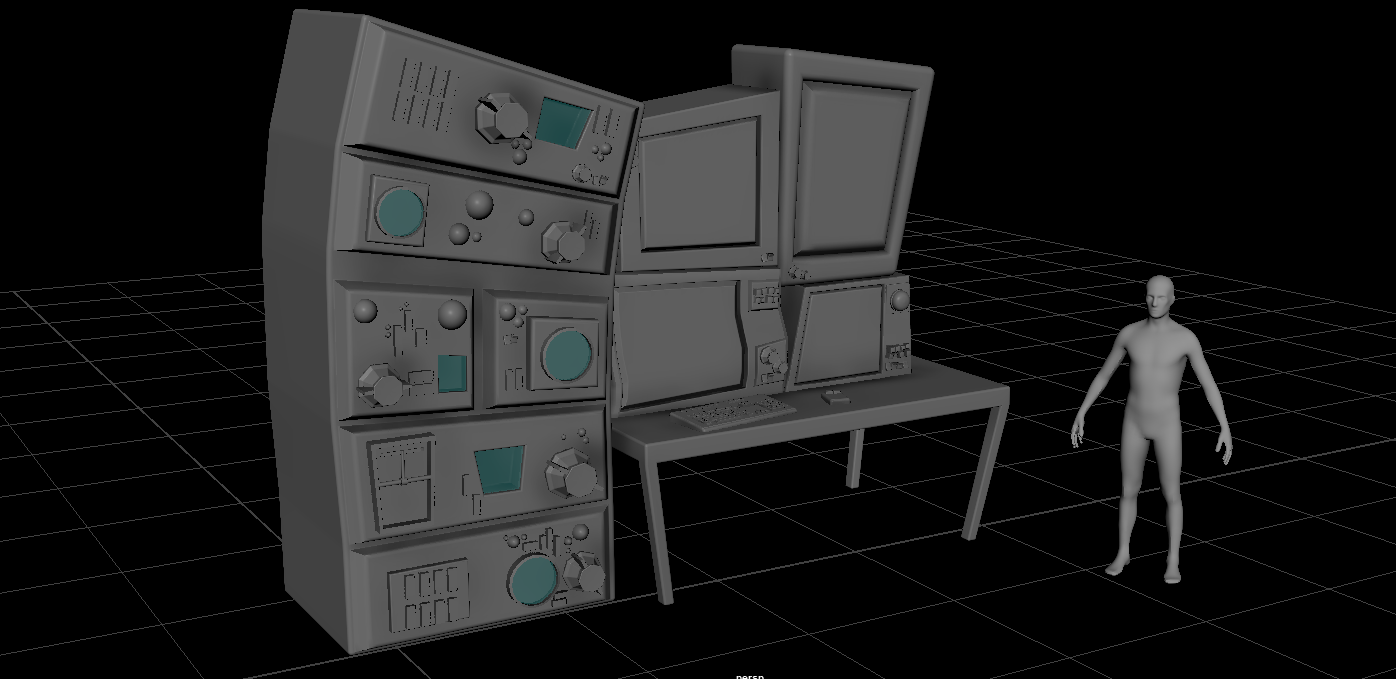
I’m actually pretty pleased with how this turned out; the next steps will be ensuring that all of my assets transfer flawlessly into UE engine (If they do not, I will need to check the topology and sure that they land in there fully functioning), UV unwrapping my server asset and table (the rest of these two assets are fully UV unwrapped), and texturing the assets. After this, I will need to see how the textures look in the environment with the floor and wall textures. All being well, I will be able to see the assets working together and will be closer to getting everything ready in UE5.
