This week was spent learning to UV map, our tutor gave us 3 different cuboid models to work on, as I had previous experience with UV I dove into this with confidence.

The first challenge was learning how to UV map using cuboids, It’s something I already worked with, however, the refresher was nice, as I remembered what UV maps looked like, I had completely forgotten how to apply them to the model itself, and the lesson was overall very useful.


Once I had applied the texture to the cuboid, I checked for any alignment issues, which there didn’t seem to be any.

The next one was a bit trickier, as one had several of the vertices changed about and its scale was changed, whilst at first, it went well, I noticed that some of the vertices needed to be resized, however, once I went to do that, the connection to other vertices caused other points to move, points located where I had already UV mapped correctly.

My only solution was to cut the ties with all the sections and then to use each face as a separate point, and move them to be in the correct spot, once I had this done, the model was textured.

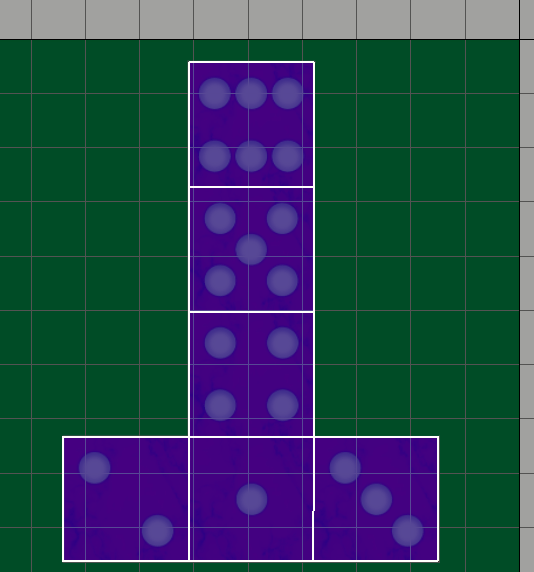
The final one was easier, as there were 6 separate faces, all I needed to do was to check where the faces were and then move them to the suitable face of the die, creating the texture


This exercise helped me to remember the basics of how to work with UV maps, and I’m glad I got the experience back, as it was something that I had forgotten the ins and outs of, and will prove very useful when it comes to UV mapping my own project in future.