This saw me begin to make my model, the model that I chose was the windmill, I knew that I wanted to make a building when compared to secondary, as It was something that I was already experienced with, however, I knew that I’d need to expand upon it, so for the week previous, I started gathering together a mood board of several different windmills and similar-looking buildings, notably some from a few games that I myself have played, and would understand, I thought of them as small influences, I took images from Cyberpunk 2077, Beyond Good and Evil (which I had just finished around this time) Pokémon and half-life, I am very familiar with these games so not only did I feel like this would help me when it came to designing and figuring out what went into these, but I felt it would help me to make my own original design so that I’m not taking full inspiration from these games and only using their small inspirations to create something original.
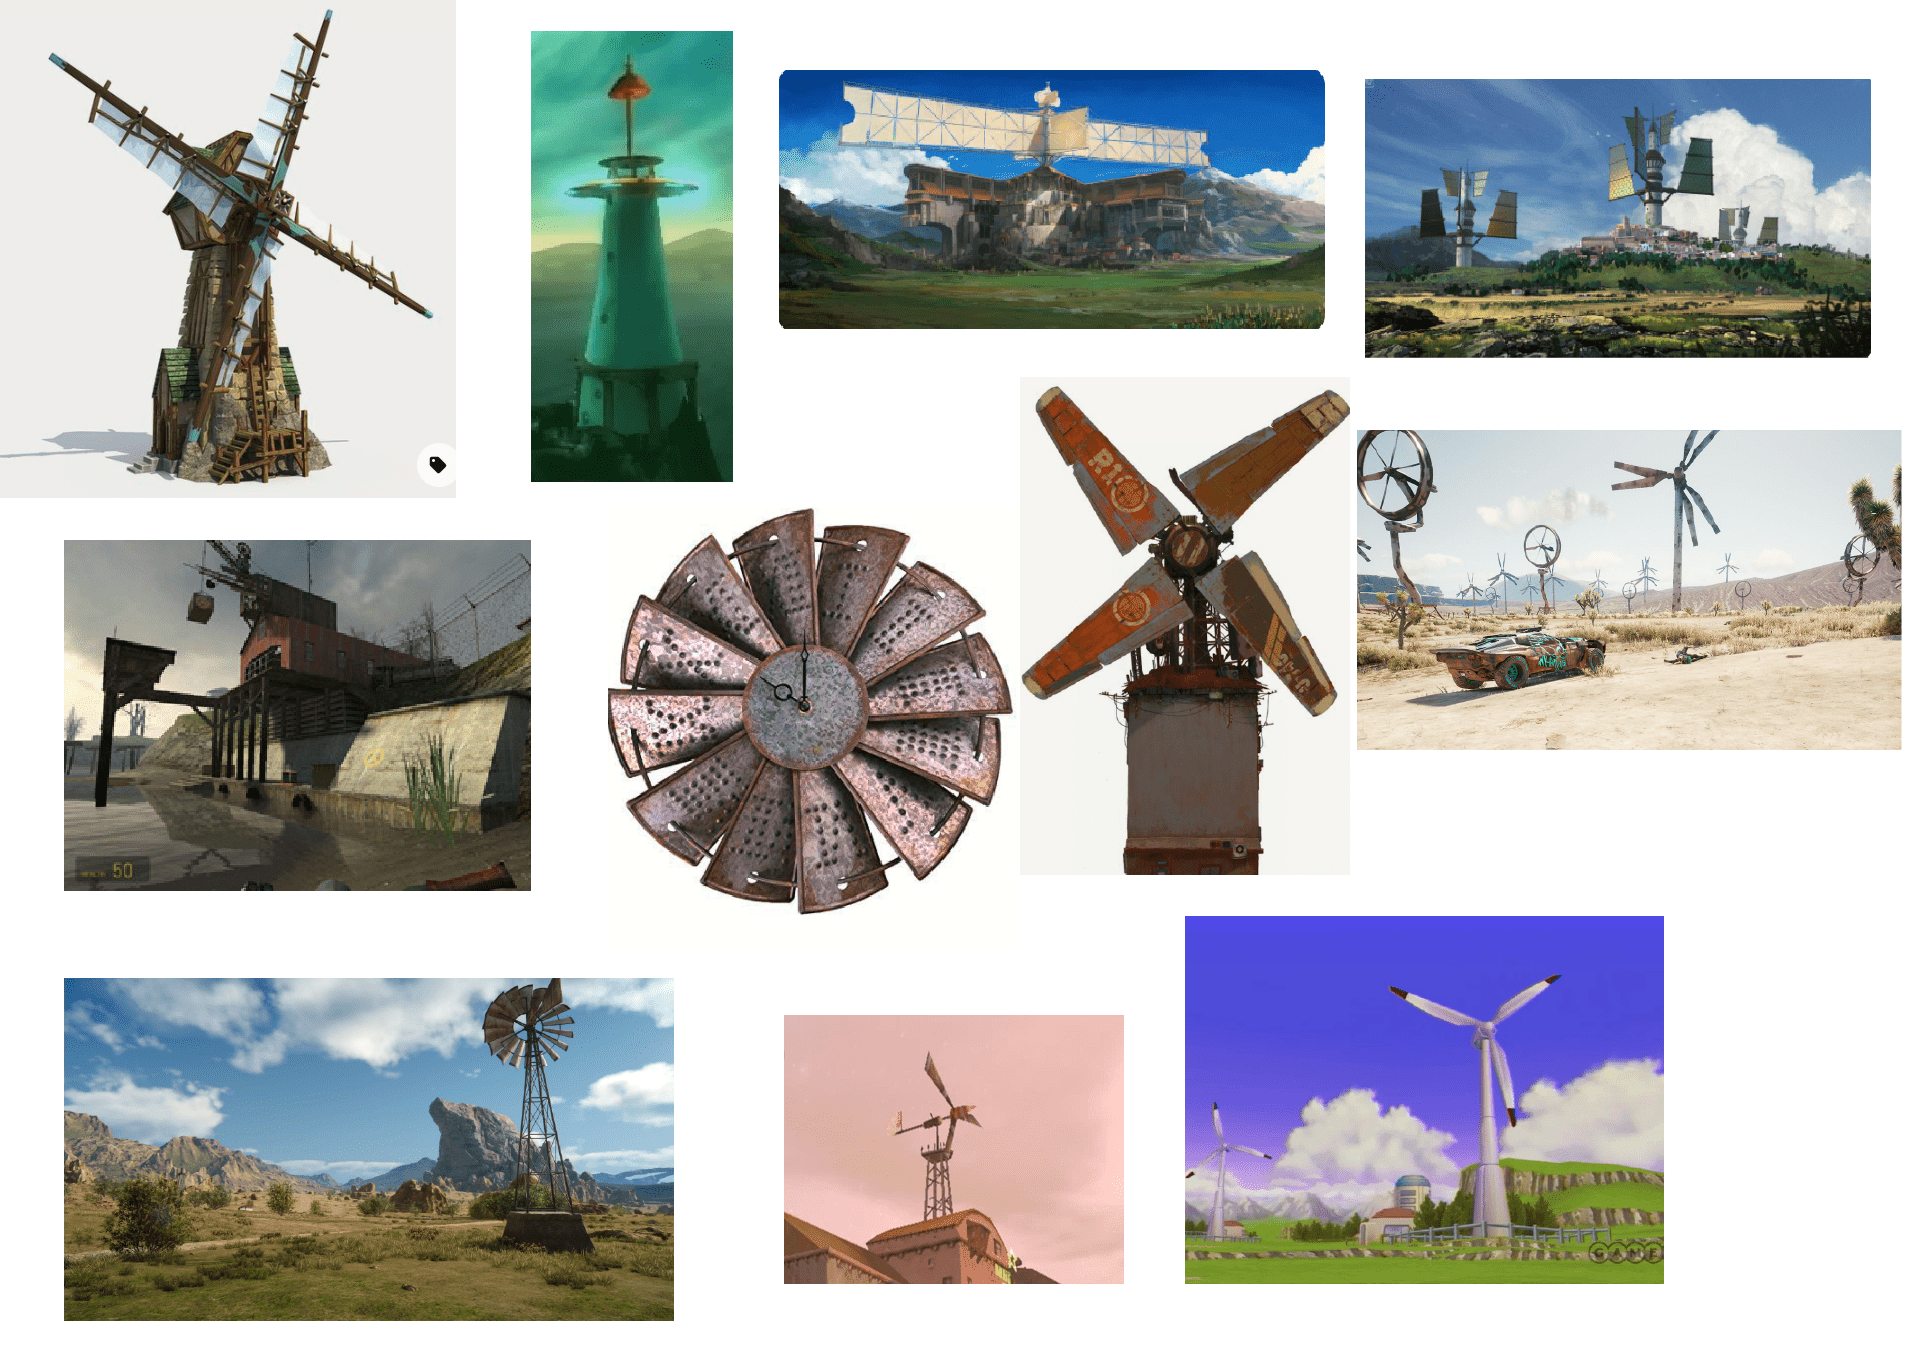
Initially, I came up with two different designs…
Design 1, was a unique case as It was a windmill that wouldn’t need a turning hinge on the top, and could work almost 360 degrees around the tower, I liked this design a lot! However, when I showed it to my fellow classmates and tutors, the reaction was muted, as they initially did not recognize it as a windmill, which I could understand, perhaps they saw it as too unique of a design.
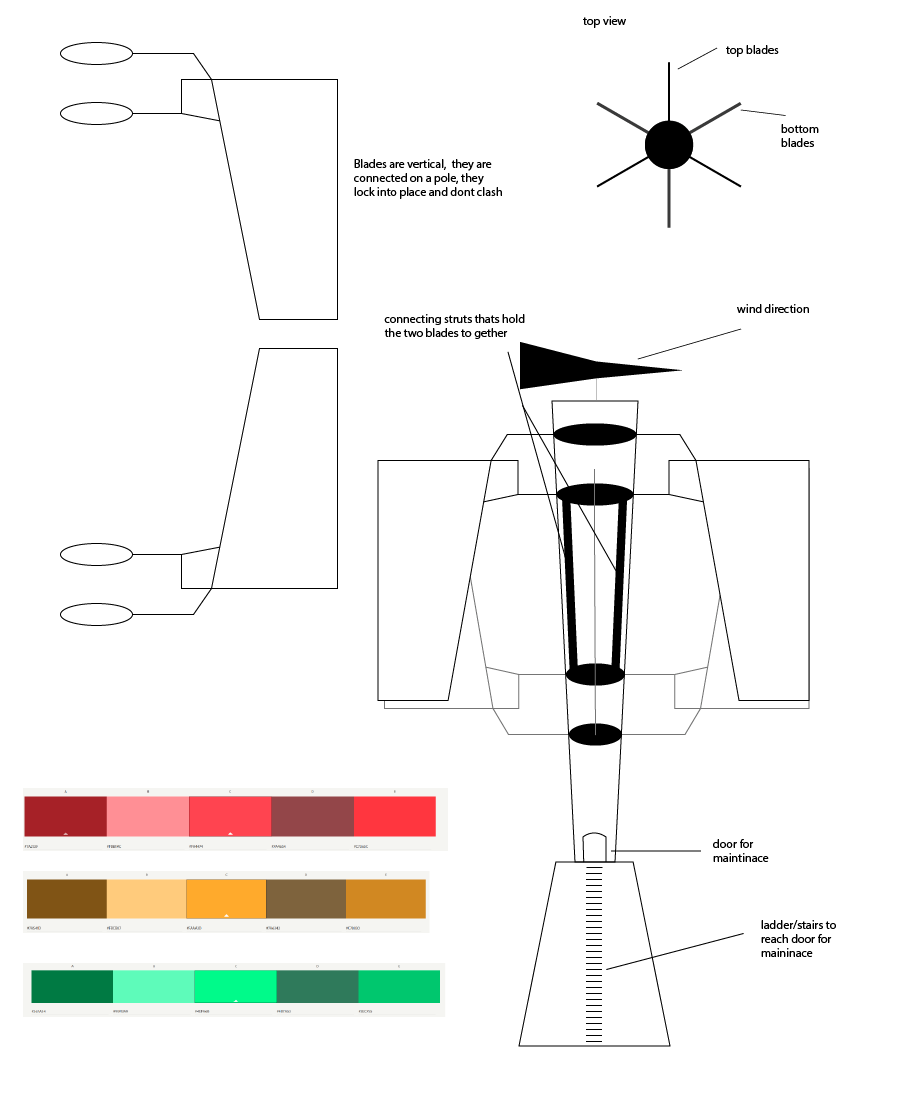
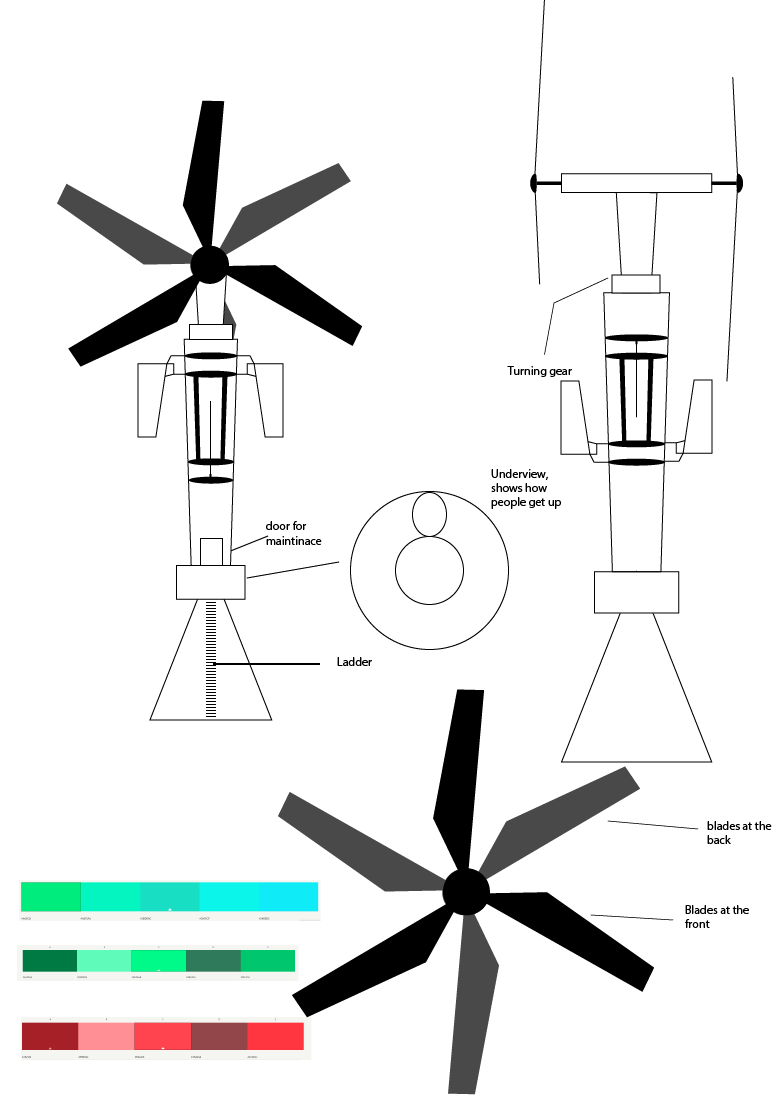
Design 2 on the other hand was a more traditional wind turbine look, however, It had two sets of blades, one at the front and one at the back, this would hopefully generate twice the power, however, if the winds were strong enough it could cause complications and could even topple the tower. When I showed this design to my classmates and tutors, the reception was different, as it was the preferred design.
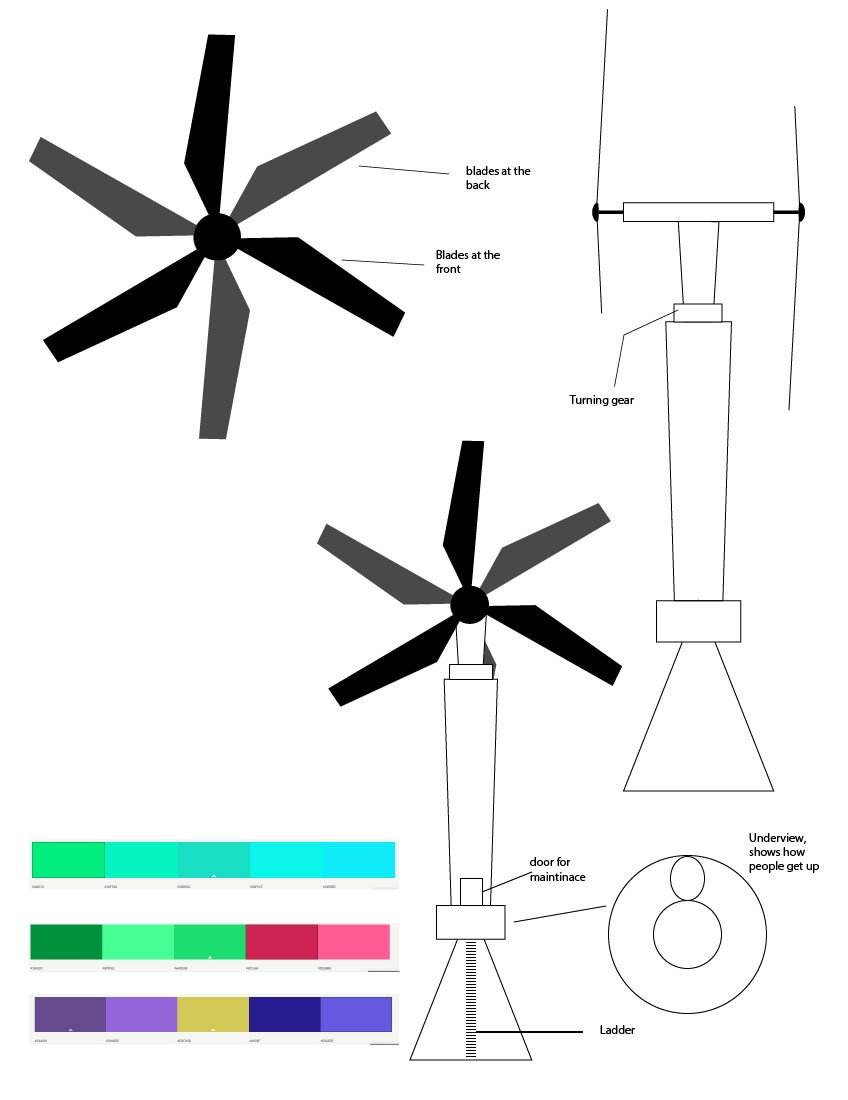
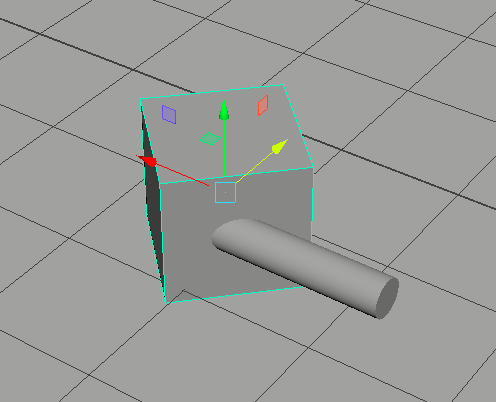
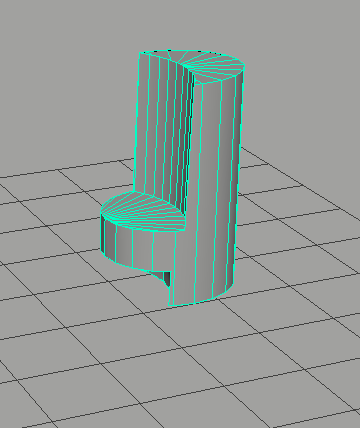
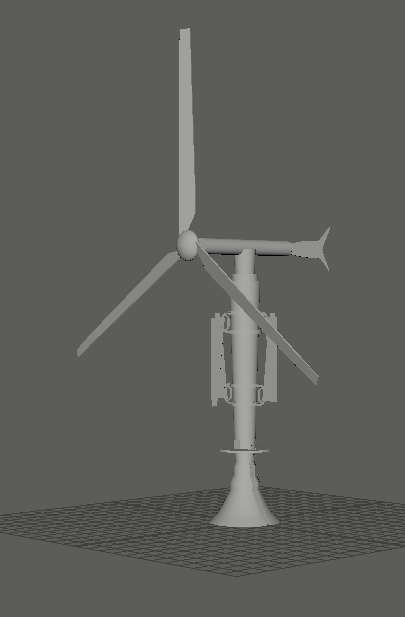
At this point it was settled, I was going to go for the traditional design, however, I felt as though it lacked any character, so instead of trying to create a third design that was something completely different, I instead mashed the two designs together to create this hybrid, it kept the most unique points of each windmill, and with this, I was finally happy with the design, and I began work in Maya.
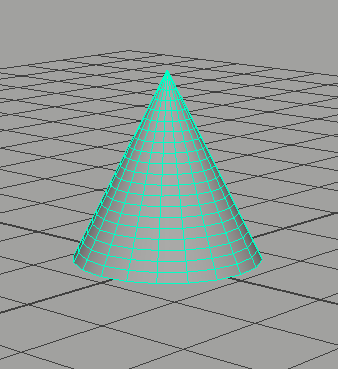
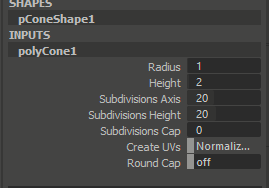
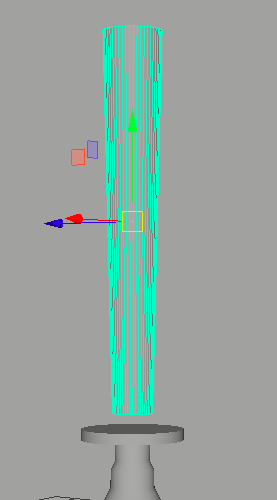
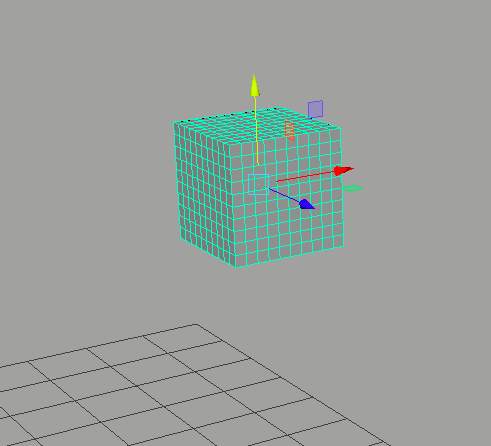
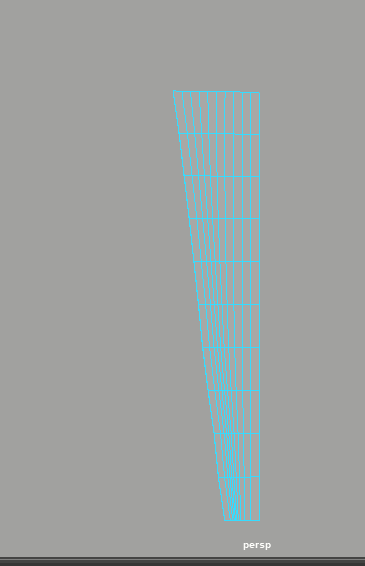
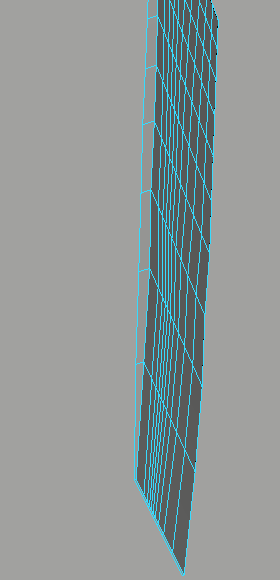
Initially starting off with a simple cone shape, which would be the base of my windmill, I began with upping the subdivisions in height and in axis, to give it higher polygons, after I did this I began to resize some of the edges to give it more stability, in hindsight I should have done more research into this, as It looks completely random, and is something I am going to improve on next week.
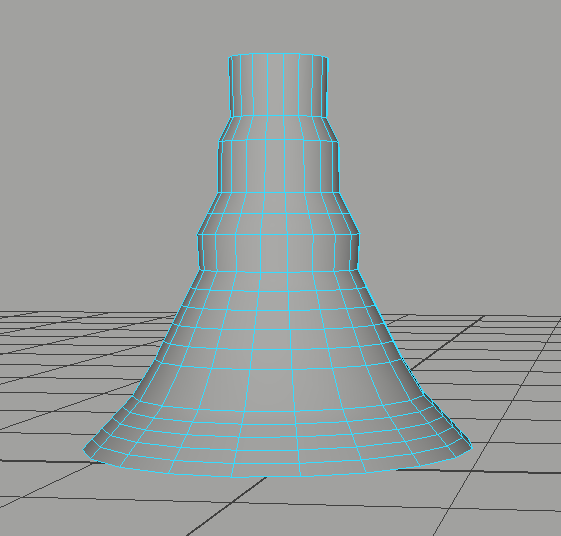
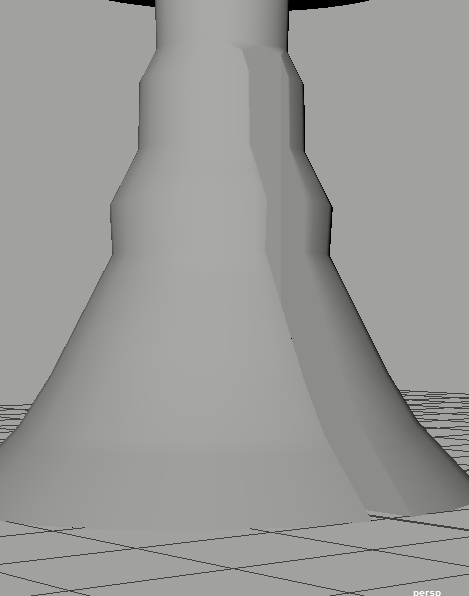
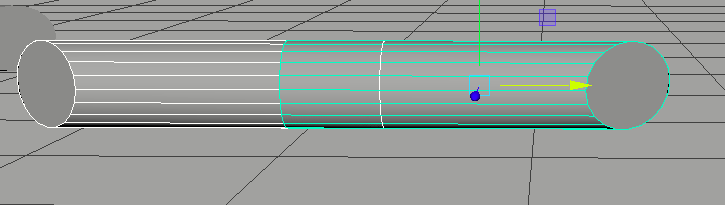
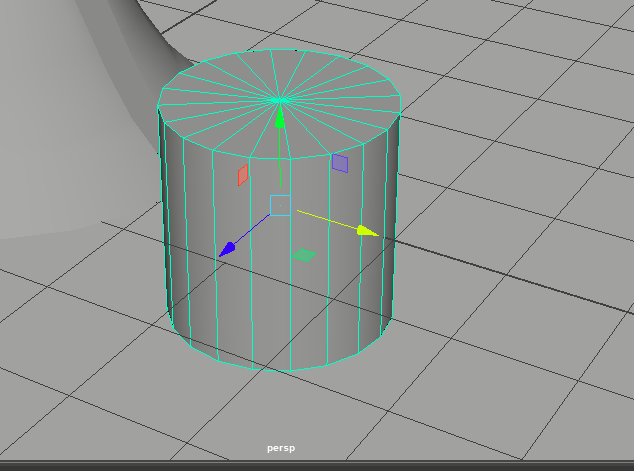
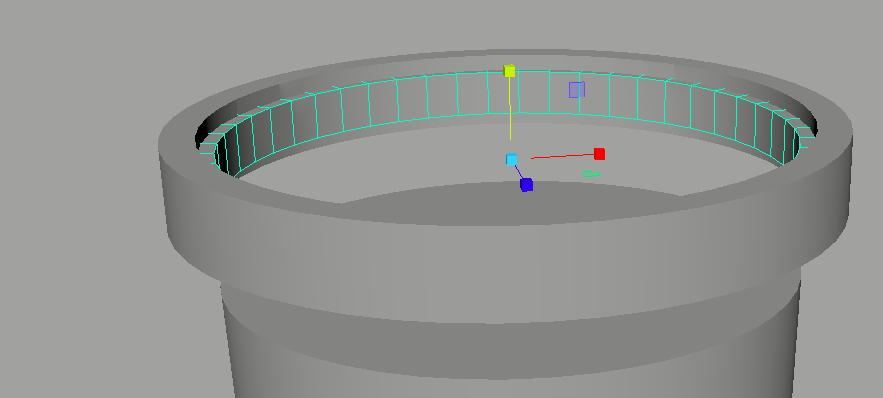
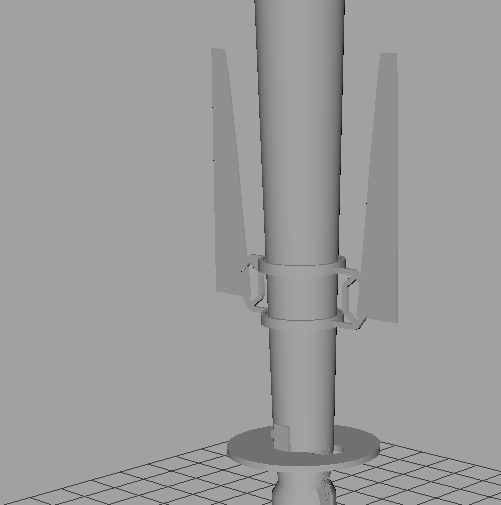
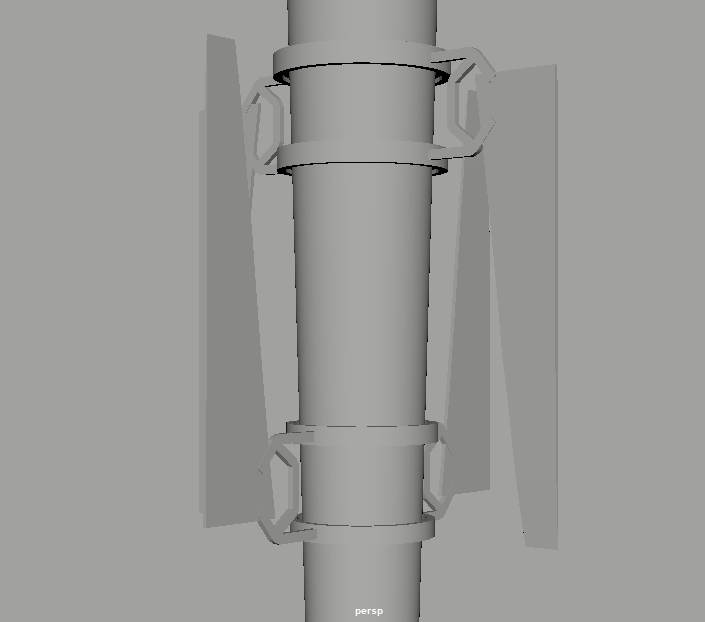
Continuing to sculpt out the base of the windmill, I began following the initial designs more closely and started more with block shapes, as I created just a simple tube shape which I flattened down to make it look like the base as seen on my initial designs.
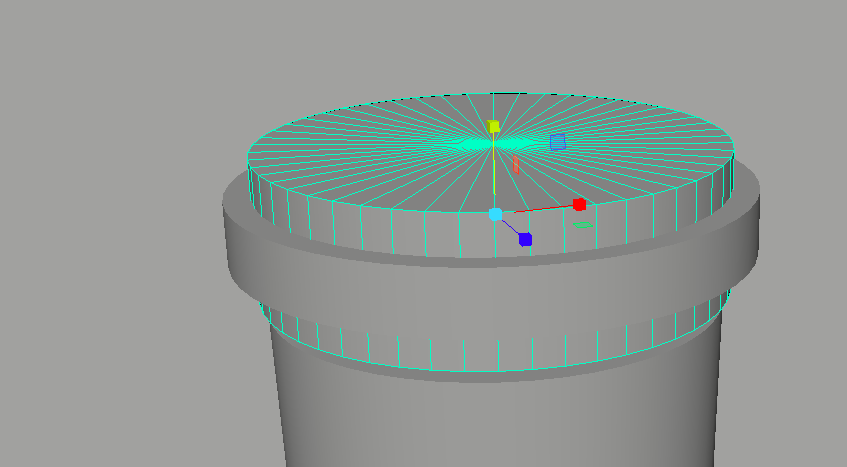
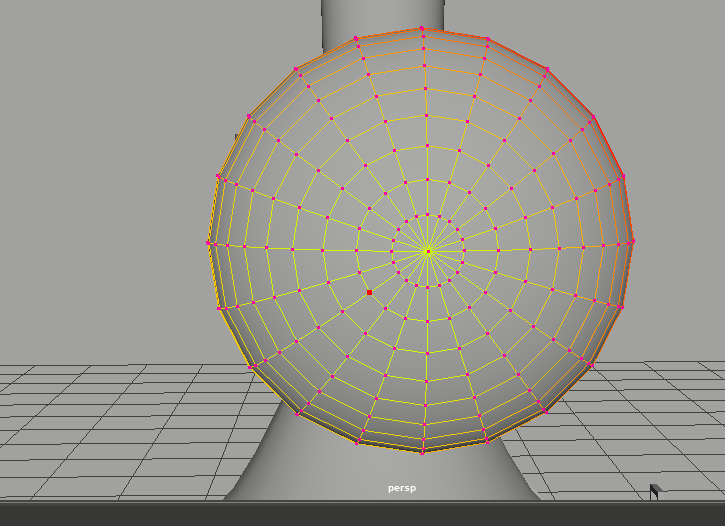
I then brought in another tube and upped the subdivisions, this time I upped the Cap to the max and the height to the max, this would give it a much rounder look.

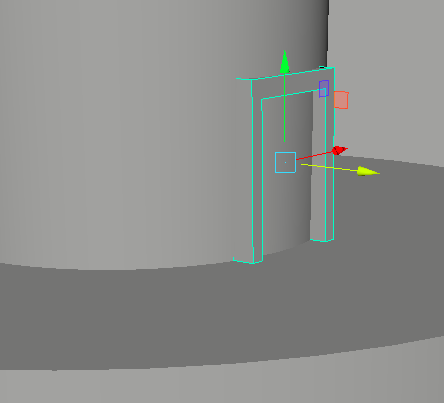
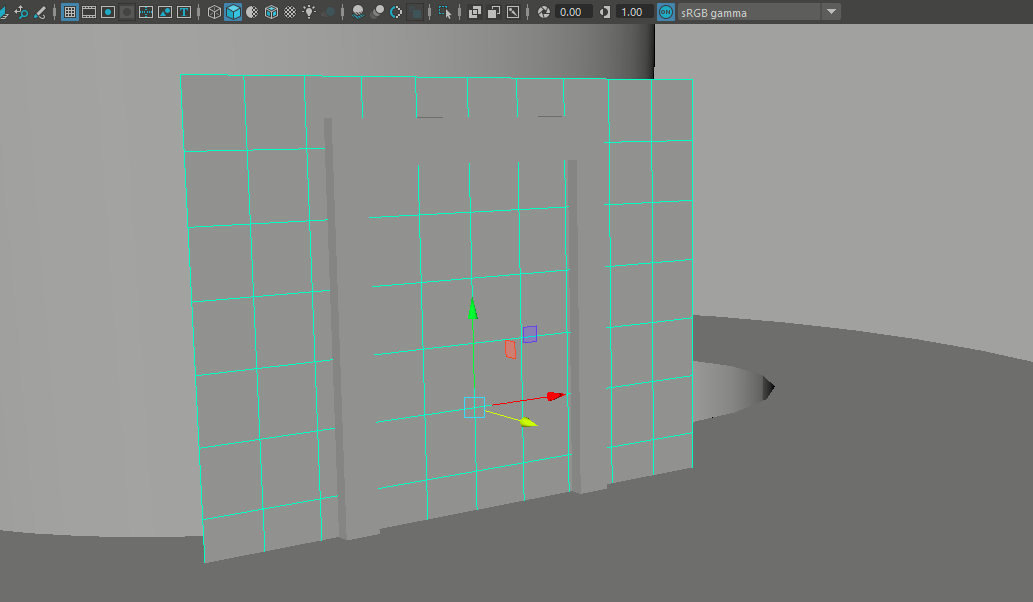
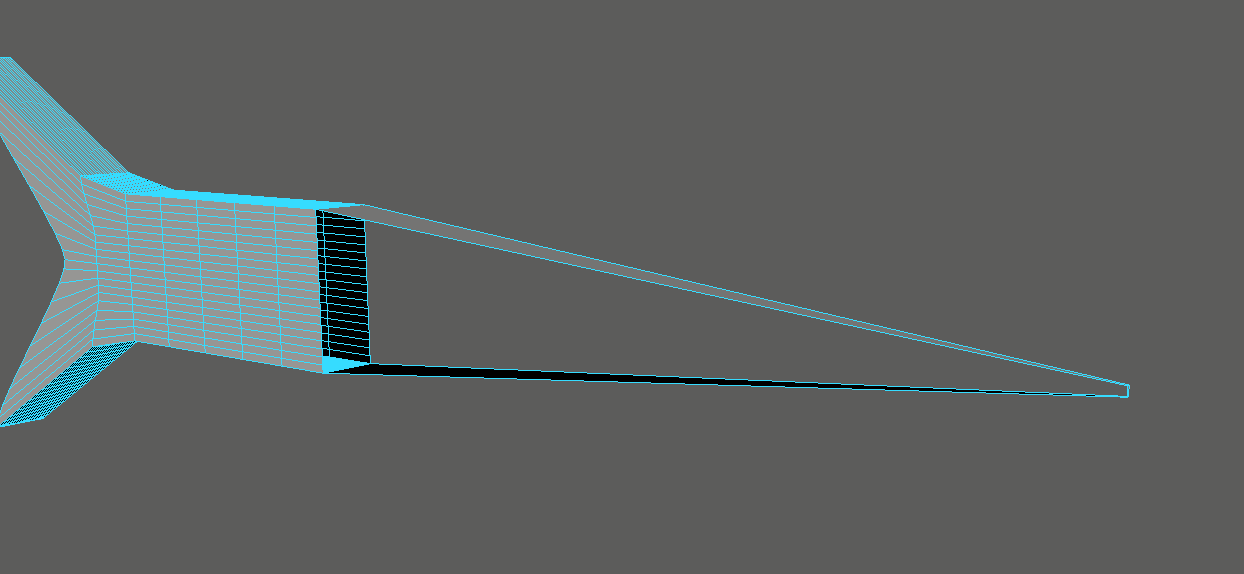
Next, I began work on a door for the windmill, this would be used to access the insides of the windmill, and would allow for maintenance and possibly a bedroom, first all I did was create a block and made it vaguely look rectangular, before I then duplicated the block and extended it outward, before using the boolings tool to give me the door frame, after creating this I then moved it to what I had marked the front of the windmill.


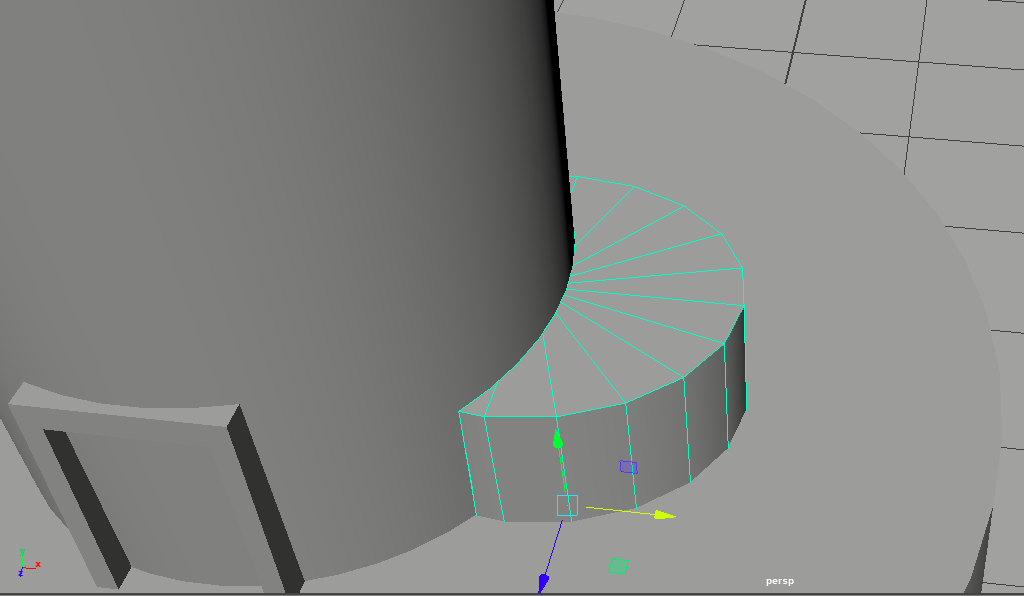
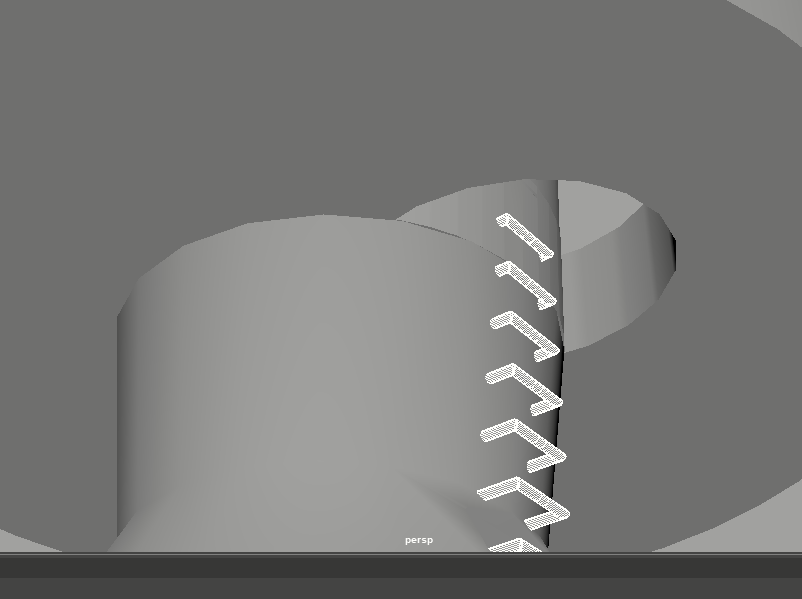
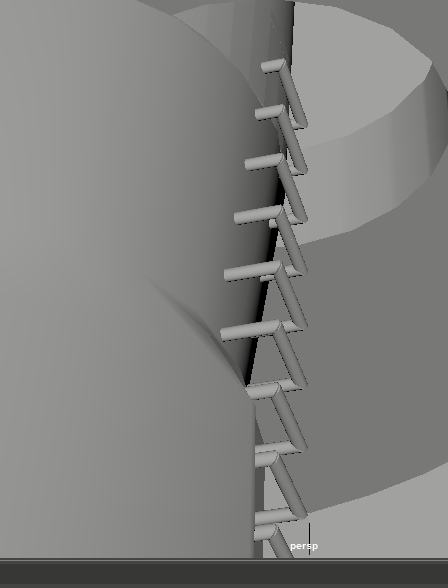
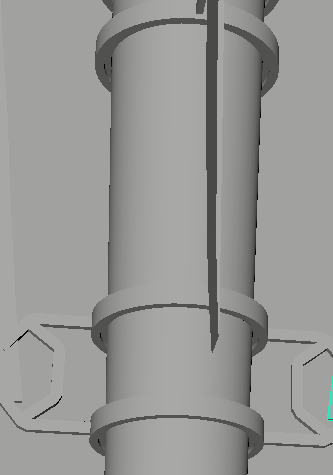
Using the same boolings tool on the base of my tower, I created a section where I could place a ladder section.
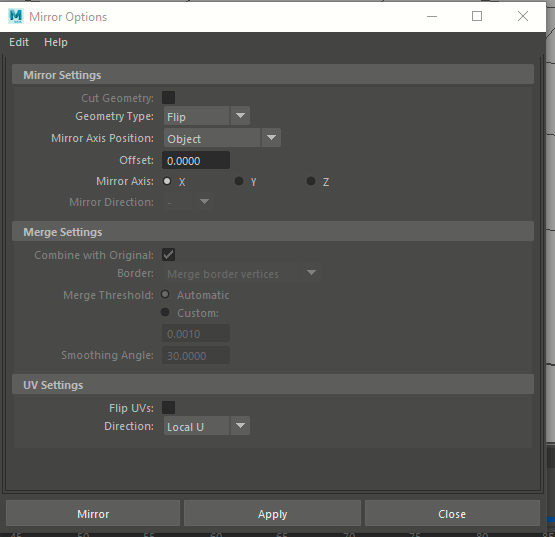
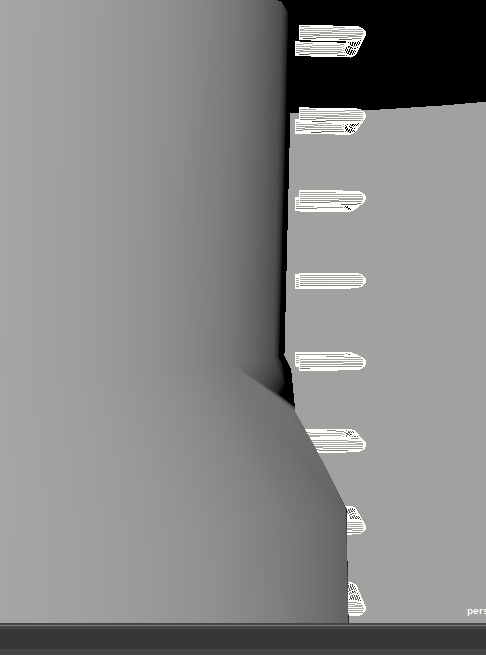
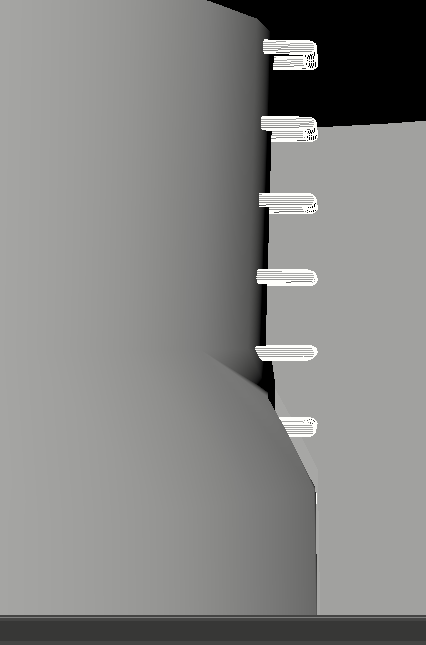
The ladders were next, I created them using simple tubes to give a modern, yet cheap look that I think works well, the ladders were created using boolings and combining meshes, along with the mirror tool to make sure that the ladders were symmetrical, I made the faces of the front of the cylinder smaller to give it a welded look, which I feel could be enhanced when I come to texture the windmill.


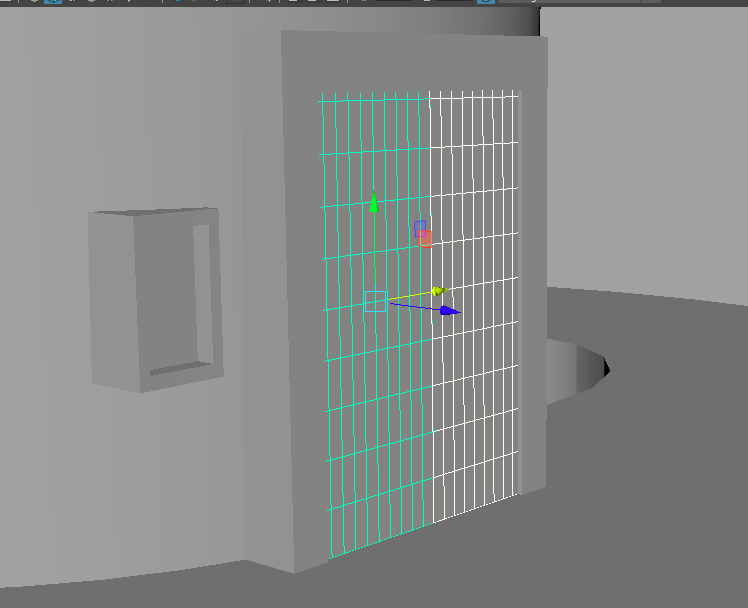
It was at this point I wanted to create an opening for the ladder to go through, and Initially, I thought it was successful, however, once I tried it, it had actually dug into the windmill tower and the base, leaving a visible gap, which otherwise would have been covered up by the platform itself, so I decided to scrap this idea for the meantime and look around for errors
I immediately noticed that some of the ladders were sticking out and were not attached to the tower at all, so I looked at each step of the ladder and moved it in so that each step would have enough room for a human to realistically put their hands into the steps.
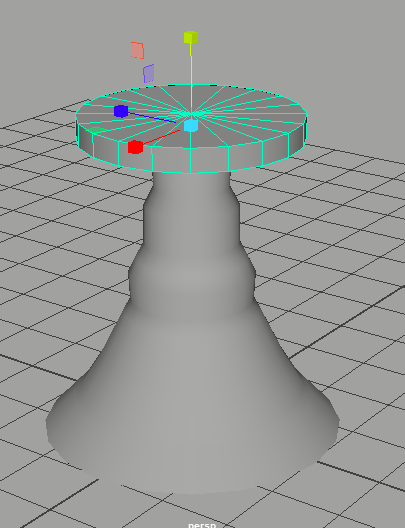
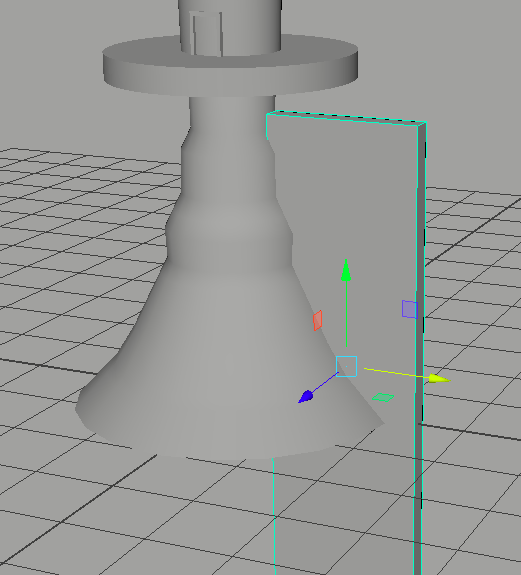
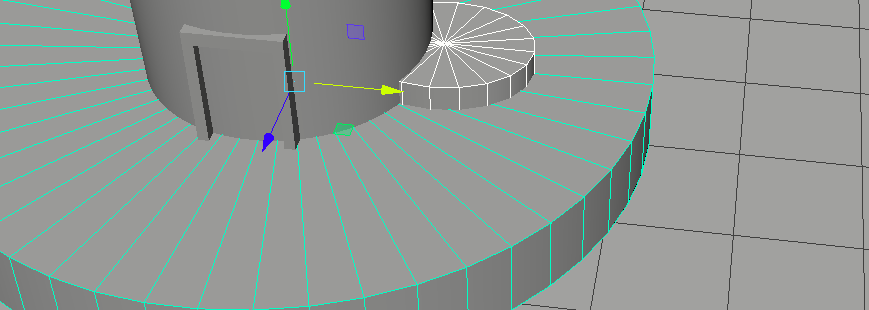
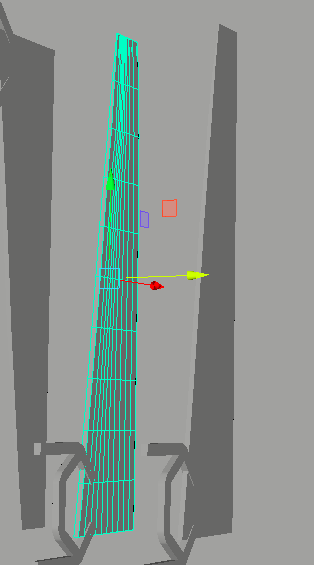
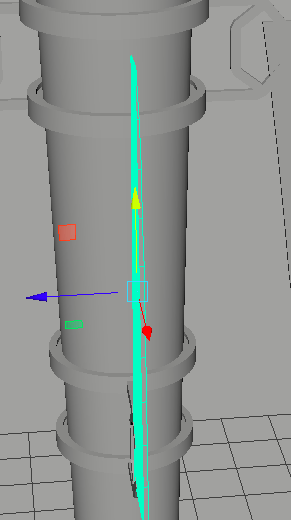
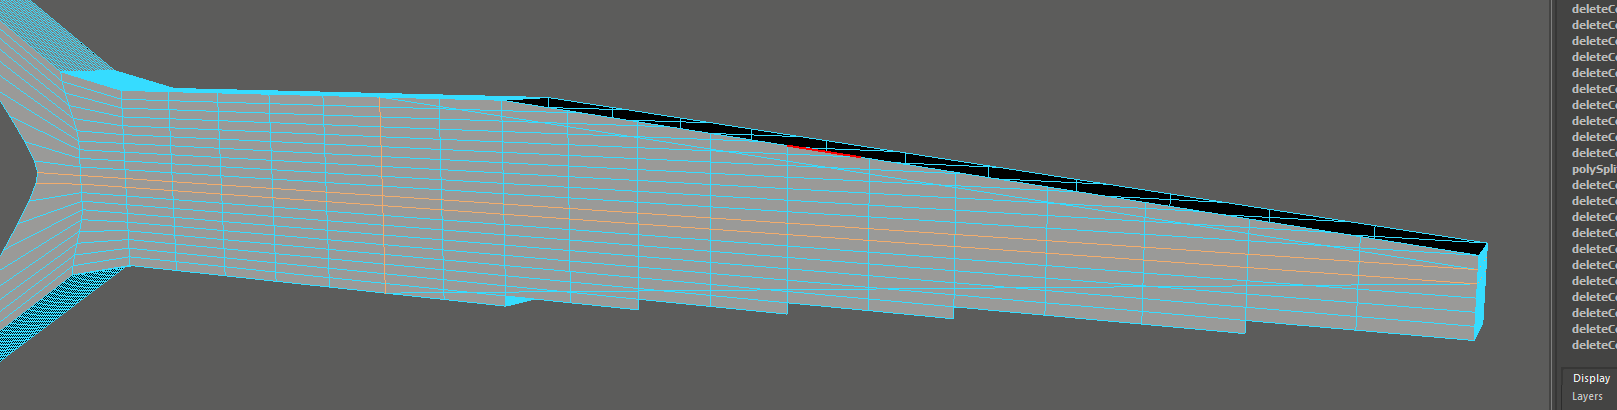
After this I worked on trying to make a small hole for the platform so humans could realistically fit through it, Initially, I started with a tube, which I lengthened to be taller and slightly wider, Once I used the boolings tool on both the top and bottom, I brought in the middle platform again, and in hindsight, I had created more work for myself, as not only did I not need to use the boolings on the bottom part, but I also needed to use the wire frame to fix the mesh in the end as it still did not go flush with the tower, I feel as though this can be fixed, and I plan to make revisions next week.


It was at this point, that we were given meeting times to meet with Michael O’Callaghan, one of the members of Oaken Studios, a L’Derry based animation group that has worked with companies like the BBC and Disney, He had a look over my windmill so far, and one of his pieces of advice that I wanted to keep most in mind was to make the tower Feel big, with this in mind I set out to create objects that made the tower feel like a large object that could theoretically exist.
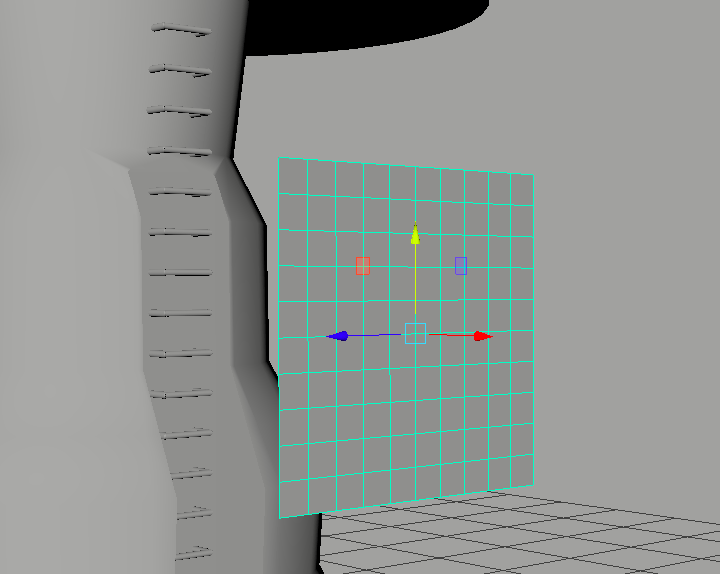
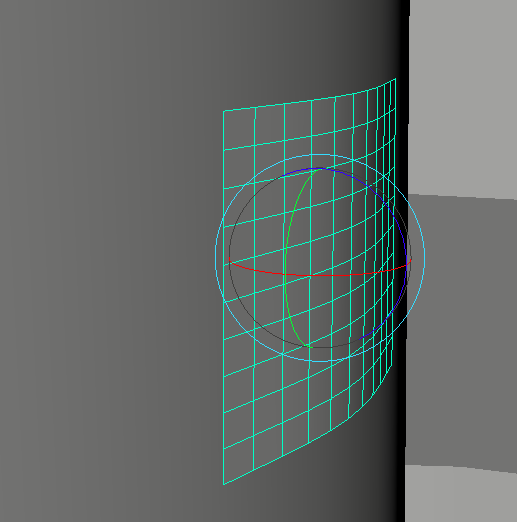
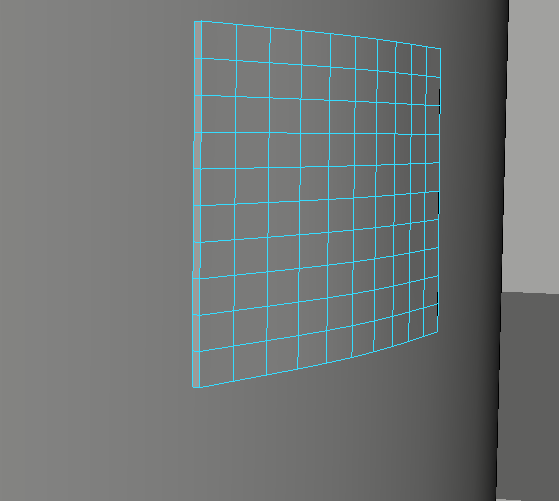
With this in mind, I began to work on a small detail that would usually be seen in large structures like this, this being a danger sign that I would texture later, simple procedure to make it, I created a flat plane and tried matching it to the curvature of the tower, I had to take each end and soft rotate it, the sign more than likely rotated to one side, however it would be covered by the texture that I am hoping to apply to it.

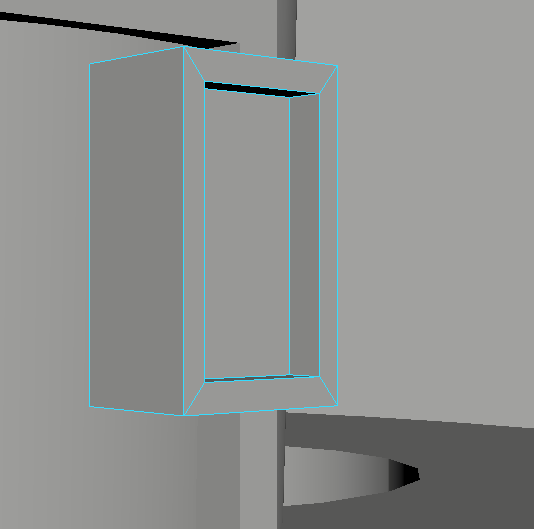
Next, I worked on giving this some form of a security system, something Michael suggested to me, I felt that appropriately, a box could work, by double extruding the box and creating a crevice where I would then add a texture to the inside of it, to make it look more like a control panel.

Next, I worked on the doors, they were just small panels, I fixed them so that they were half the size of the door, I planned on texturing them to make them look modern, and possibly rusted.
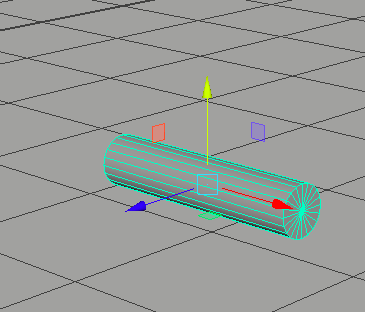
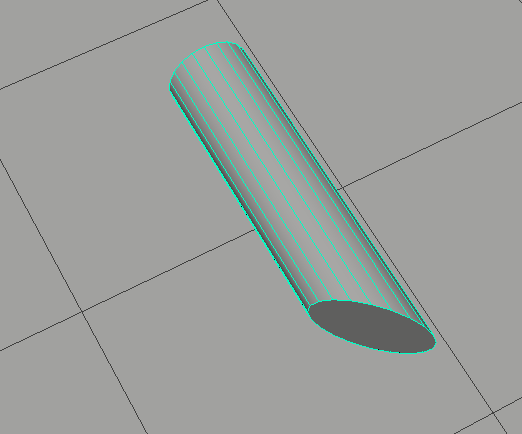
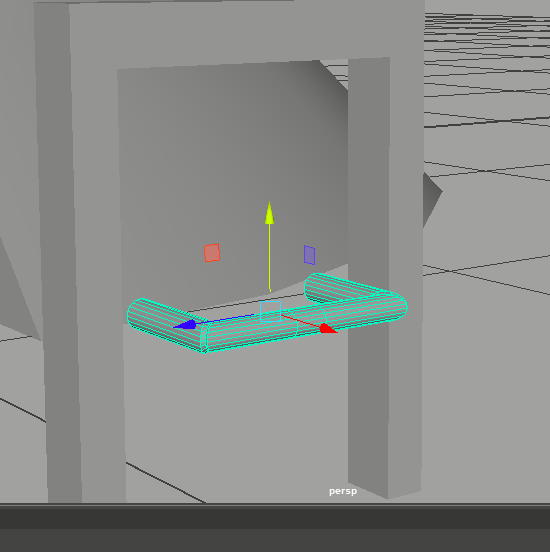
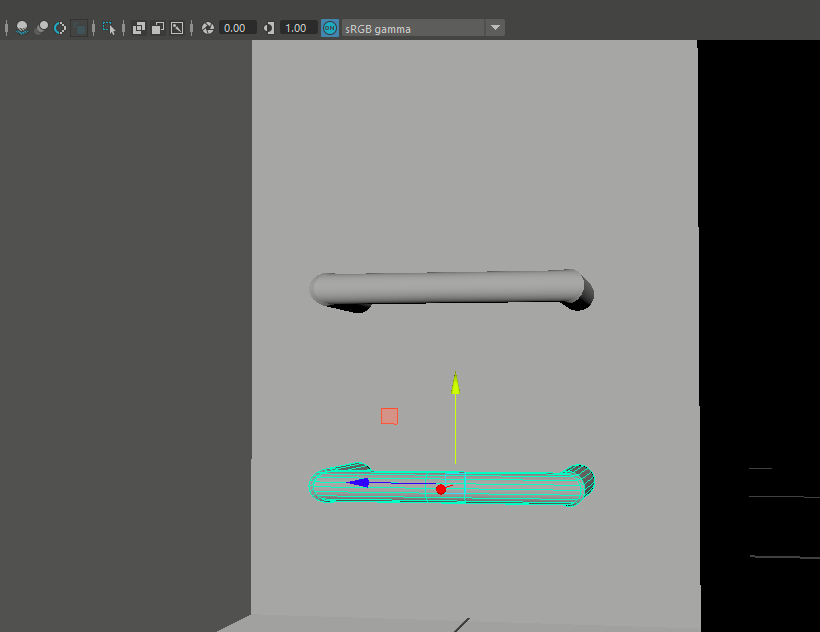
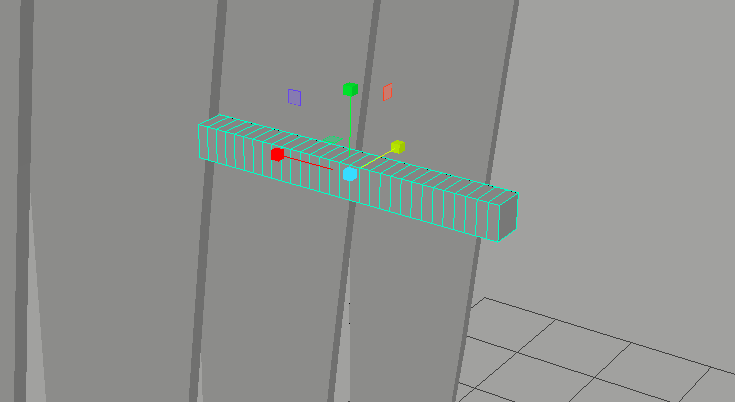
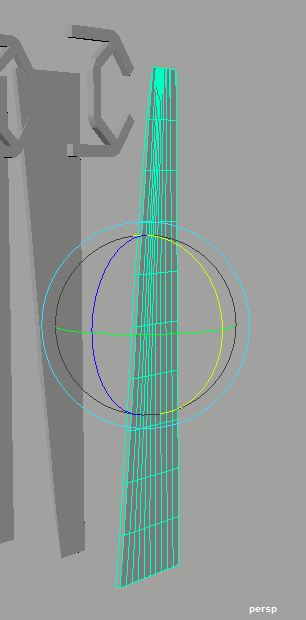
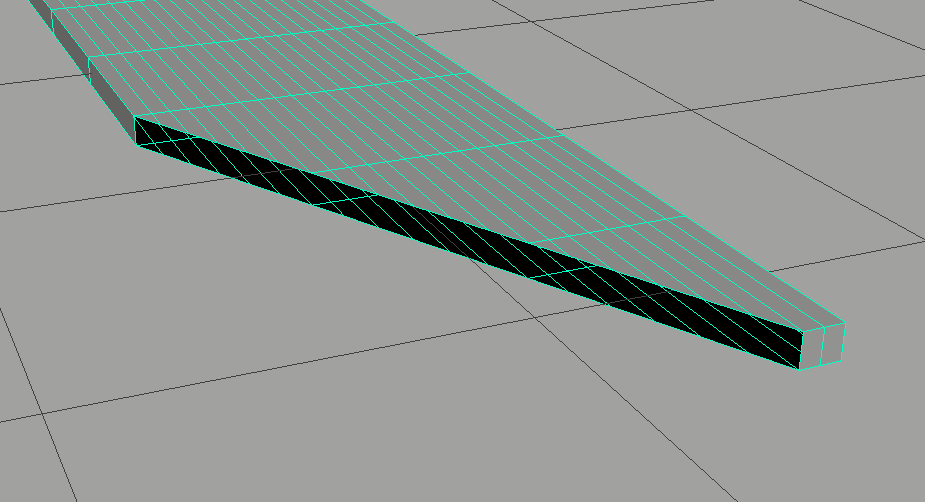
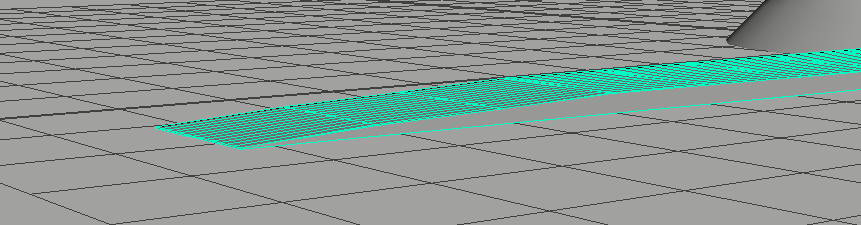
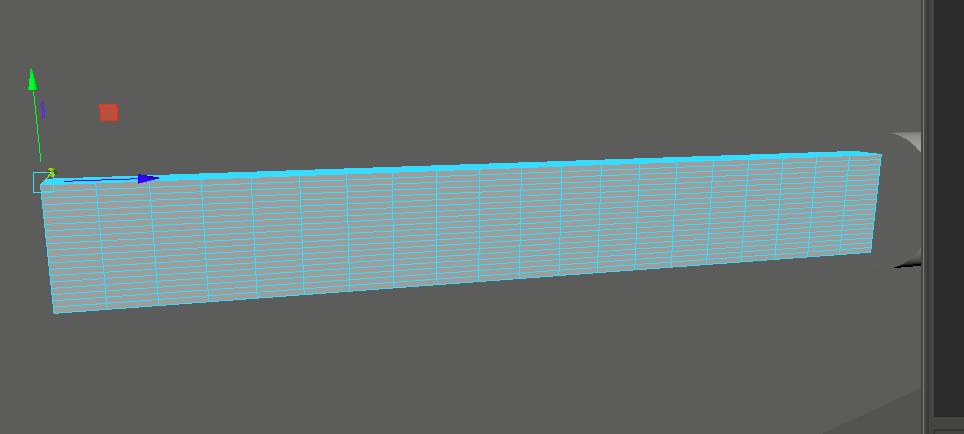
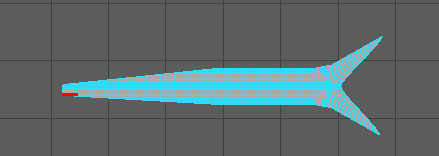
Finally, it was time to start the fins, I started with a small cuboid block, which I added subdivisions, and then thinned out, giving it a tip as seen on most modern windmills and turbines.
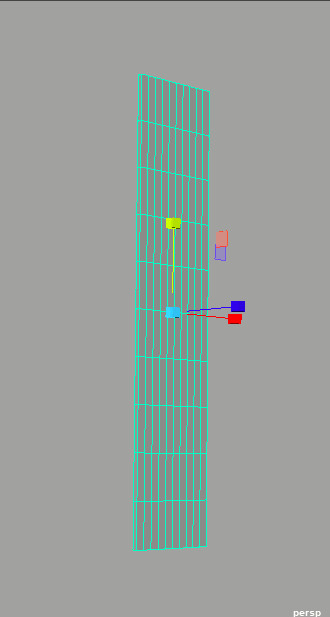
The way that I made them look the way they did, as I took each vertex and soft select moved them in, this took a lot of time but the end result looked well..if a bit off due to the lack of specified movement, and just going by eye, instead of using the control panel at the side of Maya.
I flipped them to the appropriate side and began work on the supporting junctions.
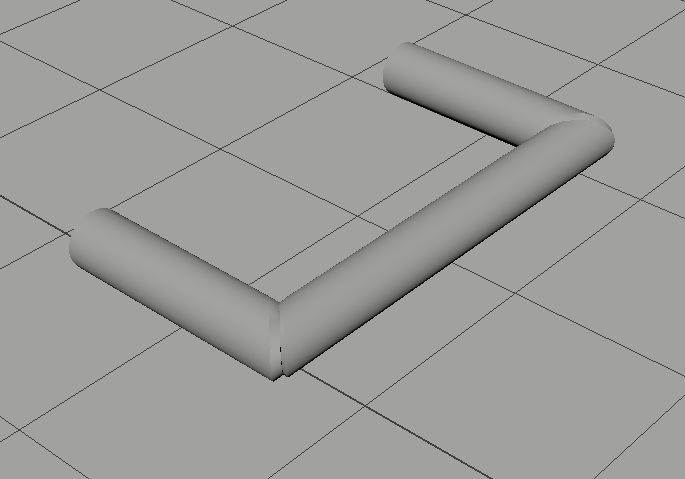
It was simple enough, I used a cube in which I added subdivisions to it, and then lengthened it whilst also making it smaller, to a long rectangle, I rotated a section of it downward to make it look like it was purposefully bent out of shape, possibly by heating equipment or bending equipment, which I hope to develop when I texture it.
For the rest of the support junctions, all I did was duplicate the initial model and combine two of them together, I felt it was efficient enough and would save time.

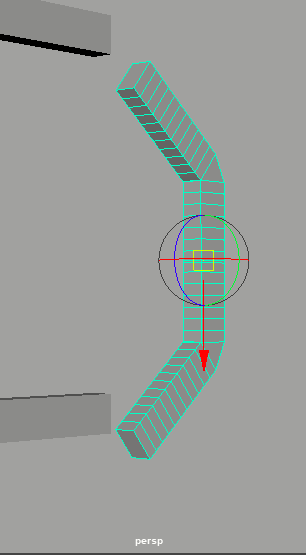
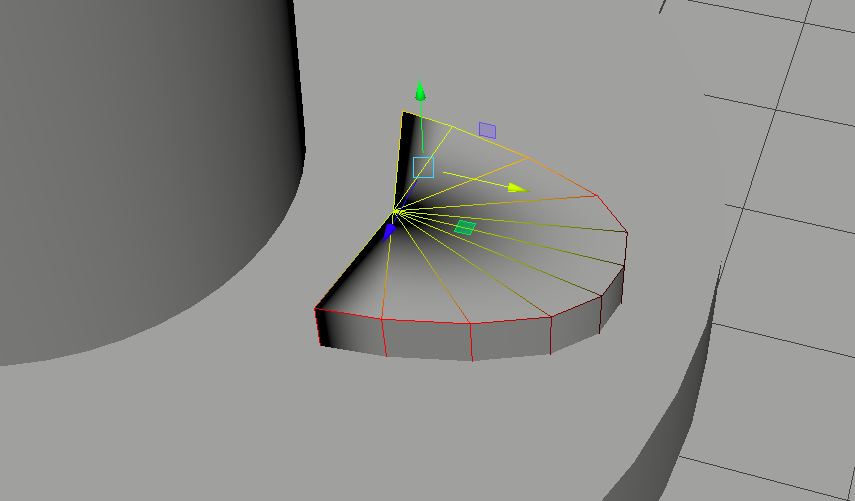
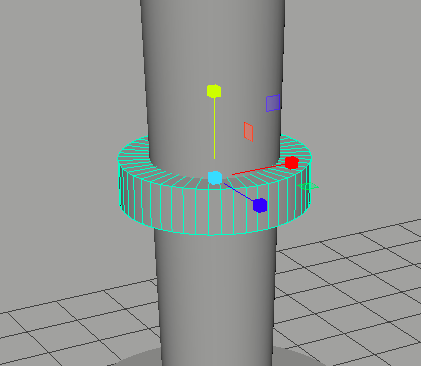
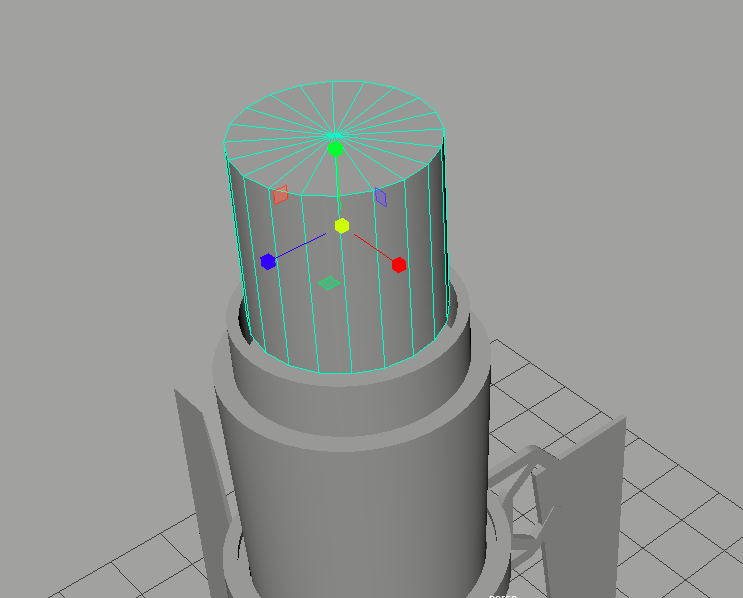
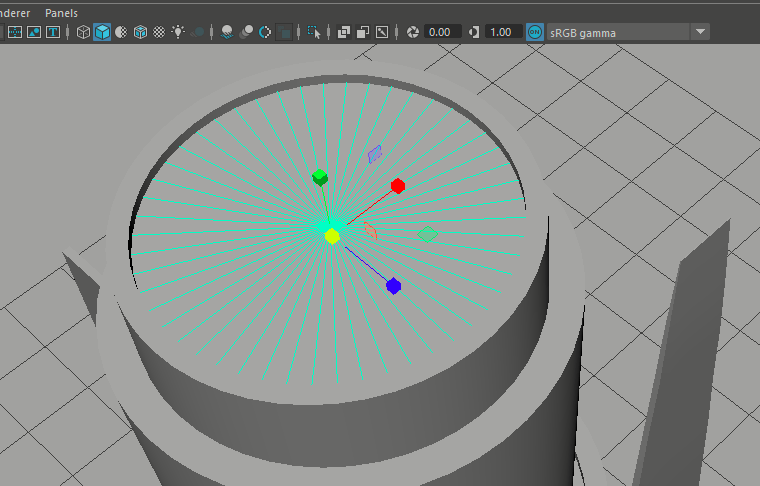
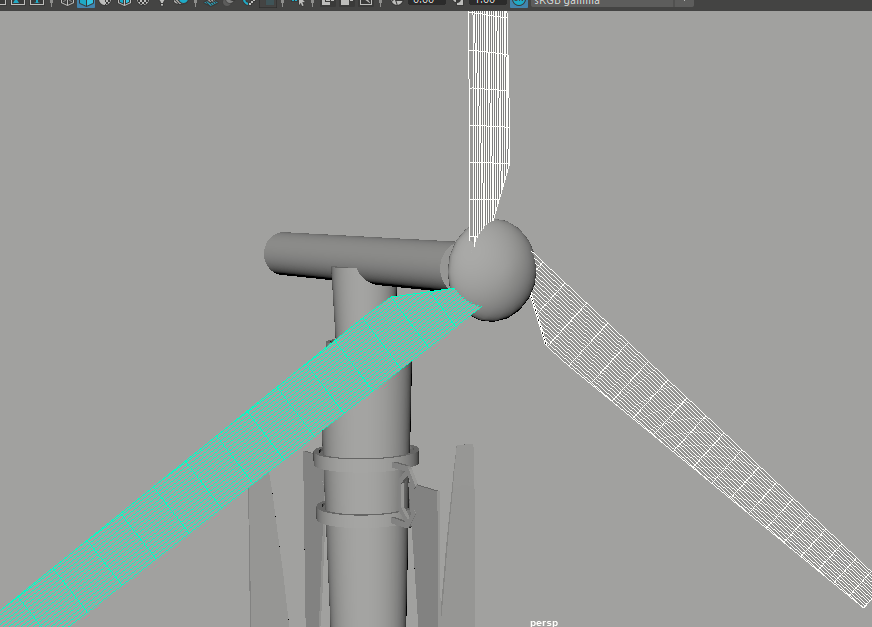
Next, I began work on the gears that would help to collect power, starting again with a tube, I measured the rough diameter of the tube so I could then begin making the inners of the tube, I opted to go for an inner connecting tube which would connect to the tower, leaving the outer rim to spin.
I had to flip two of the blades, however, due to my want to keep them as separate meshes, I had to rotate both the connecting joints and the blades separately. However, once they were connected, it was just a case of putting them onto the tower
I then noticed that the blades didn’t face the correct way, 3 out of 4 of them were in the opposite directions, and due to how I envisioned it moving, I had to use the mirror tool in order to flip them, not a hard task, but something that I would have missed had I not paid proper attention.
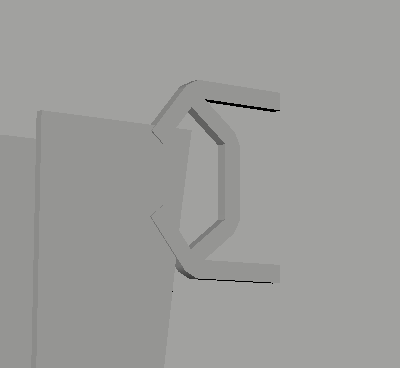
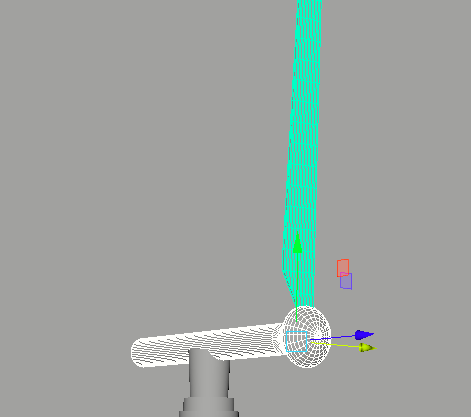
Next, I began work on the top propeller, I first began with the connector from the propeller to the tower, using the same technique as I did with the previous propellers, I then created two separate tubes that would hold the propellers
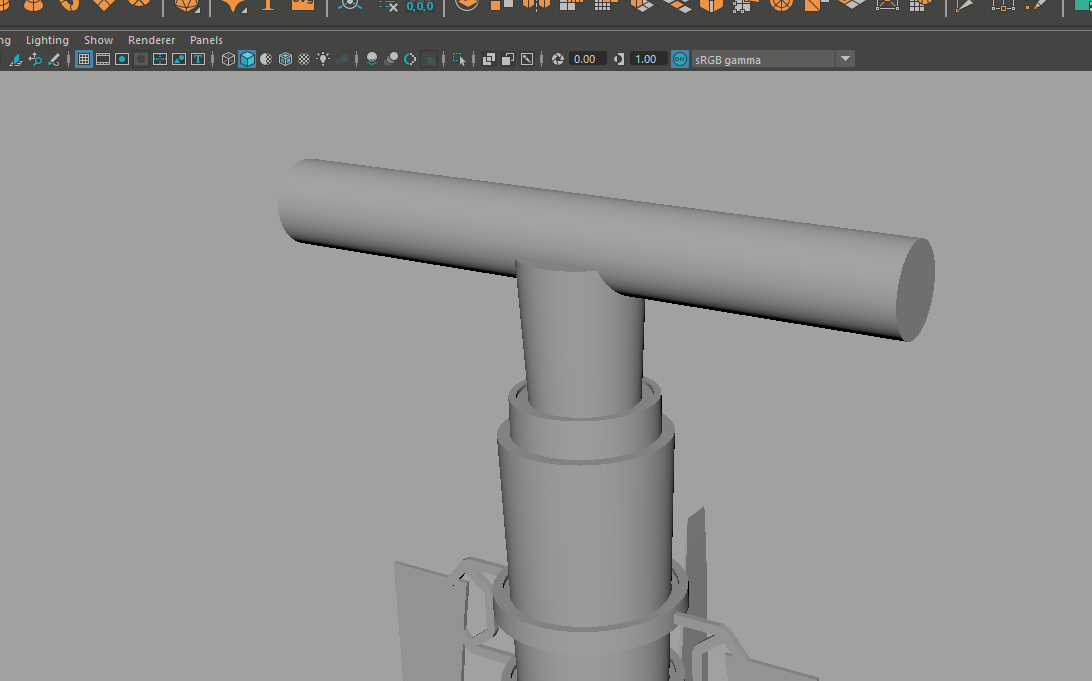
Creating the propellers, I started by spawning in a circle and using soft select, I flattened the back of it.
Finally the blades, I began exactly the same way as I did with the previous blades, and almost made them the same way, however, there was one other thing that Michael mentioned to me, and that was that boolings were almost obsolete, and I didn’t want to take the time to continuously move each individual vertex as I did with the original one, so instead I wanted to try the cutting tool, which I had seen my tutor use several times, starting to use it, I got the hang of it quickly, however one issue I kept encountering was that It would often crash Maya, which worried me, but after I found ways of getting around the issue.
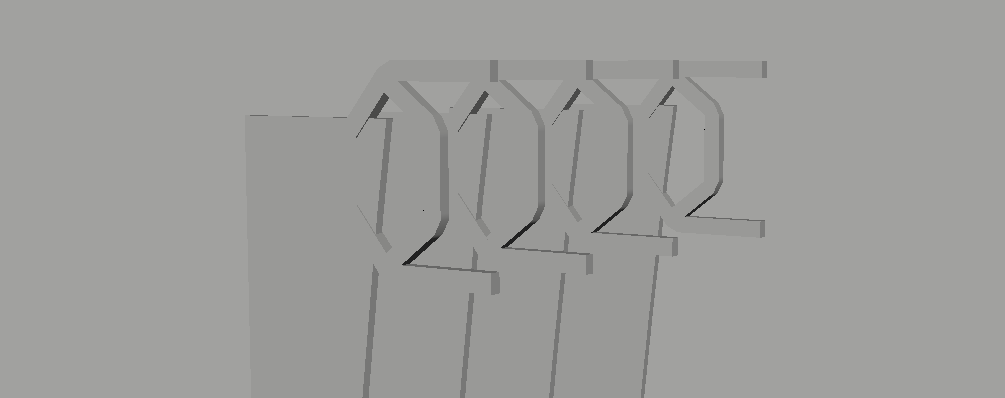
After I had the blades finished, I simply duplicated them and moved them onto the front of the tower.
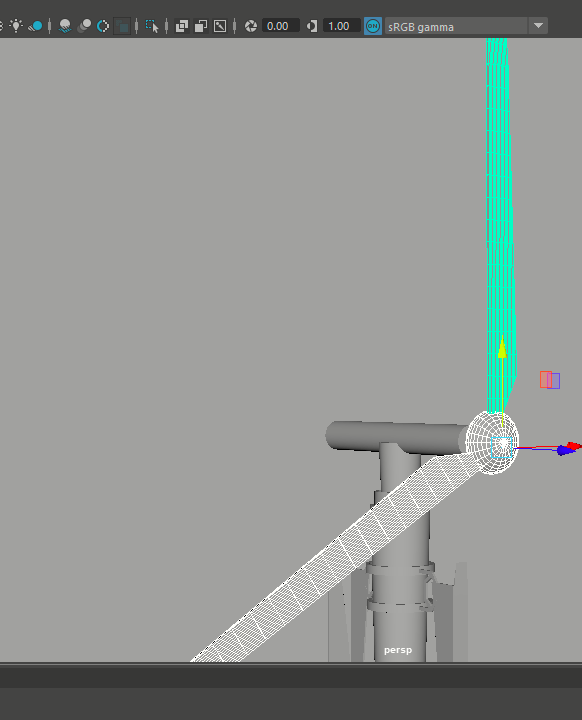
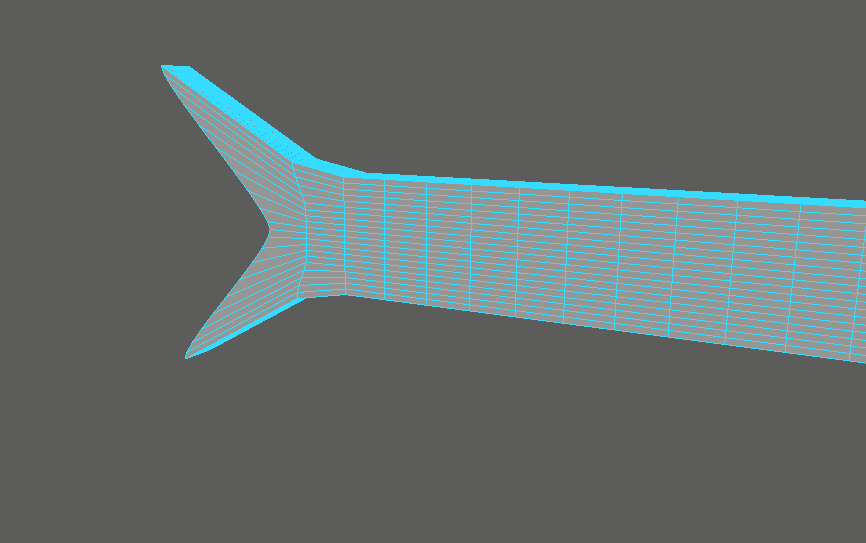
Finally was the back fin, which I crudely fashioned out of a block, by upping the axis on it before making a fin-like shape on the back of it, and again using the cut tool, began to fashion it into a point, and stuck it to the back of blades.


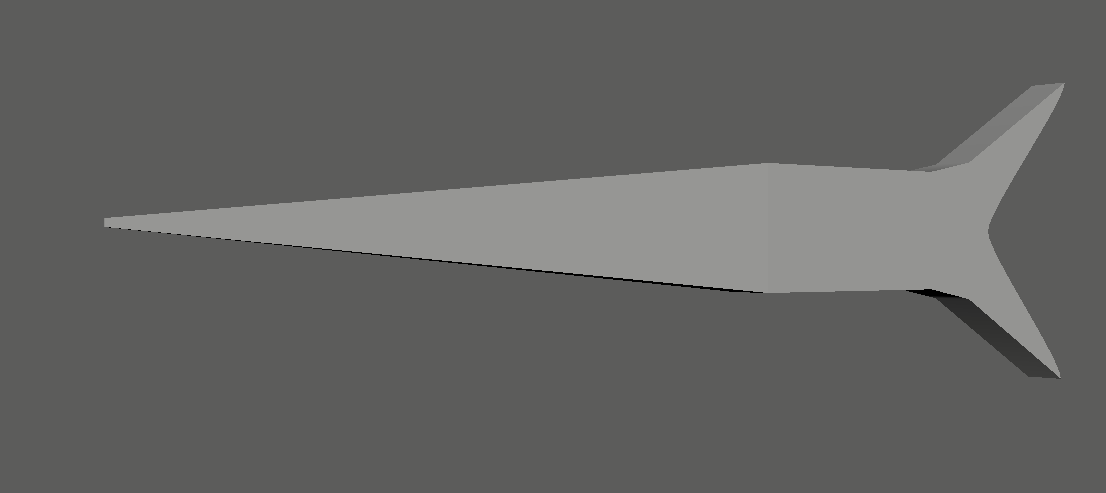
The model still needs work, and a lot of fixing, which I hopefully plan to fix next week, but overall, I am very happy with how the model is turning out.
Links for reading:
https://knowledge.autodesk.com/support/maya-lt/learn-explore/caas/CloudHelp/cloudhelp/2017/ENU/MayaLT/files/GUID-83ECB78E-950F-455D-B43E-47D76F3F9912-htm.html
https://forums.autodesk.com/t5/maya-forum/multi-cut-freezes-maya/td-p/9582703