Role A- Art direction/Character modelling
Role B- Rigging/Character sculpting/Modelling props/Animation
At the beginning of this semester, I formed a team with a few other animation students as well as with the game design team, and within this project, we were tasked with creating a game that would be based on the concept of isolation and connection. During several group meetings and the creation of a miro board where we all brainstormed ideas for themes and characters and a pipeline, we finally came up with a game agenda that consists of robots switching between one another to solve puzzles within an abandoned and overgrown factory. As a result of the characters having limited abilities, it is up to the other robots to compensate for these limitations.
Myself/Art Direction & Character Modelling
-Dragonfly bot and animations
-Props
Adam/Art Direction & Character Modelling
-Mainbot
-Gui
-Graphic Design
Phillip/Animation & Rigging
-Main bot animations
-Prop Sculpting
Dylan/Art Direction & Character Modelling
-Heavy bot and animations
-Prop Sculpting
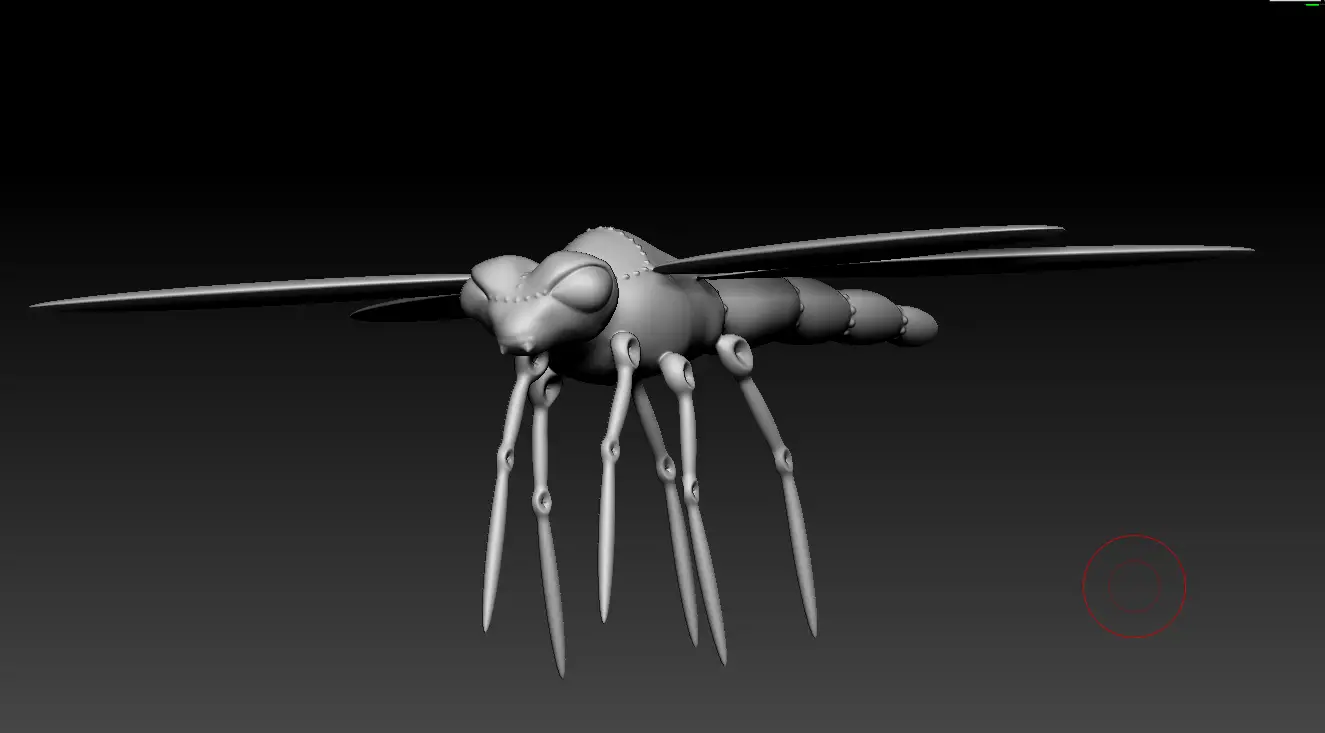
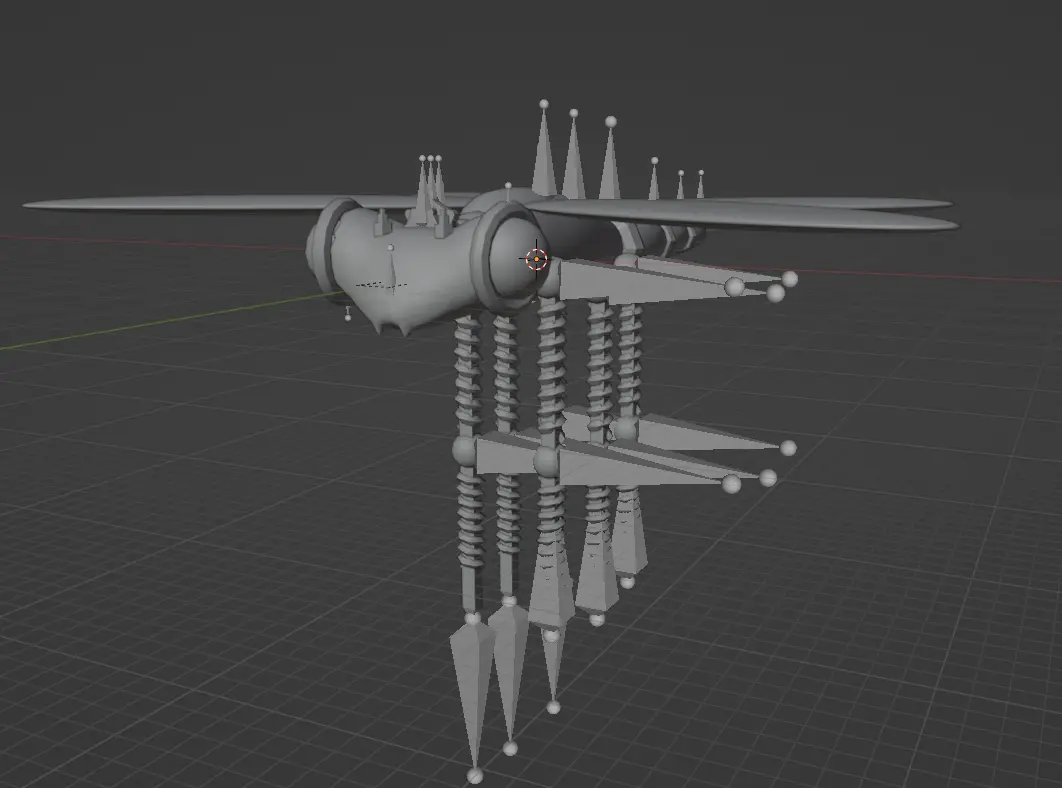
This was the original preview of the model , after discussing with the team it didn’t match the theme we where going for .
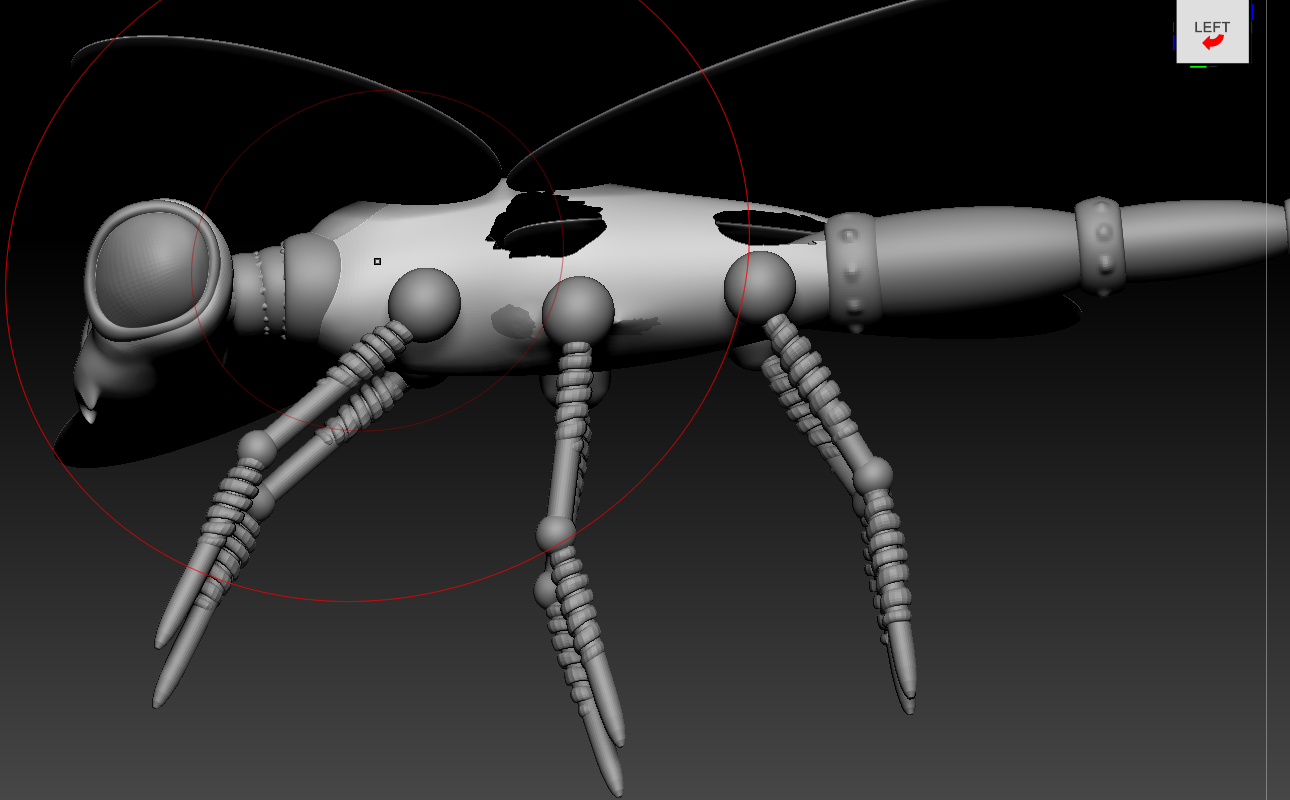
During the design process, I received feedback from my team suggesting that I should make the ball joints with a more hard edged shape, as the stage the bot is currently at seems too realistic for the idea of the game. One of the team members also proposed to enlarge and create a more bug-like expression by adding some bands around the eyes.
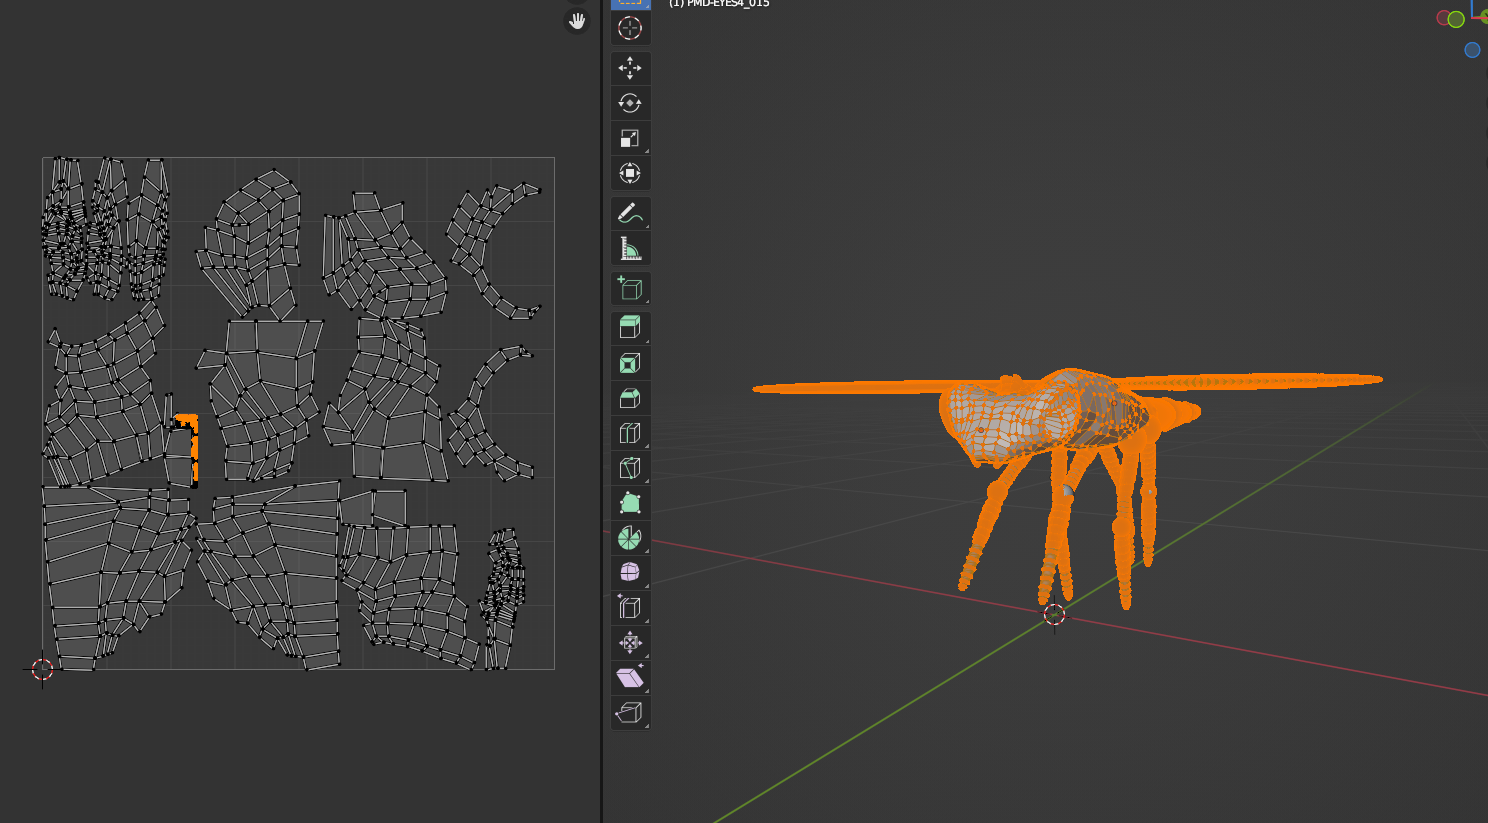
As I was developing the dbot, some problems have arisen- I must’ve masked certain points during the process and separated them at some stage which caused the model to split in the wrong places. To fix this i selected the parts that where separated deleted them then closed the hole and merge points together and that had fixed the problem
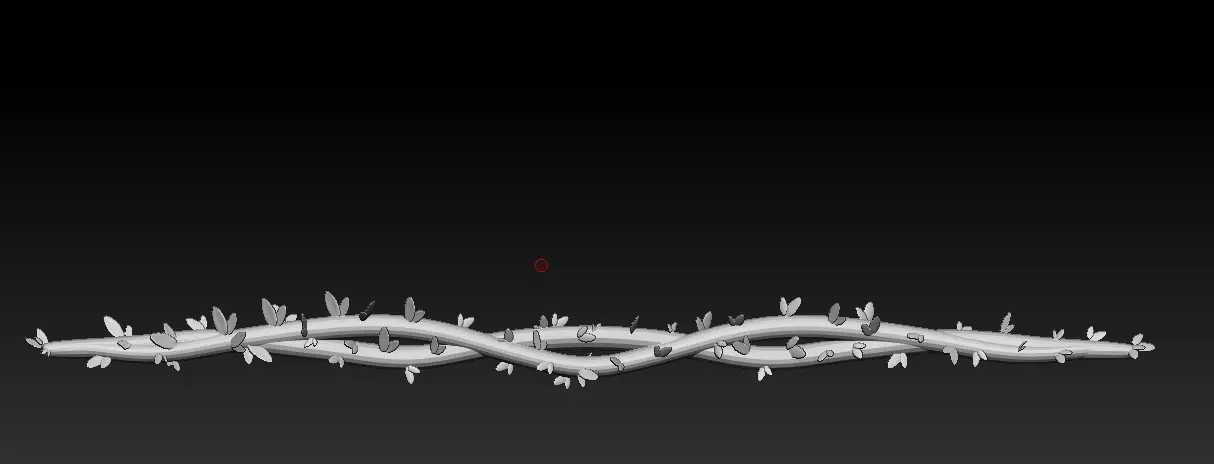
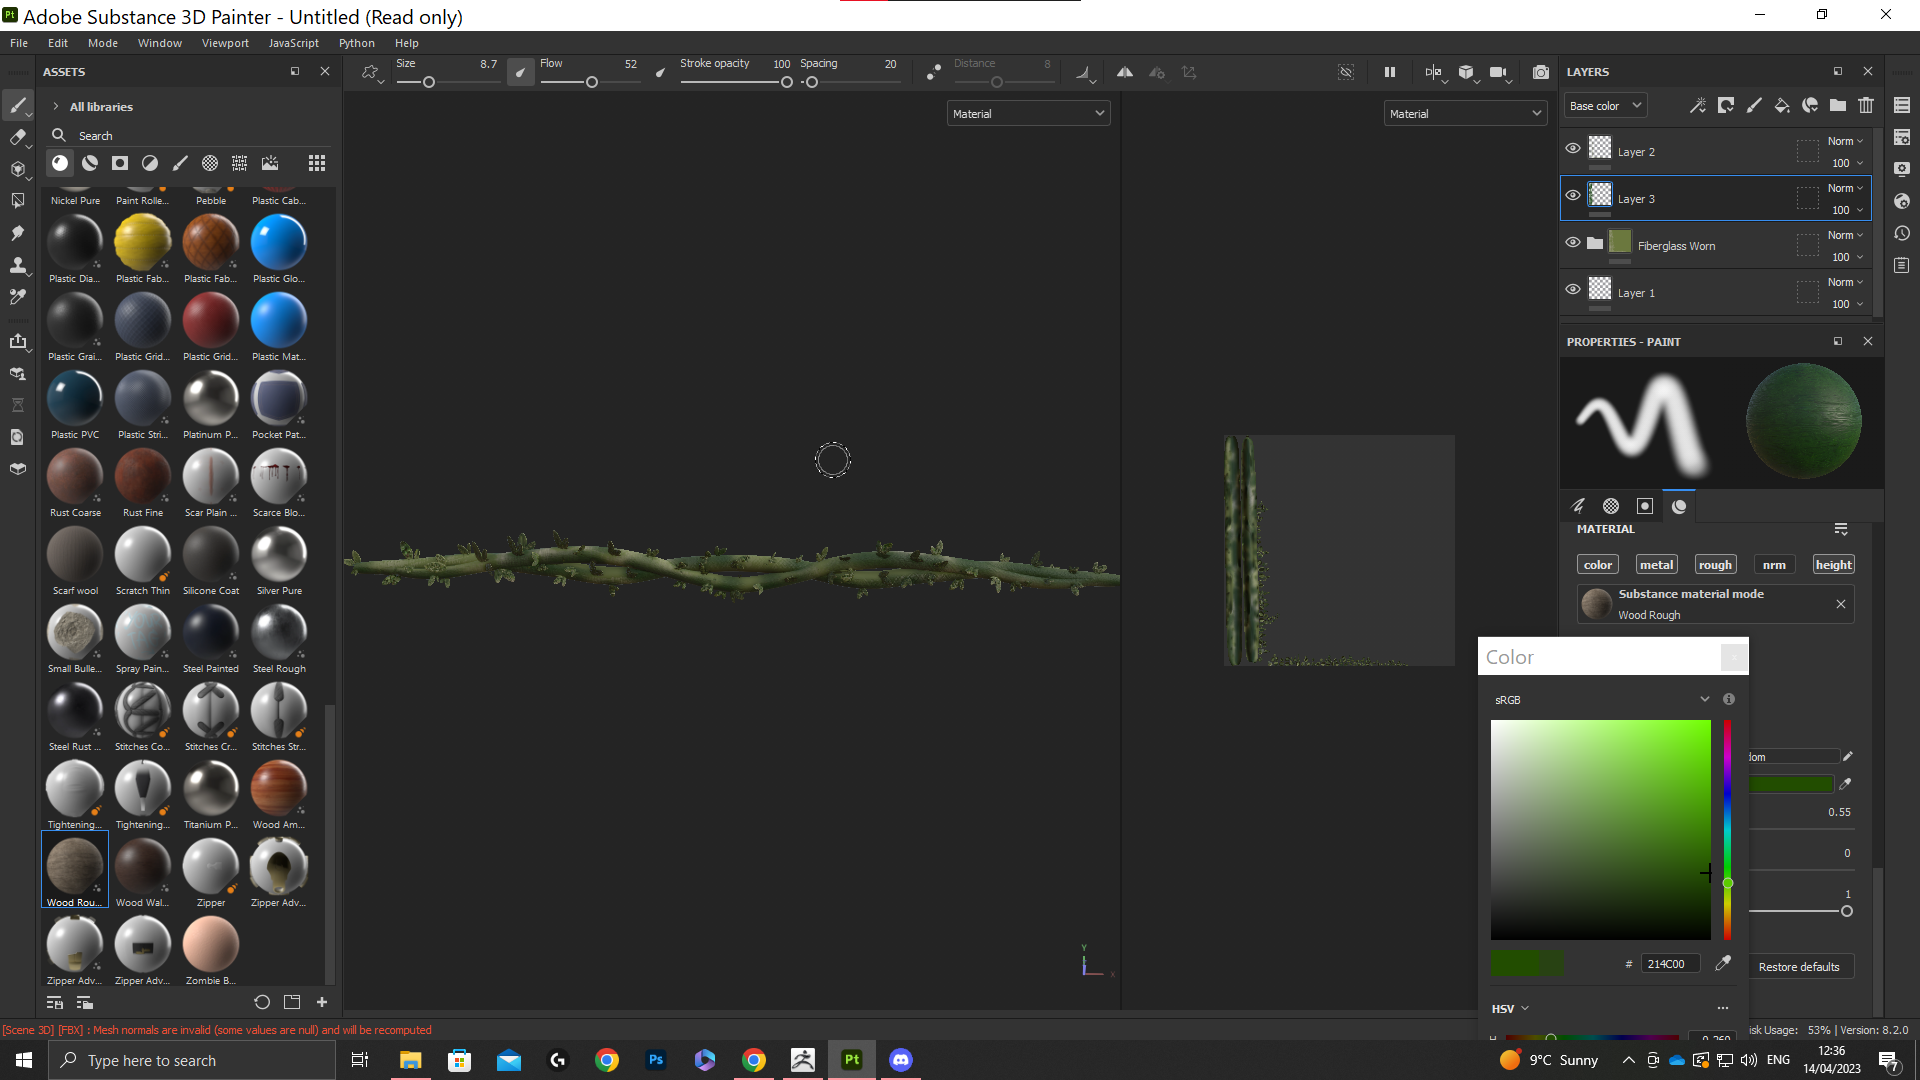
As well as creating the Dbot, to add some extra overgrowth to the environment I also created some basic vines, which are simply elongated spheres that are warped using the move tool within Zrush to create some extra overgrowth. In order to allow the detail to come through using substance painting (avoiding realism), not much detail was added to the piece.

In order to use the model for animations, retopology was required as the character’s head, body, and one of the wings were too dense to begin with. As a result, the model’s main body was decimated to further reduce the poly count.
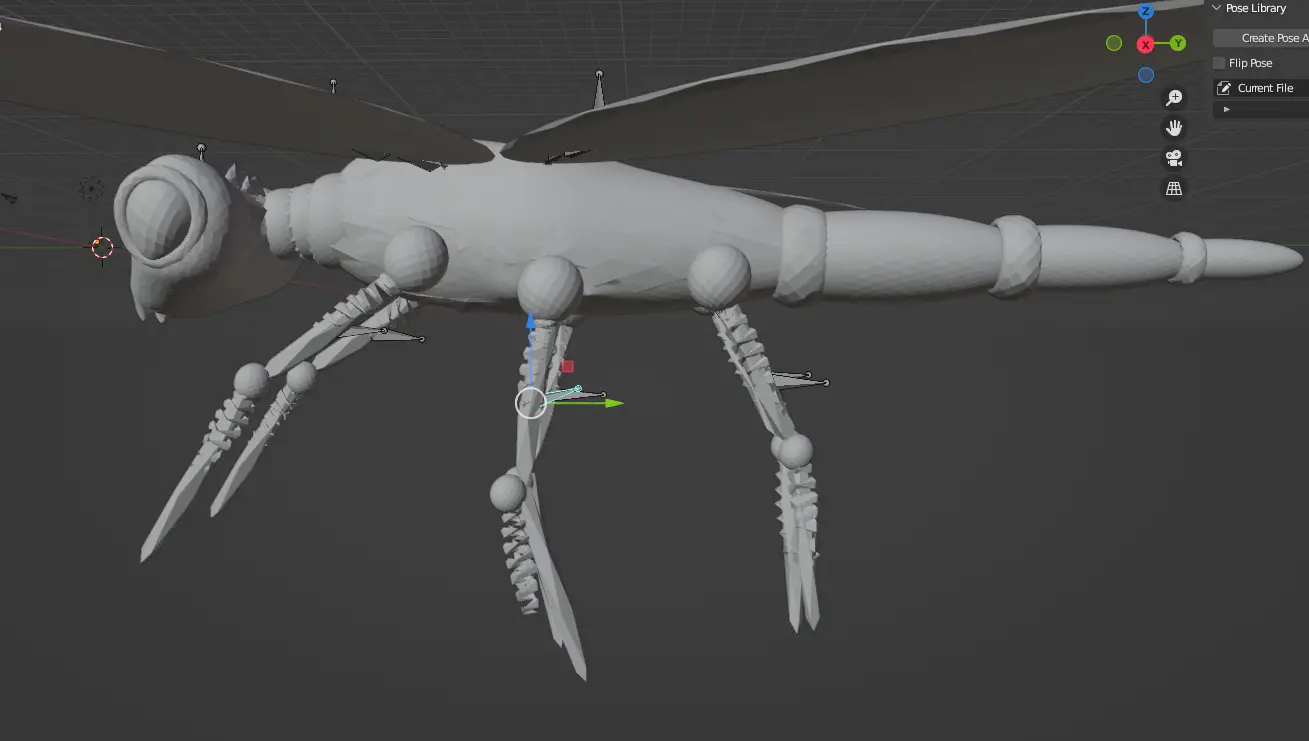
In this mesh, there are a number of problems occurring such as the back four legs getting pushed together, the spirals not being attached correctly to the leg, and a lot of the main body becoming distorted because of it.
The rig could not attach properly, and in order to achieve the fluid motion of the limbs, I had to redevelop the model so that the rig could attach properly and so the limbs would be able to move fluidly. The head didn’t move the way i wanted to so within the weight paints i painted over the parts i wanted to move more .
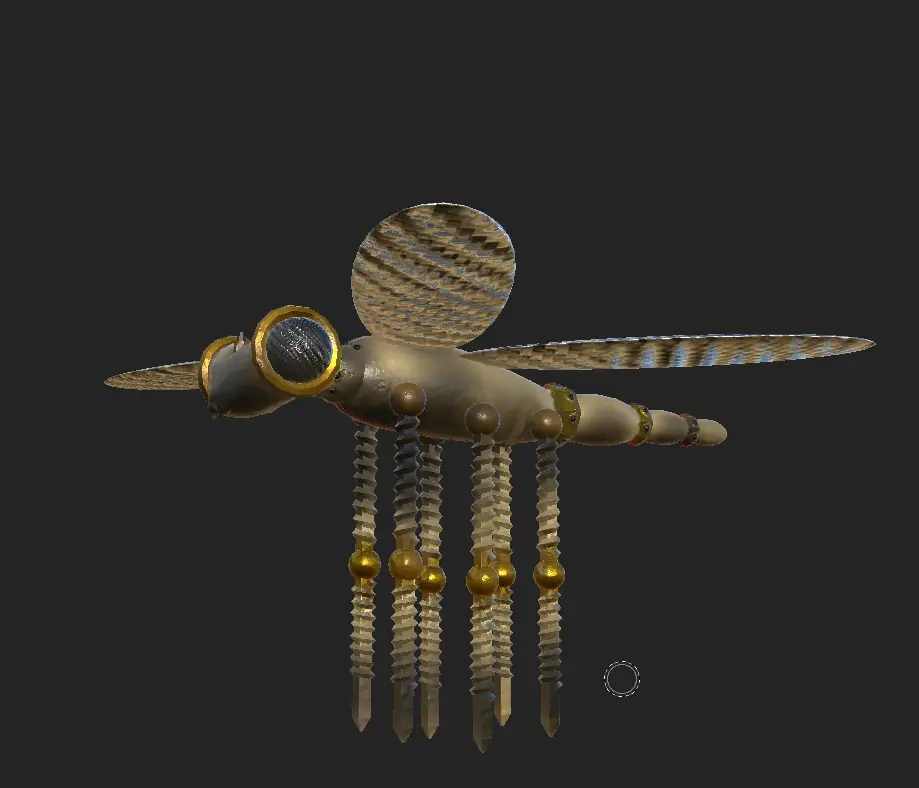
In substance painter, after exporting the model, I applied a material called ruined steel, followed by different shades of gold and carbon fiber eyes and wings, before darkening the overall look to give the impression of a run down machine with the overall darkening of the model.
Final animation of D-Bot
To create the final animation for the dbot i wanted the animation to be simple enough yet still have a mechanical twist to it . I started by selecting both side of the wings and moving them up and down with short intervals to get the effect of the bot hovering .Then moving the legs in opposite directions to try and make the legs look as if they are dangling but that didn’t exactly turn out as planned as it looks more as if the bot is running in the air .
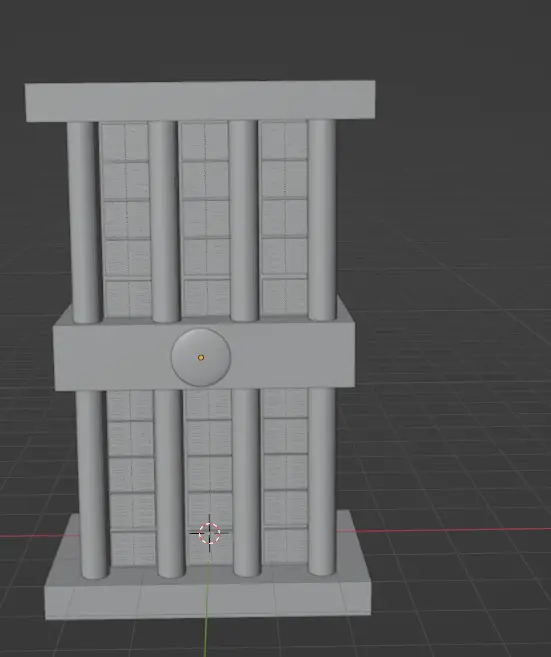
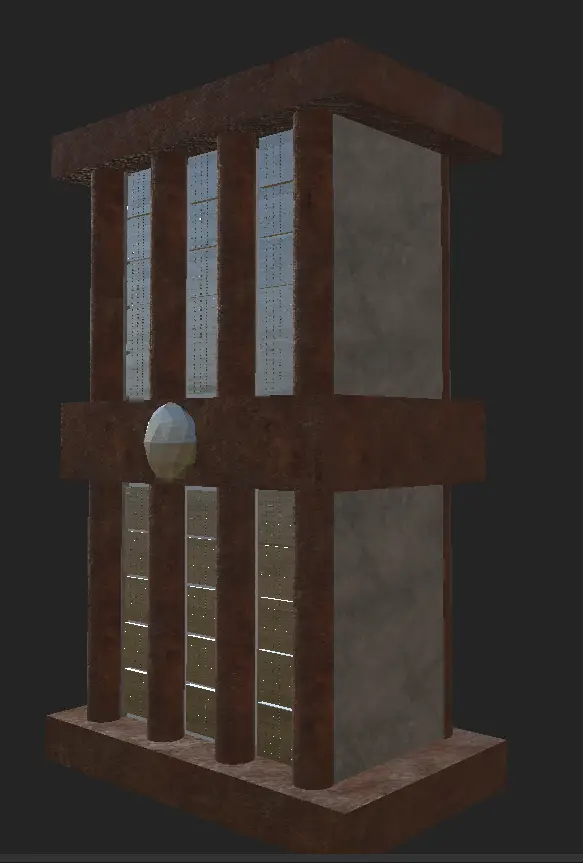
As i had finished the main bot and animations i was given a new task to complete . A member of the team asked me to create a hard drive plug in system for the robots.
I created this hard surface model within blender then exported and textured it with substance painting using smart materials (rust & steel)
Releflection –
I believe that I could have done a lot more work, especially since I would have liked to have created more animations for the models that I have developed, in order to gain a better sense of fluidity when it comes to creating animations. On the whole, it is quite apparent that the amount of work that I have done could have been a lot better had my time been managed better. While I am not overly impressed with myself, I know that I am capable of much more than what I am doing at the moment. My main issue is getting a clear idea of what I want to create and putting it in stone in an organized manner, planning out what I want to achieve instead of just making a rough sketch. As it turns out, I seem to be more attracted to the process of modeling when I don’t have an overall outlook, as the ideas come along as I develop my models, but I am aware that this is not the best way to go about things since it can lead to indecision and the possibility of changing the concept multiple times until it becomes extremely frustrating. My wish for the Dbot animations was to have included not just the main movement, but also cog movements, as I believe this would have really brought the steampunk theme to life. However, due to my lack of good planning skills, I was not able to incorporate this into the final animation as I wanted to do.