WEEK 4 – TEXTURING AND 3D ANIMATION
3D Digital Literacy:
For our 3D Digital Literacy class on week 4, we had an introduction to the Substance Painter software. We had to download the program and open the default folder which has a sample character model. We learnt how to add painted texture to models as well as adding generated textures through smart materials and how to edit them. We briefly looked at lighting and setting effects on the model in the class but focused on colouring and painting textures onto the model.
I also found out that normals add detail without adding 3d polygon detail which is useful in game design and creation.
For my model I used metallic paint to coat the model and then as Alec taught us about values, highlights and textures, I added each of those. We were also shown how to add stencils for things such as fingerprints or dust or drips, as well as stickers the program had. We got to experiment with colour and blending modes for our characters, mine being an astronaut/space suited character based off of my favourite character from the anime BNHA, Todoroki Shouto.
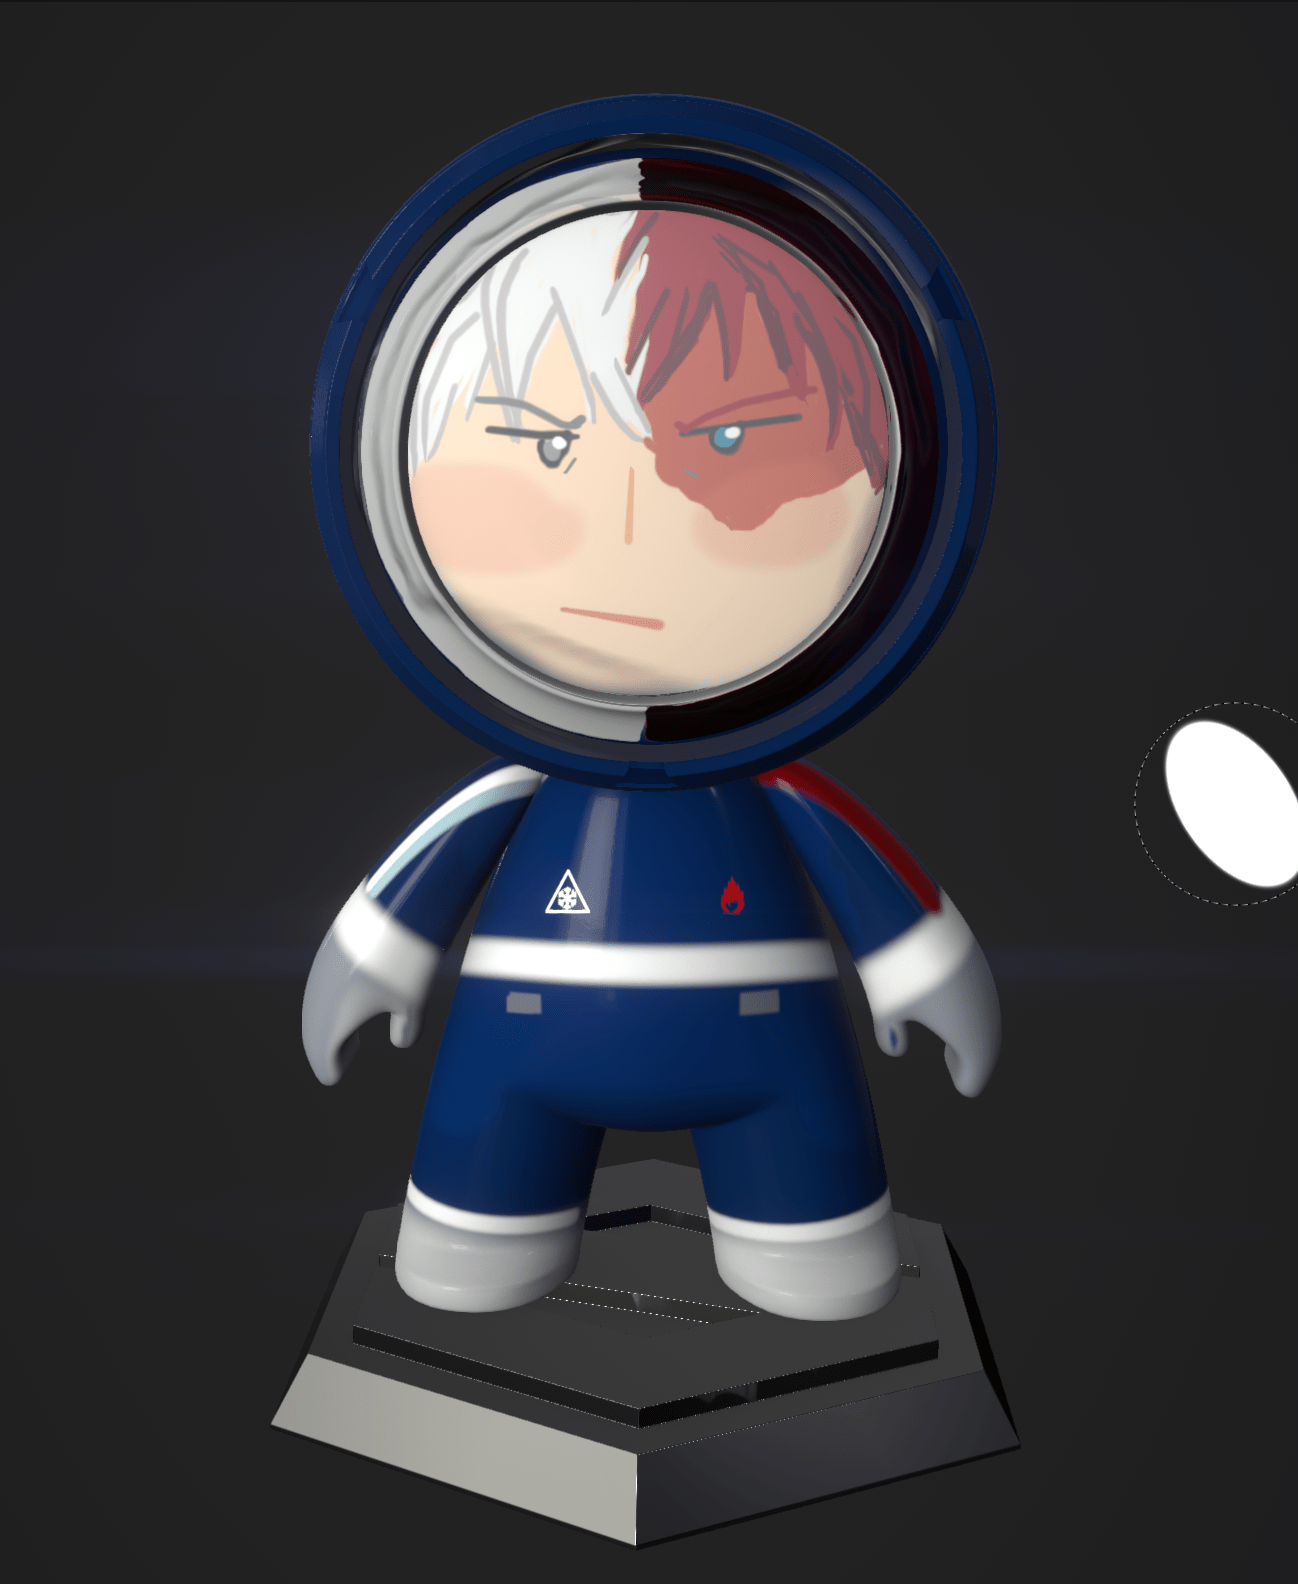

My character and colouring are very basic as I was completely new to the software, but I found it really fun to use especially once I began to get the hang of it and figured out a lot of new things I could do. I hope to improve for when I finish designing my staff and think it’s a very helpful and interesting program to use.
After experimenting using Substance Painter, we had a second video lecture and exercise from Alec. For this, we looked at exporting files from Maya into Substance Painter, using the example Hard Surface model. We were shown how to use Substance Painters more advanced features that have automatic texture generation, such as how to bake maps to add smart materials to our models.
We added a material that had the texture of paint on metal with scratched edges.


The next video then instructed us on how to video export the maps we had made from Substance Painter out to SketchFab or Maya: https://skfb.ly/6ZtG9
We were also given the really helpful YouTube tutorial on how to create stylised texture on Substance Painter for a Beer Mug. I found this video incredibly useful for learning how I am going to add painted stylised texture to my Staff for Assignment 1 and in prop creation for the Animated Short group Assignment.
Old Beer Mug – Beginner’s guide to stylized texturing in Substance Painter:
ASSIGNMENT 1 – STAFF DESIGN
For Assignment 1, I continued making progress on finalising my staff design this week and refining this further. I wanted to make a staff that could be found in a video-game like my primary references and inspiration, yet I did not want to just copy a staff and remake it instead designing my own ideas to it. I considered making a dragon staff, however I believed this would be too difficult for someone at my modelling level and I thought I wasn’t as unique as I would like for my design. I really liked the elements of the Shinto religion in Okami, and so I wanted to incorporate parts of that into staffs the final design, whilst keeping some of the fantastical designs found in weapons in Final Fantasy.


The final staff design I am working on consists of a basic staff pole with a decorative hilt and a moon and sun at the head. Tied around the centre of the pole is a Yoshiro shimenawa rope, and hanging from the staff is a lantern with mala beads and an ofuda (paper slip).


I collected the previous image references that had elements that I wanted to include in my final staff design. I tried to look at mostly objects and crafts that could be found in real life and then used those to make a magical staff for a wizard or mage.
FINAL CONCEPT DESIGN FOR STAFF:

I made a quick line art concept sketch of my final staff from the front and side to understand how it will look the entire way around in 3D. After having finished this, I was able to finally begin modelling my staff on Maya.


I am still very new to modelling and using 3D software and am finding it difficult to create my designs from basic shapes such as cubes, spheres and cylinders how I want to, however the following YouTube tutorials on Maya have been extremely helpful in the creation of my staff model.
The Game Dev Academy tutorials especially have been really useful in helping me learn how to modify and sculpt my staff model., as well as a few other videos I have also looked at.
- How to Model A Sword in Autodesk Maya & Substance Painter (Complete Workflow) | Maya Weapon Modeling: https://youtu.be/xH6L1sFpgAw
- Speed Modeling | Priestess Staff from Goblin Slayer | Maya 2019: https://youtu.be/Qh_0pES7CNU
My model currently looks a bit bare and simple, however as I continue to refine the details and shapes, I hope I can create something that I can be proud of as a 3D modelling beginner.