—Concepts & References—
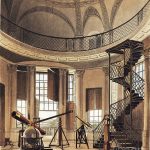
At the start of this assessment I was placed into group 2 who were creating an observatory environment. We all used Miro to brainstorm ideas for props and the atmosphere and look that we wanted for the environment.
—Observatories—


—Furniture—
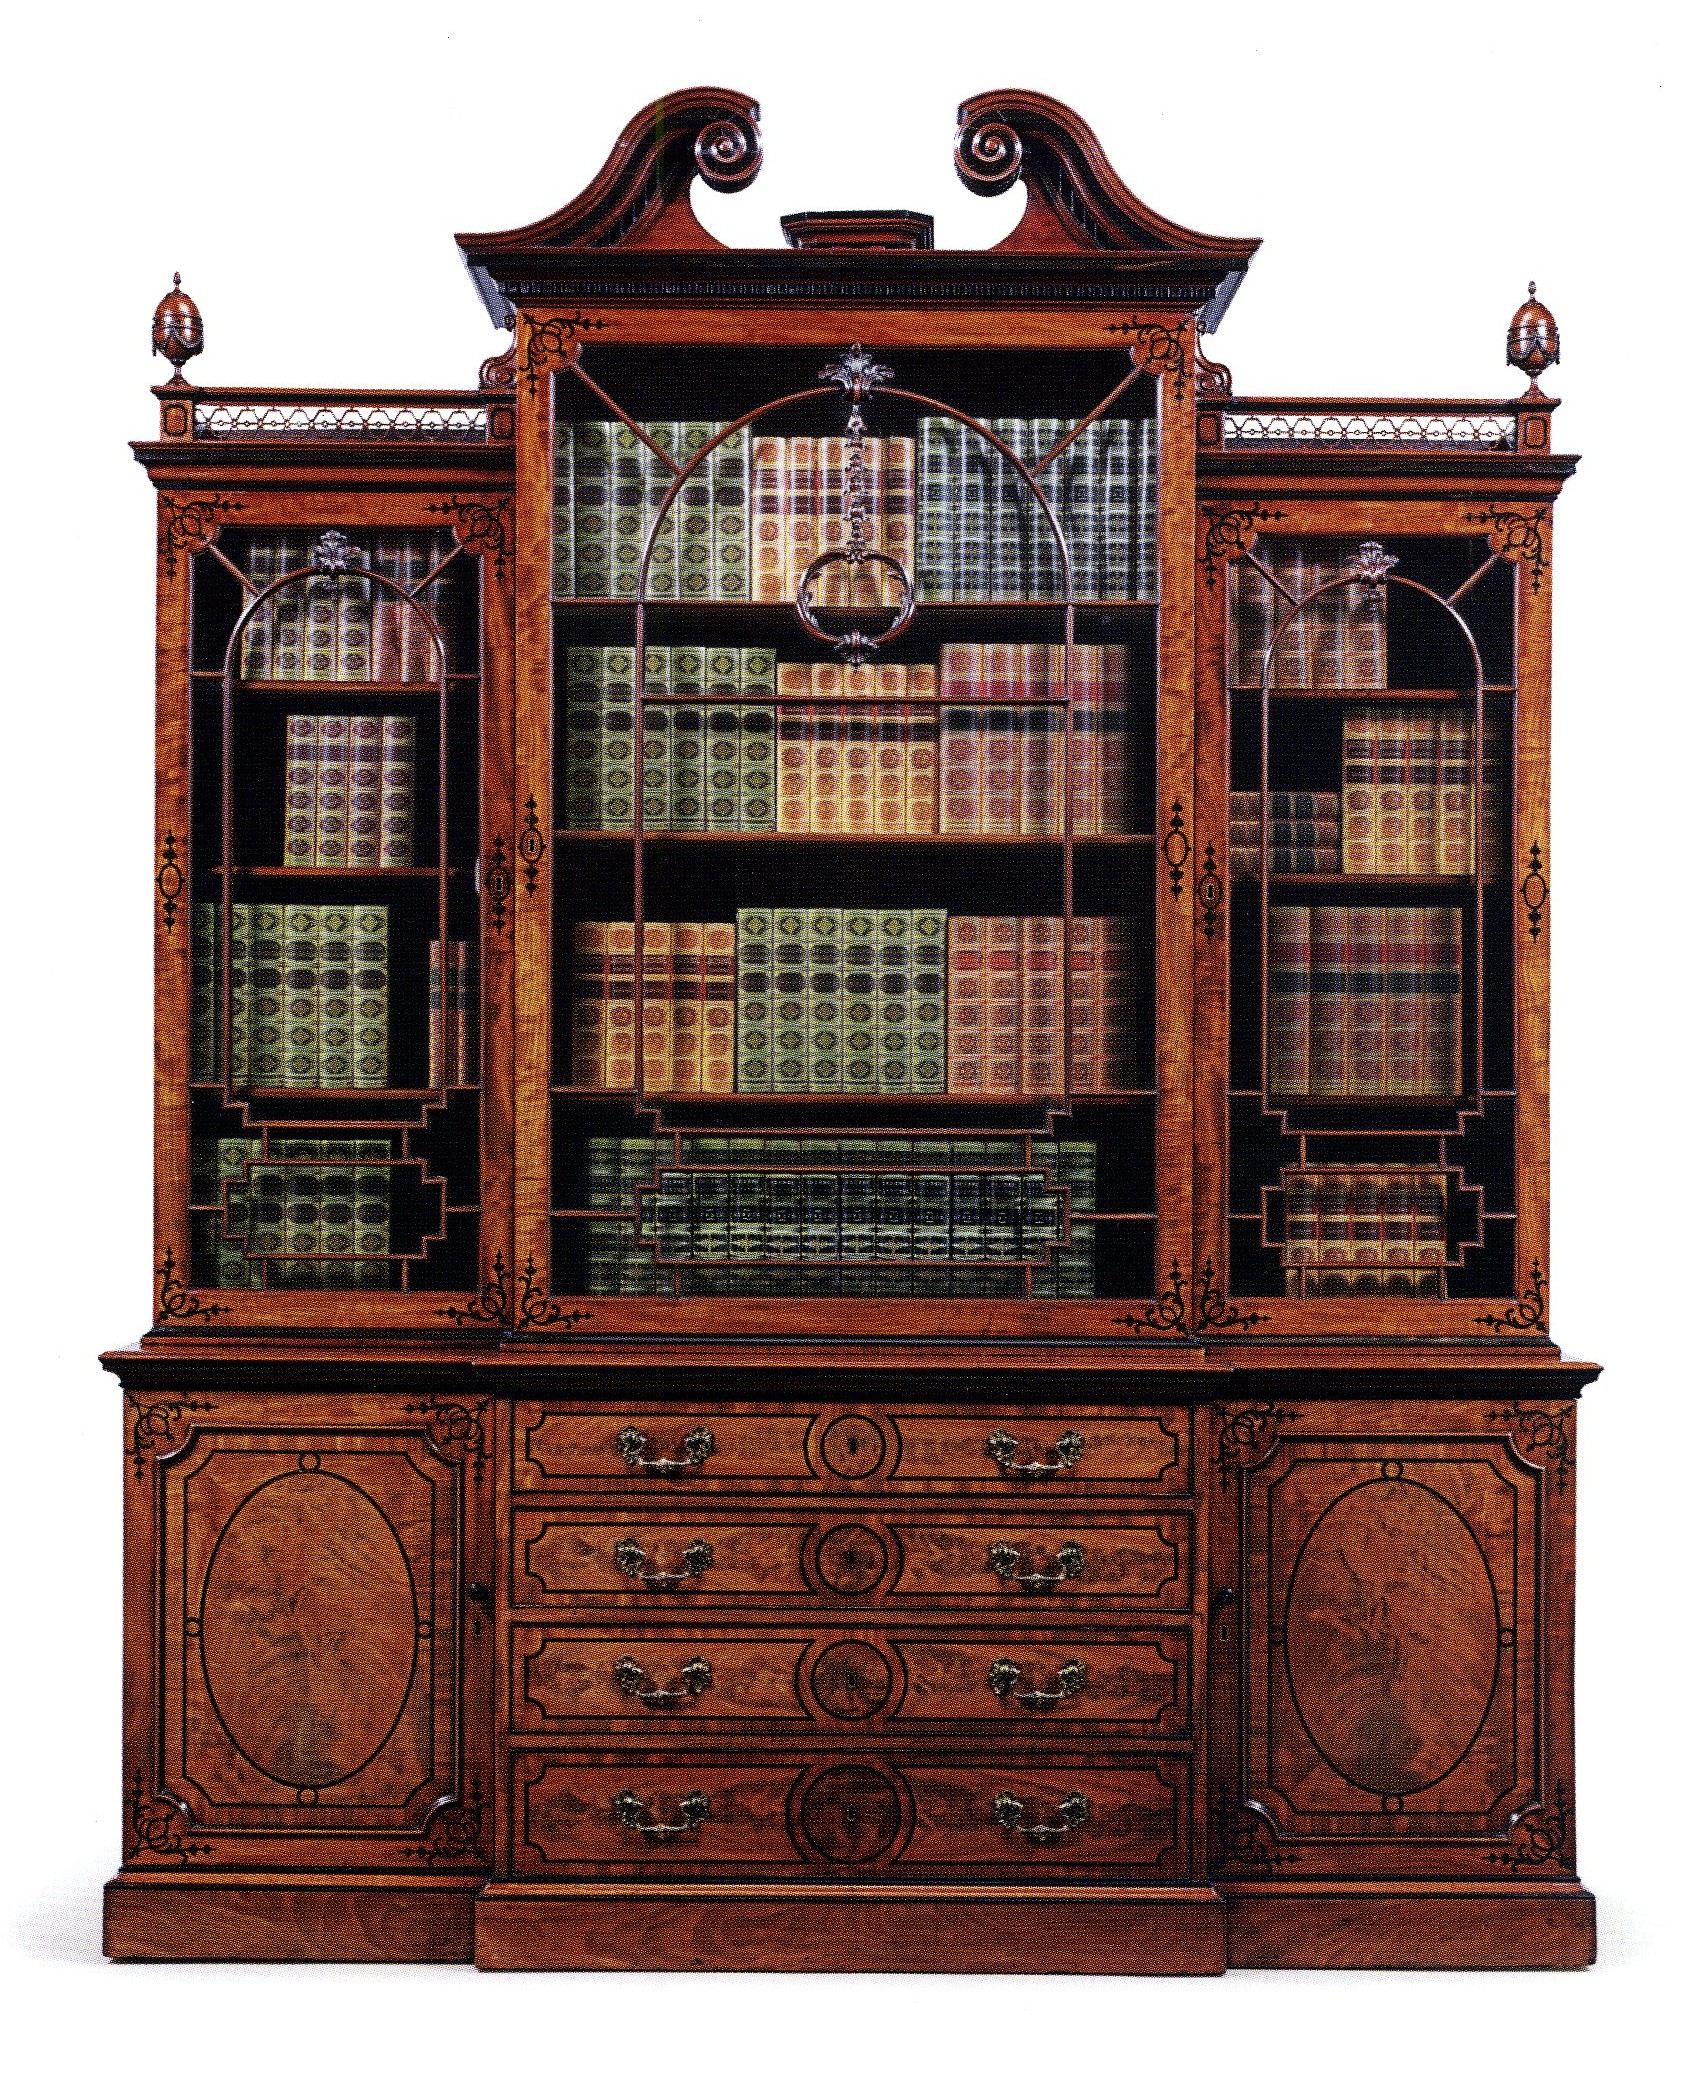
-Bookcases-


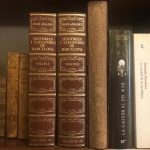
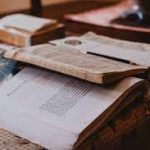
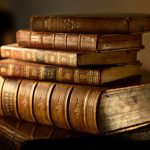
-Books-


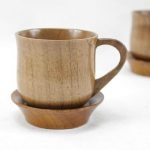
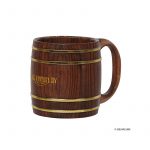
-Mugs-


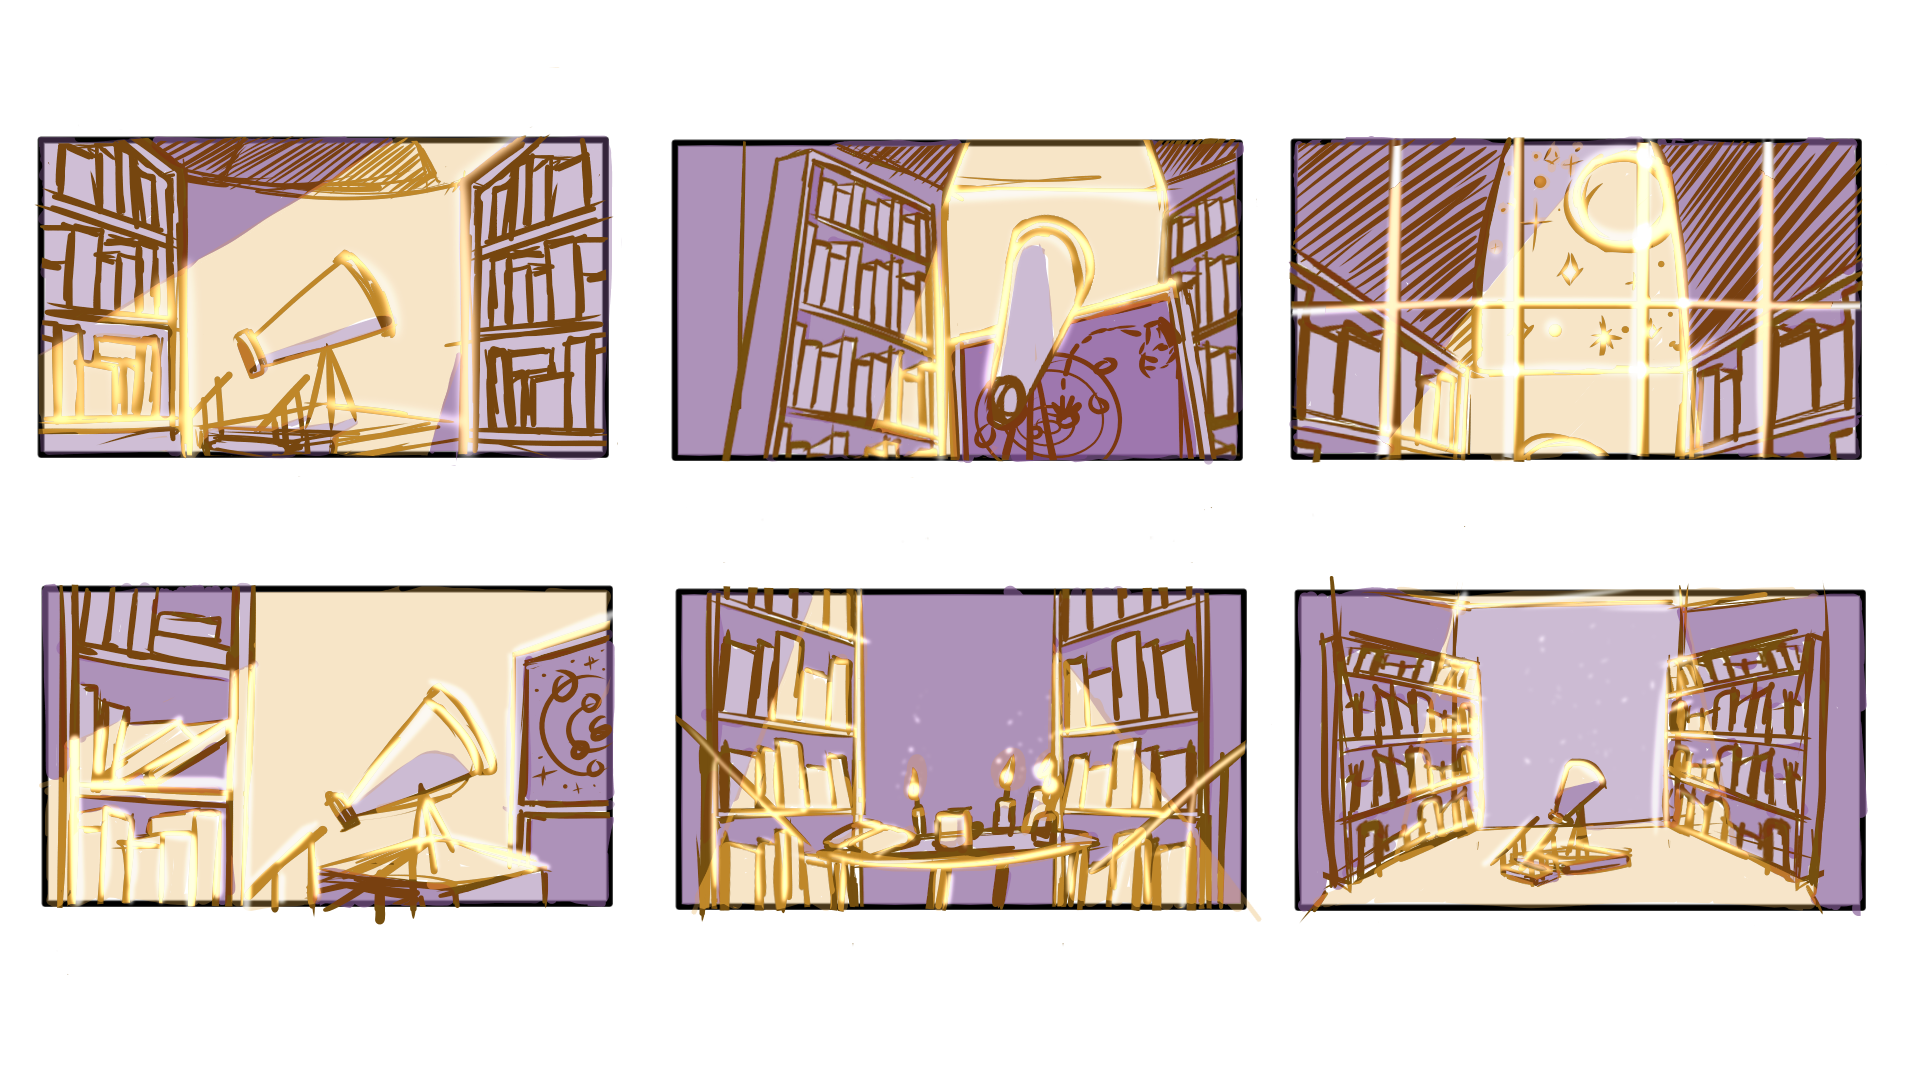
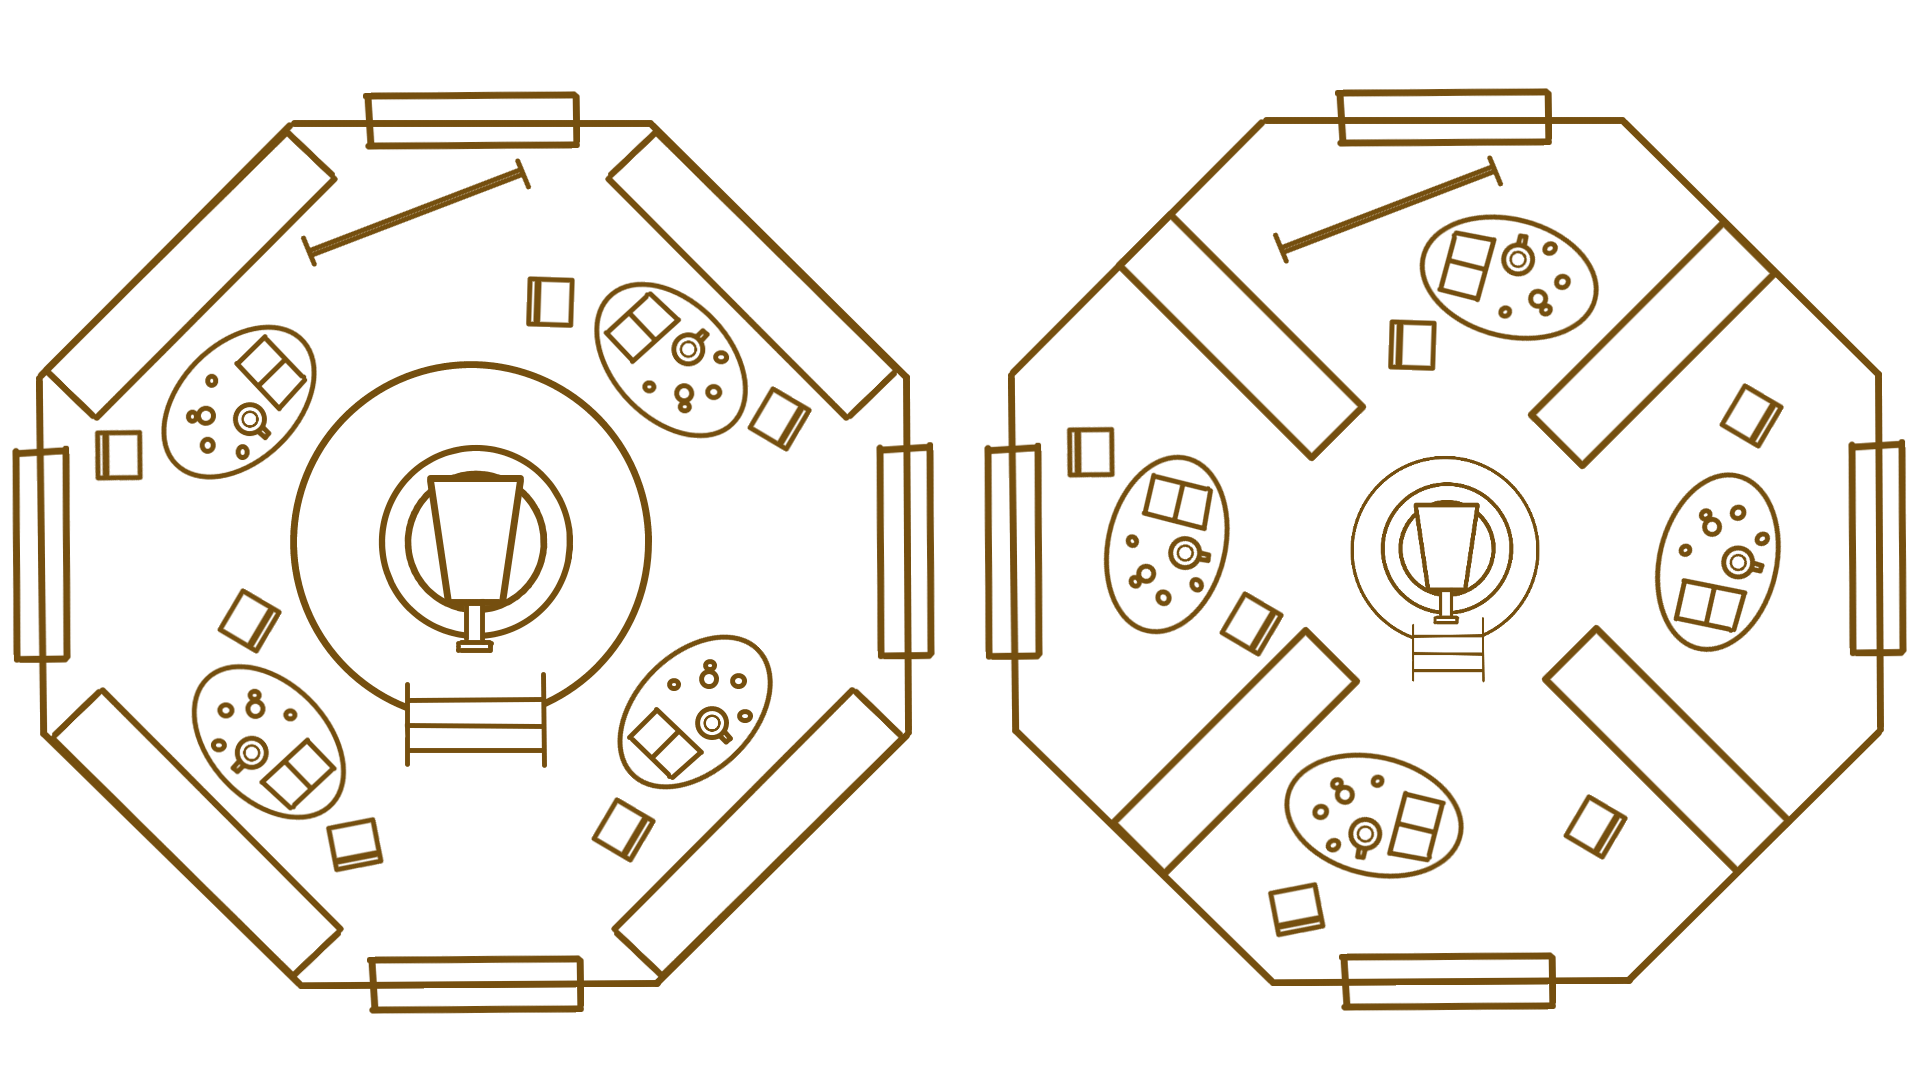
Next I created a few thumbnails and possible layouts for my observatory based on the references that the group gathered and the props that we brainstormed.
After the group created a list of props that we would need, we chose what we wanted to make. I volunteered to create some bookcases, books and mugs and created some concepts for those props that the group then voted on.

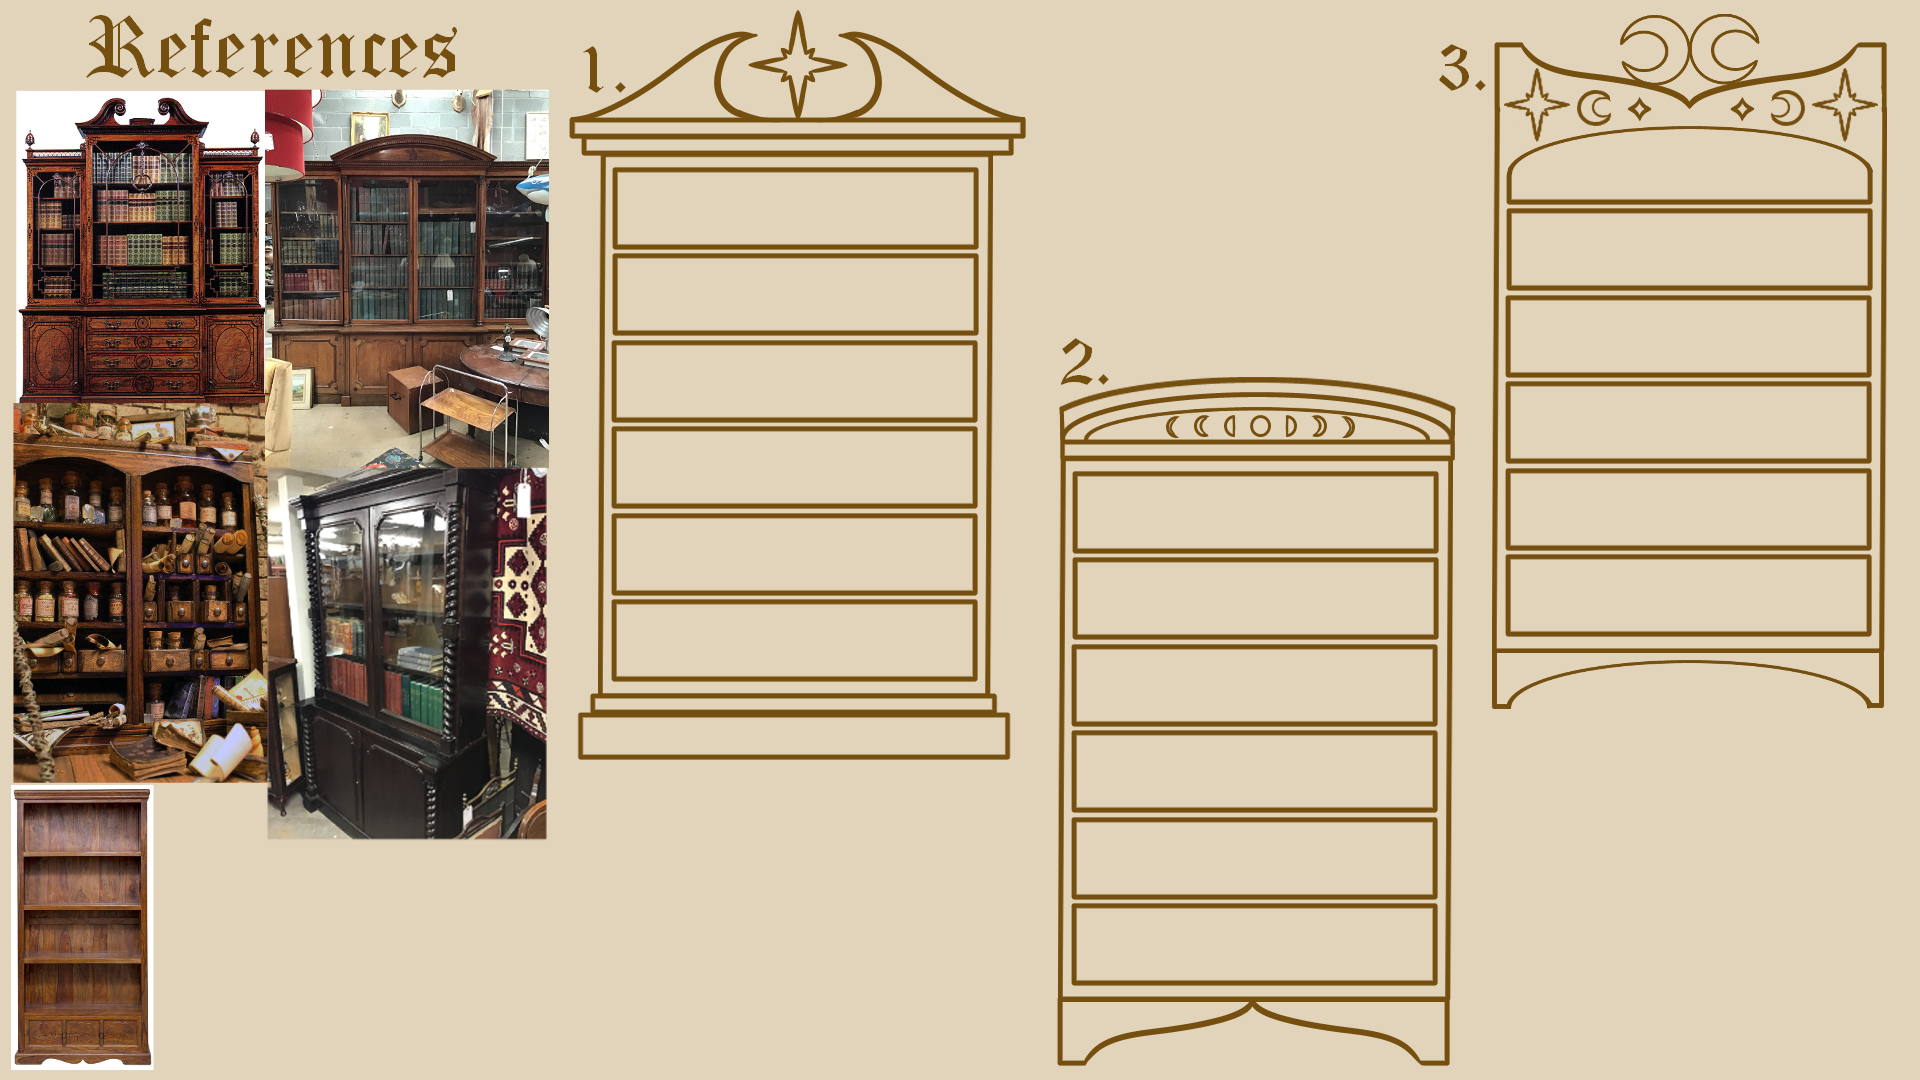
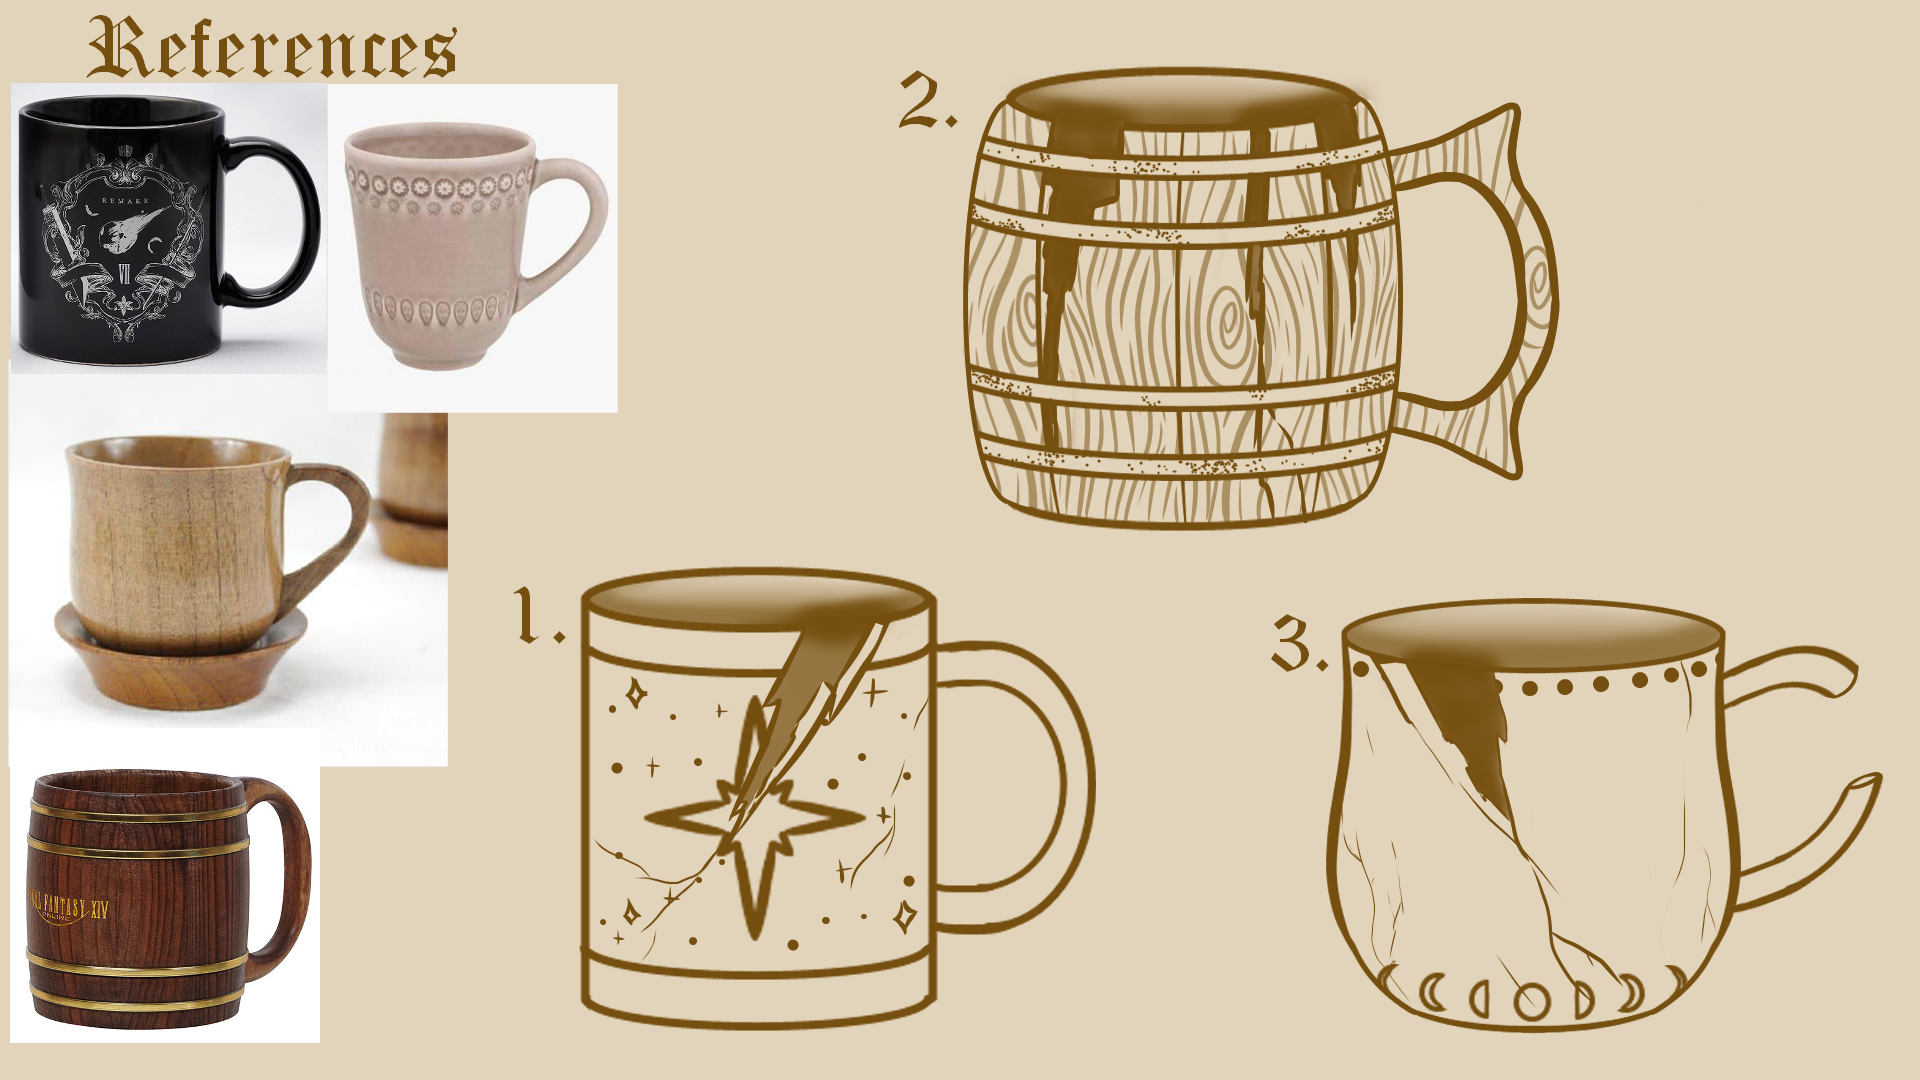
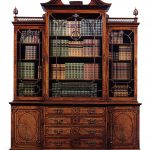
In the end the group voted for the first bookcase and the third mug.
____________________________________________________________________________________________________________________________
—Modelling Process—
—Block Out—
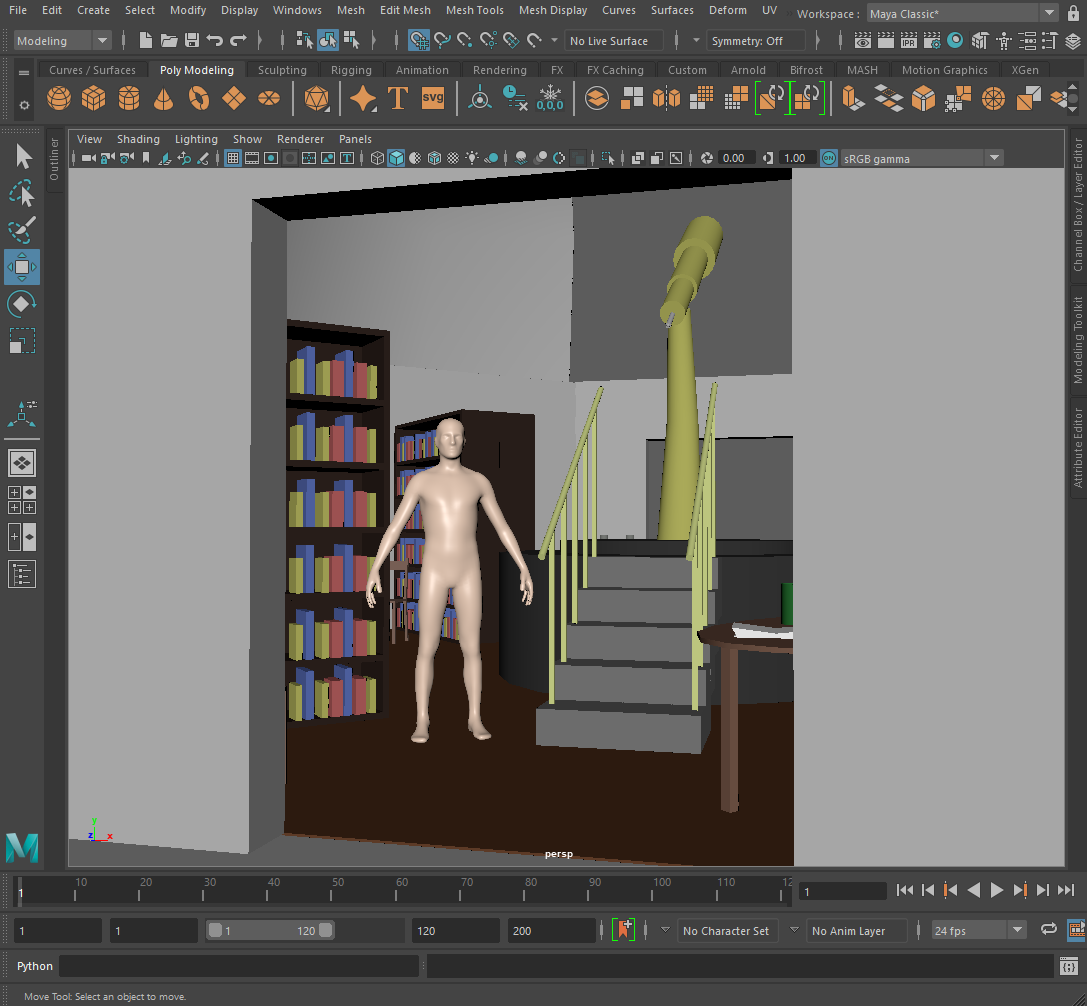
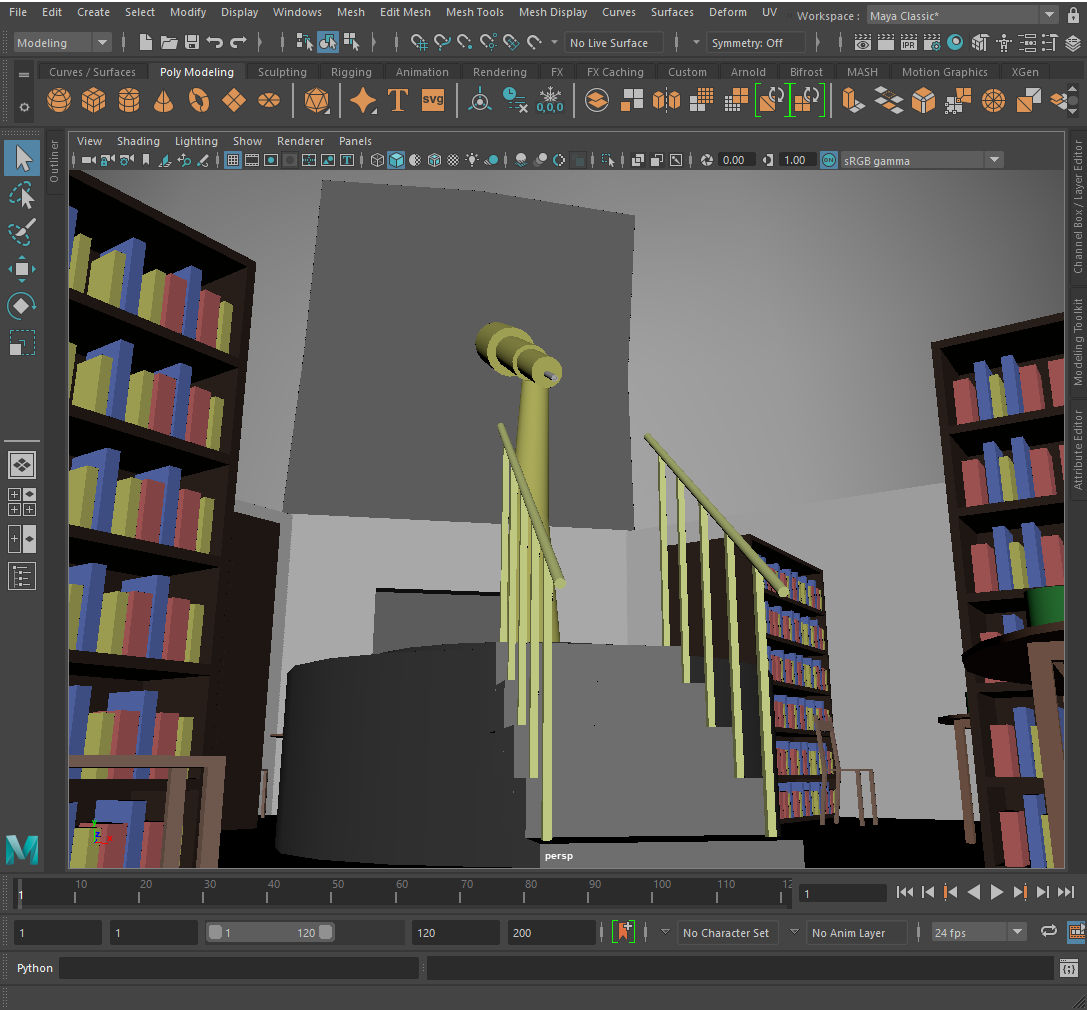
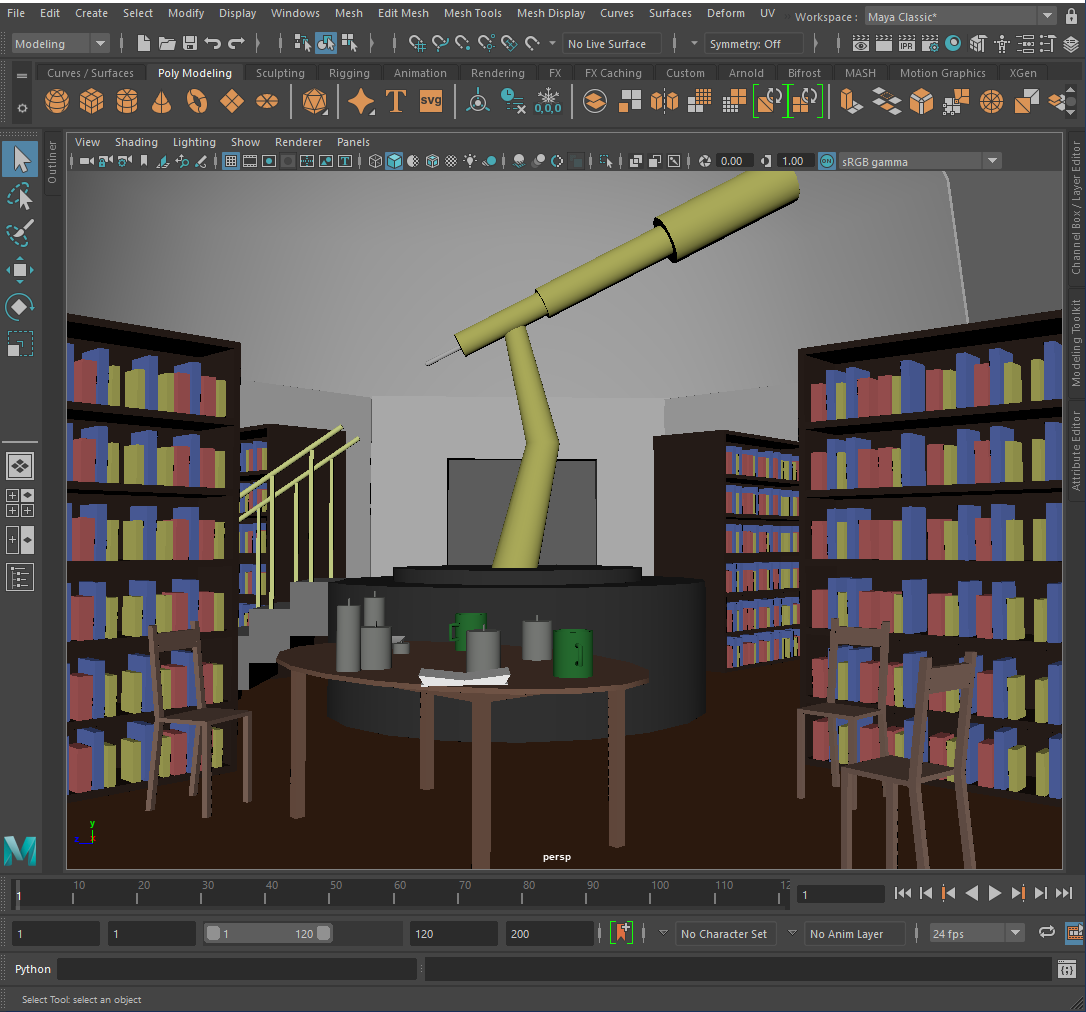
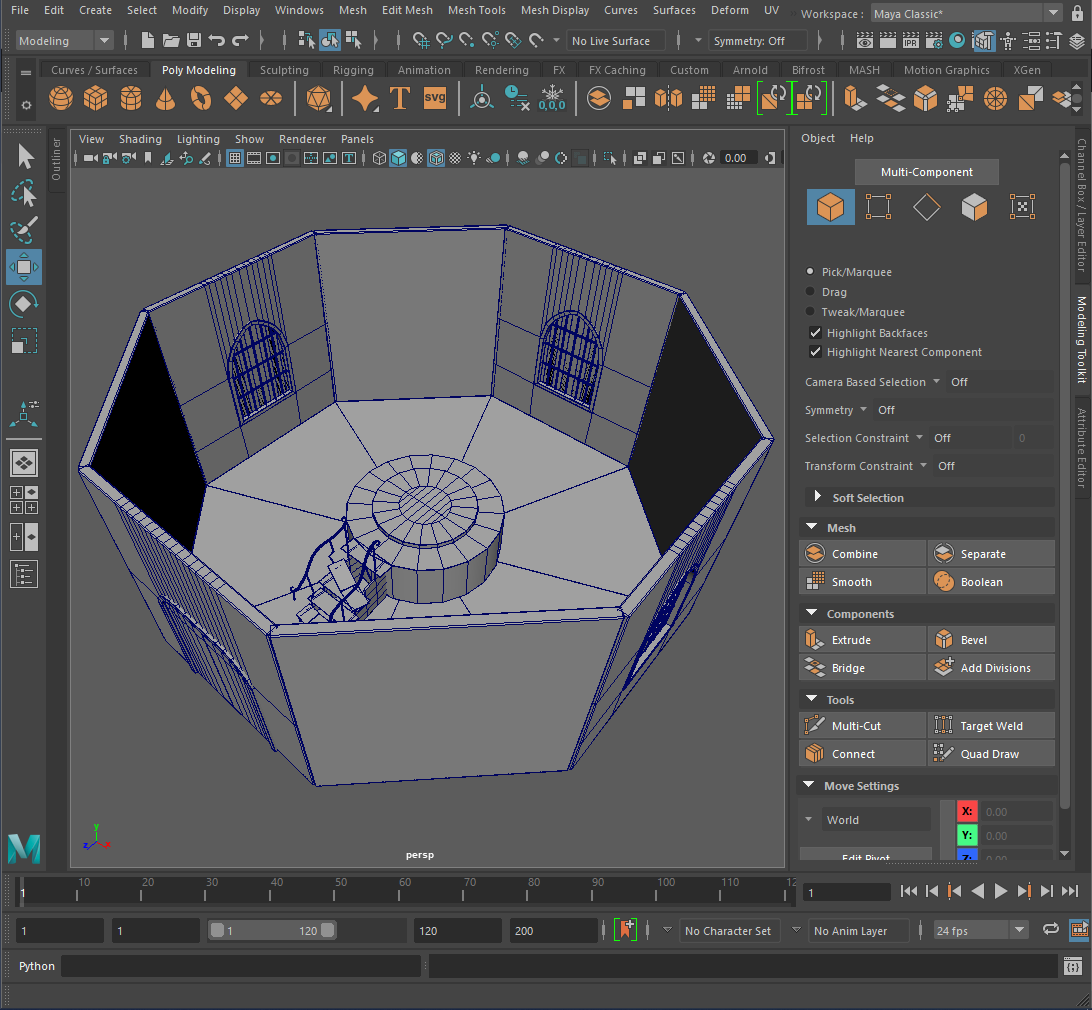
To begin, I blocked out the basics of what I wanted my observatory to look like so that I could make adjustments to the design where necessary.
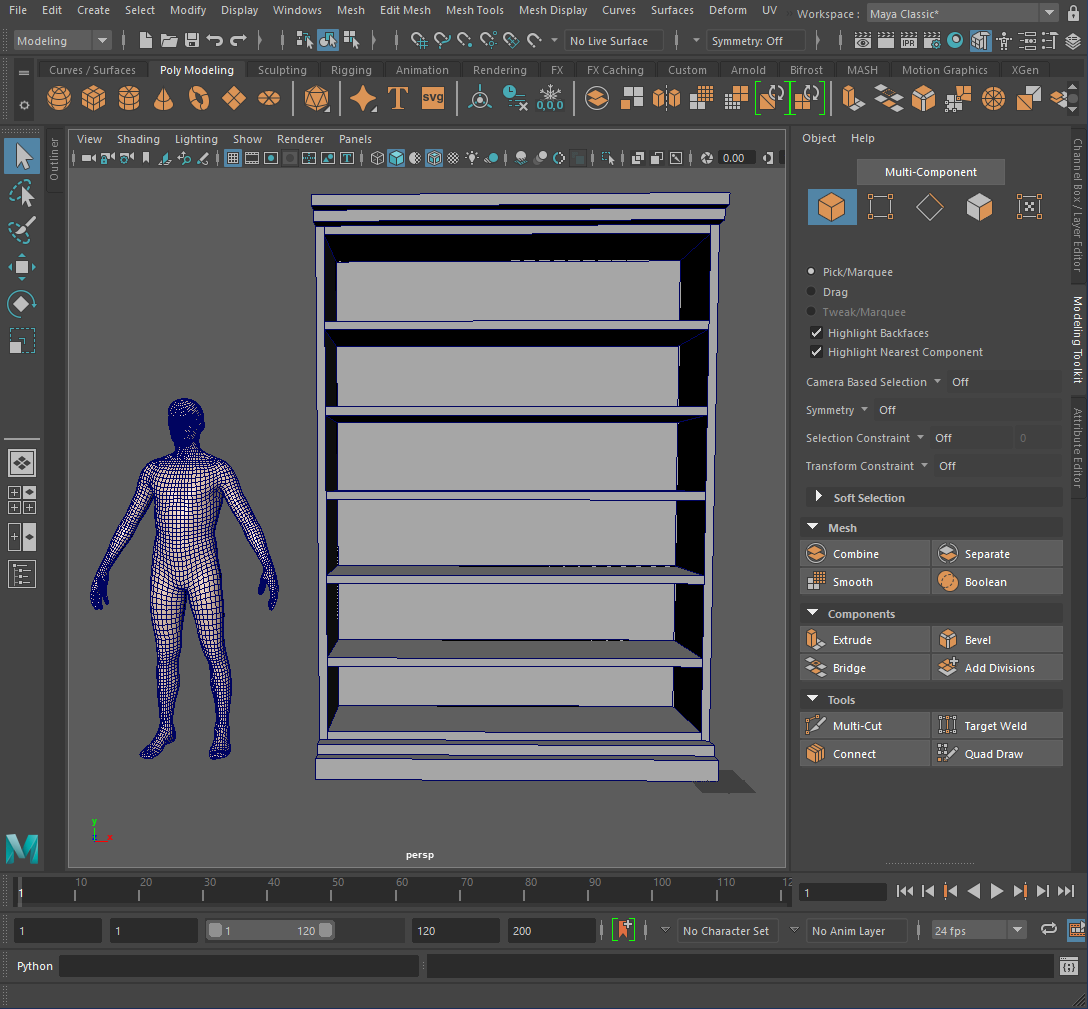
I started the block out by inserting a human model as a reference point so that I could keep the scale of the model as consistent as I could and added a ‘Distance tool’ to the scene.

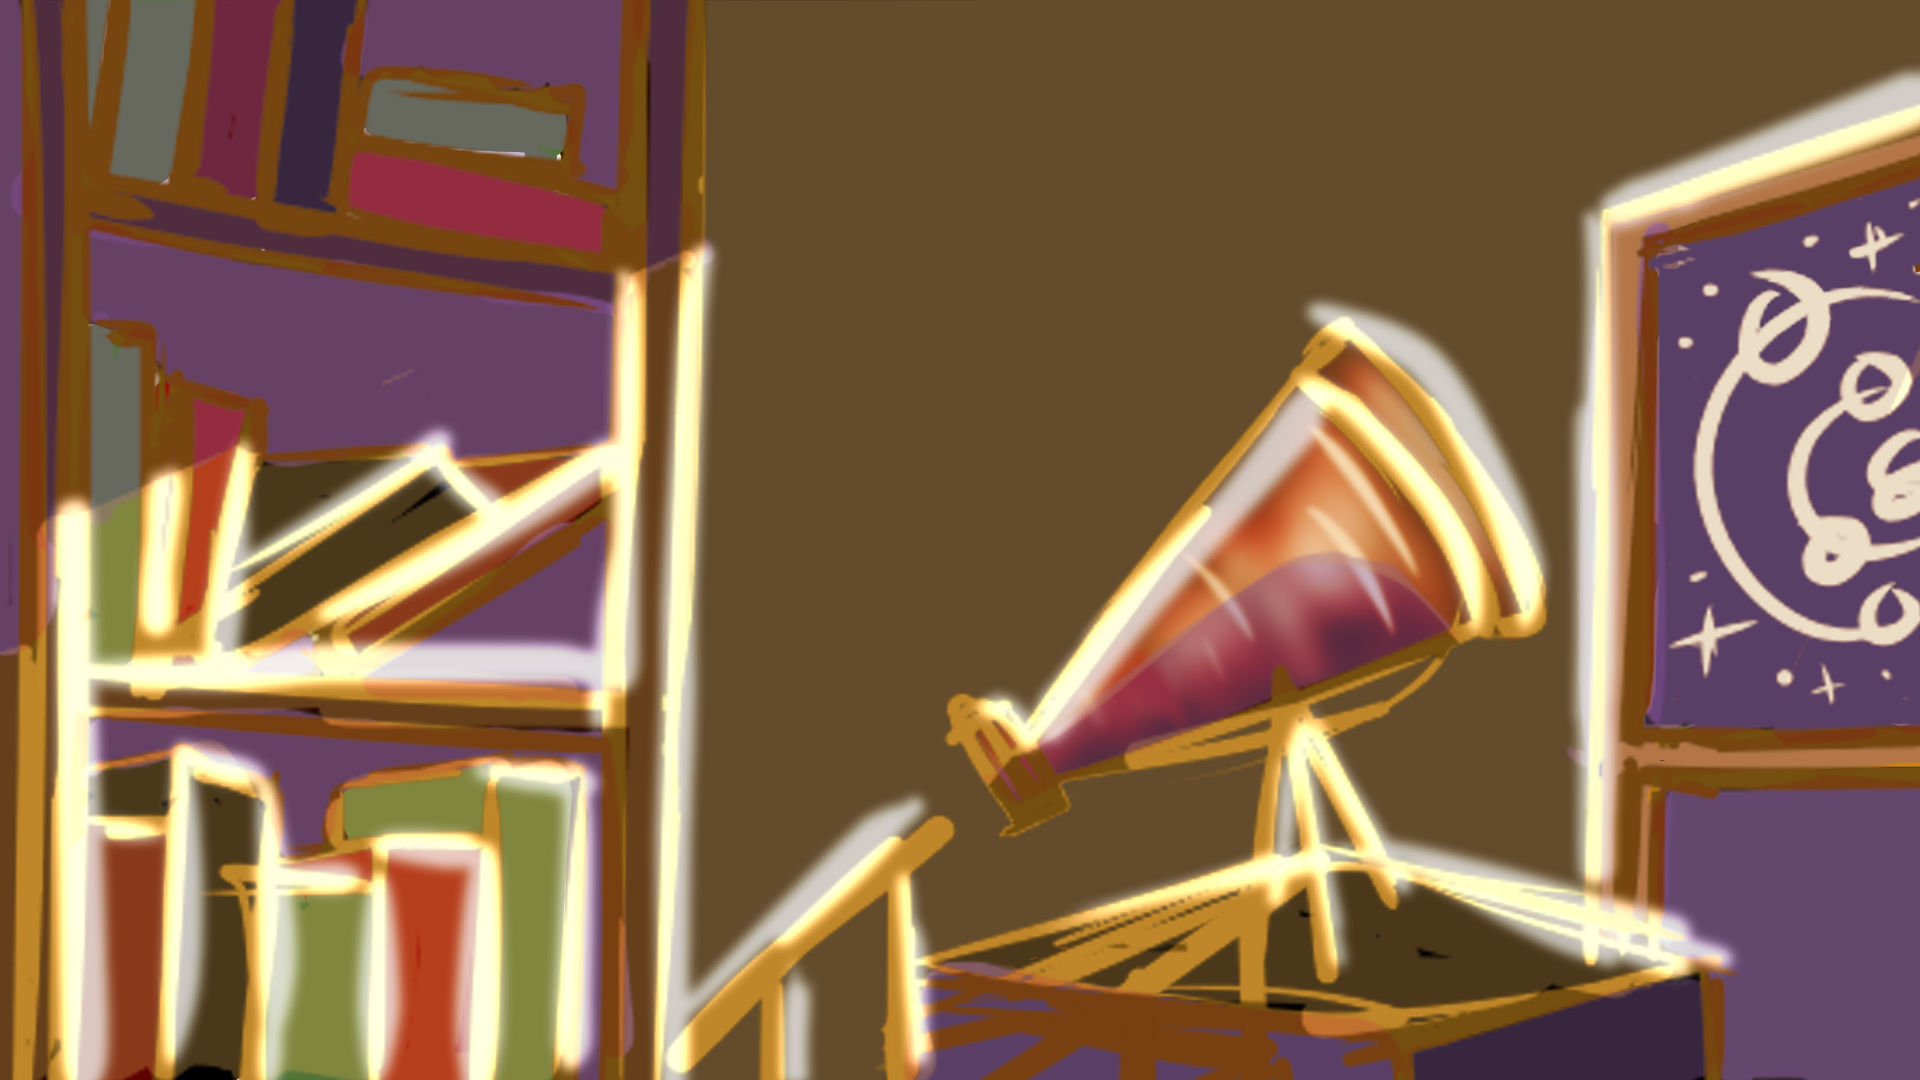
Firstly, I created a table, chair and a bookcase with simple shapes then the telescope, the platform that the telescope stands on and the stairs that connect to the platform. I then made some props like a few different books, a mug and a candle. Finally I created the floor, walls and windows.
All that was left to do was assemble the room.


—Asset Modelling—
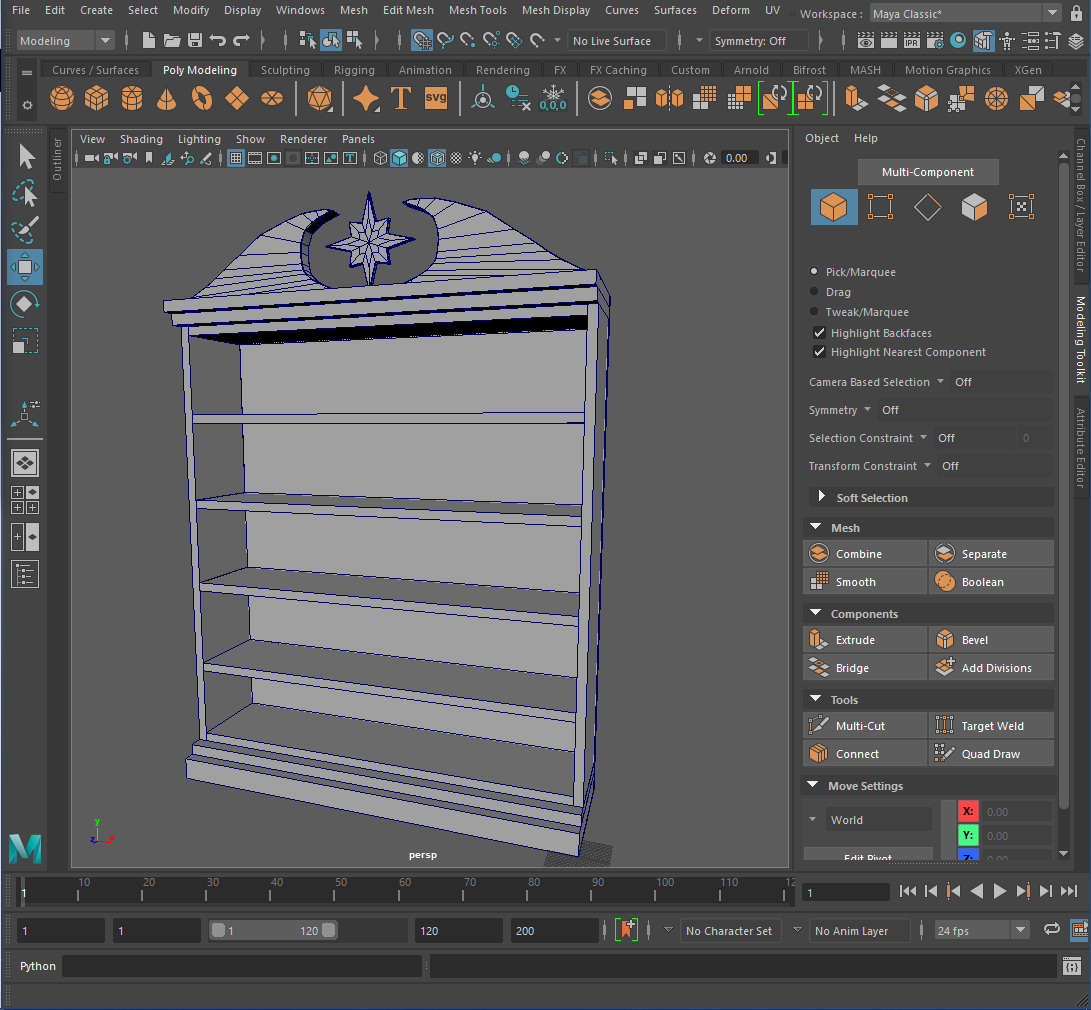
-Bookcase-
Firstly I created the base of the bookcase and ensured that there were no n-gons. Then I created the decorative ledges on the top and bottom of the bookcase from poly cubes.
After adding the decorations to the bookcase it now looks too tall for a person to use comfortably so I decided to remove a shelf to make it look more proportional.

Next I created the ‘crown’ of the bookcase using a plane, deleting most of the faces until it was just a long rectangle. I then adjusted the vertex points into the shape that was needed then I extruded it.
The star was made using a ‘disk’ with the subdivisions reduced to 16 and using vertex mode I adjusted the points until I was happy with the shape. Next I added a bevel to the inside and extruded the star.
Finally I added bevels to the edges of the star and the crown before assembling the bookcase.
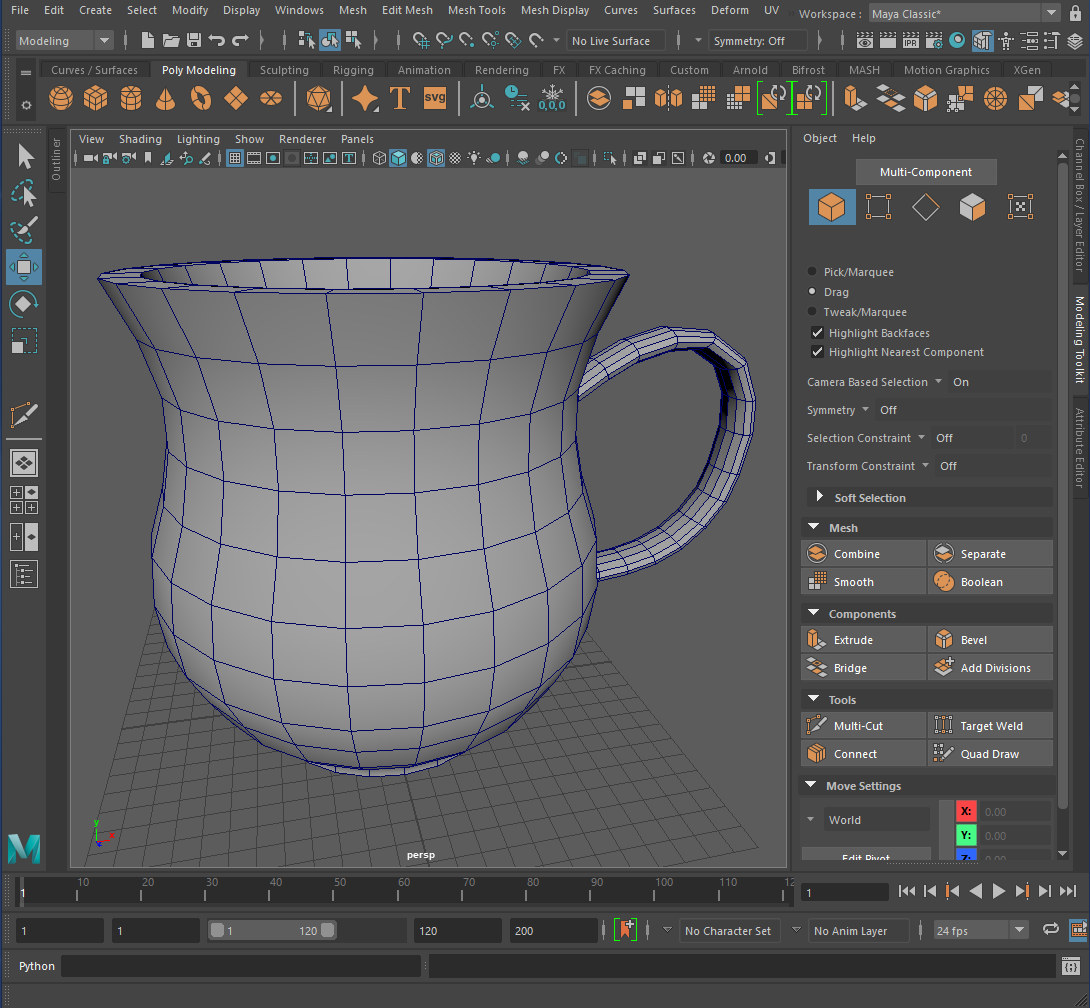
-Mugs-
To begin I used a cylinder and added edge loops so that I could adjust the shape to better match my concept. Then I bevelled the top and bottom and extruded the inside so that the cup was hollow.

For the handle of the mug I used the EP curve tool and created a curve, then I added a disk with the subdivisions set to 12. Extruded the disk and tweaked the vertex points to get the shape that I wanted.

Finally I assembled the mug, duplicated it and added some breaks and damage to the second mug to better match the broken and abandoned look the group is going for.

-Books-
To create the pages I used a cube and added edge loops to adjust the pages further for the open book. I then added bevels to the edges of the pages to help them keep their shape once smoothed. Next, I created the covers for the books in a similar way to the pages. For the spine I used edge loops and adjusted the spine and the pages to fit together better.
I then created a variety of book covers to add some variety when placed on the book shelves.


____________________________________________________________________________________________________________________________
—UV Unwrapping—
When UV unwrapping my models I tried to keep the seams along the back of the assets as much as possible, then I orientated the shells so that they all face the right way and used the layout tool. I gave each object its own UV map so that it would have a higher resolution and be easier to apply the textures later on.


____________________________________________________________________________________________________________________________
—Assembly—
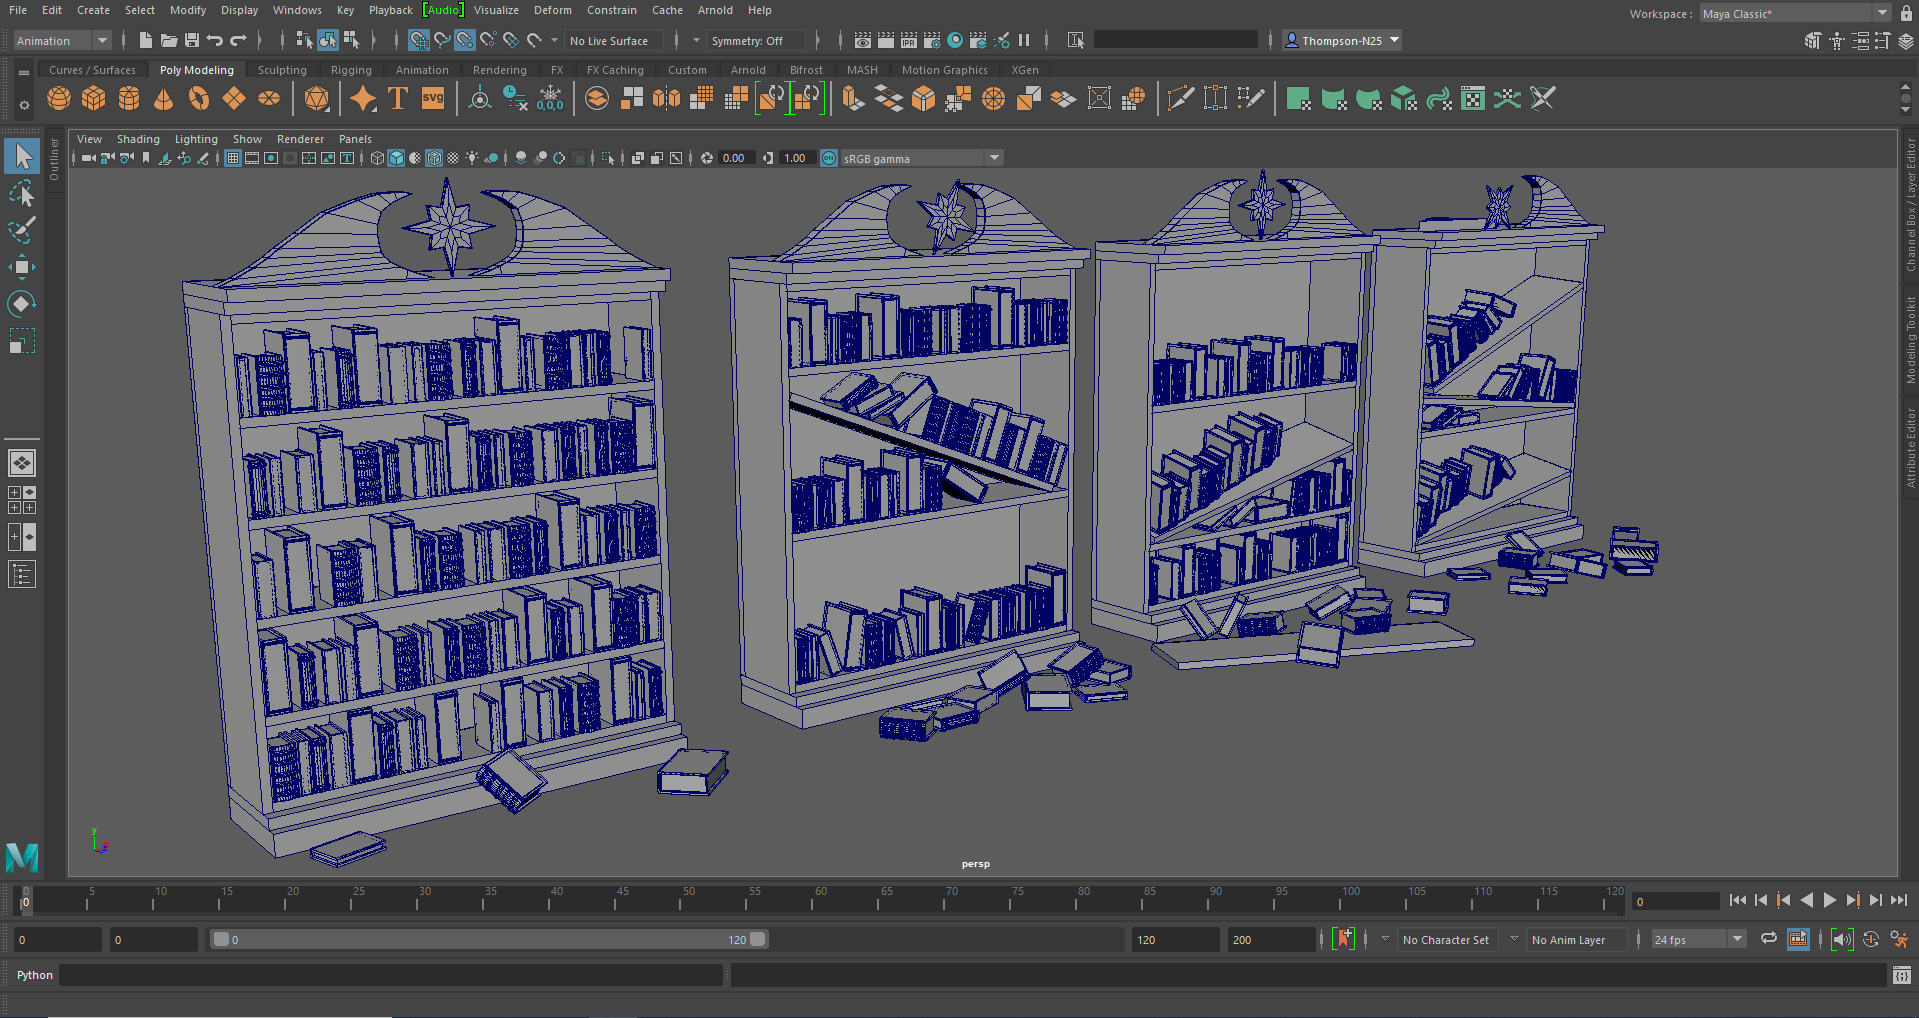
After completing the models of the bookcase and the books, I had to assemble them in various ways so that nothing looked like it was repeating.
I placed the books on the shelves in various orders so that every shelf was different and on each variant of the bookshelf I rearranged the order of the books. I even tilted and removed a few books from the shelves to scatter them on the floor to make it seem as if they had fallen off the bookshelves due to disrepair.


____________________________________________________________________________________________________________________________
—Texturing—
For the texturing of the models the team wanted it to look more on the realistic side.
-Bookcase-
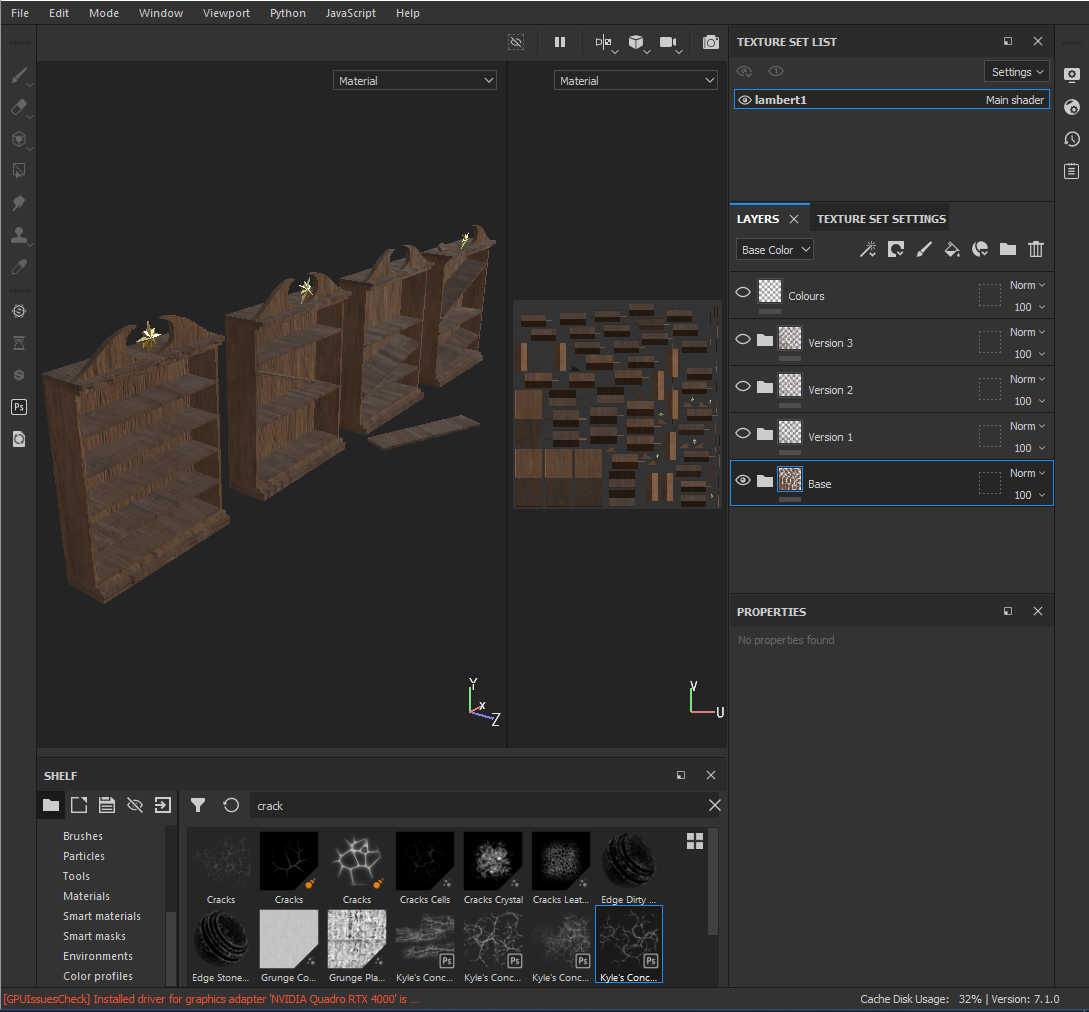
For the bookcases, I sampled the colours directly off of images of wood and applied them to the assets using the ‘Charcoal Wide brush’, ‘Kyle’s Splatter Brushes – Dots 1’ and ‘Chalk Thin’. I researched some ways of aging and damaging wood to help me to get the effects that I wanted, these include: adding a stronger concentration of black spots on the wood, scratches and scuffs, woodworm/termite holes and cracks.


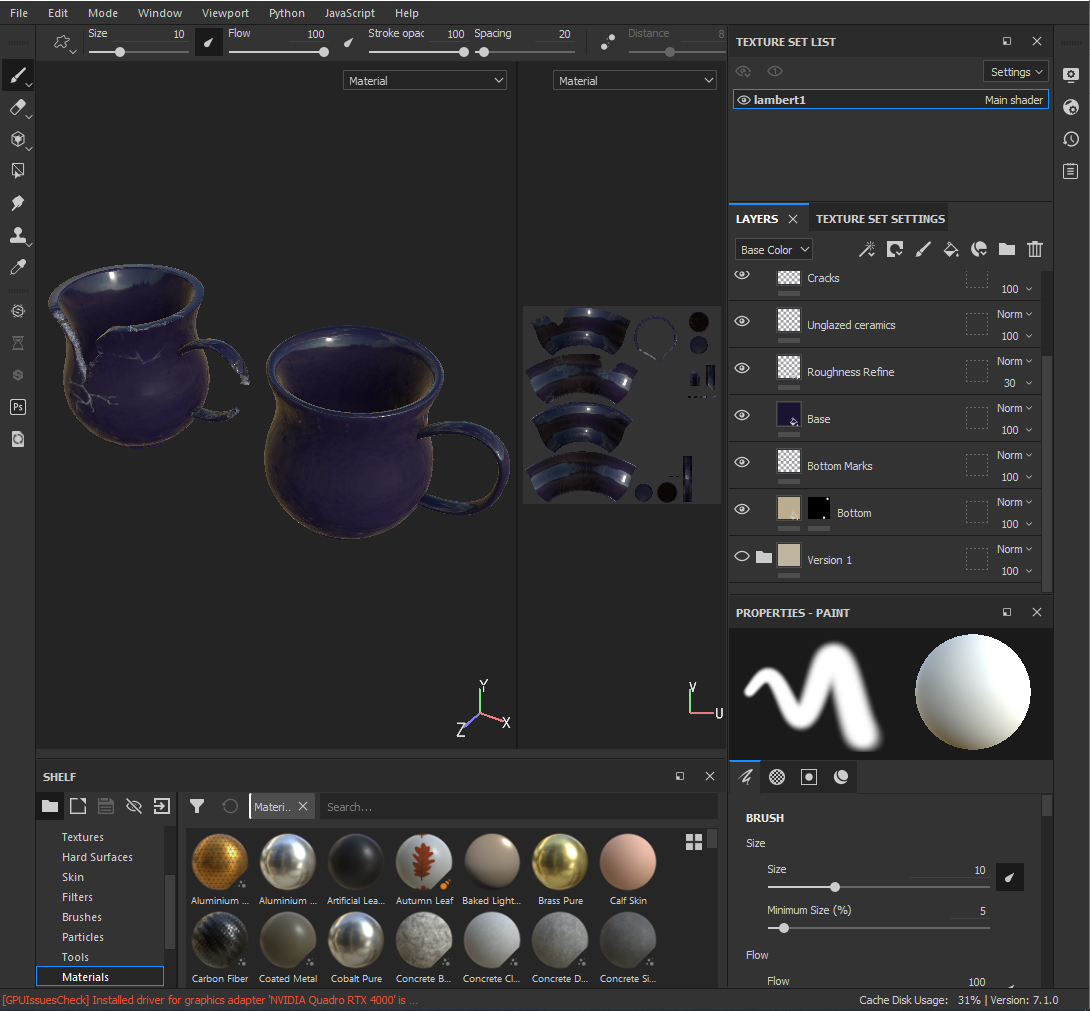
-Mugs-
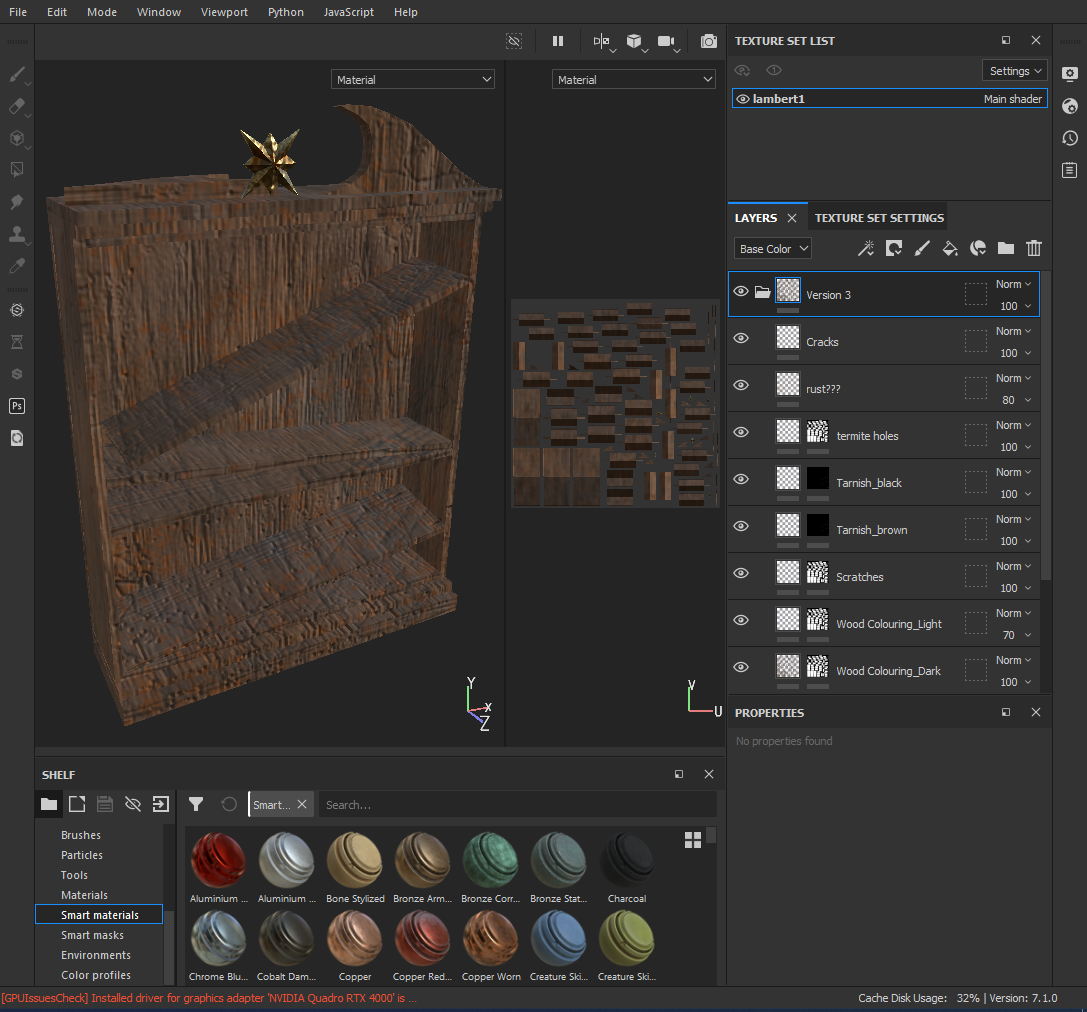
For the mugs I used a variety of neutral and cool tones. I sampled the colours directly from different ceramic products so that the textures were as realistic as possible. I then used the ‘Kyle’s Concept Brushes – Crazy Cracks 2’ to add wear and damage in different places to the broken mugs. Finally I used a ‘circle crosshair alpha’ and a cream colour for the bottom of the mugs to look like the unglazed ceramic.

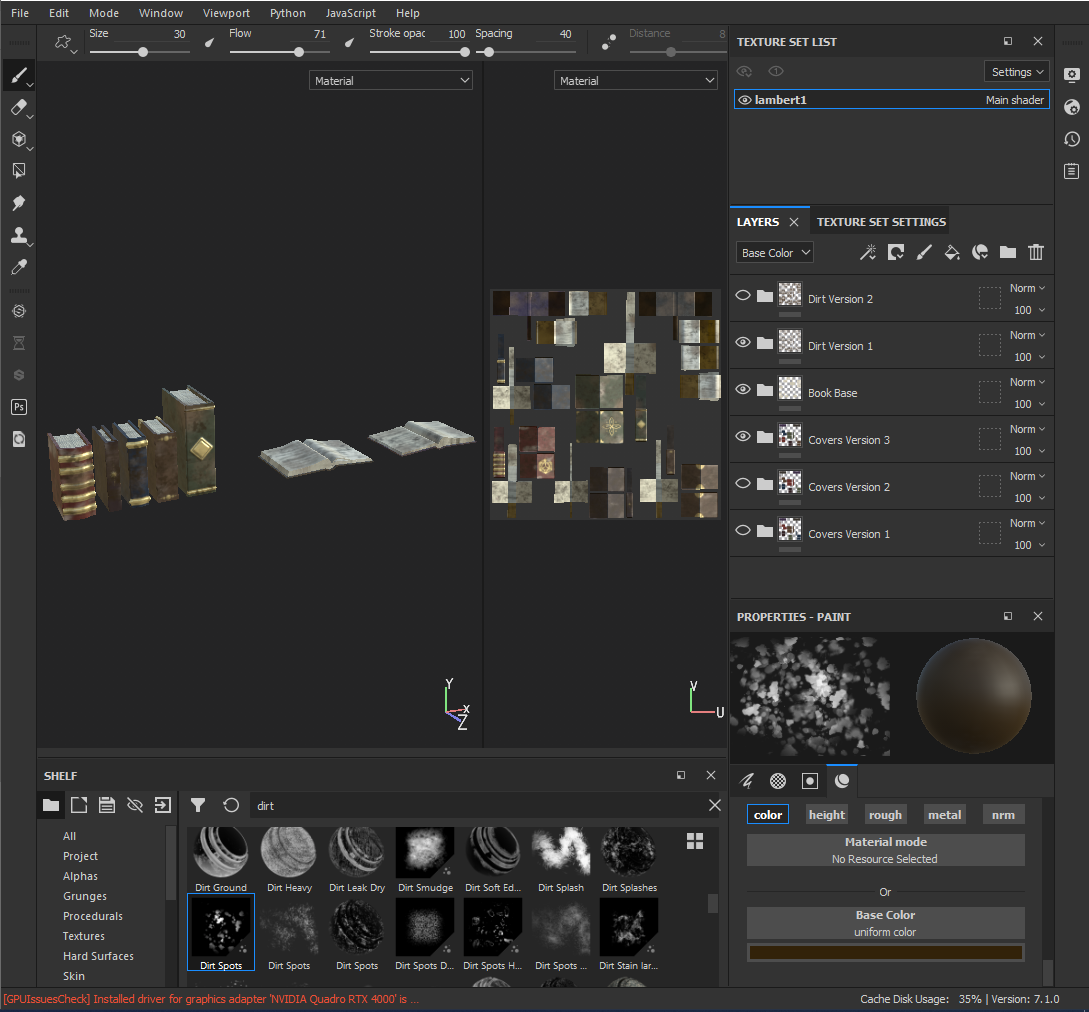
-Books-
For the books I focused on adding plenty of dirt, scuffs and grime to the covers of the closed books as they are the most visible part when on the shelves. For the open books I wanted to add some marks that gave the impression of text.


—Feedback—
After showing my group the textured assets I received some feedback. I need to change the wood texture and adjust some of the damage on the bookcases.

—Exporting Textures—
After I was finished texturing all the assets and making different variants of each, I exported each set of the textures. After adjusting the settings, I exported, named and organised all the files into folders to be easier to find later.


____________________________________________________________________________________________________________________________
—The Room—
—Modelling—
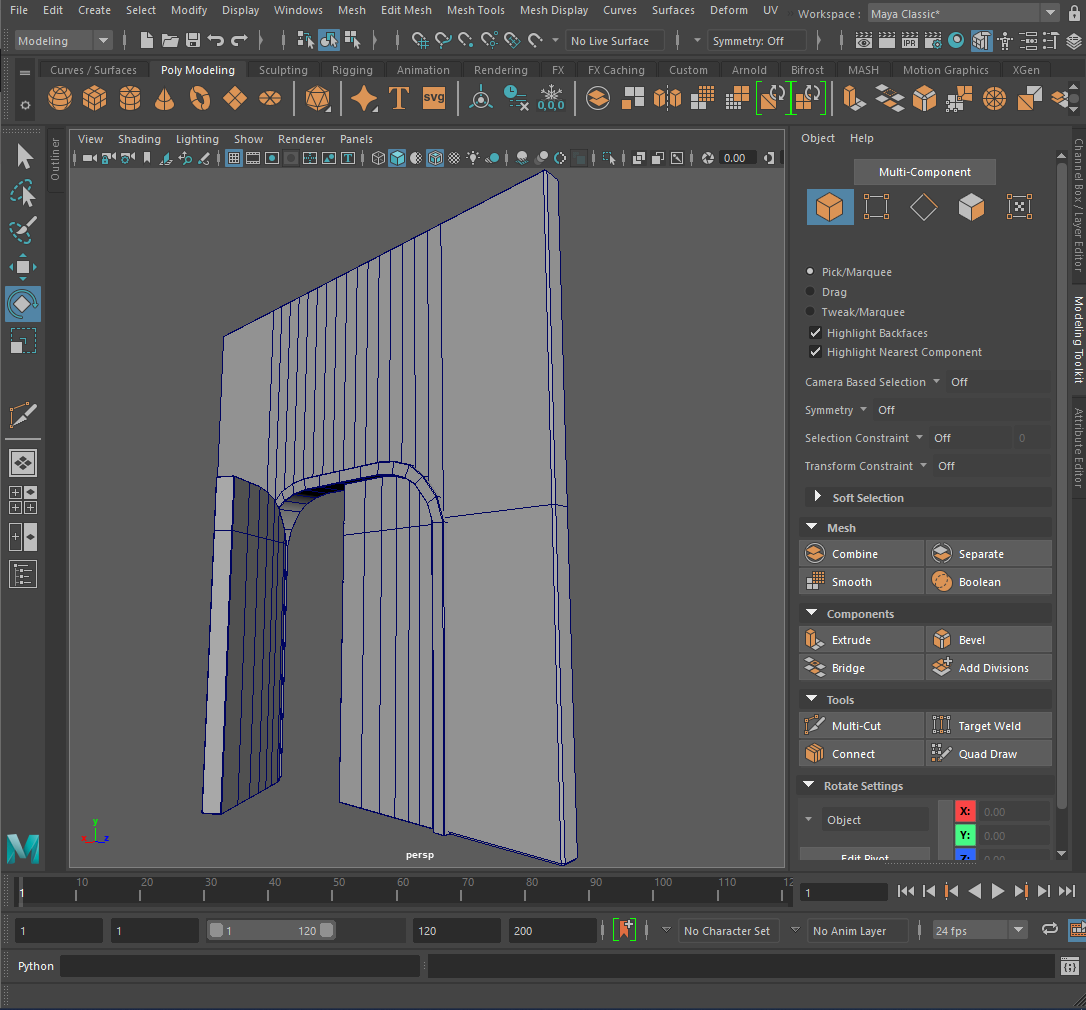
-Doorway and Door-
To begin, I created a door shape with a polycube, added some edge loops and adjusted the points to add a small curve to the top of the door.
Next I used another polycube to create the wall and added edge loops to form the curve for the door. I then deleted the shape of the door and bridged the gap using the bridge tool which created the door cutout. Finally I created a door frame using a polycube, adding edge loops to adjust the shape to the curve I needed and making it thicker than the wall.
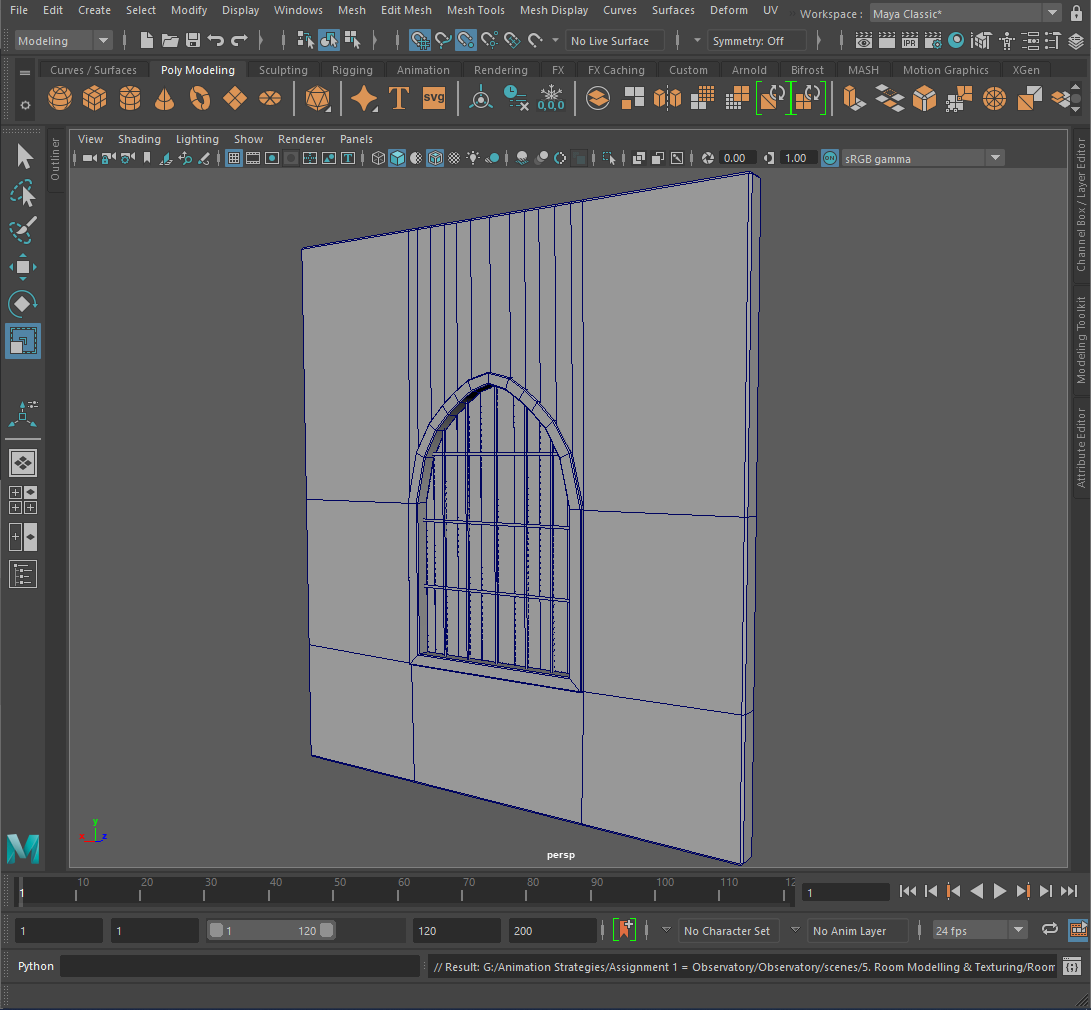
-Window-
I cloned the wall with the doorway and adjusted the position of the hole to create a window. I also altered the size and shape of the window and deleted any unnecessary edge loops. Next I created the window pane with a polycube and edge loops, then used some polycubes to create the window sash. I extruded the edge of the window to create the frame and beveled all the edges.
-Floor-
To create the floor I used a polycylinder that I reduced the subdivisions to 8.

-Stairs and Podium-
I used a polycube and added edge loops to create the rise and run of the stairs. I then adjusted the shape of the stairs to have a slight curve and added damage to the steps and the railing. Next I made the podium using polycylinders and bevel the edges.

-Dome-
Firstly I created a custom sphere from a polycube that I smoothed and divided so that there would be no triangles. I then cut off the bottom and cut a slit in the side to create a hole in the roof. I extruded the dome and created small planks to hide the seam between the building and the roof.
—UV Unwrapping and Assembling—
I UV unwrapped all the pieces and put them on separate maps.

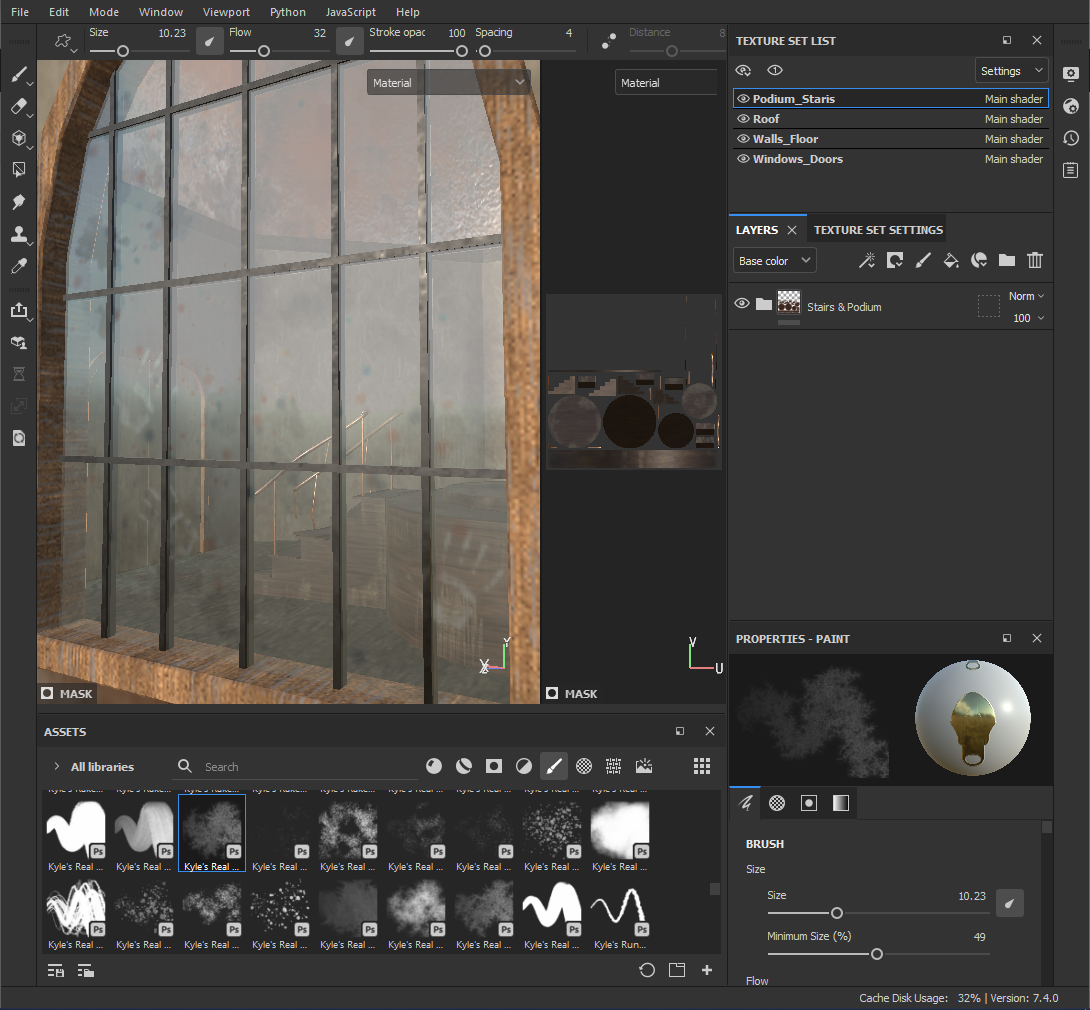
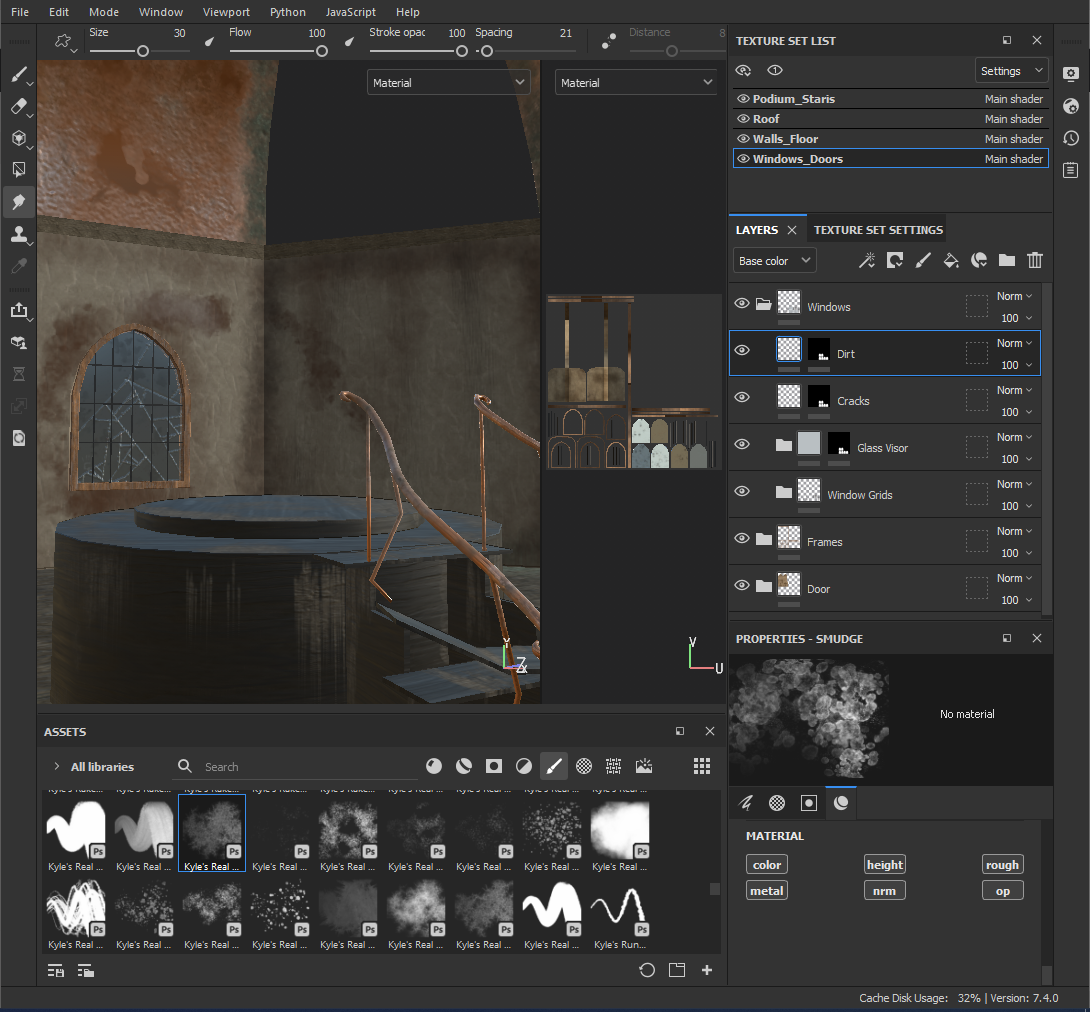
—Texturing—
When texturing the room model I focused on the earthy neutral colours that the rest of the assets are. I added plenty of scratches, distress and corrosion to the model.
____________________________________________________________________________________________________________________________
—Unreal Engine—
After collecting all the assets and textures from my teammates I renamed and organised them in my files to make it easier for me when adding everything into unreal.
To begin, I opened Unreal Engine, adjusted the settings and selected where it would be saved.
I then added a few folders to organise my models, textures and materials and began importing all my assets.

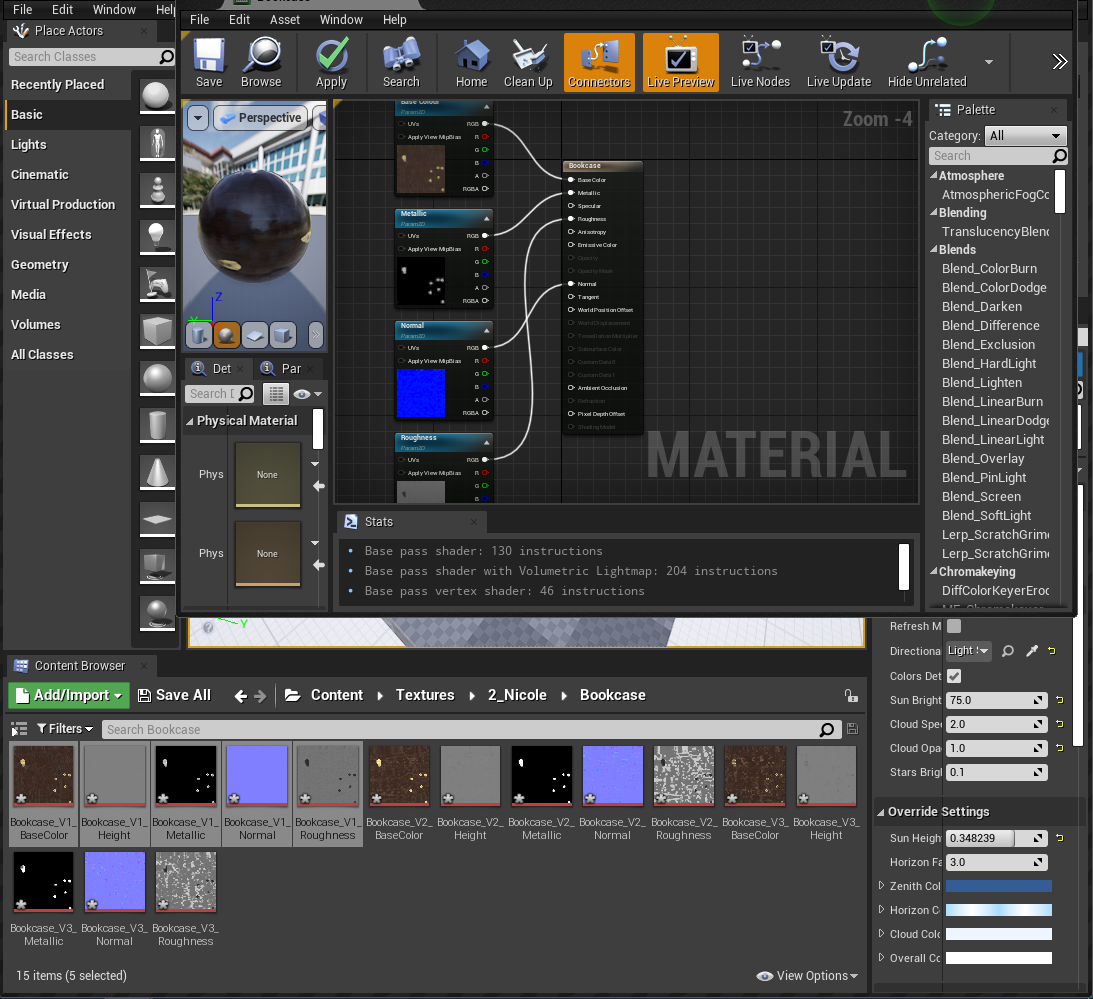
I linked up my material and textures using nodes and instances to create the multiple different versions of the textures needed for each asset that I wanted to use.

—Feedback = 29-11-2021 —
When adding the textures they were appearing too glossy even with a roughness node, the wood textures were especially bad. Henry informed us that we needed to export the textures in a specific format so we had to go back and fix the mistake.
When fixing the mistake I just made a new Unreal file and restarted as I didn’t want to confuse myself and mess up somewhere while trying to fix it.

—Lighting—
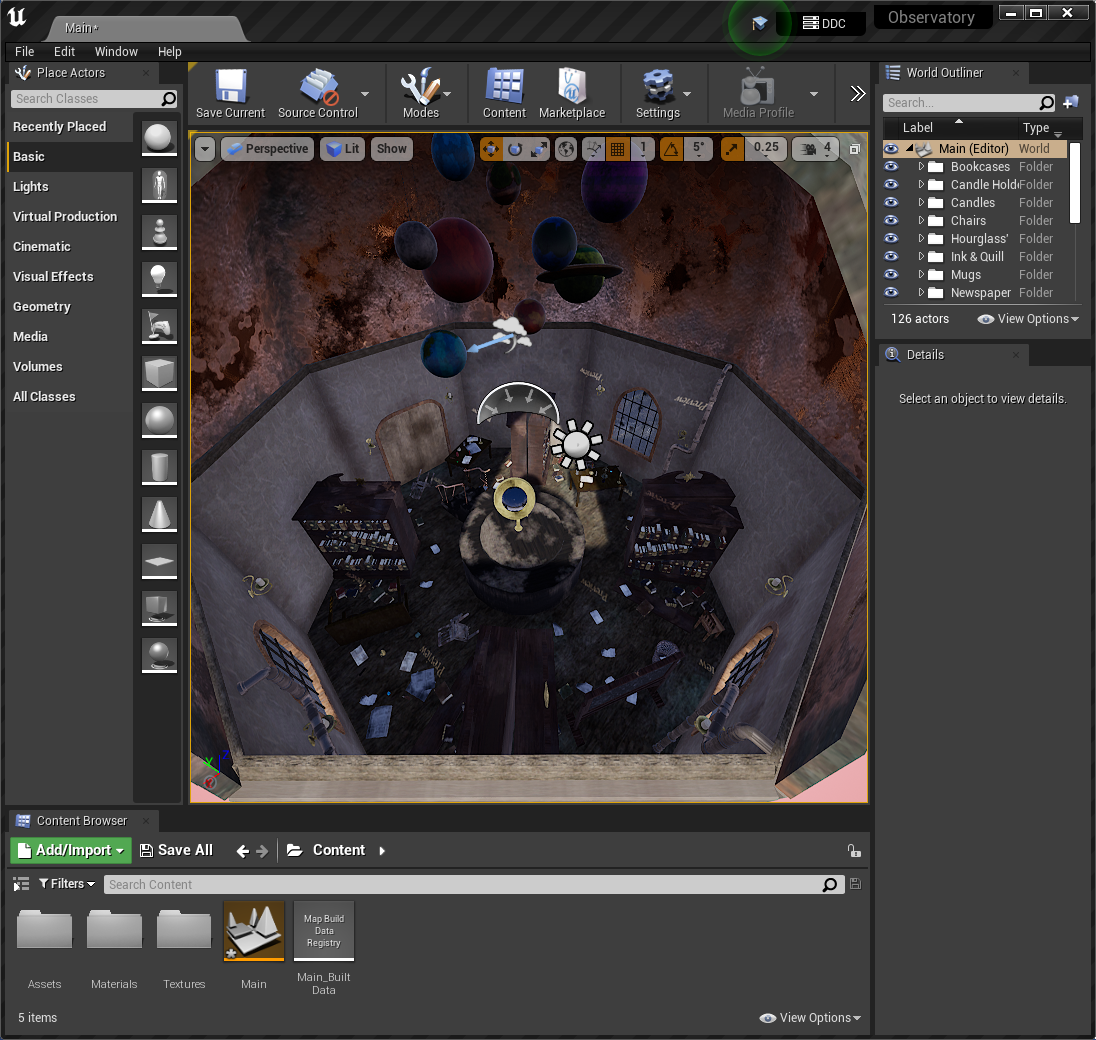
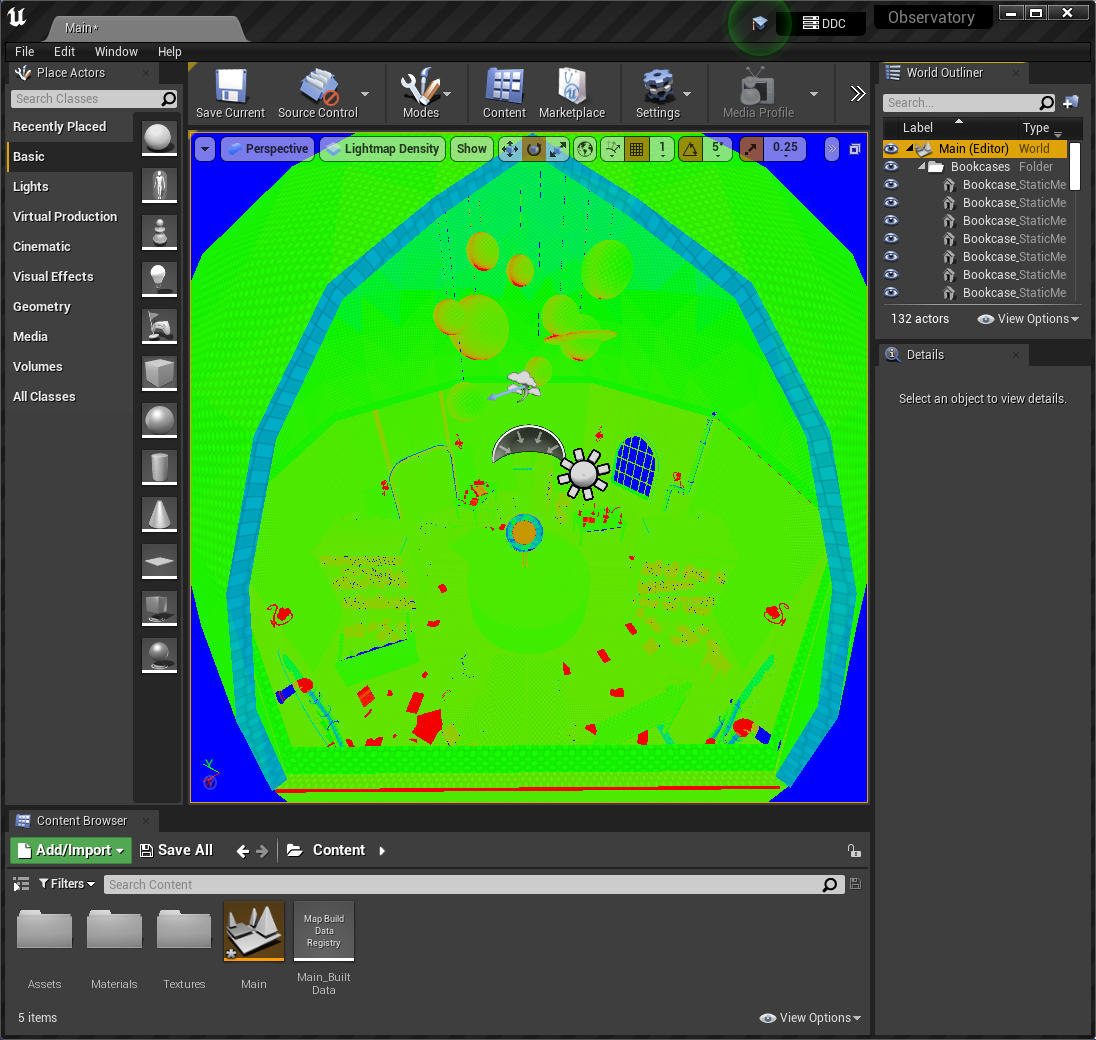
Once everything was positioned and textured in Unreal I added the lighting but I had to adjust the light density map of the model first.

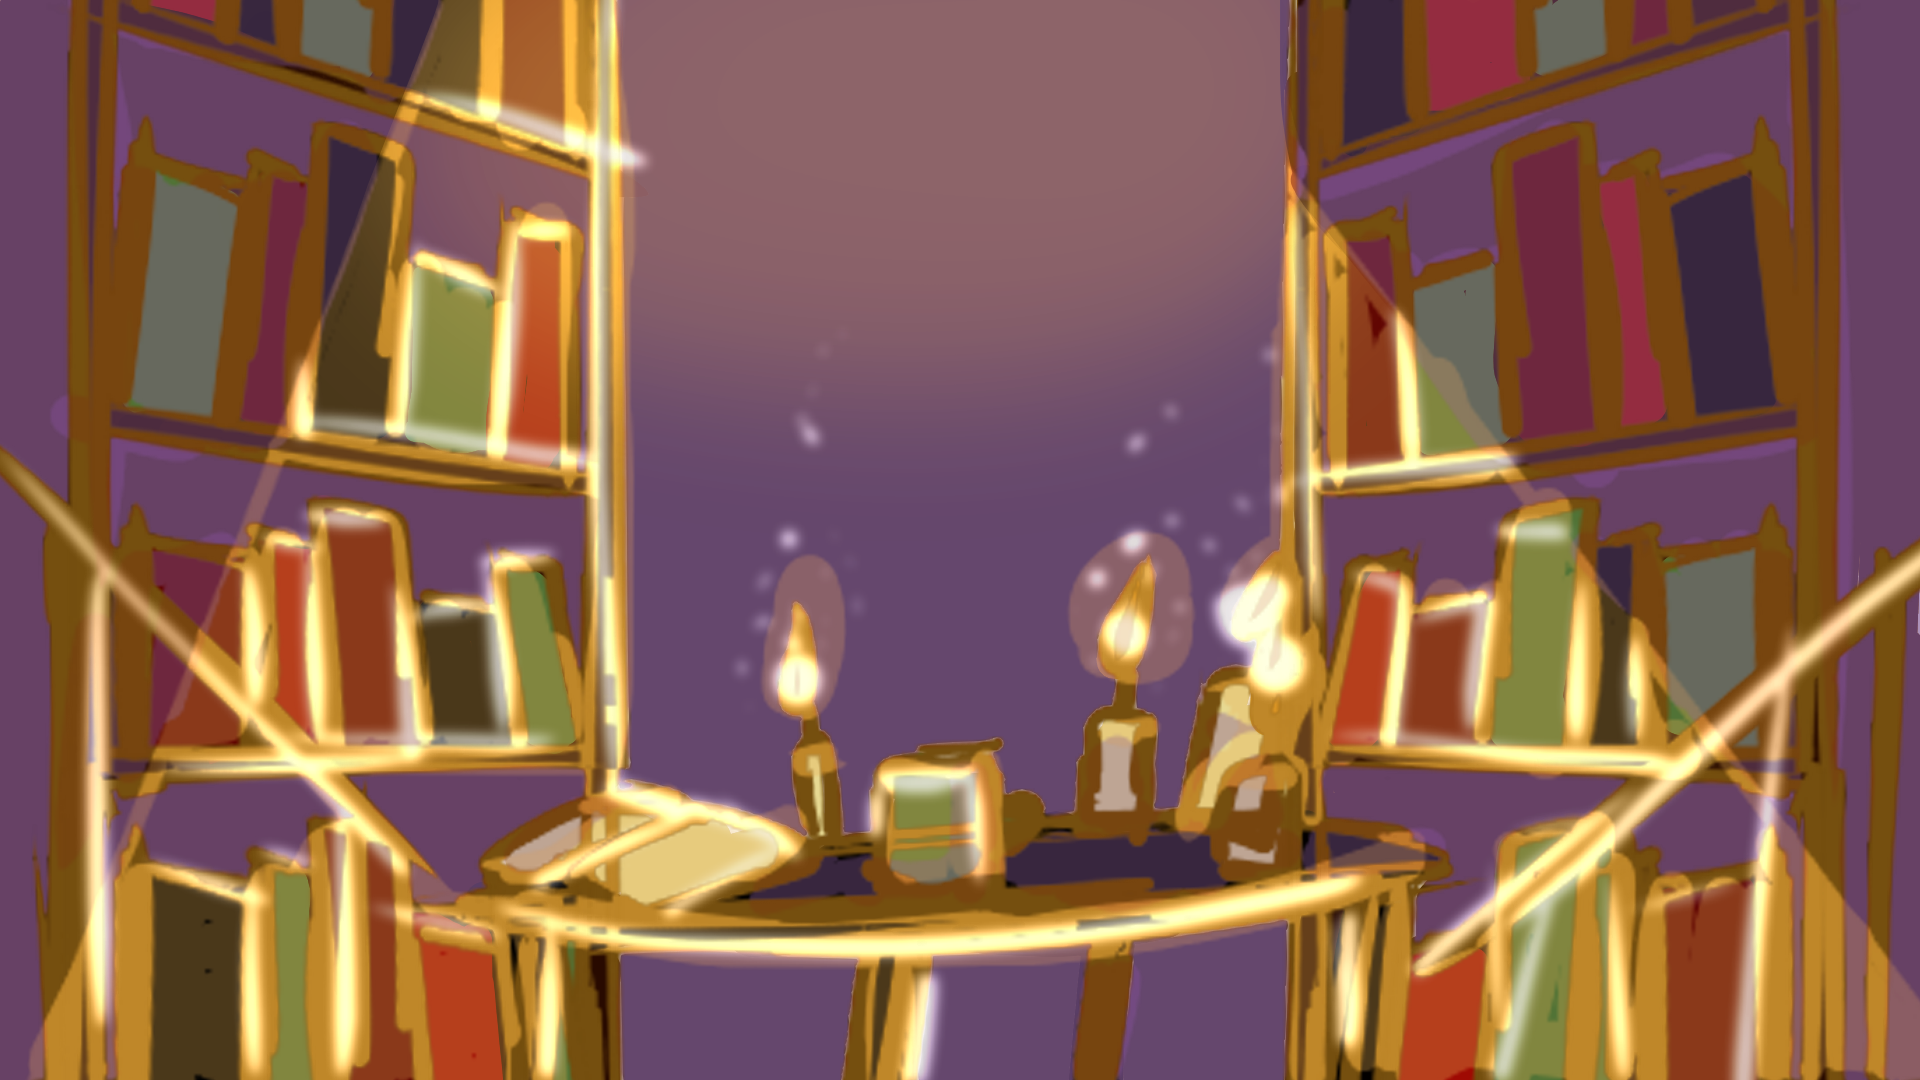
Then I added spot lights to the windows and adjusted the settings to make the light colour a blue to make the room feel cold and abandoned. Next I created an emissive material to use as the candle flames and I created a quick flame shape in Maya; adding the flame to all the candles in the environment.

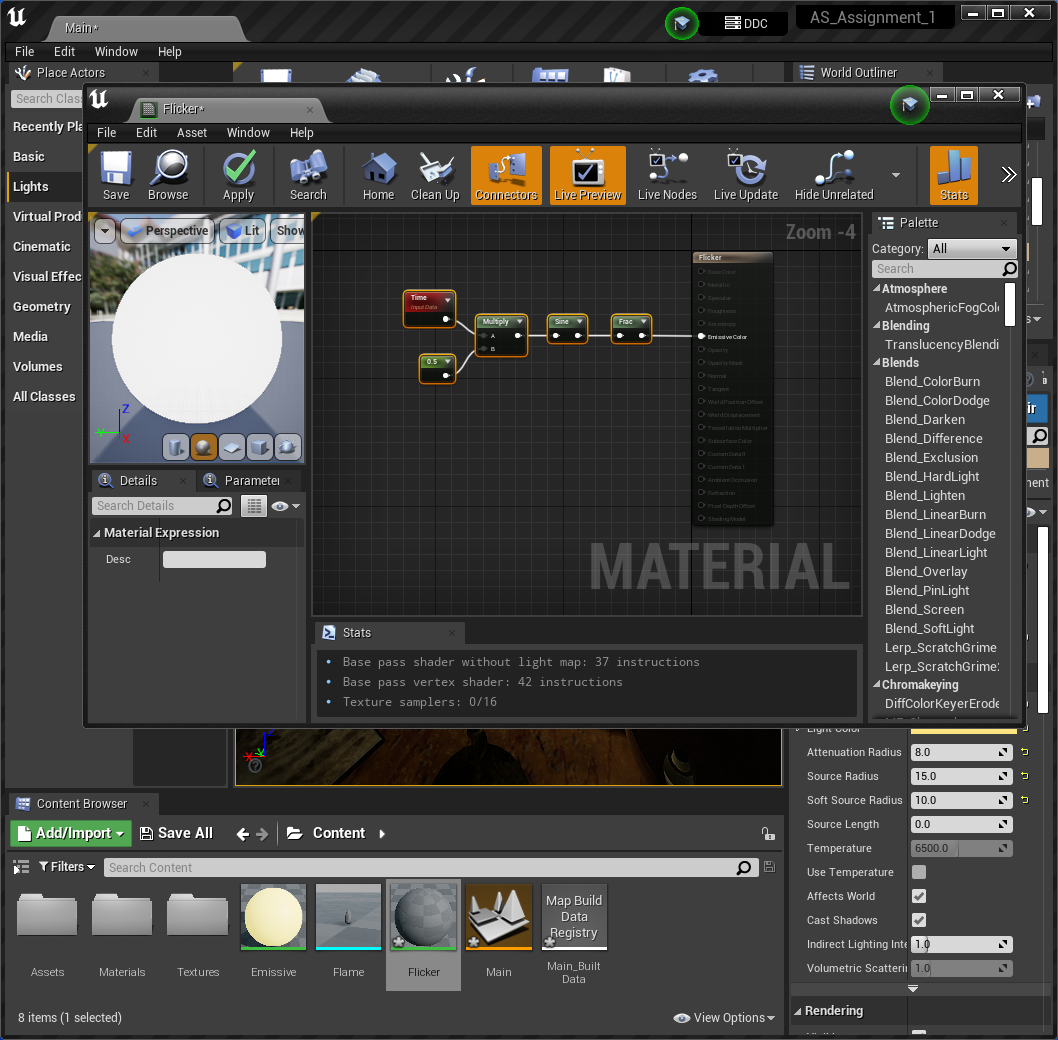
I then created a flickering light using this video tutorial; https://www.youtube.com/watch?v=2ZMcZqL1Eqw
I adjusted the flicker speed for some of the lights to make the candles seem more real and added a second non flickering light so that the light wouldn’t just go out.
Then I added a ‘LightmassImportanceVolume’ and a ‘LightmassPortal’ to the environment to show the system where I wanted it to focus the lighting quality. Finally I added some Post Processing Effects to the environment like adding more exposure to the scene and adjusting the overall colours.
—Cameras—
I inserted some CineCameraActors and adjusted the settings like the film back setting to ’16:9 DSLR’ and then created a sequence, adding the CameraActor and key framing some shots.

—Rendering—
To render I used the Movie Render queue that is in Unreal Engine, selected where to export them to and clicked render.


I then edited the clips together, added some music and exported the final film.
____________________________________________________________________________________________________________________________
—Reflection—
I have enjoyed this semester and I found the recorded lecture videos on Blackboard to be extremely useful as I have never used Unreal Engine before and the videos were clear and taught me the basics of how to add assets and texture.
I enjoyed working within a group again and I feel the group worked really well together as we kept each other informed of our progress and set group deadlines for when we needed to have the shared assets and textures, this really helped reduce any unnecessary stress that this project could have caused me as it was a new system.
Unreal Engine was quite interesting to use compared to Maya as the way you move around the system is different but I enjoyed using the system and the rendering power seems to be quicker and better than Maya which is great. I did have a few problems with Unreal Engine as it would sometimes crash or take a long time to save, the worst thing that happened to me was my file corrupted and I had to start from scratch but thankful I had enough time to redo my environment and I made sure to create back ups just incase it happened again but overall I enjoyed using the system and I found it to be great experience.