
During the time period from last week till this week, we were set with the task of creating a group presentation. The way that my group and I planned this initially was through using Google Documents in order to discuss what we would talk about in our slides. This was a joint effort and everyone in our group had access to the link. We used a collaborative mindmap in order to display this in written text, and then further translated this into Google Slides. During this time, I felt as though I portrayed a leader-type role with organising the Document and beginning and leading the slides. This was obviously a task that was shared equally amongst us all, but I felt like I was supporting the group to a degree and this was rewarding. For the first time, I was able to display this type of role and I was quite proud of how I was organised with the presentation for our project. I definitely will try to keep this up, as it has helped me to be more confident as an animation student.

Our Spider diagram for the presentation slides

Here is a zoomed out photograph of all of our completed slides and although not all of them could fit in, it gives a decent view of what our presentation looked like as a whole. We tried to keep it as visual as possible with less writing in order to entice the audience. Adding too much text would be a visual headache, whereas the concept art and 3D models give the most interest. Overall, I love the design of our slides as it features our artwork which complements all of our styles together. The theme of the presentation itself in terms of the background and title image were created by me, and these are presented down below in full.

Title image
 Background image
Overall, I feel as though the presentation turned out really well, and everyone got the chance to talk about our work so far. Personally, for me, I was able to talk fluently, consistently and this is something I am really proud of. As I usually struggle to speak without stuttering or messing up my words, presentations can be hard for me. However, I was able to make it through this one reasonably well in comparison to usual. This has made me feel more confident in my ability to speak to my audience and also my teammates. One thing that I messed up, however, which my tutor pointed out was how I described our world as having no living organisms, whilst it is clear plants exist. This was a mistake on my part and wasn’t accurate of our theme, a simple mistake of wording. This was summed up after the criticism, which was well appreciated by our tutors. Ultimately, I wouldn’t change anything about our presentation as it showcases all of our amazing work so far, it looks amazing and sounds like it too!
The presentation itself…
Later at the end of this week, my group and I decided to do a complete table of what we plan to do in the next upcoming weeks. The reason is that it would keep us on track with our schedule whilst also giving us the opportunity to know when and how long we should spend on our tasks per week. Below is an image of the table thus far. Admittedly, it only begins on the 4th of October as we had only come up with the resource later than we should have, however even before this our workflow was consistent so nothing was jeopardised!

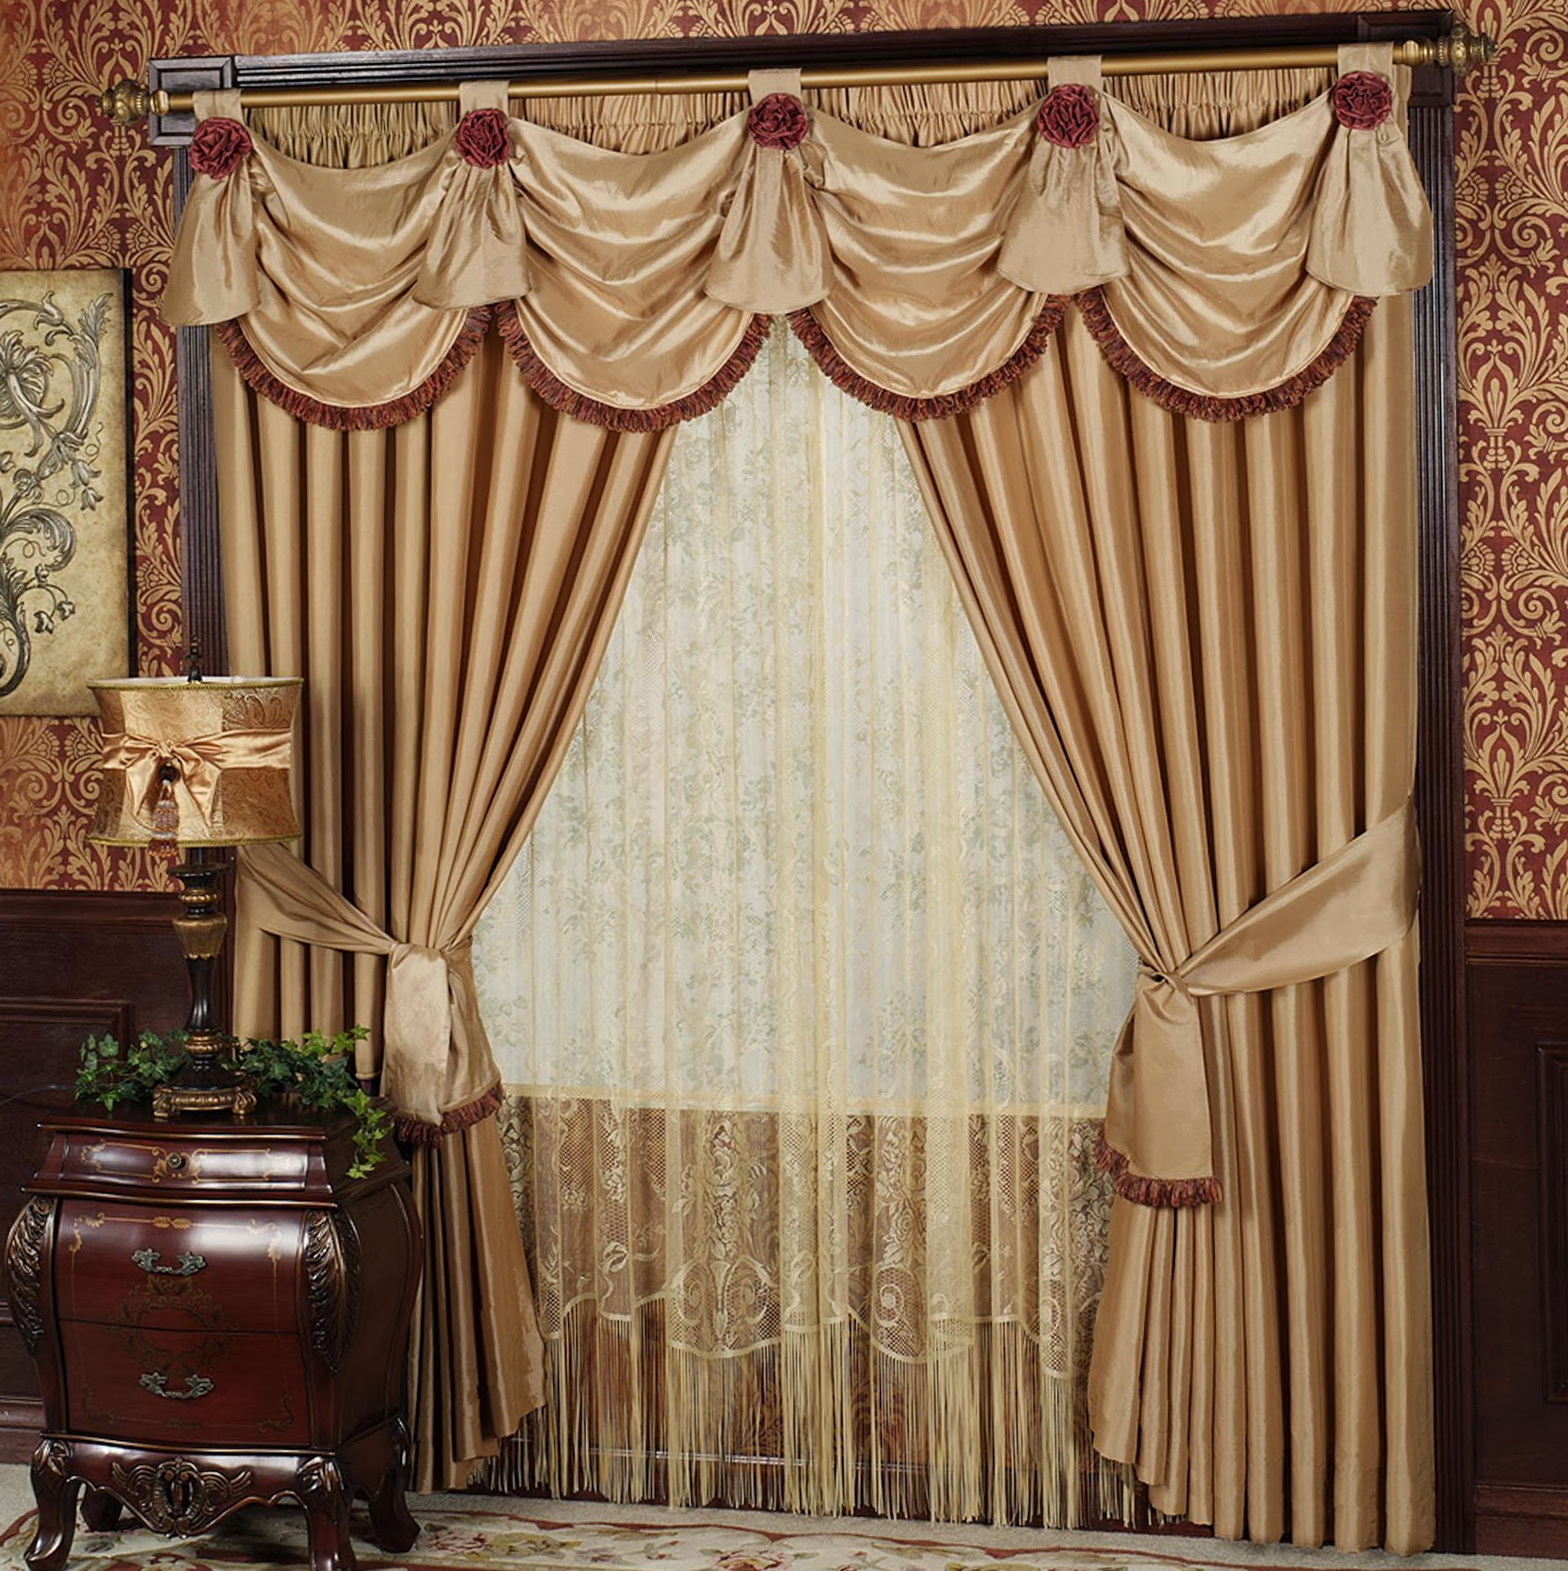
Curtain concepts and considerations
These are some of the concept panels that I have created for the curtain model I will be creating. Some of these patterns are complex and have immense detail and because the model won’t be our primary focus, I decided that having too much detail might be a distraction. Due to this, I decided that making the curtains plainer would be ideal for our project. I also experimented with different types of curtains and ultimately decided to make a curtain that is more of a velvet kind of material.

Design concepts

Form concepts
Creating curtains for the scene
Below, I have documented my process of modelling and texturing the curtain model for our assignment. With the modelling process itself, I tried out a couple of different shapes of fabric and decided that the hung up curtain looked the best and probably would allow more experimentation with how it’s built. Moreover, after this was decided, I moved over to Blender to try my hand at some velvet-like texturing – I followed a tutorial that I found on Youtube for this process. The outcome of this wasn’t satisfactory as I found out last minute that I couldn’t export these created textures as they were made from Blender’s exclusive nodes. At the time, I attempted to bypass this by baking the textures and light together, however, this ended up making the curtains look unrealistic and mediocre at best. The final result of the textures was satisfactory, though I do feel that this could be redone better in the likes of Substance Painter. If I have the time to do this, I will use smart materials and grunge to attempt to create textures that pull this off better.

Models

Toggling the nodes to apply texture


Using Overlays, ambient occlusion with Colourramps to create a velvet-like pattern


Post-baking the textures
 Final outcome
In conclusion, I’m not very happy with the outcome of these textures, even after some tweaking in Unreal. Although they fit the description of looking old, washed out and aged, they aren’t what I pictured initially. If I have time, I will go back and redo the textures on this model.
References List and description
Maya beginners tutorial – Curtain modeling – YouTube
In this tutorial, it showed how to easily create the folds and dimensions of a flowing curtain model. This was really easy to follow and honestly surprised me to how quick and efficient it is to get this fabric effect on Maya. It involved using a plane and special effects to allow the curtain to move. This method has definitely benefitted me greatly and I will without a doubt be using this method in the future. The narration itself is great and not difficult at all for beginners to follow and because of this, I might even look into more of his tutorials for future projects.
Still Life Pt.2 – Creating a Tasty Velvet Material in Blender! – YouTube
This video went into depth on how to create the desired texture and pattern of velvet material. Moreover, this involved a long and lengthy process of creating and tweaking nodes and because this video is almost an hour-long, it ended up being a bit confusing. Even though I paid attention and did everything the guide showed, my material was not the desired material that I wanted to go for. When it was satisfactory, I found out that there was no way for me to move it to Unreal without it losing a vast majority of its features- this was really disheartening. I feel as though this issue is more of an experience problem on my behalf as I have only been introduced to Blender for the past year and a bit and still am inexperienced with a lot of its features. For now, I will focus on the things I am able to do and learn as I go so that in future, I might be able to do more complex operations with ease.
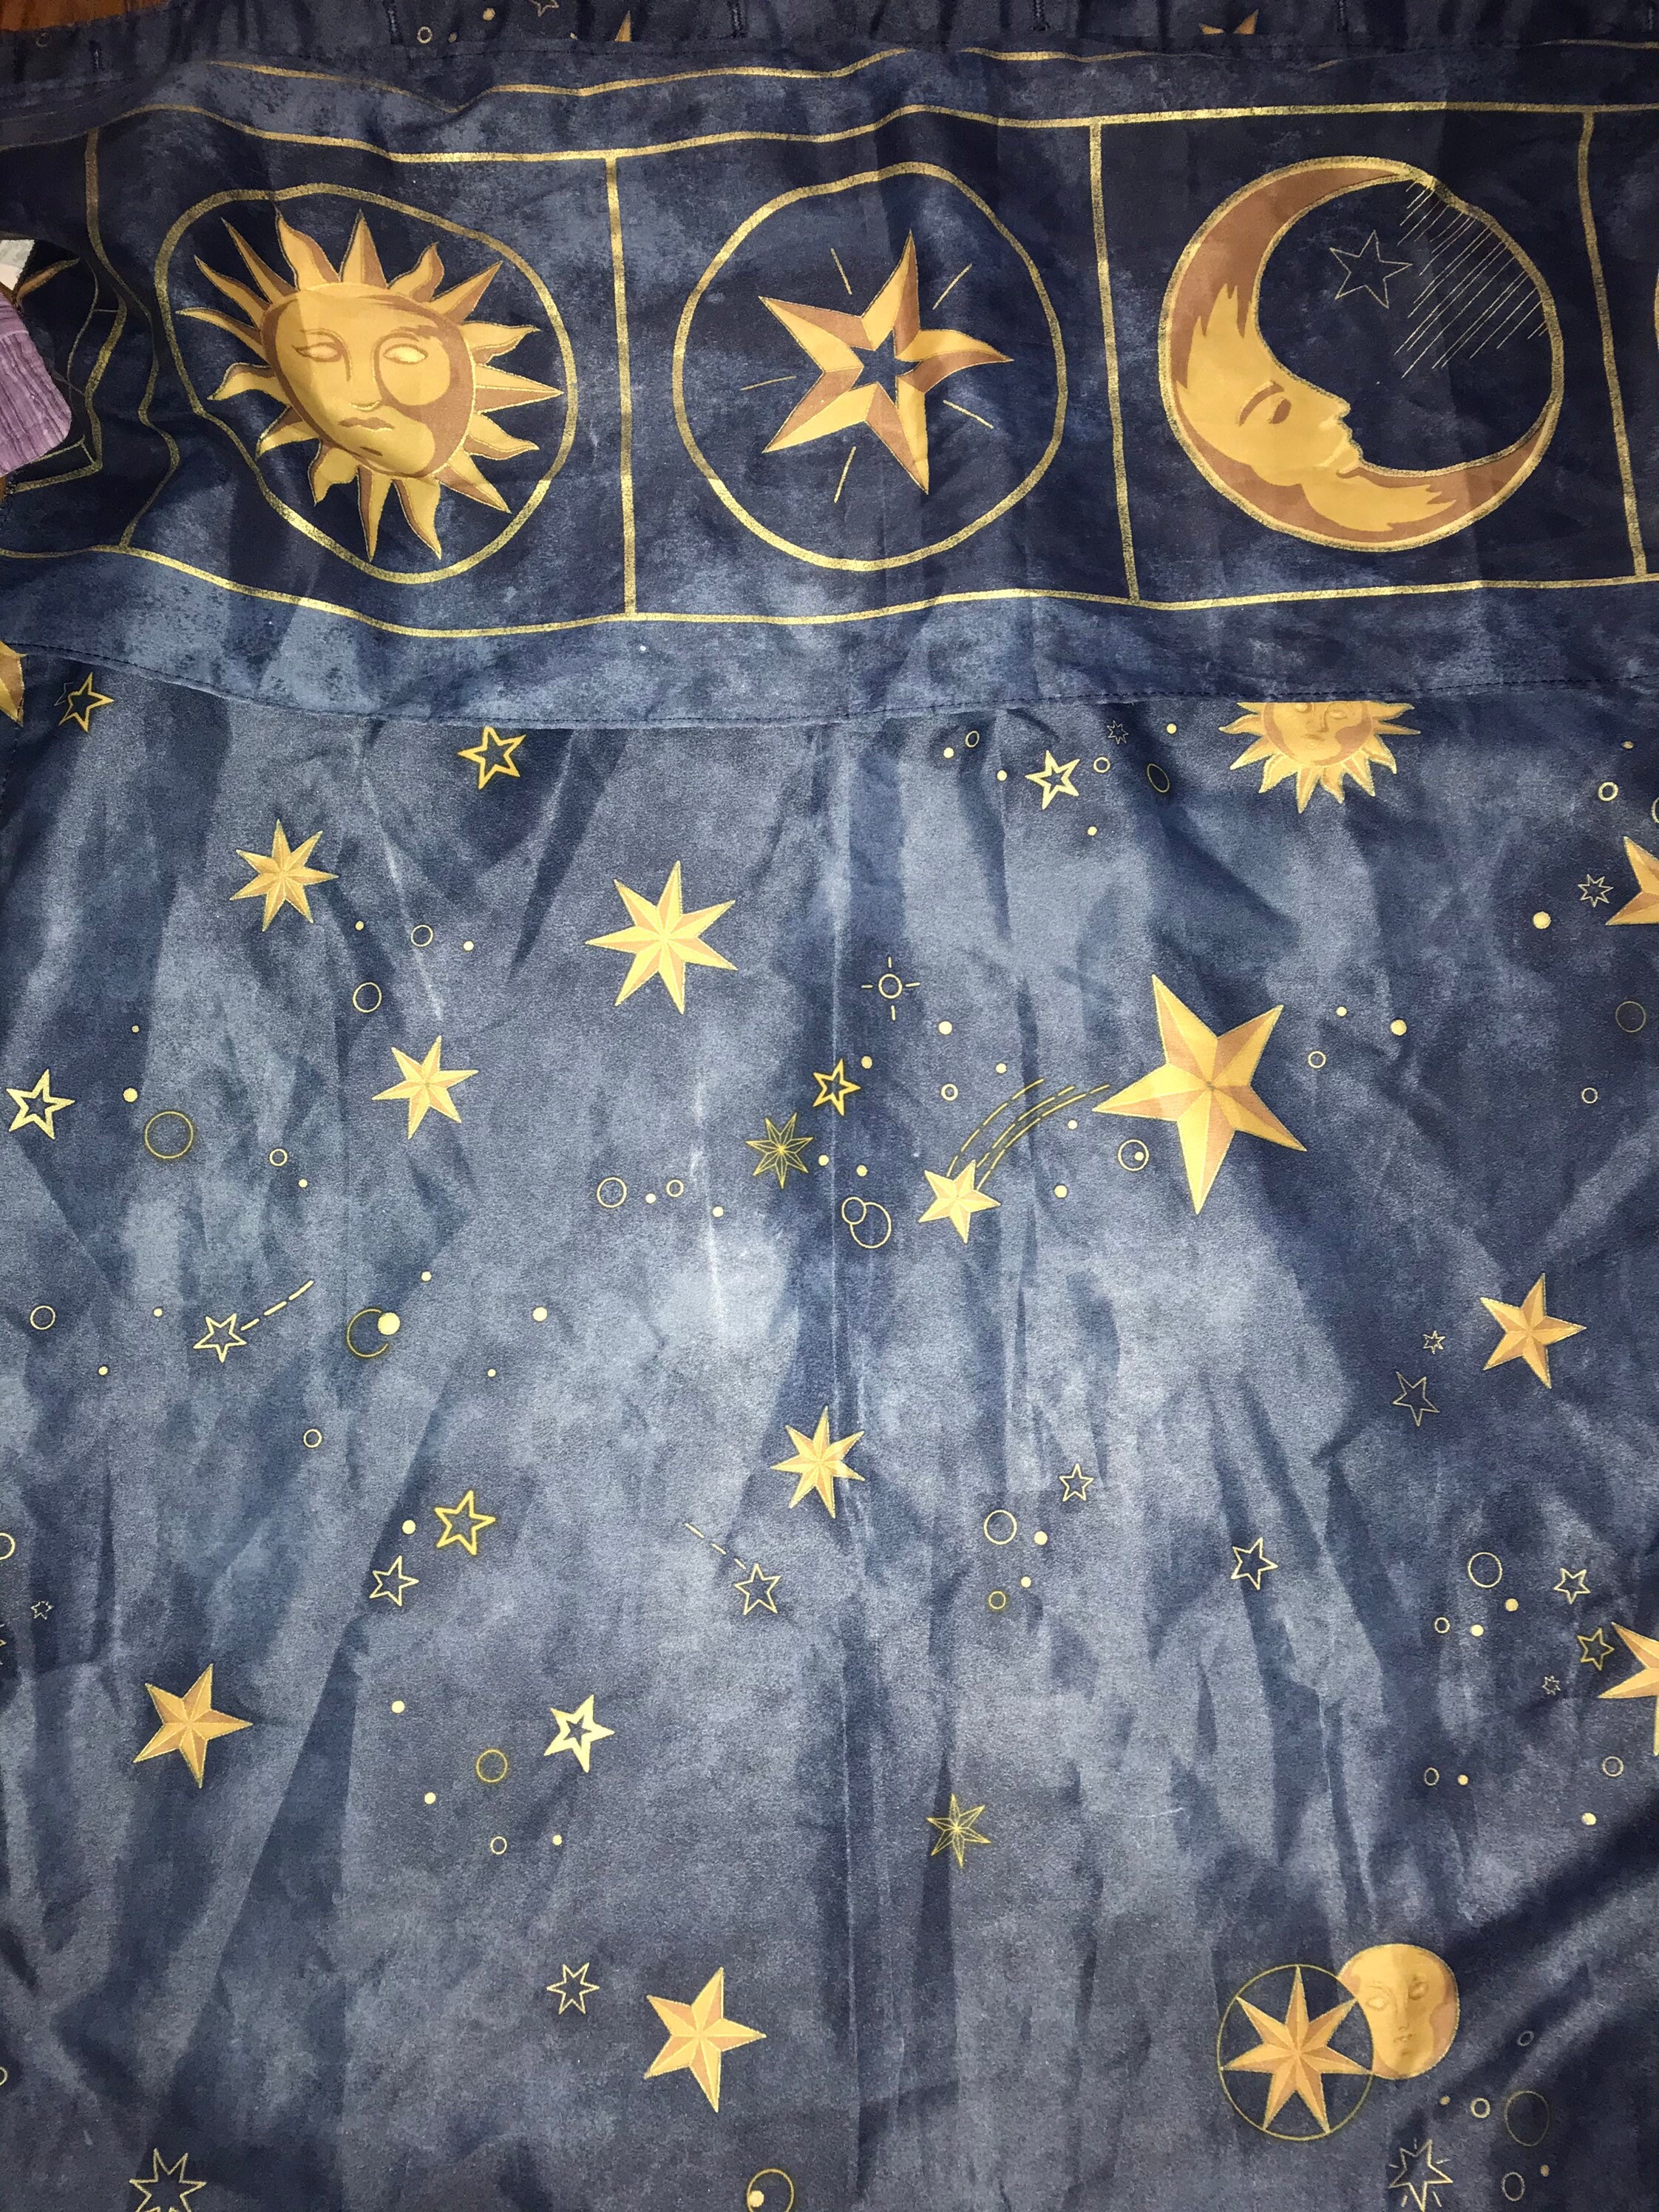
Reference Images
different-types-of-curtain-rods.jpg (1568×1571) (theenergylibrary.com)
125d7842ba1eebc642f77385e766755a.jpg (956×956) (pinimg.com)
il_fullxfull.3178505167_bref.jpg (2244×2992) (etsystatic.com)
DSCF9395.jpg (4048×3040) (wp.com)
b8ffbfb3941b4a76241996f67f89f143.jpg (598×792) (pinimg.com)
9db74b65e9501e865538ca91204badfb.jpg (2250×3000) (pinimg.com)