Link to Sword 3D model – https://sketchfab.com/3d-models/sword-f2fc098b6e2c46449a0d6084ad7f90d5
Link to Shield 3D model – https://sketchfab.com/3d-models/shield-7fa37a70497e4b79a8d49c1ab4133f16
Process
When I started working on this project it didn’t take me long to decide I wanted to create a rusted and broken sword and shield 3D model because I thought it would look nice as well as make good use of all of the tools I learned how to use in Maya and substance painter.
The first thing I did in Maya in relation to this project was a simple 3D model of a sword to get and idea of how I should go about starting work on the final piece.

I then started trying to model cracks in the blade. I did this by using the multi cut tool and carving out a section of the blade.

 (first attempts at creating a broken sword)
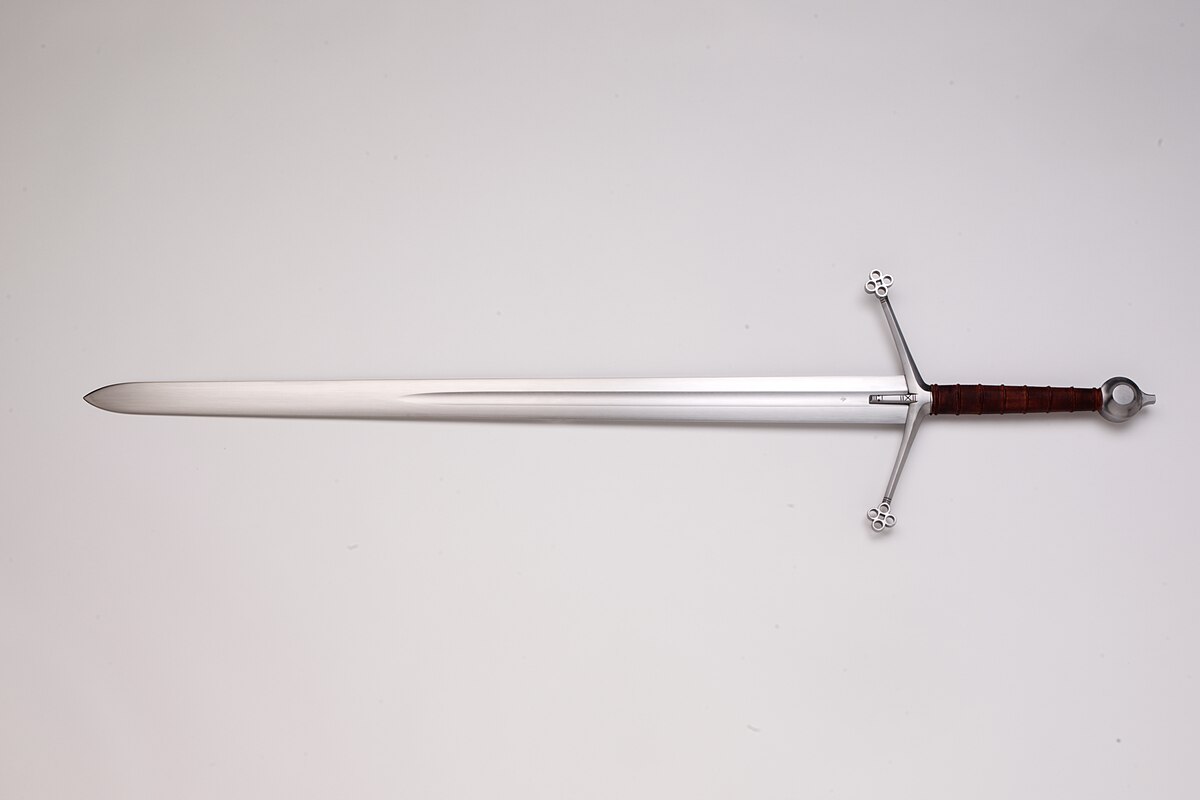
Once I got more comfortable with making swords in Maya I moved onto my final piece. I tried loosely modelling my piece after a claymore because I liked the idea of making mine look realistic as if it were a real sword that was damaged and worn down over time.
 (image I was using as reference during 3D modelling)
 (Final 3D model)
Once this was done I brought it into substance to texture it. I made use of most of what we had learned on substance like Smart masks and editing the properties of the materials to make them fit the piece better.
 (Final Piece)
I had a much easier time starting work on the shield since I had gained a lot of Maya experience from creating the sword already.
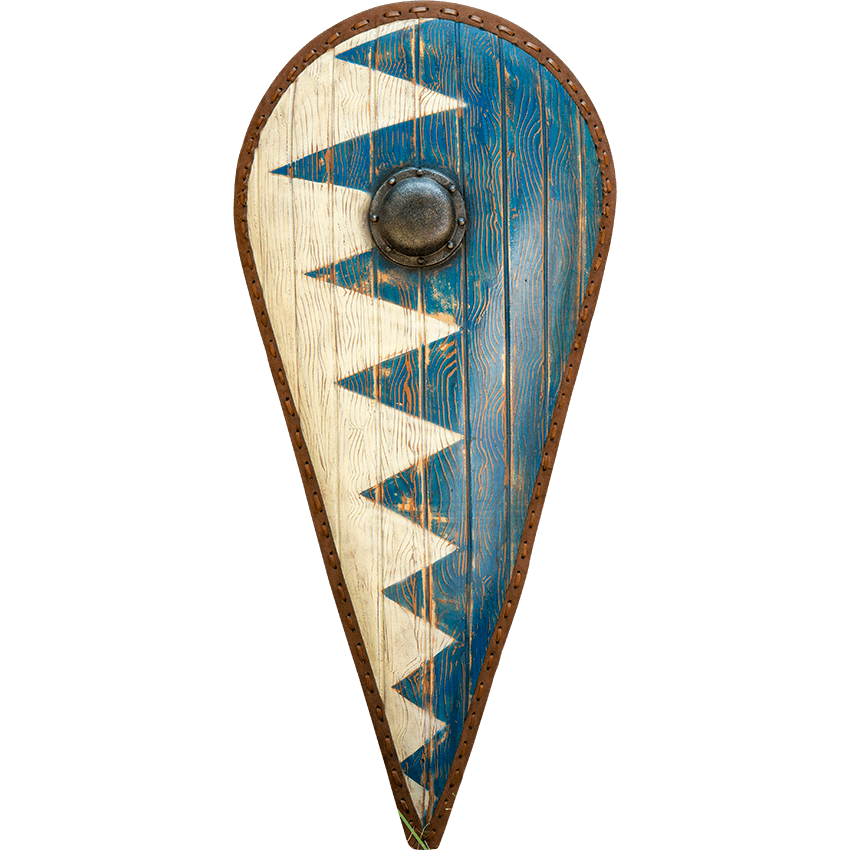
Originally I wanted to do a more triangular shaped shield like a kite shield however I didn’t like the look of it and was having trouble fixing my problems with it so I settled on a simpler more circular shield that was more like a Viking or a buckler shield.


(references vs first attempt)


(final attempt references vs final attempt)
Once the 3D model was done all I had to do was take it into substance painter and texture it. I was able to do this much quicker with the shield because I was using roughly the same tools as the sword because I wanted the two to look consistent.
 (Final piece)
Evaluation
I am pleased with the results of my sword and shield model. I found Maya to be difficult to work with and get used to when I first began using it but I feel like making the sword and shield has made me a lot more comfortable with the program in general. I feel that many of the tools and techniques I had to use while making these models will likely benefit me for any future models I am going to need to create on Maya. I feel similarly about substance painter. I found it somewhat hard to use when I started working on texturing my sword however even by the time I had to texture my shield I was already much more comfortable with it. I think the biggest difficulty I had during the project was the UV mapping. I feel like I still have a lot of work to do before I fully understand how to comfortably unwrap and layout the models. It is something I must practice more for future projects. Overall I am still happy with the outcome of these two models and my progress with using Maya and substance.