Morning Class
In the morning class we were tasked with completing 5 video tutorials about the grease pencil tool in Maya and using a rig. The first video talked about how to set up preferences in Maya and how to reset them. The second video showed how to use the grease pencil to block out the animation and the timing. I did not like the grease pencil much; it is very basic and if the camera moves it follows. The video also explained how to block out the animation with simple shapes.
The third video explained how to block out the movements using the actual rig. I followed my simple block out closely but changed the timing to improve it.
The fourth video talked about the second pass to smooth the movement. I adjusted my timing again and added some in-betweens to smooth everything. I also made the feet slowly slide apart when the character crouches to jump.
The final video talked about using the graph editor to adjust the movement of the character. I changed some of the points on the graph editor to linear to make the character fall faster and adjusted the timing a little to make it look more natural.
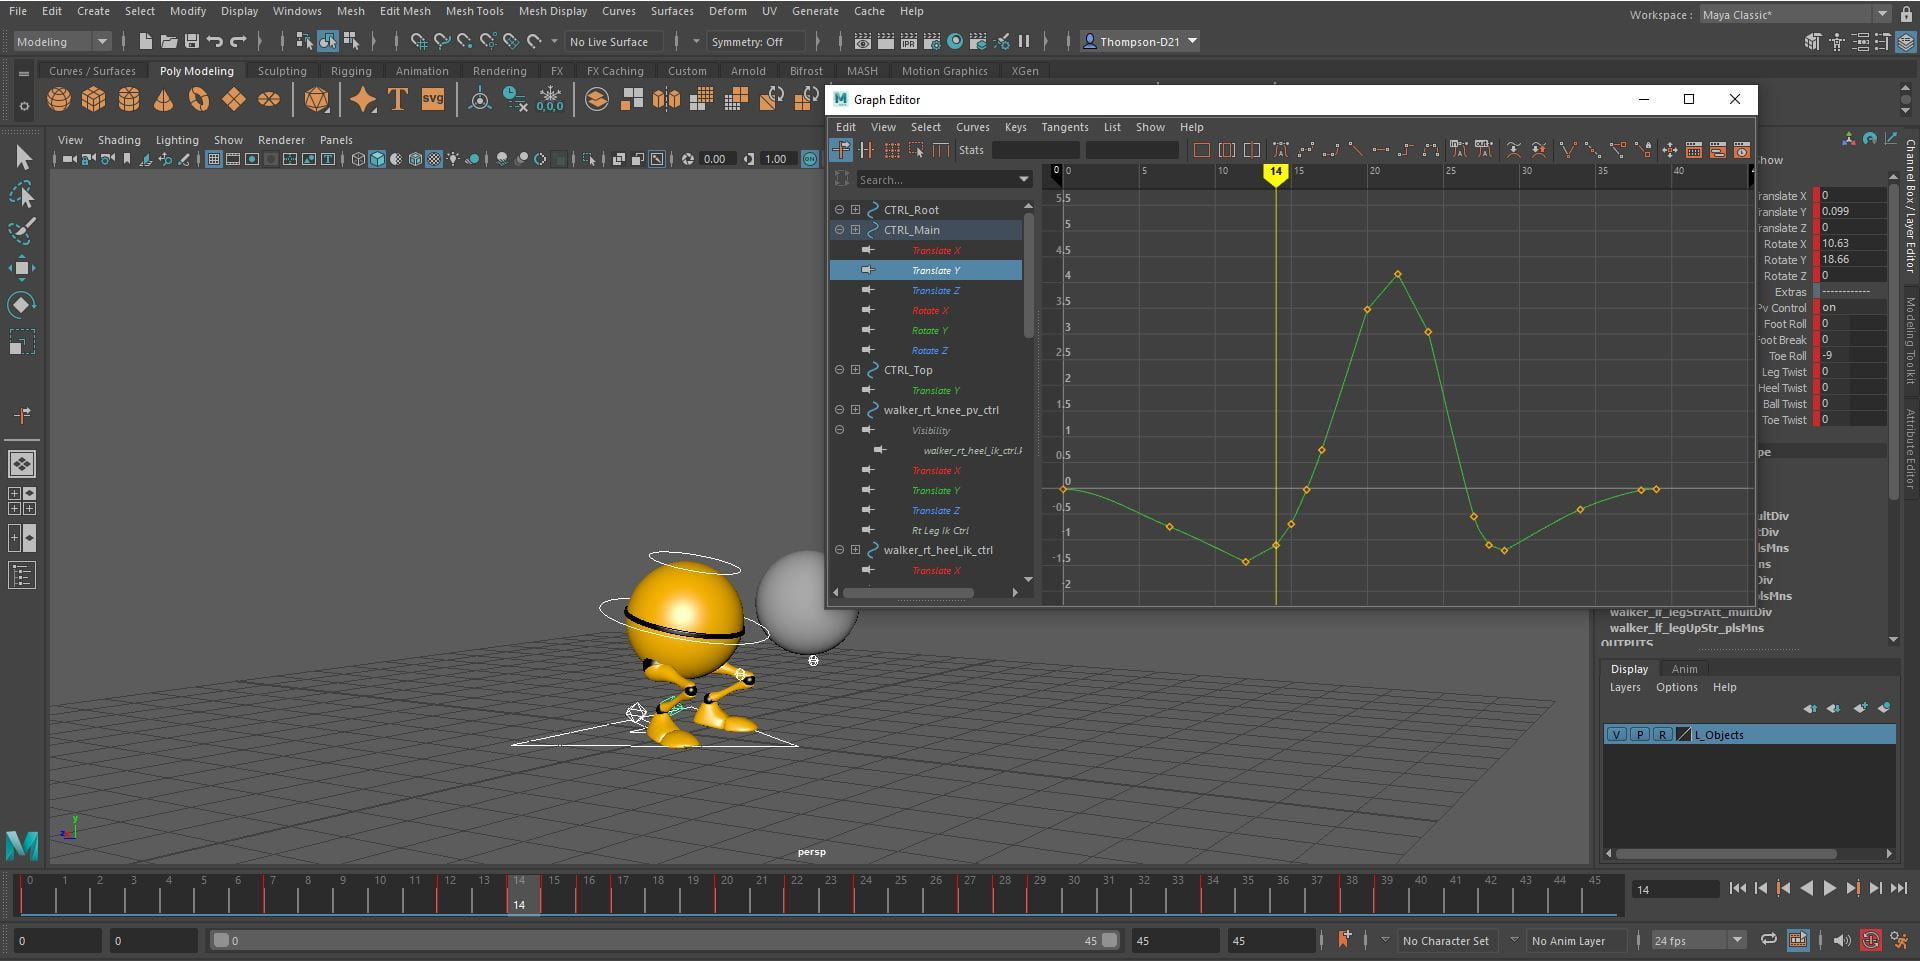
Overall, I am happy with this animation. If I was to do it again, I would make the legs to make it more obvious that they raise and fall at two different times.
Afternoon Class
In the afternoon class we were tasked with completing 3 videos that talked about how to rig a character and the different types of rigging. The first video explained how to parent parts of the model. I started by parenting the hand to the forearm and then the forearm to the shoulder, it was very simple to do and understand. I continued to do this for the entire model making sure to remember to select the thing I want to be under the parent first. This is a very simple rigs, it has limitations when in use and is better for roughing out simple movements.

The next video explained how to set up a control rig. To start I added a NURBS circle into the scene and snapped it to the bottom of the first cube. I did this for the other two cubes.

Next, I grouped the cubes into three separate groups and changed the menu at the top from modeling to rigging. I then selected the bottom NURBS circle and then the group in the outliner with the bottom cube in it, then click the constraints menu and parent them. I did repeat this for the other two cubes. Next, I selected the top control curve and middle mouse drag it onto the middle control curve, this parents them. I do the same for the middle control to the bottom control.

To change the colour of the control curves go into the attributes editor click object display and then click drawing overrides, enable overrides, chose a colour. Do the same for the other circles, this makes it easier to see them. To make the rig easier to use select the cubes, create a layer from selected and change the layer to a reference layer.


To make all the cubes scale at the same time; select the bottom control, then the bottom group, click the constraints menu, click scale and turn on maintain offset, hit add. Do the same for the rest of the cubes.

The third video was about adding a rig to a robotic arm. I started by adding NURBS circles to the hand, I scaled down the circles to fit better. I then froze the transformations. Next, I grouped the fingers, hand and wrist. I then clicked the control circle that would move the wrist, click the constraints menu and click parent. I also locked the x rotation as it would look weird if moved on that axis.


I grouped the forearm and move the pivot of the control circle to the center of the bottom of the arm. Then parent the control circle to the forearm. This allowed the arm to move round the joint.

Next, I added a NURBS circle and centered it to the bottom joint of the pinky finger. I click control vertices, select all the vertices and move them to the back of the hand, this does not move the pivot. I also change the shape to an oval and froze the transformations of the NURBS circle. I then grouped the pinky finger. In the outliner select the control curve at the base of the pinky and then the pinky group, click the constraints menu and parent them. Duplicate the NURBS circle and move it to the upper joint in the pinky and freeze the transformations of the NURBS circle. Create another group for the top two pieces of the pinky. Select the NURBS circle and then the pinky tip group and parent them in the constraints menu. In the outliner parent the tip control under the finger control, then the finger control under the wrist control. Do the same for the rest of the fingers. I also changed the colours of the NURBS circles for the different fingers.


Assessment 3
I talked with my group about what everyone is modeling for the animation, I agreed to model the background with Nicole.