Class
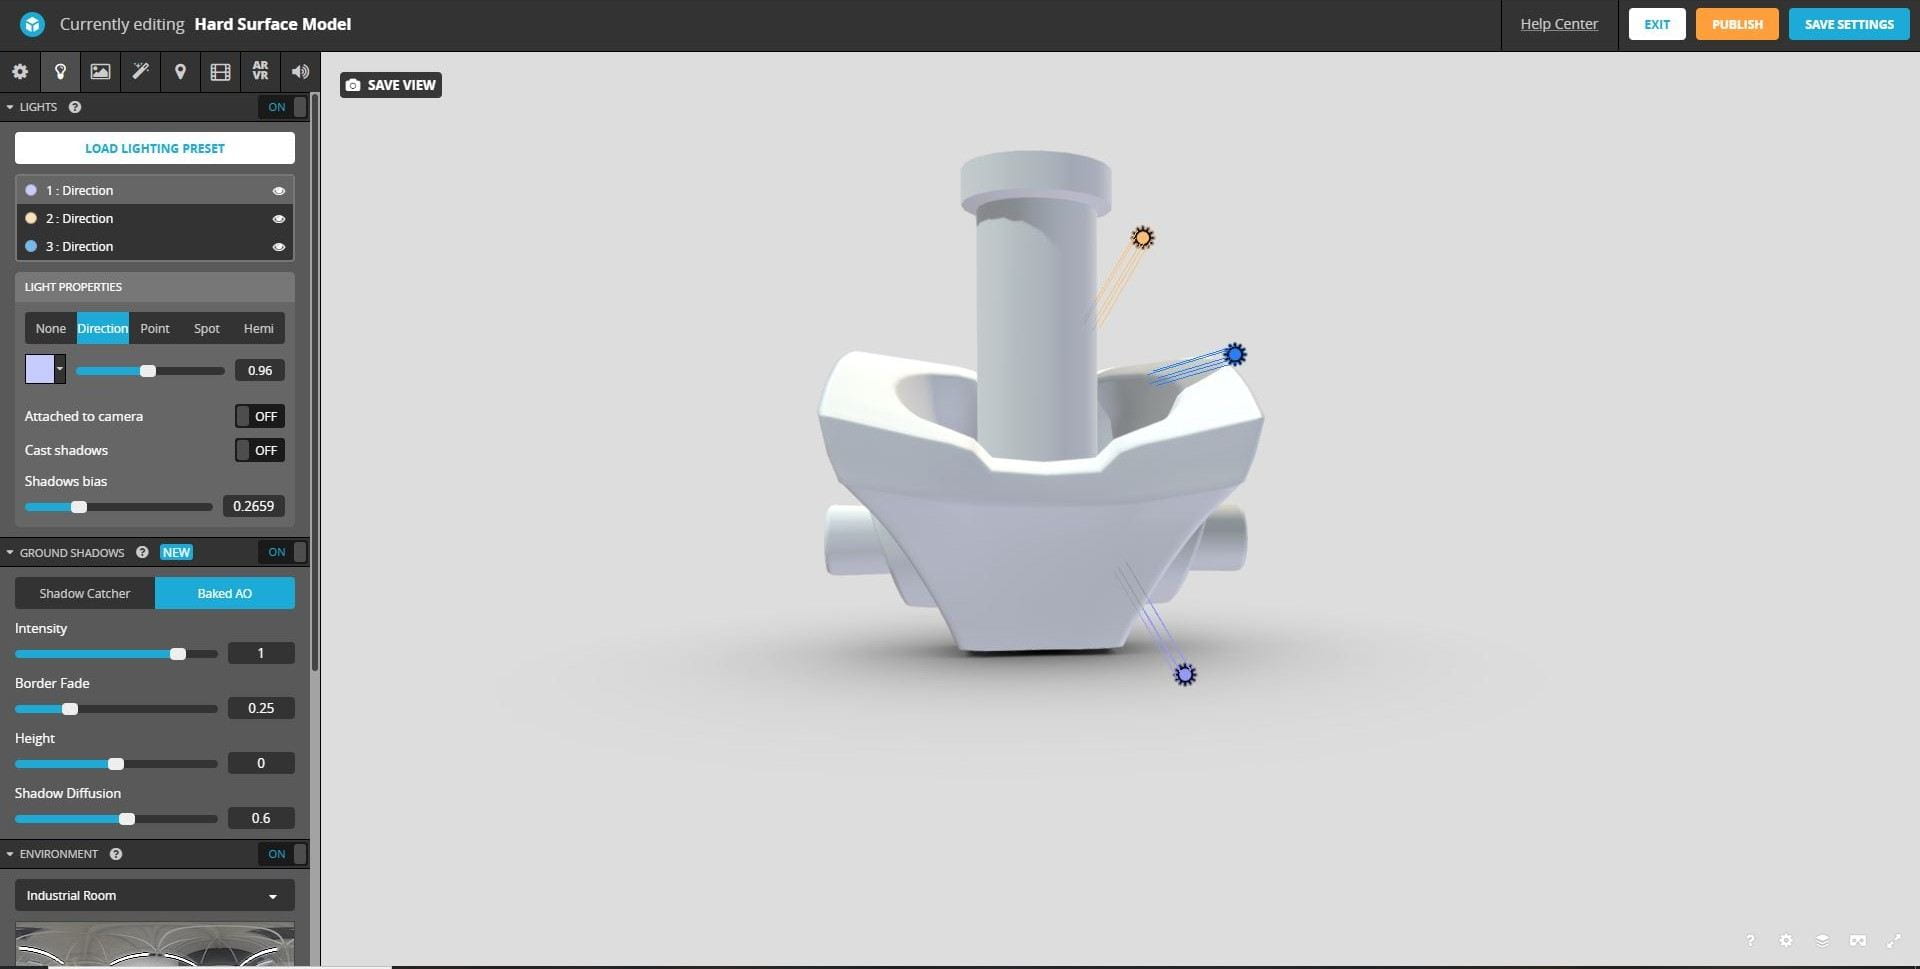
In class we were tasked with watching 3 videos about SketchFab an how to upload a model. The first video explained how to export a model as an fbx file and how to create a SketchFab account. The model we had to export was premade and had all the textures added to it. I then uploaded it to SketchFab and added a ground shadow by going into the lighting tab and turn on ground shadow, then click baked AO, this created a soft shadow under the model. I also turned on the lights and adjusted them to my liking. To add the textures I clicked the materials tab, clicked the arrow beside base colour and imported the textures. I then played around with the settings and lighting till I was happy with the look. Overall, I like the effects in SketchFab they allow a lot of customization.


Next was a playlist with three videos about cleaning up a model in Maya and adjusting the look of it in SketchFab. First, I had to clean up the model of the sword in Maya, to do this I deleted the history and tided up the outliner by grouping the handle of the sword and grouping the whole sword. Next was the hypershader, there was multiple of the same materials and they were not named correctly. I selected the pieces of the model that were the same material and assigned they to one of the materials in the hypershader. I did this to all the different materials. Lastly, I clicked the group that contained the whole sword and exported it as a fbx file.


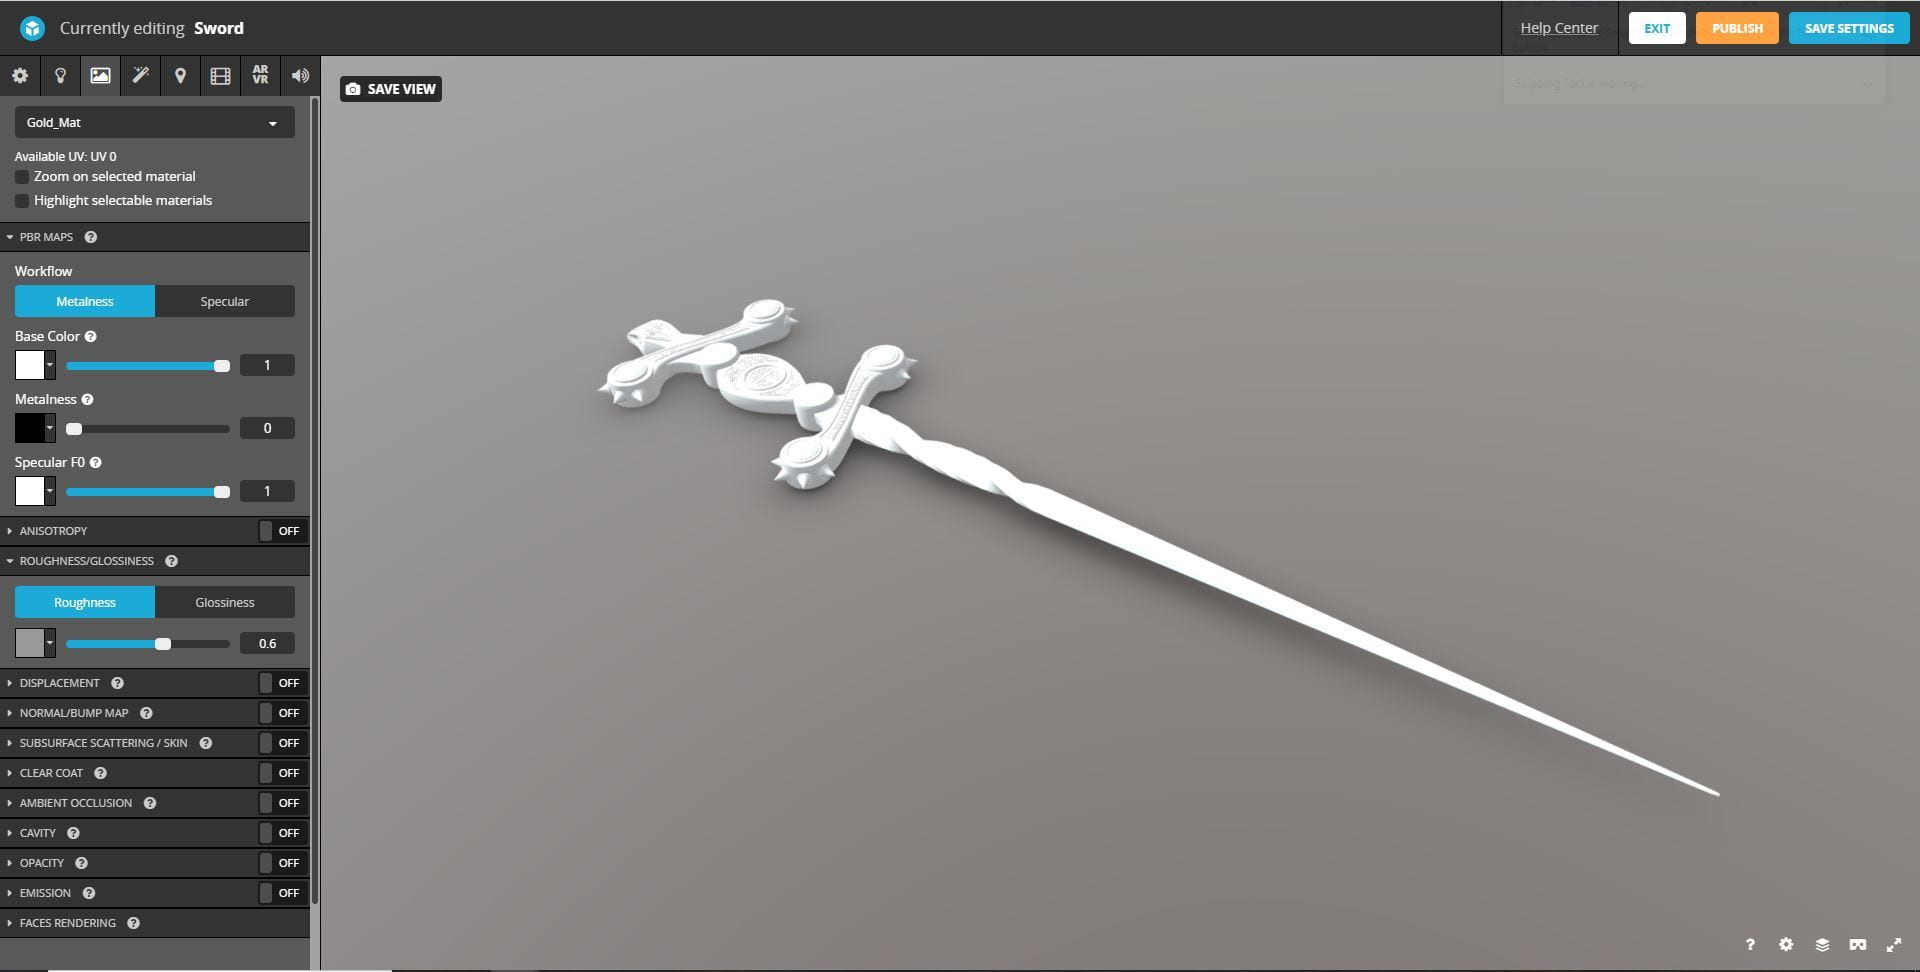


The next video explained how to add the textures onto the model. I uploaded the sword to SketchFab and clicked the materials tab. At the top of the menu is a list of the different material names, I clicked the Wood_Mat option to work on the wooden sections of the sword, I then added the wood texture onto the sword. Next, I clicked the Gold_Mat option and changed the base colour to a dark yellow and the specular colour to a yellow white colour, I adjusted the intensity. To make the jade pieces it was very similar to the gold, change the base colour to a dark green and the specular colour to a green white. To make it look translucent I clicked opacity then refraction and turned it to 0, this made the sword look like it was made of glass, next change the index of refraction to 1.6. Lastly, I adjusted the sliders till it looked more like jade. I also went back and adjusted the effect on the gold as it looked more like plastic.
The last video explained the post processing filters. I clicked the lighting tab and changed the background to Kirby Cove this gave a warm bright look to the lighting; I also adjusted the lighting to better suit the new background. I then clicked the post processing filters tab and turned on the screen space reflection, this gives a more realistic look as it creates reflections on the model. I also turned on SSAO which adds shadows in the smaller placed on the model. Lastly, I played with the other filters until I was satisfied. Overall, I really like how the sword came out, I think the colours look good and the filters add to the model.
Homework
For homework we were tasked with continuing to work on our assessment 1 task as it is due on the 6th of March