Research and References:
I went for the Magic Witch / Wizard Staff, as this prompt interested me the most. I then started to look into themes that I could do, I made a list things I liked things could be turned into a wand. Here is the list:

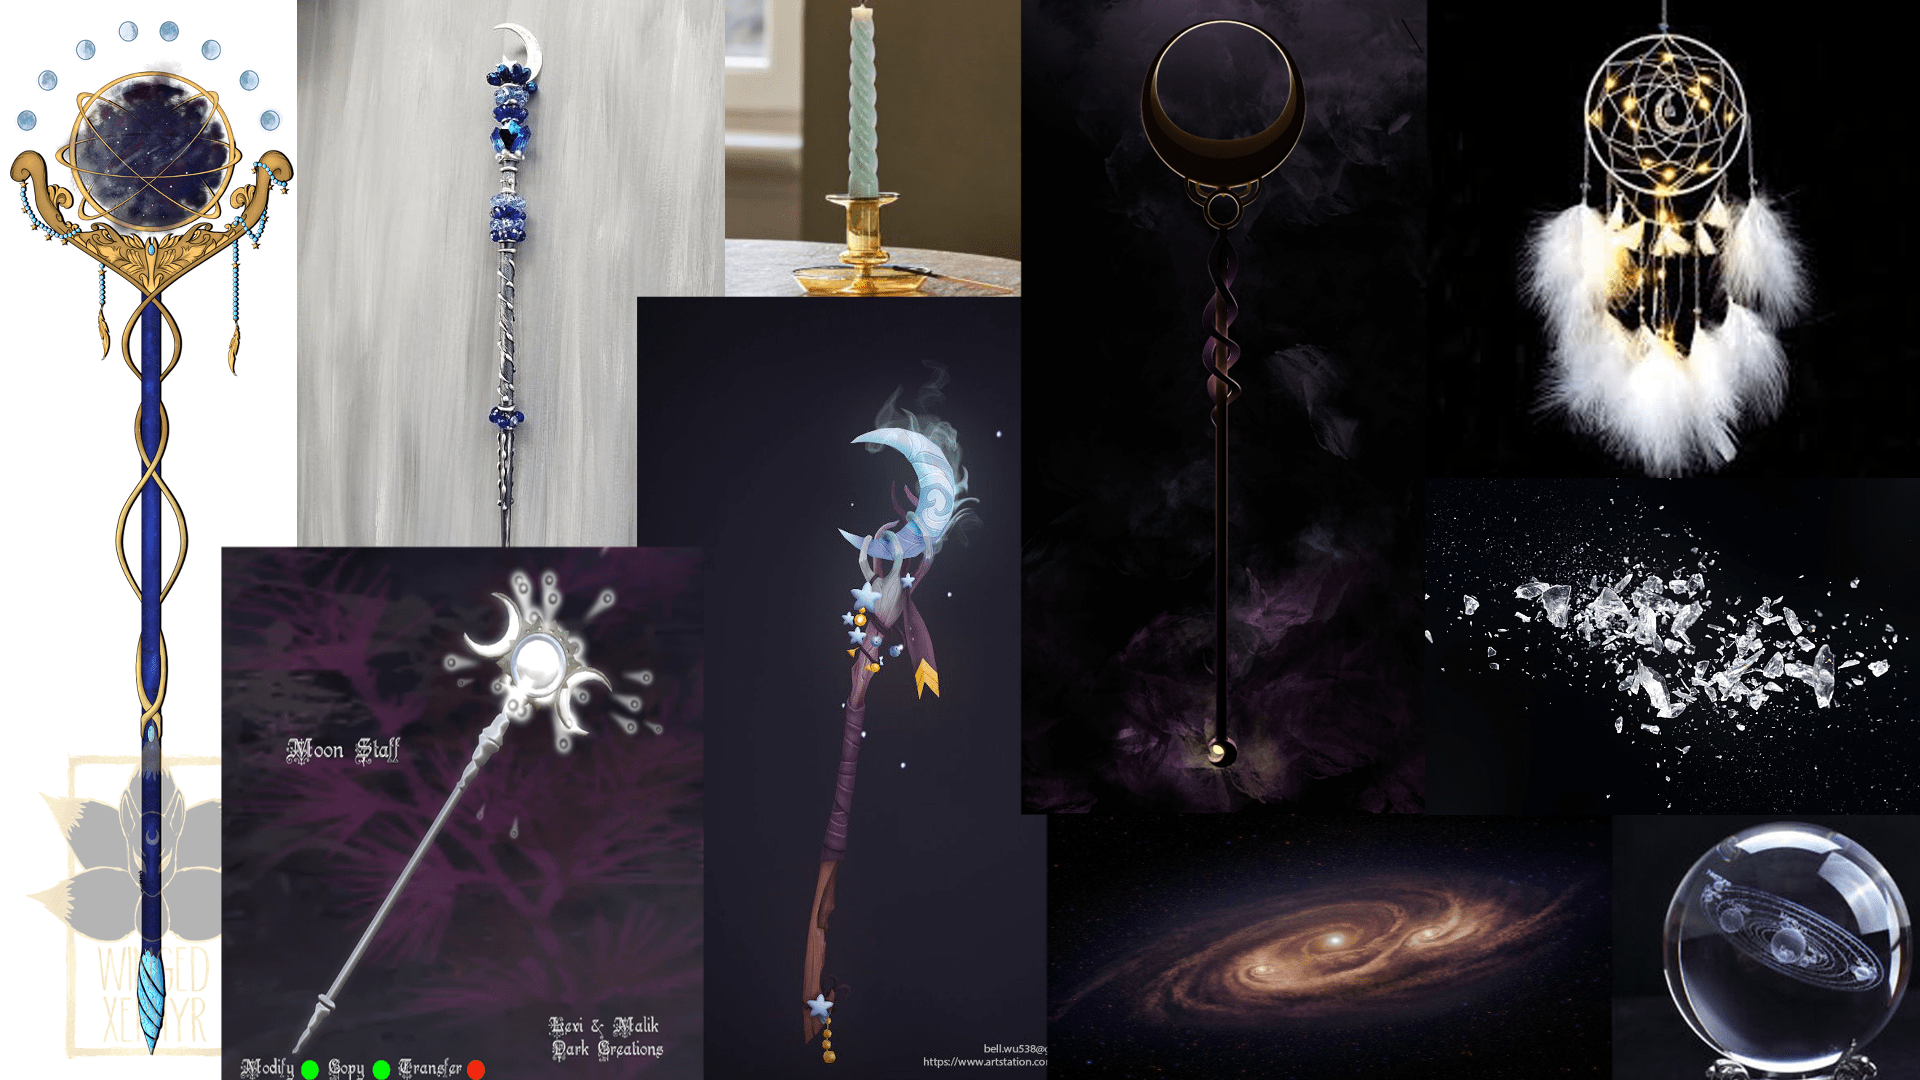
When looking back at the list I crossed off some of the themes that didn’t inspire me as much and I ended up with two, Galaxy and Circus/Fair.

I went onto the internet and looked into both themes and found some images that I thought could be used in designing the wand:

I then drew out some designs on paper. After drawing out these designs on paper I decided to digitised them so I could fix some of the proportions and make them look cleaner. I really like the circus designs, but I feel that my skills are not advanced enough to do them. I decided to go with the last galaxy one on the right. I really like the design and I think I could 3D model it, since I don’t have much experience in 3D modeling, I didn’t want to get in over my head with too much detail or anything to complicated. I still think this will be a challenge for me, but I do feel I can complete it.


Next, I drew the design from different angles to help with the modeling process. This plan is not perfect, but it will give me a good idea of where things should be positioned on the model.
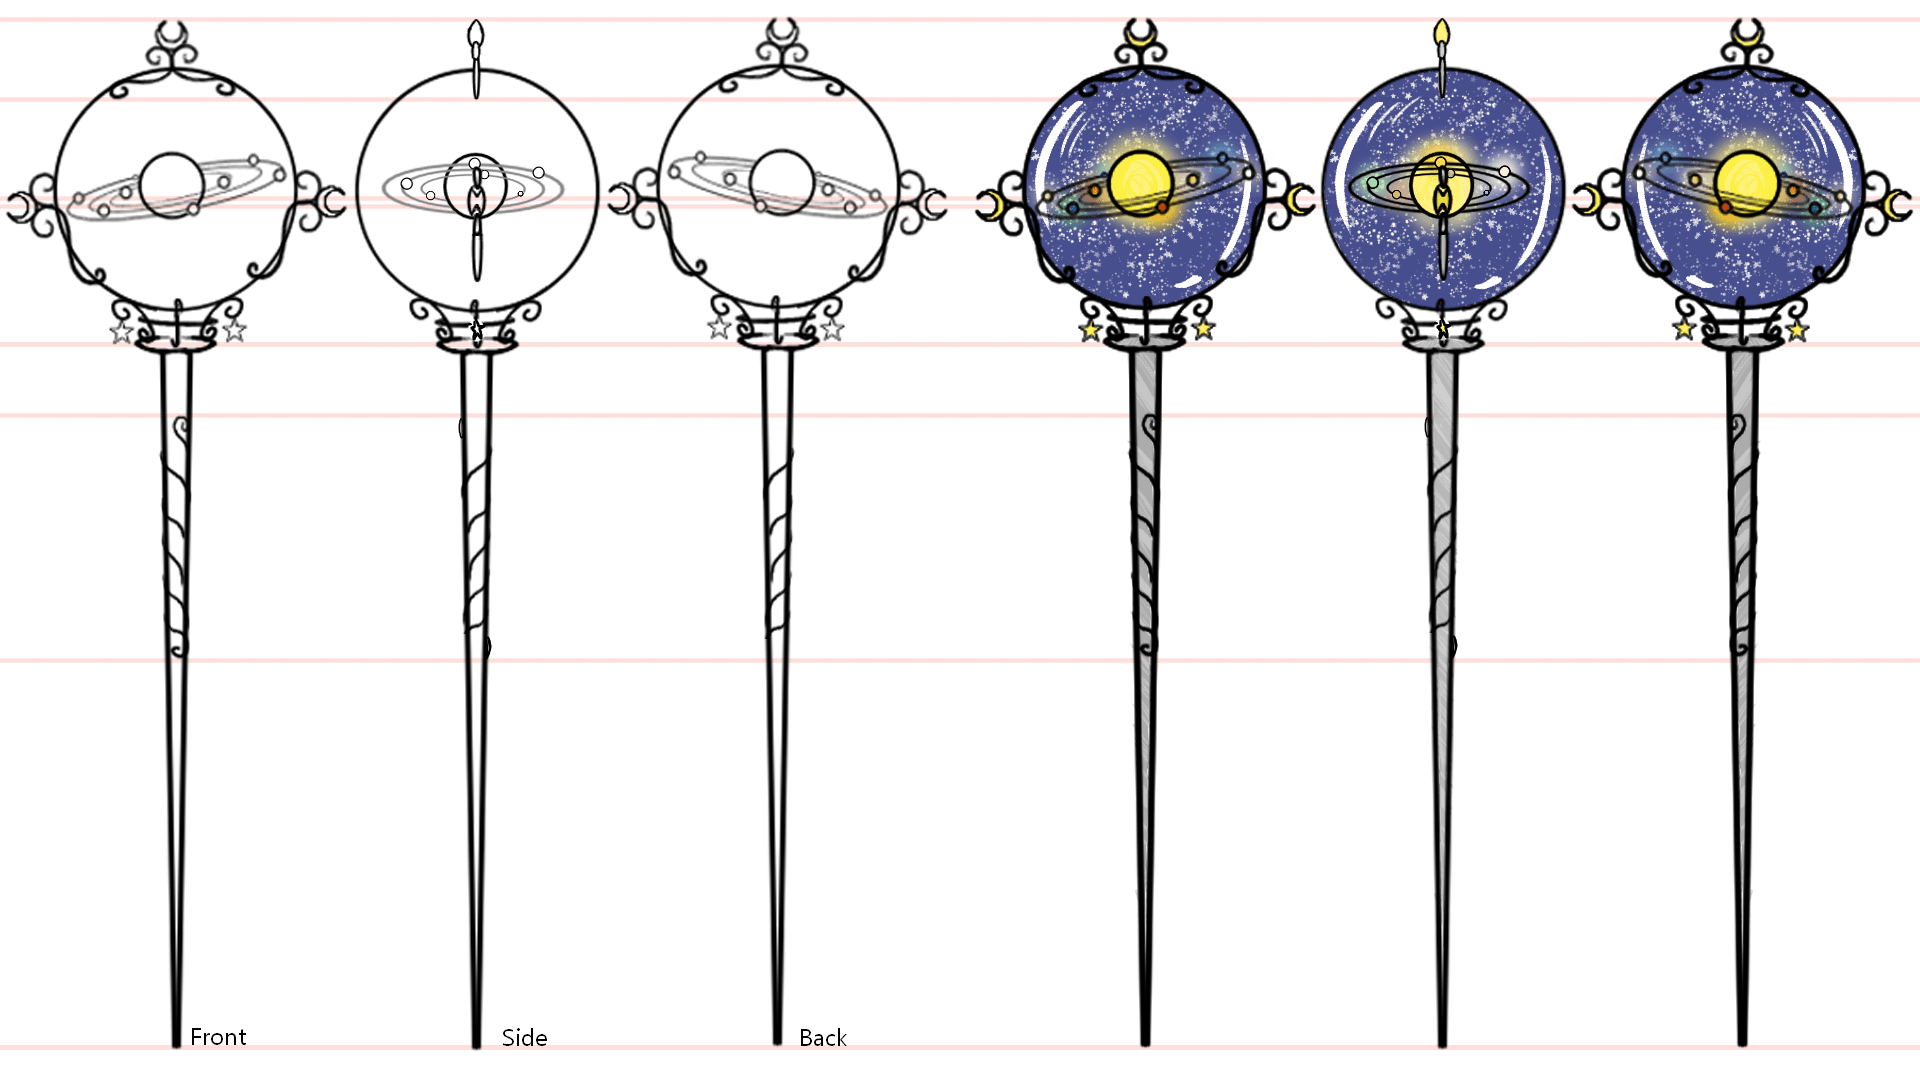
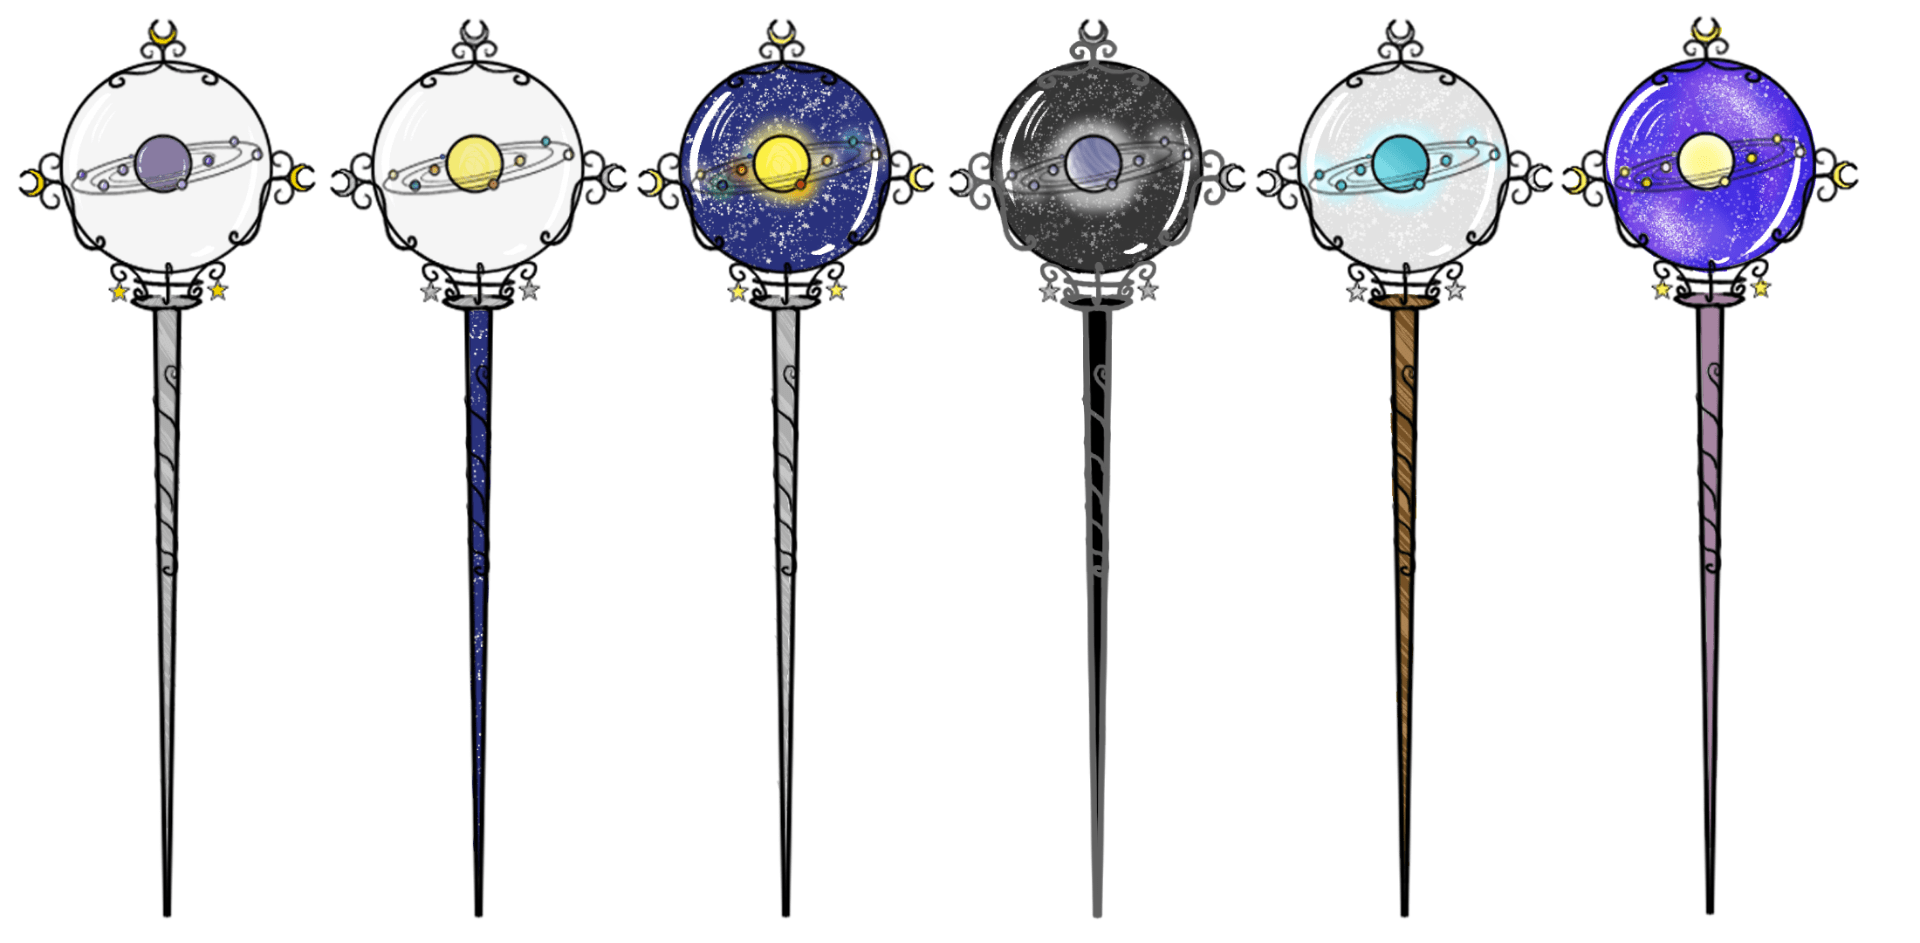
I then looked at colour schemes for the wand, I know this is in the future however I wanted a to try some colour combinations and what I can always change them in the future when I am onto texturing. I did two passes, the first was me experimenting with colours and if I wanted the planets to glow or the globe to have a galaxy in it. I then chose my favorite sections of the first pass and created 5 more wands; I chose the middle one.

Modeling
Stick:
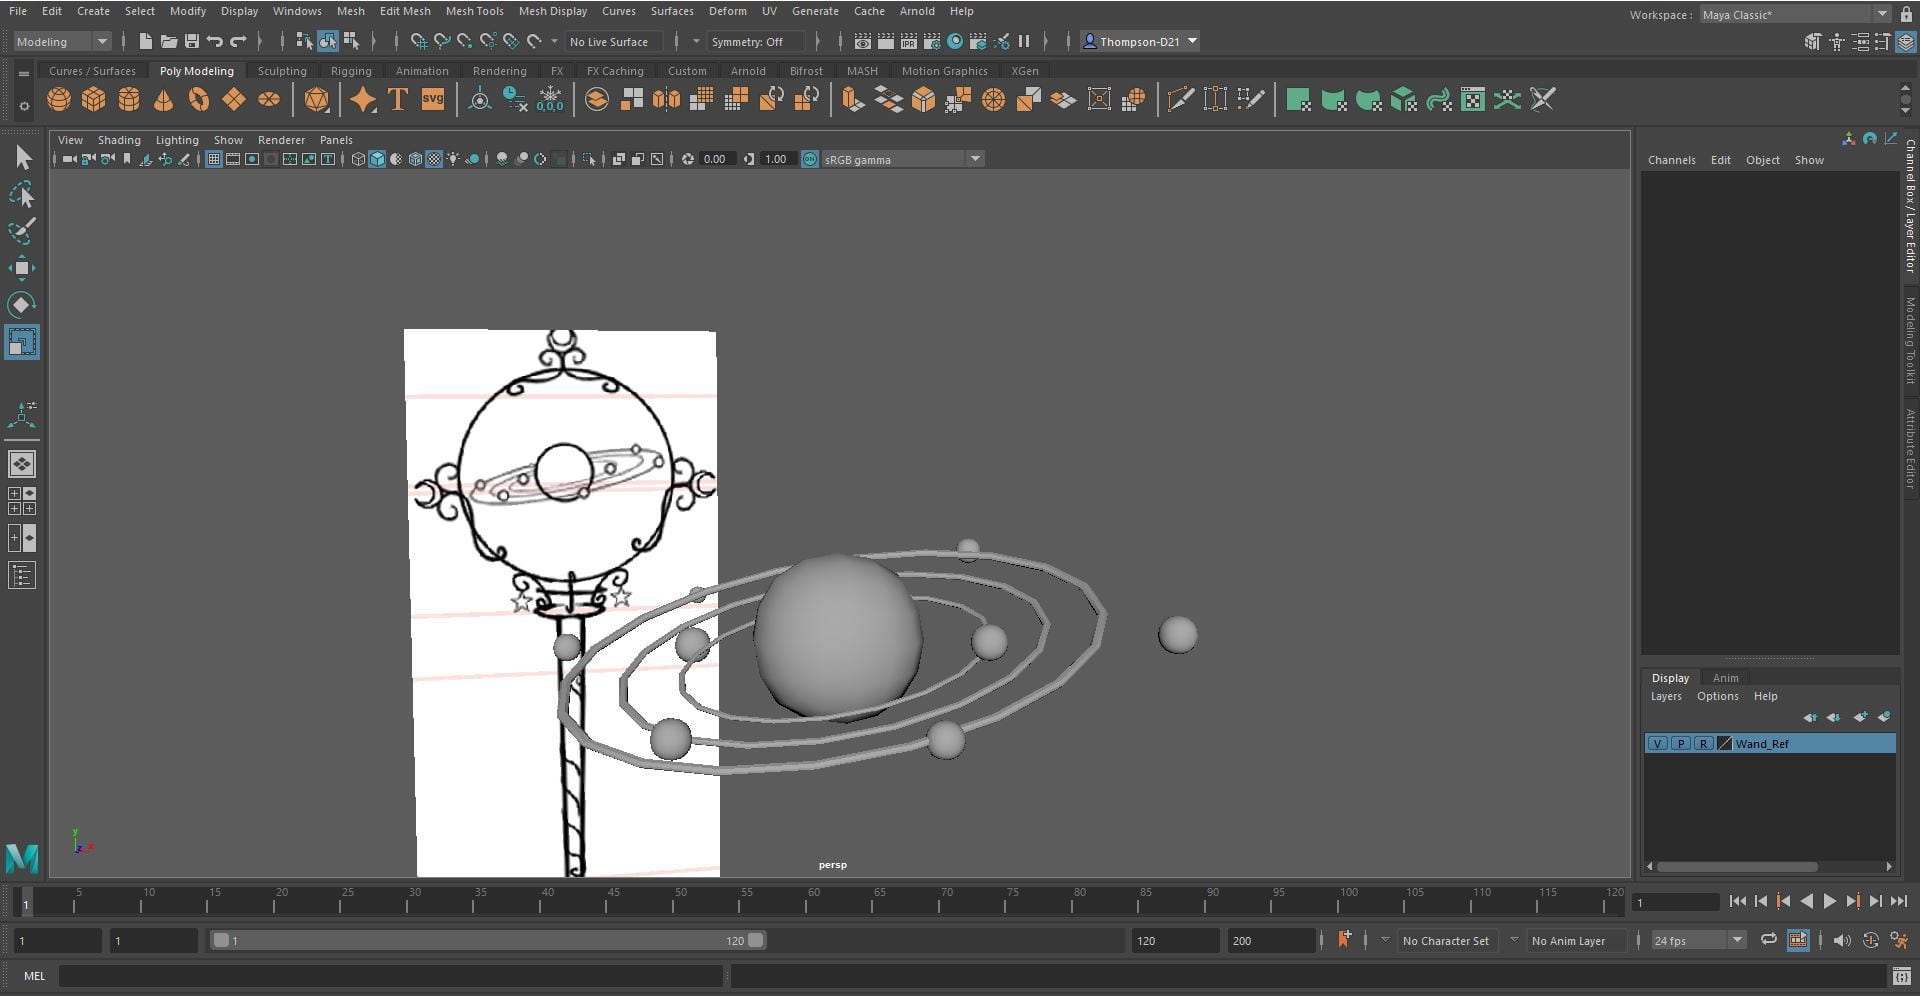
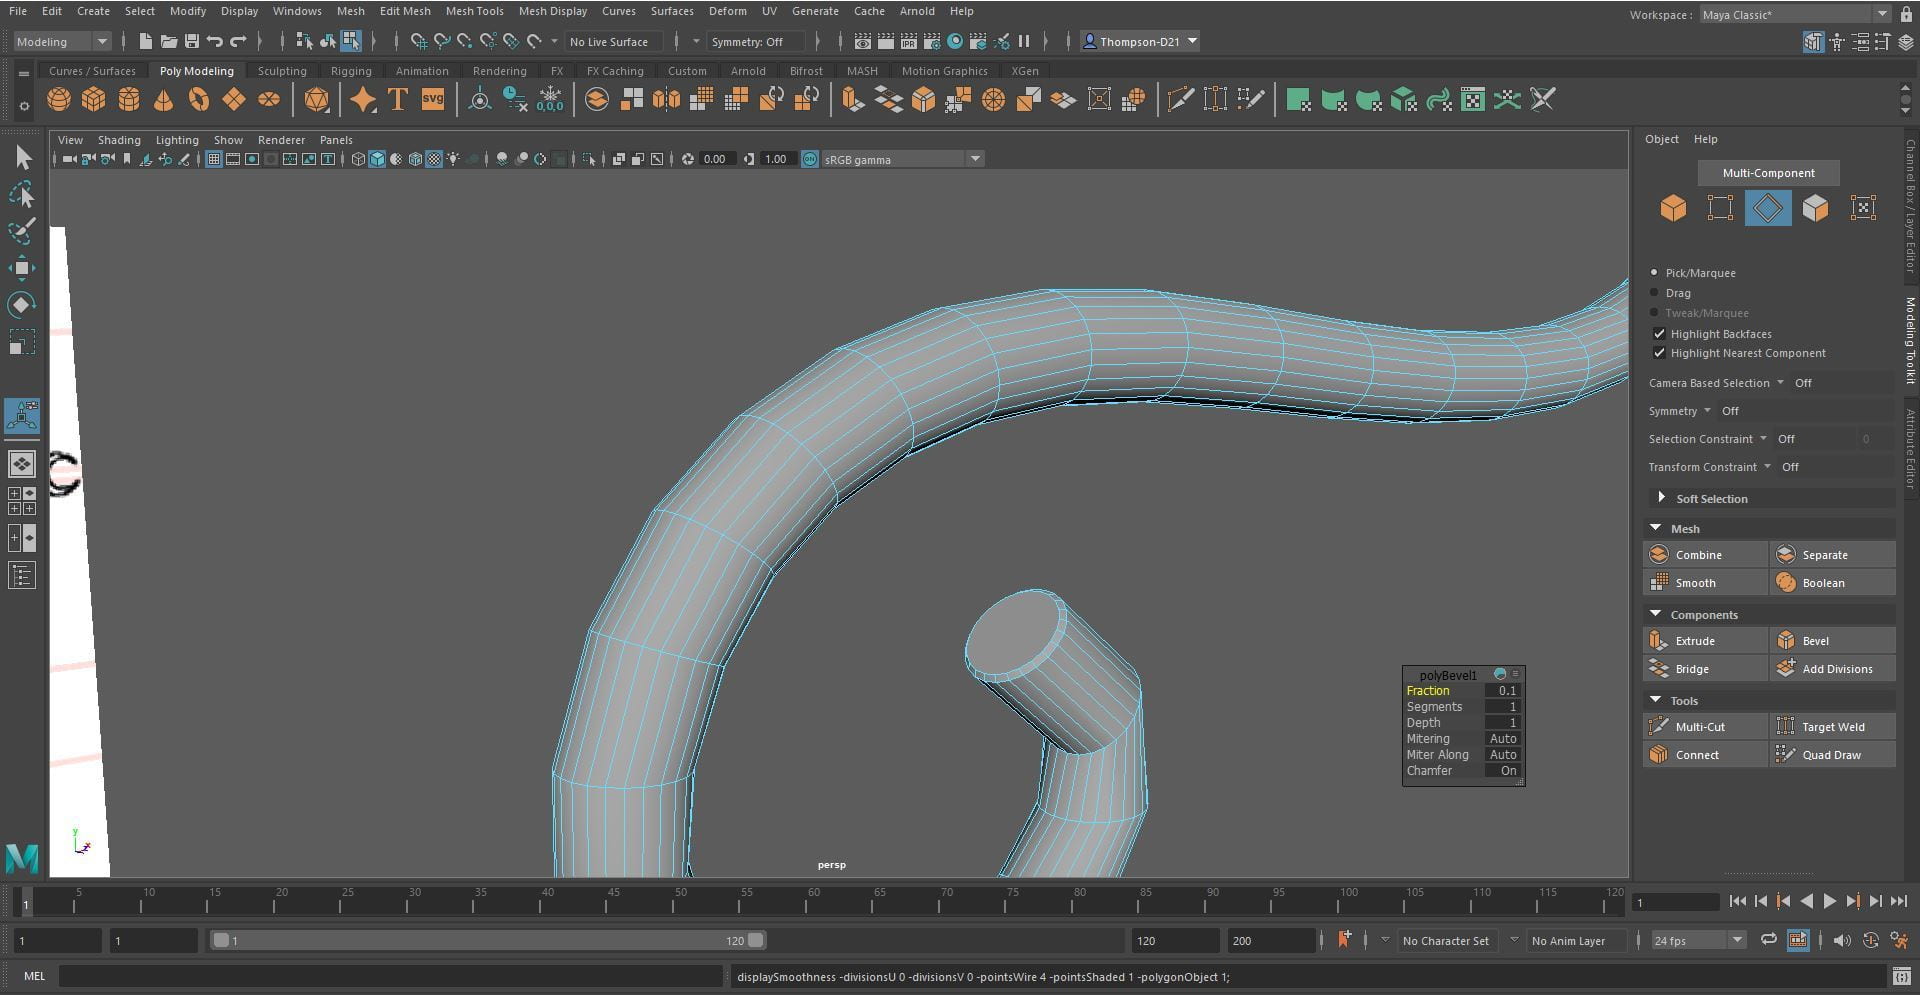
This week I started to model my wand for assessment 1. I started by working on the stick of the wand, this is base of the whole design, so I wanted to get it right. To create the shape, I added a cylinder and subdivided it by 24. I then stretched the cylinder to the height detailed in my reference. Next, I added edge loops around the cylinder and began to shape it into a v shape, I wanted the stick to taper off at the bottom as I thought it looked elegant. I beveled the top and bottom edge to 0.5 and used the multi cut tool to divide the top and bottom circles so there would be no ngons. I then moved the pivot to the bottom of the stick and snapped the stick to the grid, deleted the history and froze the transformations.

Globe:
For the globe I created a cube. I then smoothed it by 2, this created a cube that consists of quads rather than triangles. Lastly, I froze the transformations and deleted the history.

Stick Topper:
For the oval at the top of the stick I added a cylinder and stretched it to the size I needed. I then added edge loops around the cylinder to make the cylinder into a rounded oval shape. I selected the center vertex and beveled it; it created a circle. I used the multi cut tool and divided the circle into sections to eliminate ngons. I erased the history and froze the transformations.

Moons:
I had a few problems with creating the crescent moons as I was unsure of how to cut the shape. I first tried to place two cylinders on top of each other and use the multi cut tool to cut them however I could not get it to work.

Next, I tried using the boolean tool, I selected the larger cylinder then the smaller cylinder and clicked ‘difference‘, this did not work as it deleted the inner faces making the shape hollow.

I tried the boolean tool again but instead of choosing ‘difference‘ I chose ‘intersection’ this deleted the bottom of the model.

I then decided to look up a tutorial on how to cut shapes in Maya I came across this one: https://www.youtube.com/watch?v=DRD8fDK4WXQ
I found this video very helpful as it helped me understand the boolean tool and what it can do to meshes. I selected the large cylinder then the small cylinder and clicked ‘difference’ this cut the smaller cylinder out of the larger cylinder making the crescent moon shape I wanted. To make the shape useable I clicked the mesh tab then remesh, this rebuilt the mesh using triangles. Then I clicked retopologize, this changes the triangles to four sided shapes, when viewed in the smooth preview the model does not glitch or ruin the model.


Stars:
To create the stars, I followed this video: https://www.youtube.com/watch?v=AEgM4qB0wf8.
I added a cylinder to the scene and subdivided it by 10, then selecting every other vertex I scaled them to the middle to form the points of the star. Next, I flattened the front and back of the shape. To make the points of the star I selected the two vertices and merged them, I continued this around the star. After merging the points, I beveled the edges to 0.1. I deleted the history and froze the transformations.


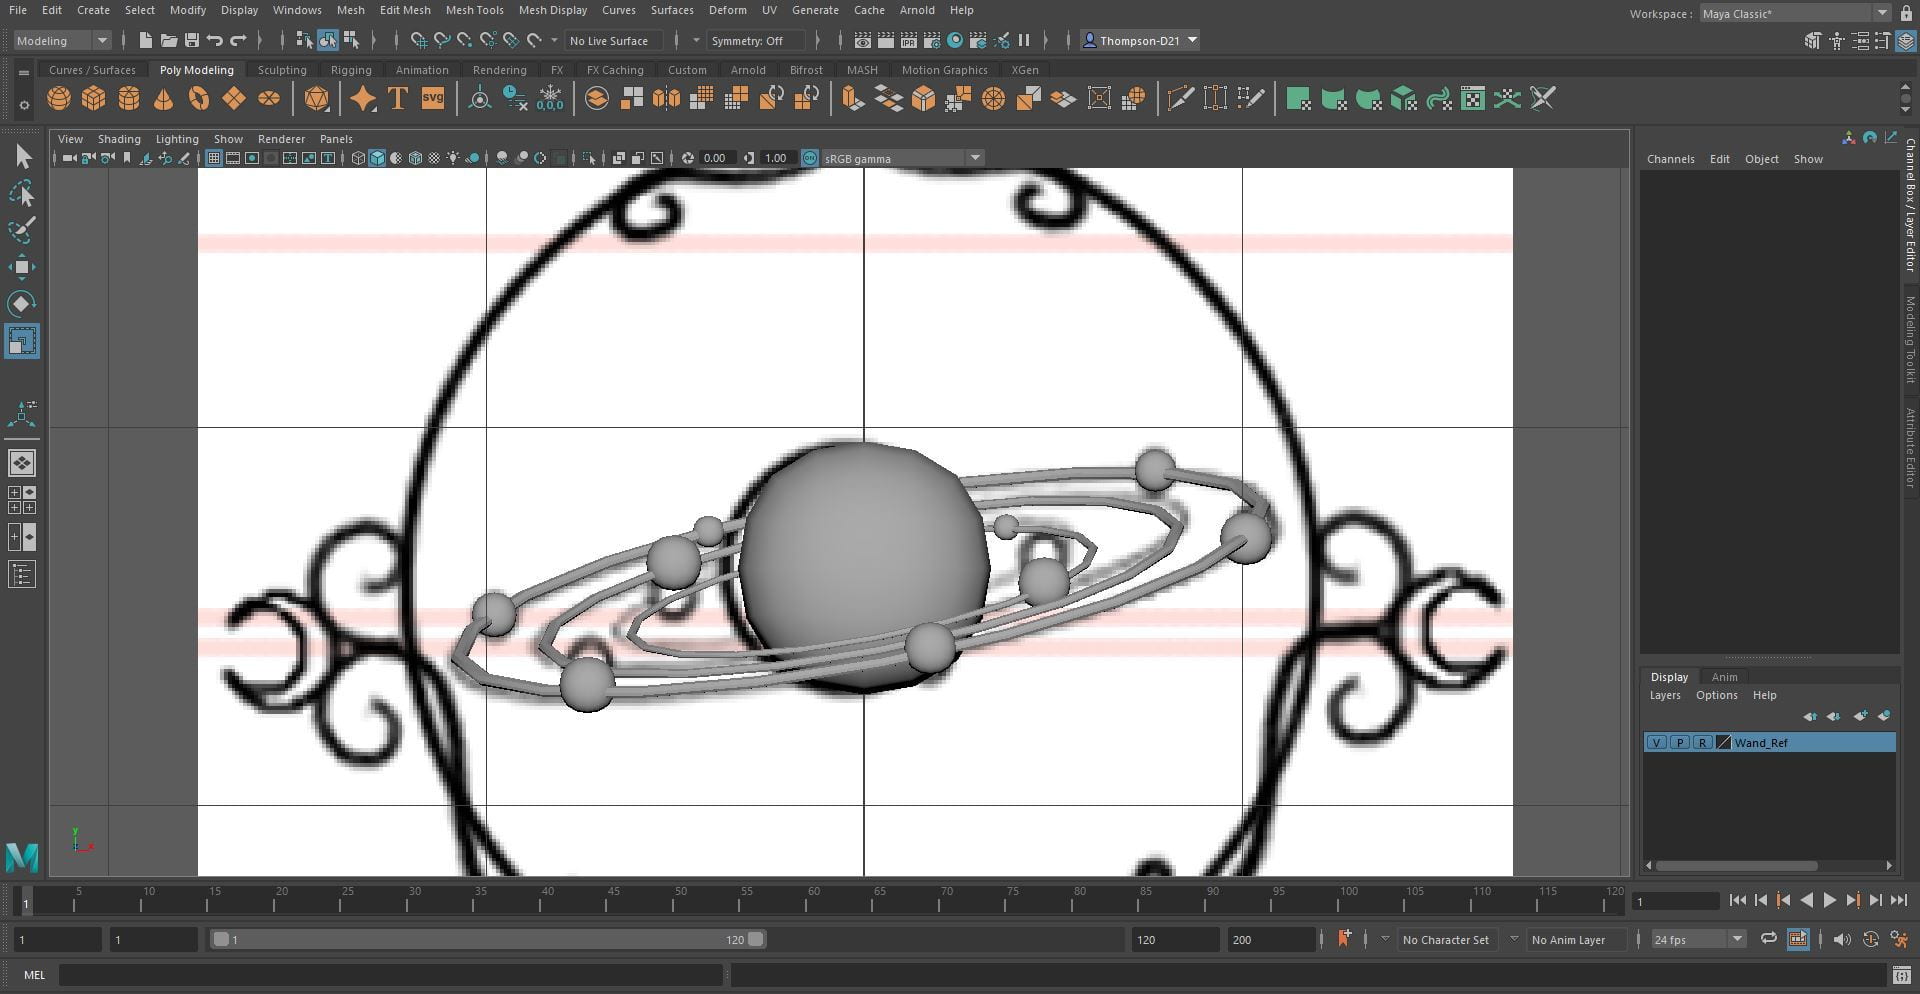
Planets:
The planets were very similar to the globe, I added a cube and smoothed it to 2, this created a sphere consisting of quads. I then repeated this to make the rest of the planets, I positioned them as best as I could and froze the transformations, I knew I would reposition them when I made the rings. I also deleted the history.


Rings:
For the rings I added a torus and removed the inner faces, I then merged the vertices to make the torus thinned however this did not work, every time I stretched the shaped it became thicker.

I then tried to follow this tutorial to bend a thin cylinder into a ring: https://www.youtube.com/watch?v=sVmXlCL9Qtk. I created a cylinder and stretched it to the desired thickness. I added edge loops around the cylinder to help it bend. However, I did not know a good way of connecting the ends.


I then tried to create a helix and adjust the thickness; I then flattened the shape however the ends overlapped.


I Finally got the rings to work by adding a pipe and scaling the inner faces to make the ring thinner. Then I flattened the top and bottom and beveled the edges to 0.5. I stretched the ring into an oval and repeated the process to create the other two rings.


Once I made the rings, I repositioned the planets to intersect the rings and spaced them out. I then deleted the history and froze the transformations.
Wire:
For the wire on the stick, I added a helix and adjusted the sliders to make the shape thinner and the increase the number of twists. I then scaled the helix to make it narrower to fit the wand. I froze the transformations and deleted the history.


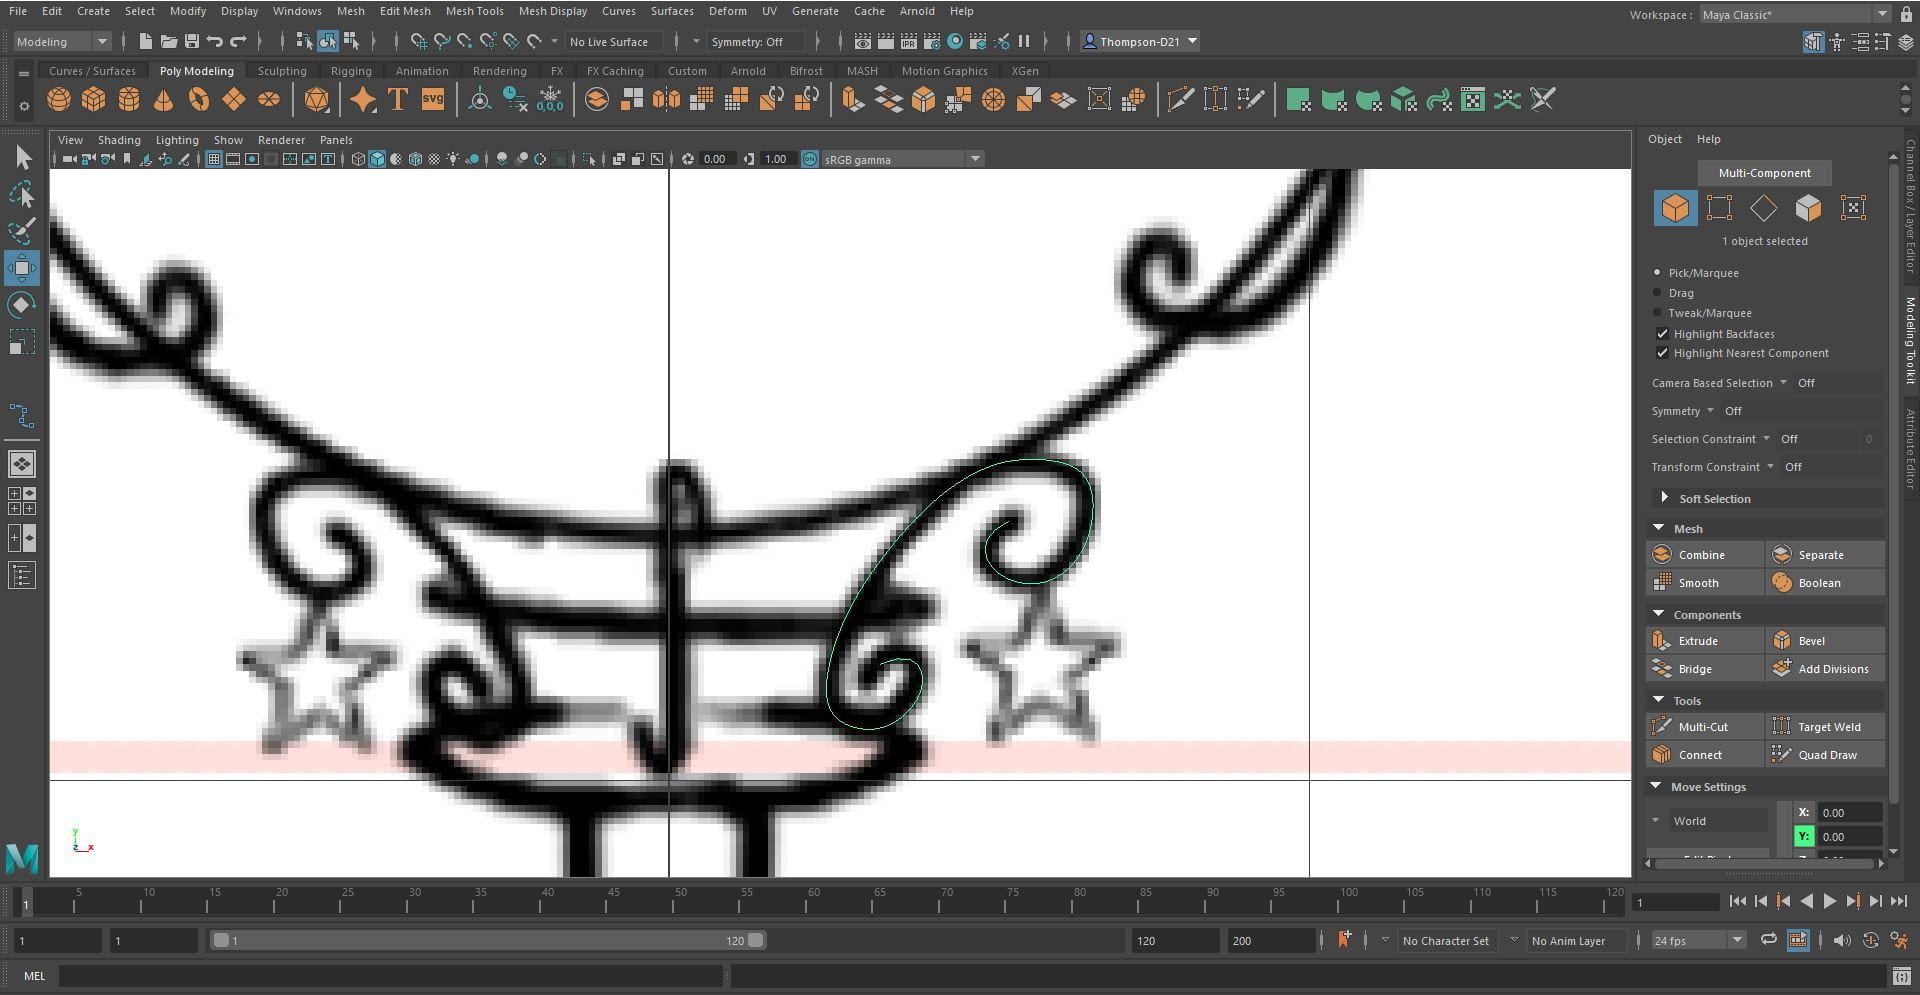
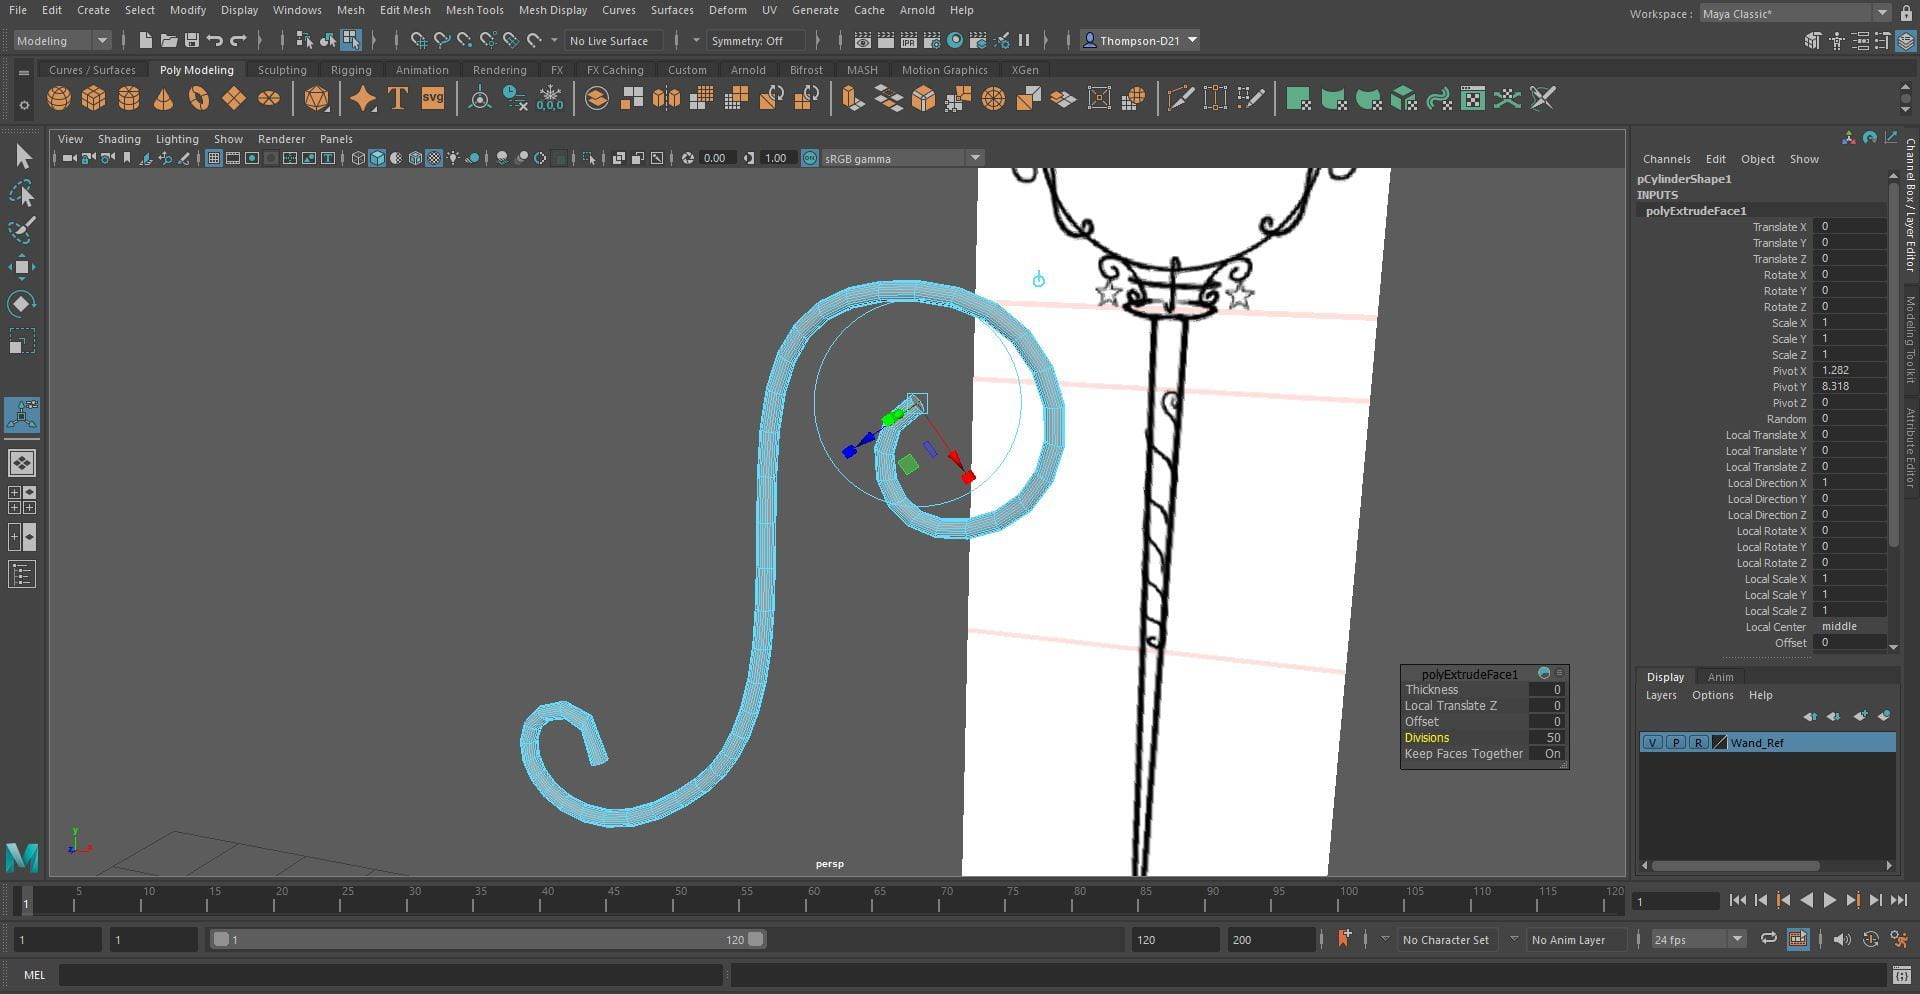
Swirls:
For the swirls I followed this tutorial: https://www.youtube.com/watch?v=4igTVJOEJw0. I clicked the create tab, curve tool and then EP curve tool. I drew a swirl for the top of the wire and adjusted it to fit. I then snapped the curve to the face of the wire. I selected the curve then the face and extruded it, then I set the divisions to 20 so it would bend around the curve smoothly. I then beveled the end to 1.5. I repeated these steps for the other end, deleted the history and froze the transformations.


Globe Stand:
For the wire holding up the globe I used the same process as making the swirls. Used the EP curve tool to draw the shape, created a face and extruded it. I then changed the divisions to 50 to help it bend around the shape. I then duplicated the shape three more times and positioned them on top of the stick. For the ring I did the same process as the rings for the solar system. I then deleted the history and froze the transformations.


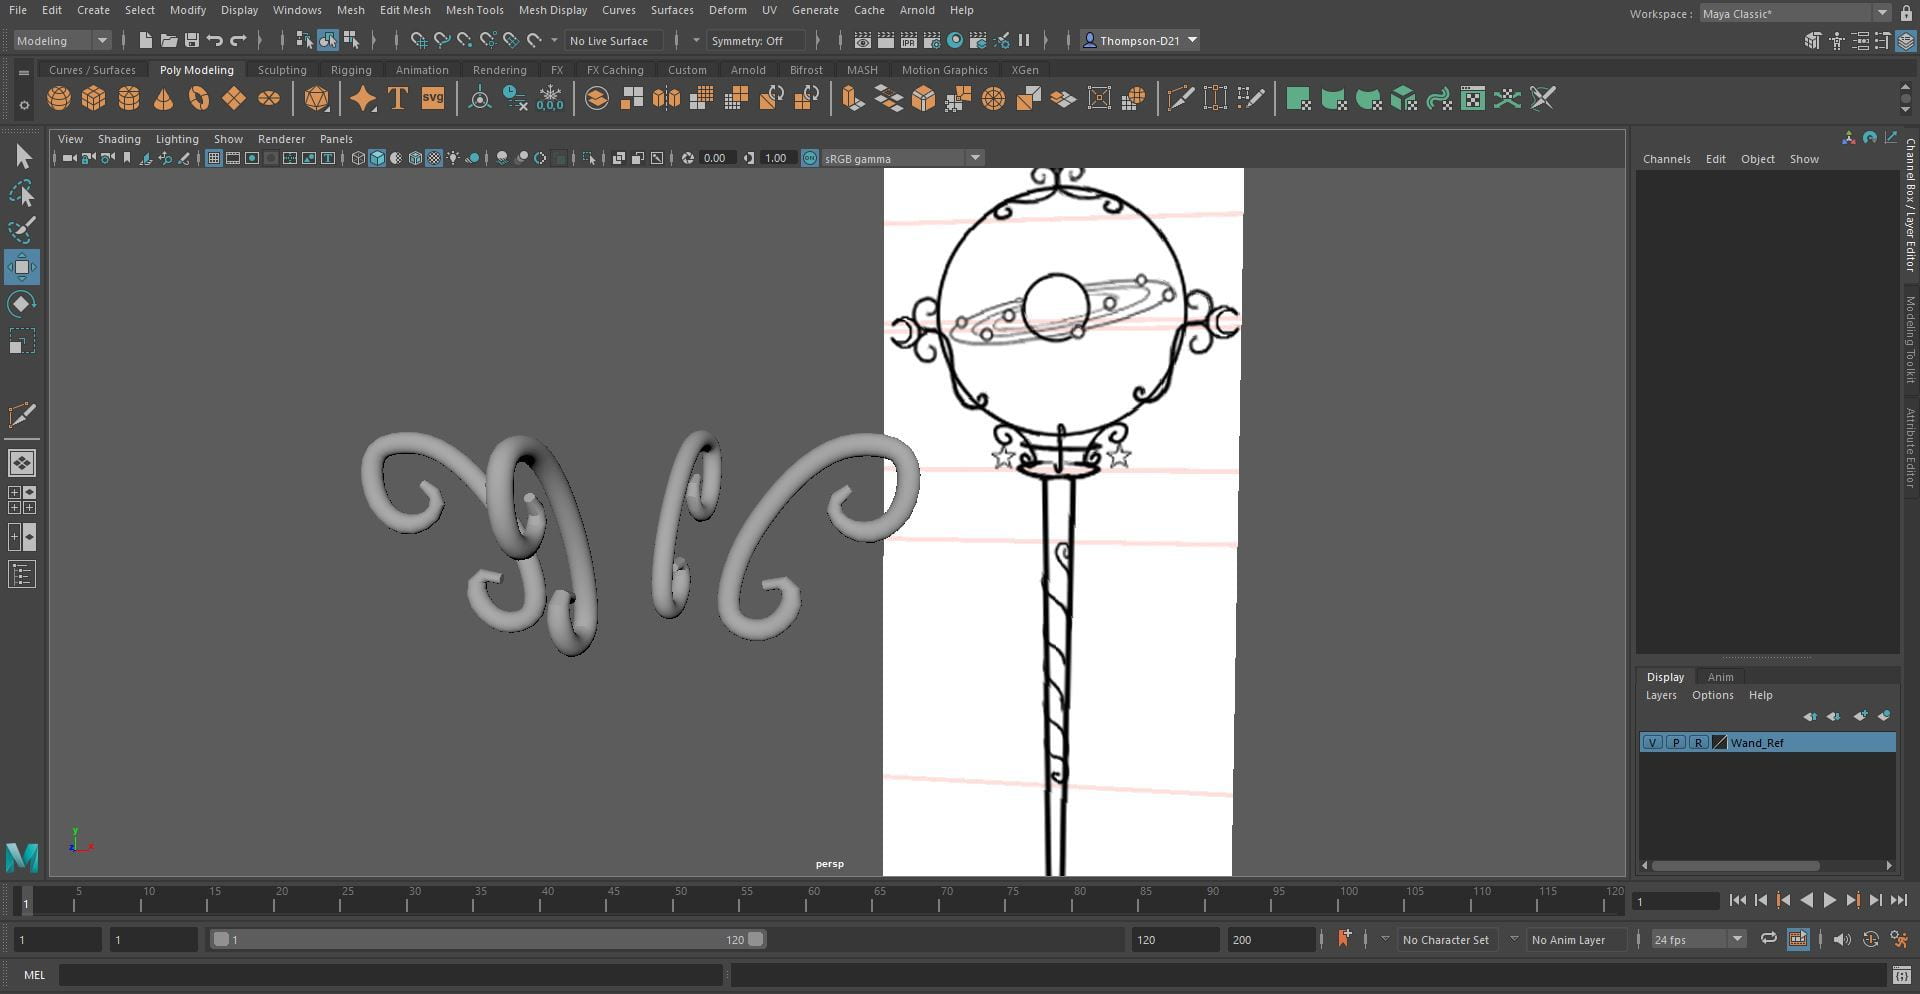


Moon Wire:
For the wire that holds the moon it was the same process as the swirls and the globe stand. I drew the shape using the curve tool and extruded a face to create the curve. I set the divisions to 50 and beveled the ends to 0.1. I then duplicated the shape and flipped it to make the smaller swirl on top and deleted the excess. I then duplicated the swirls and flipped them to use on the other side. I deleted the history and froze the transformations.


For the top wire I repeated the process using a different spiral shape.


Overall, the process for modeling was fun. I did struggle with the moons and the rings, but I think they turned out well, I do think there is a better way to cut the moons without using the boolean tool however I did not any other method. The rings also troubled as I did not know that there was a pipe tool. I think the stars turned our really well, I am very proud of the whole model.


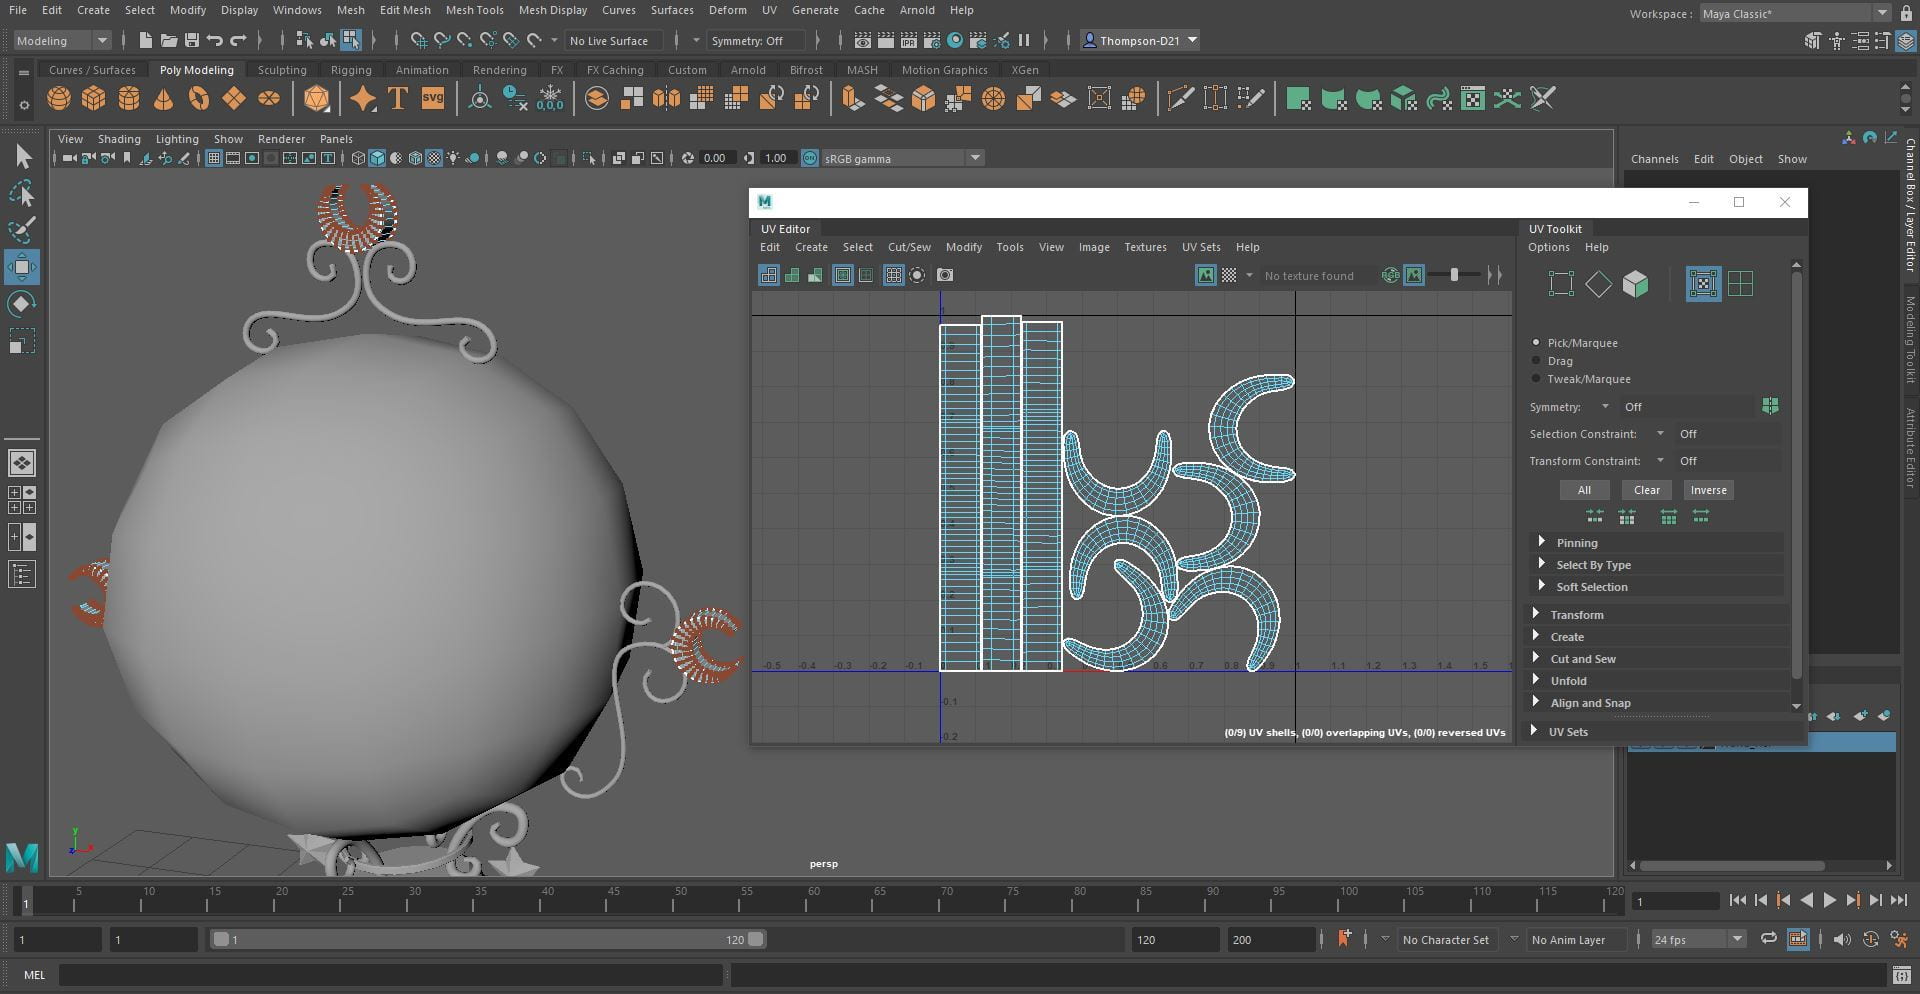
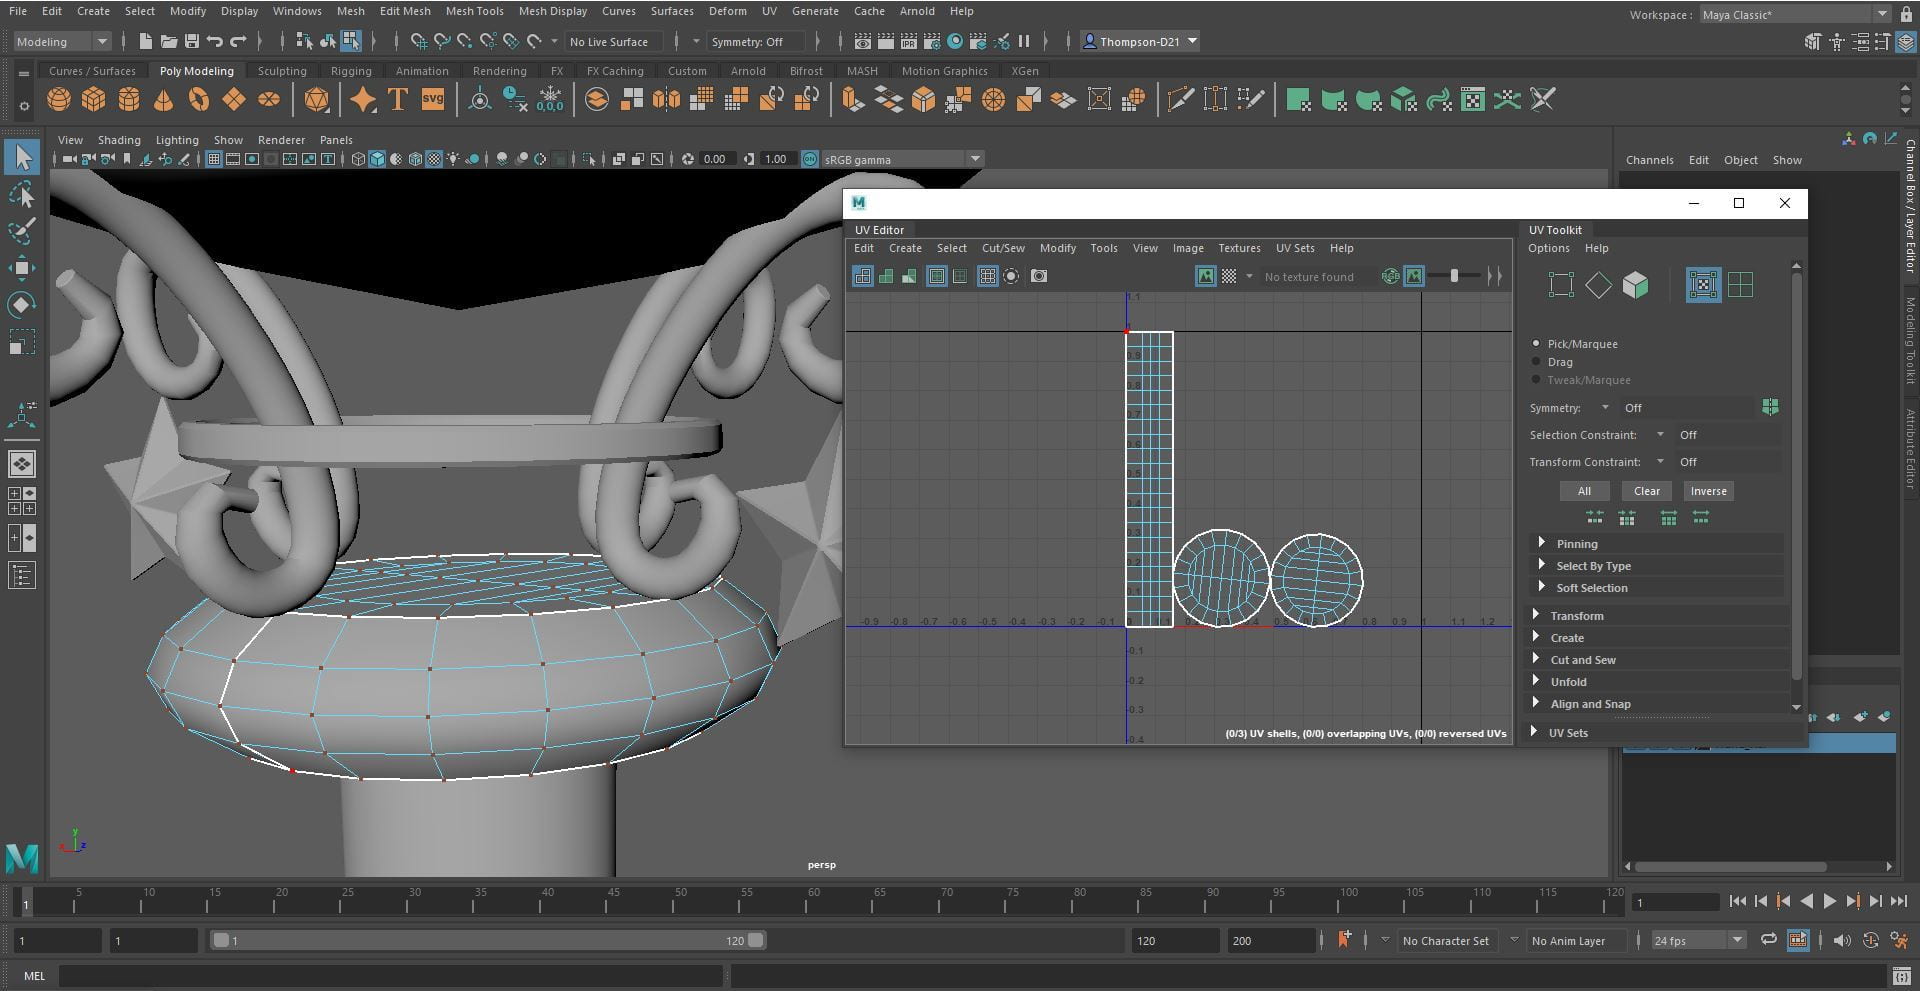
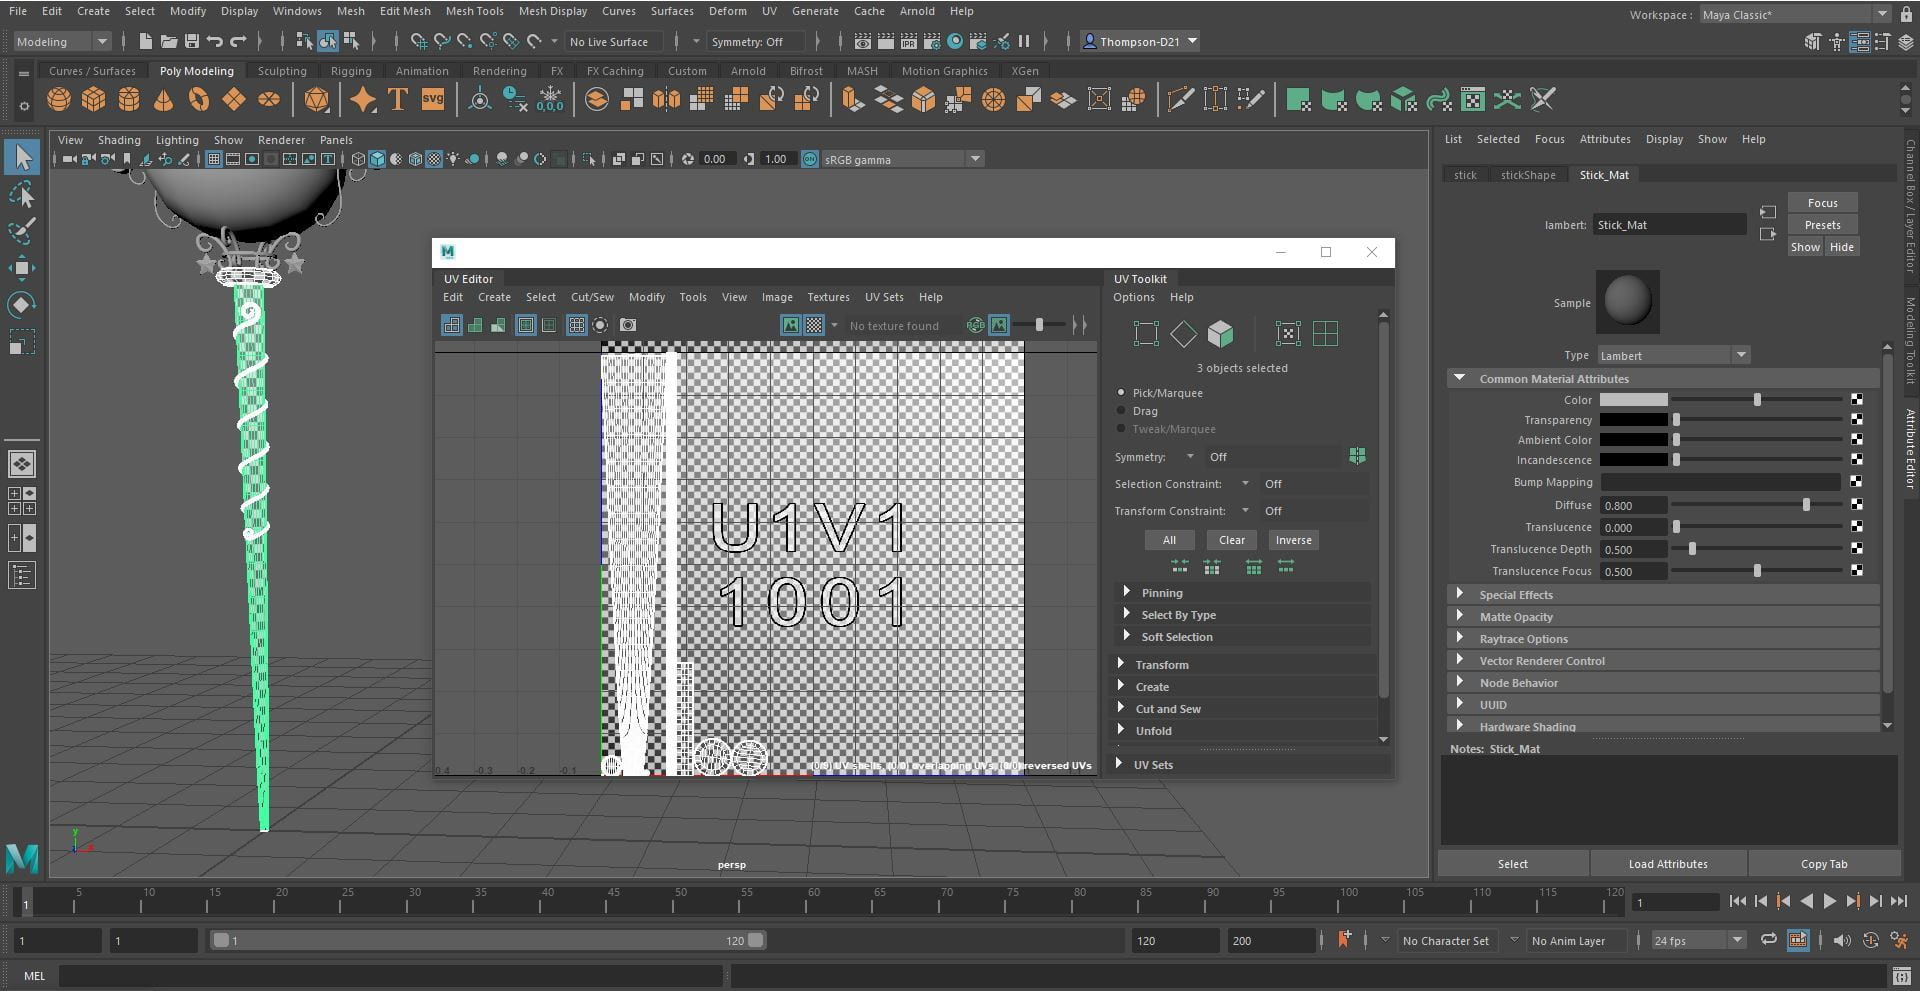
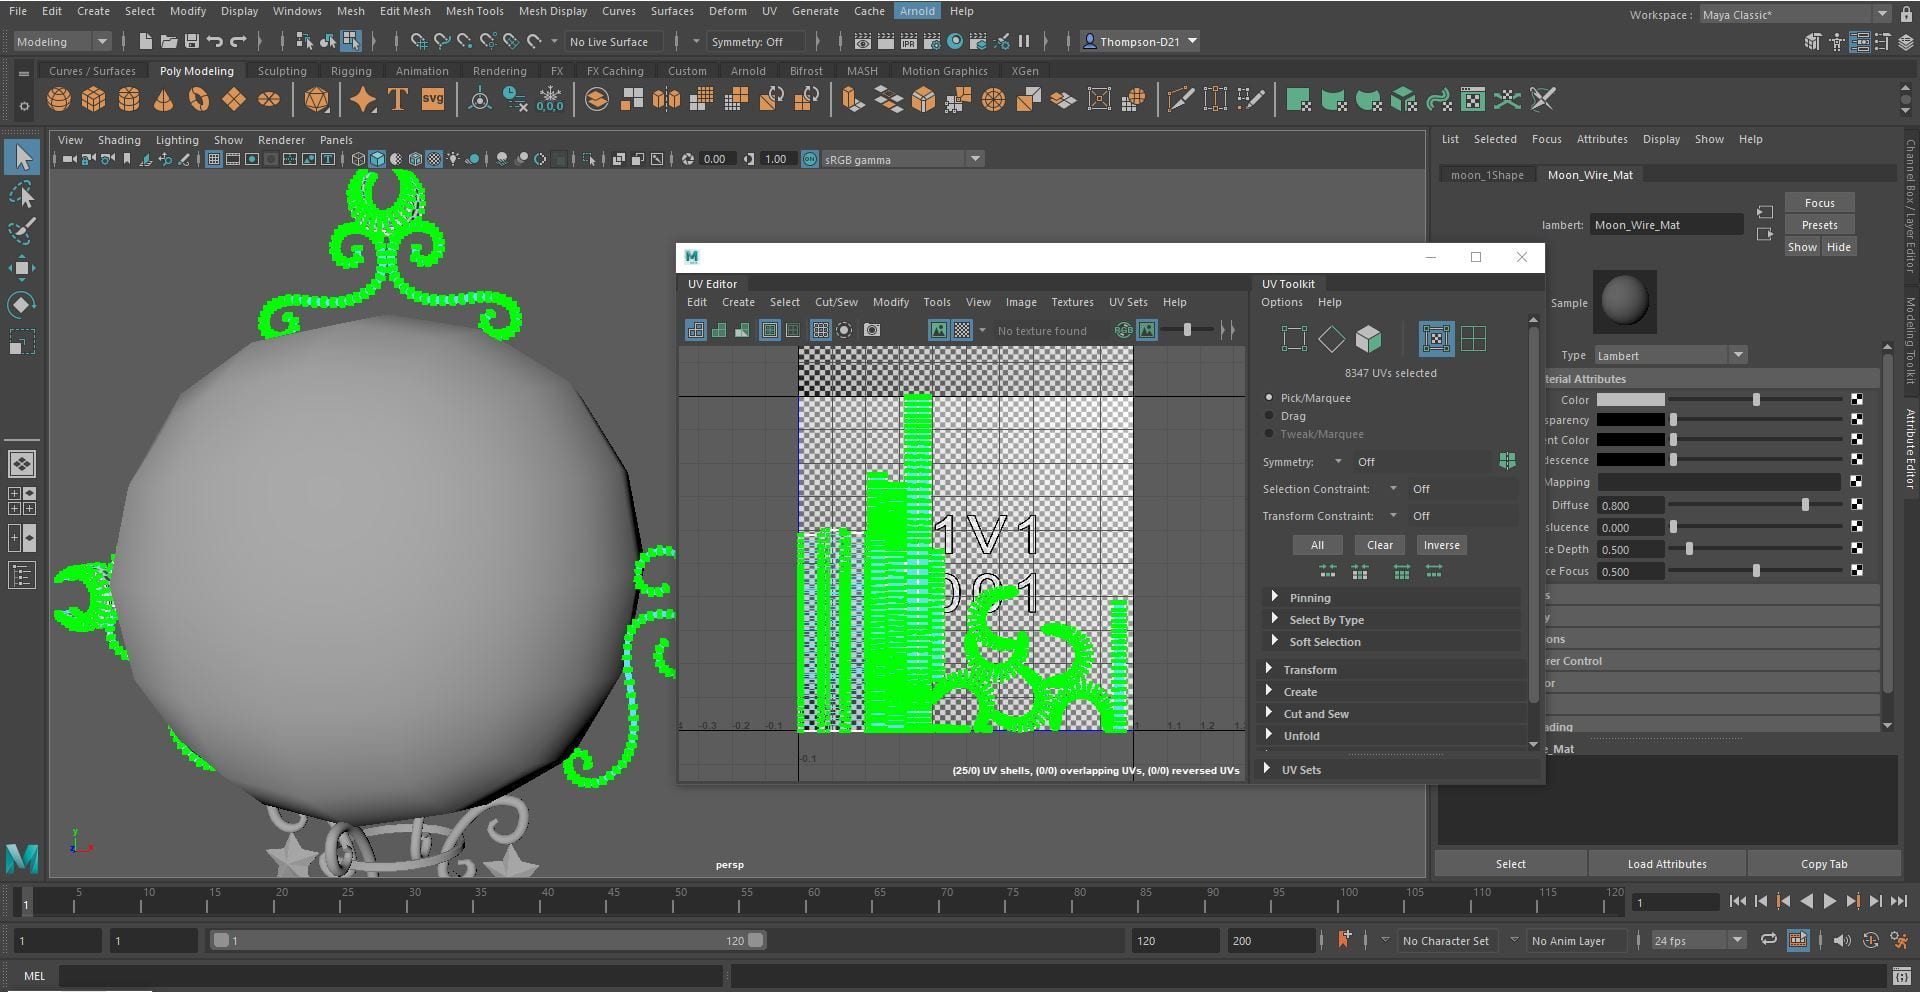
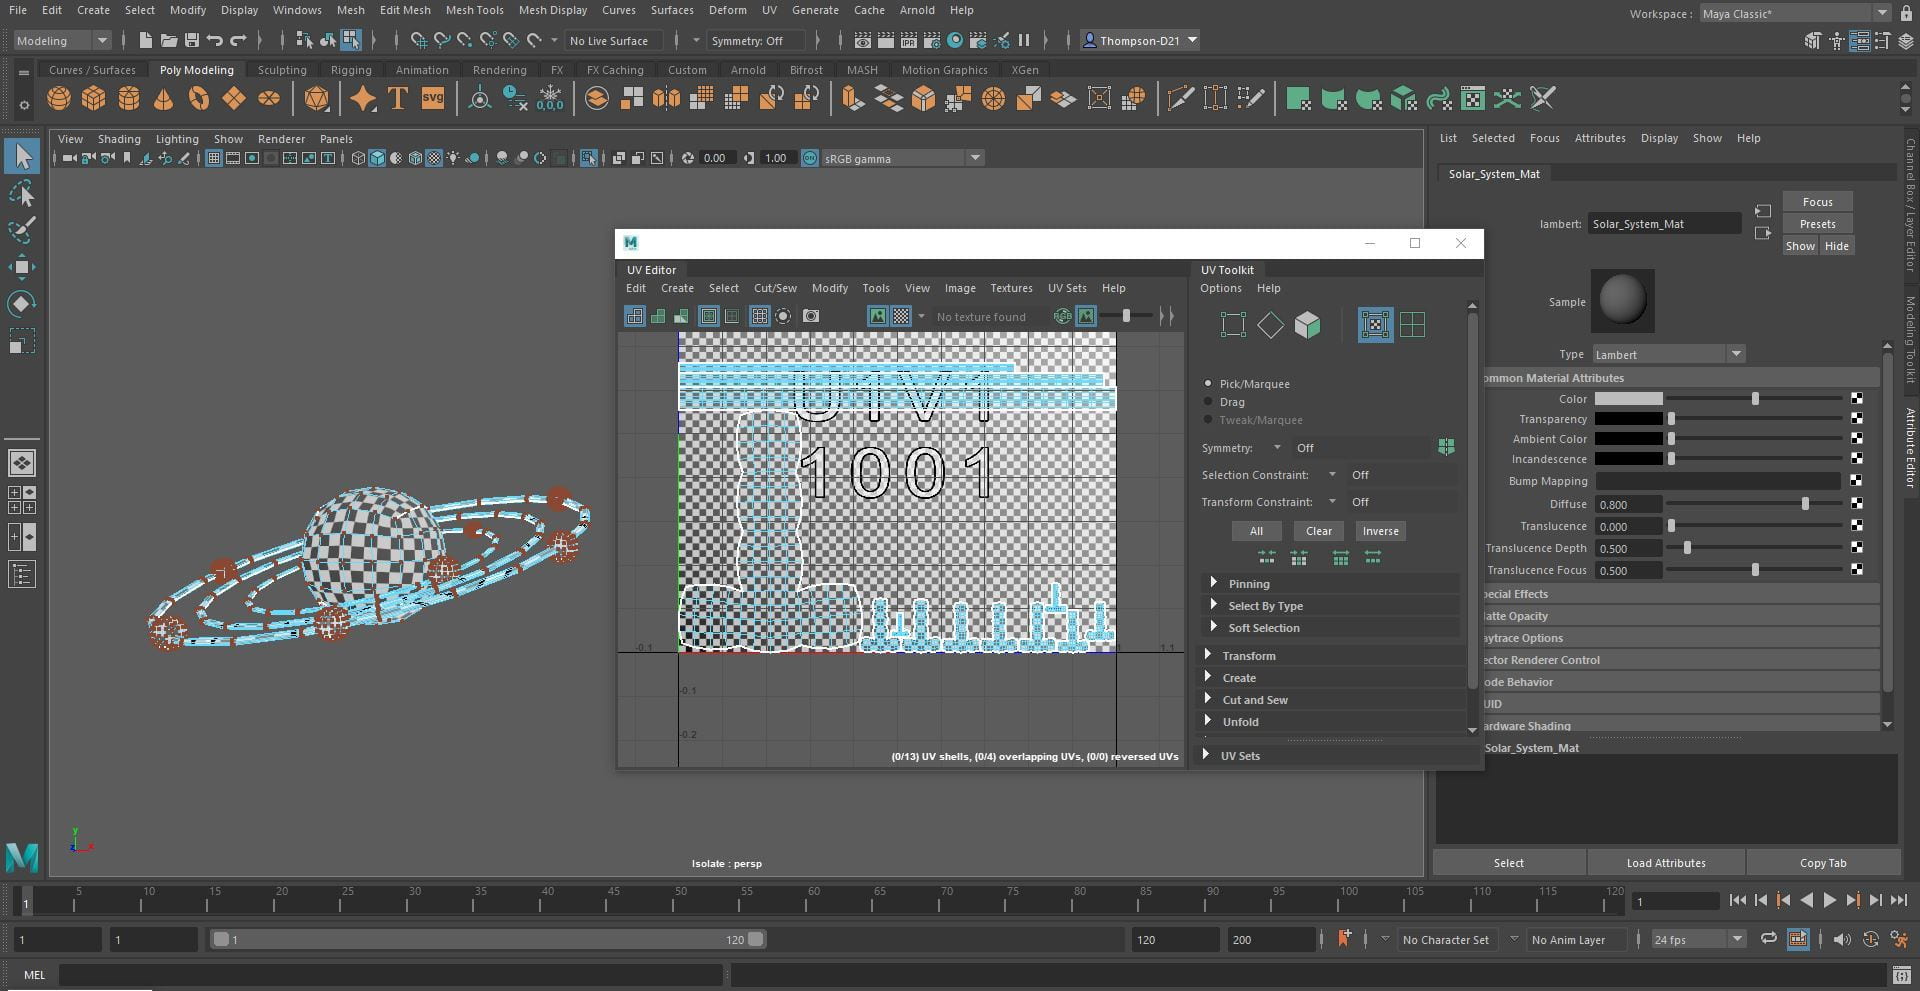
UV Unwrapping
For the UV unwrapping I tried to keep all seams to the back of the model or hidden under other pieces. The wire pieces were the hardest to unwrap as I had to position the camera in small places to select the right lines, it was very tedious.


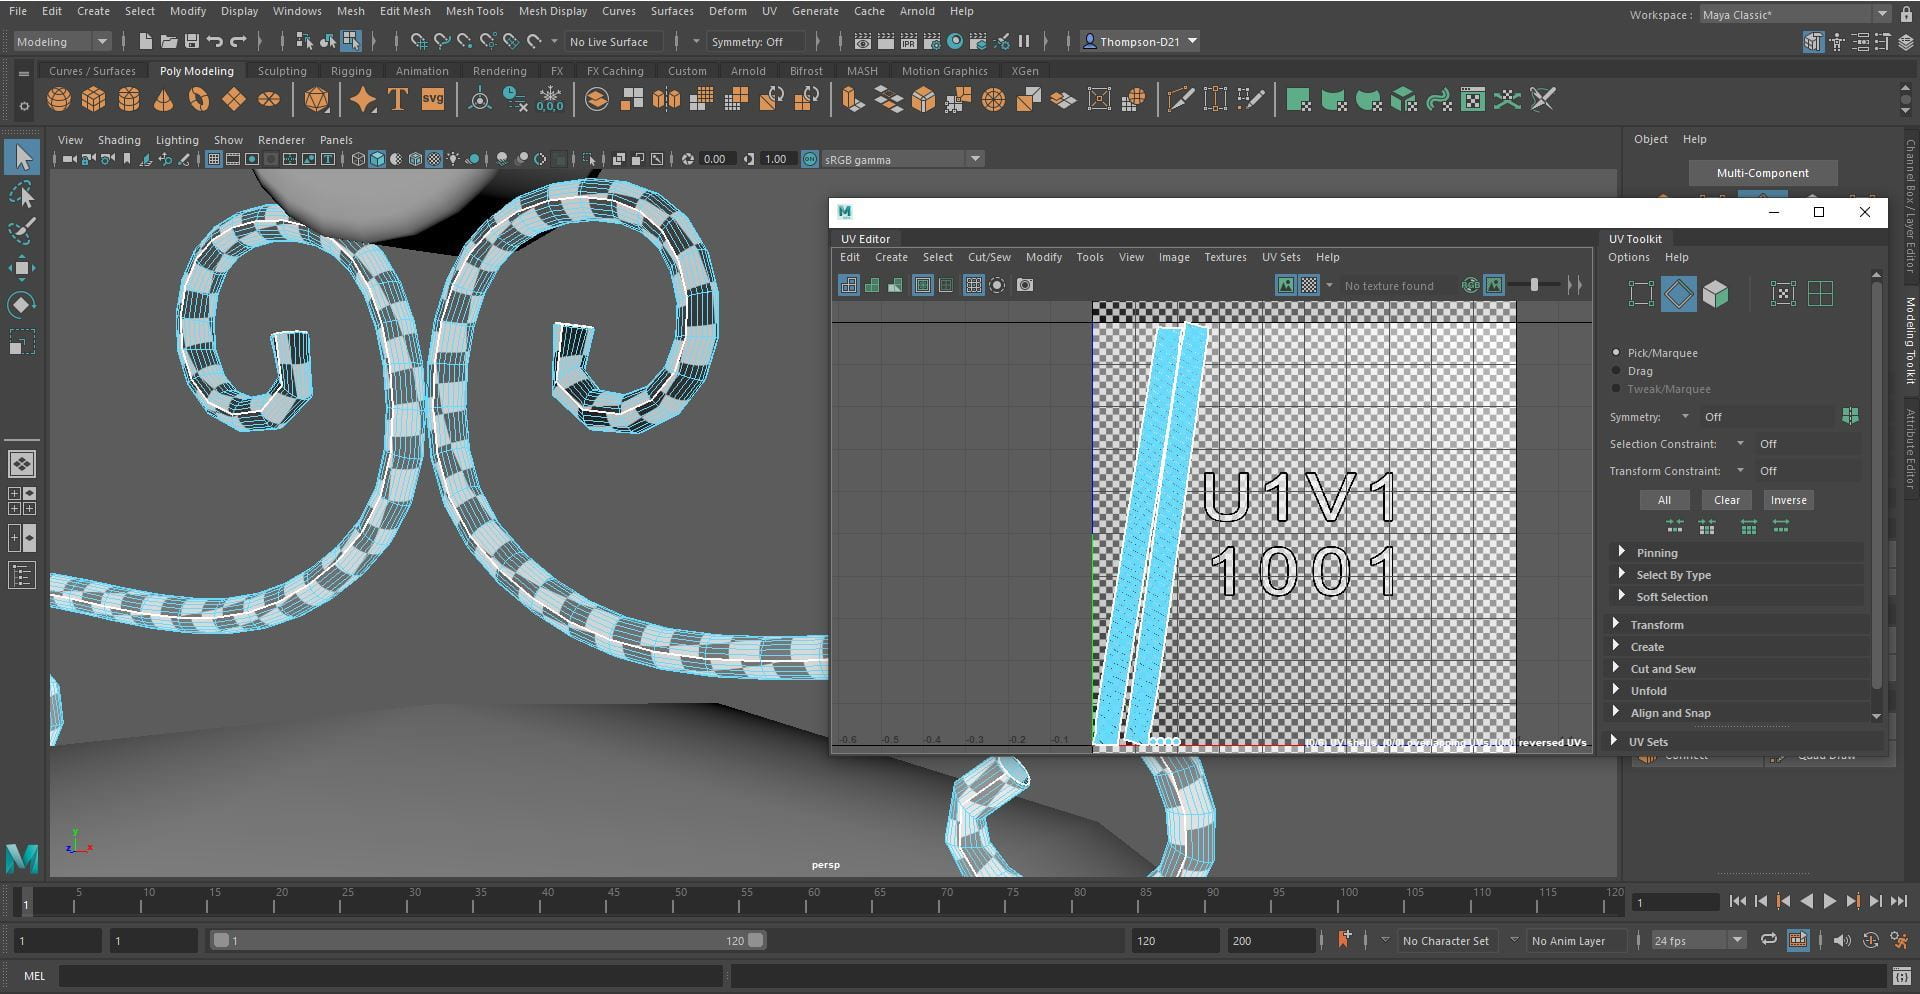

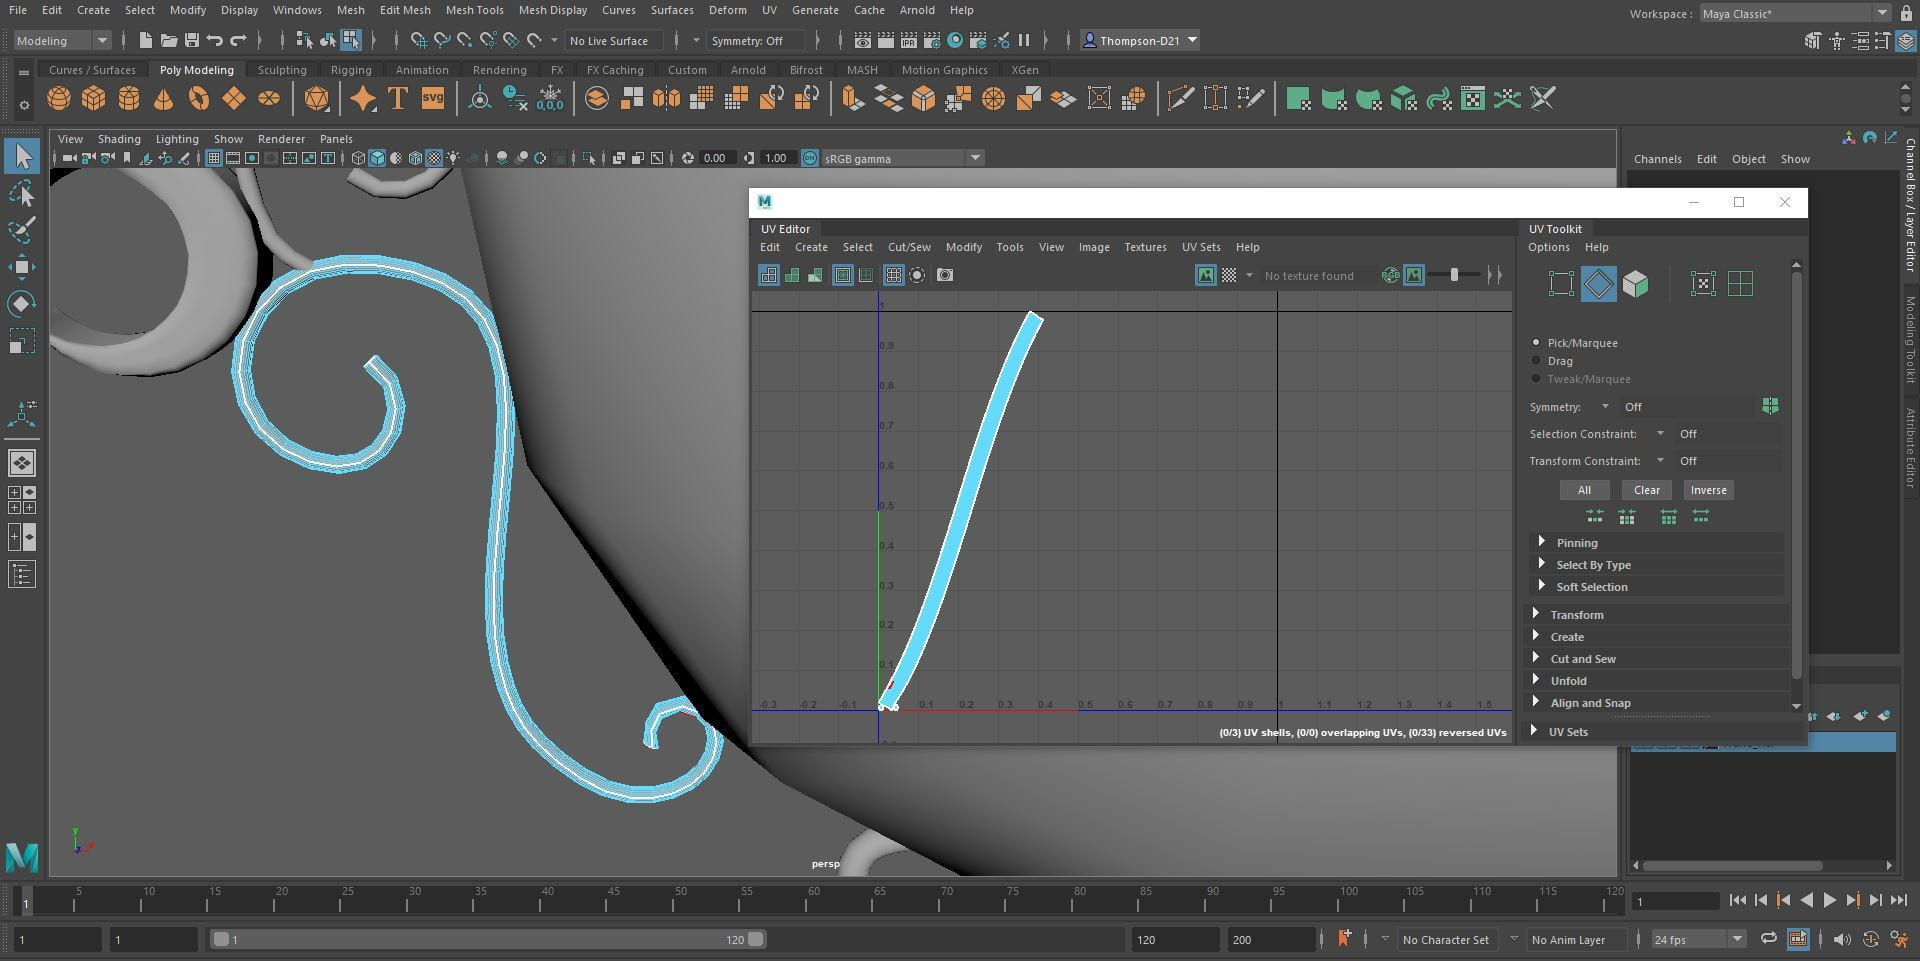

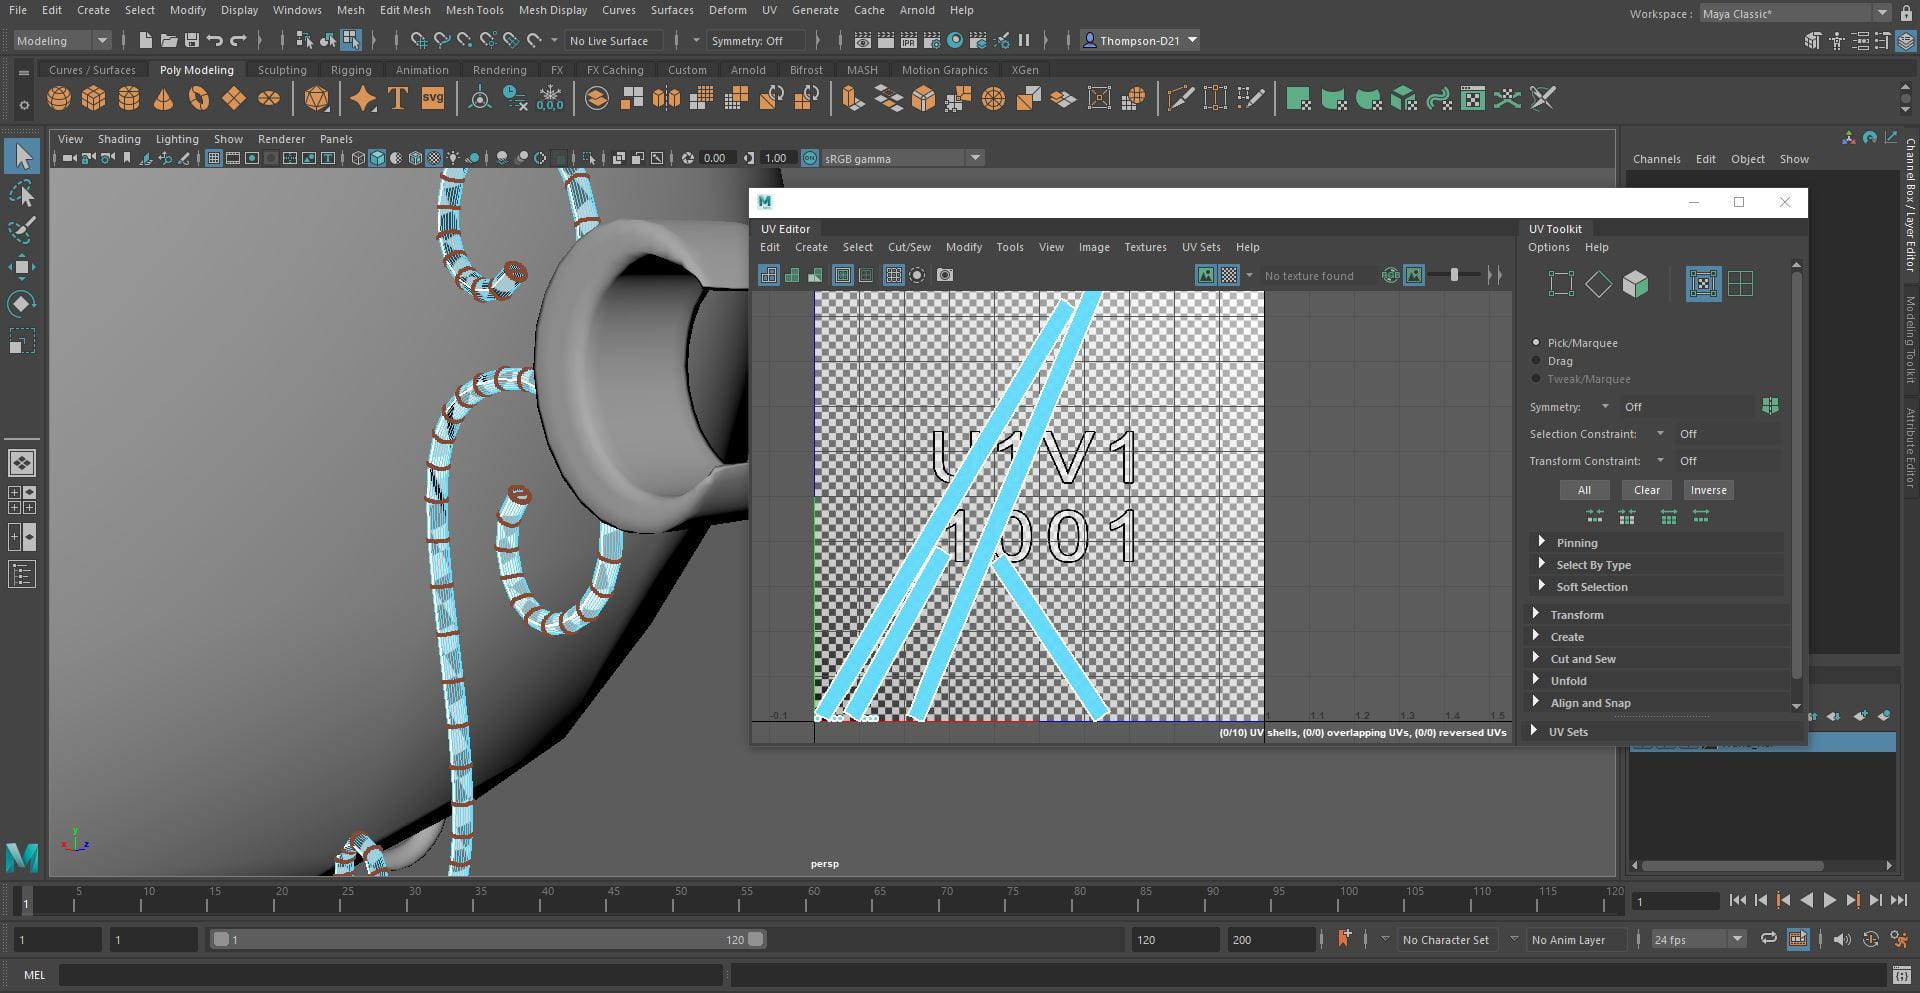


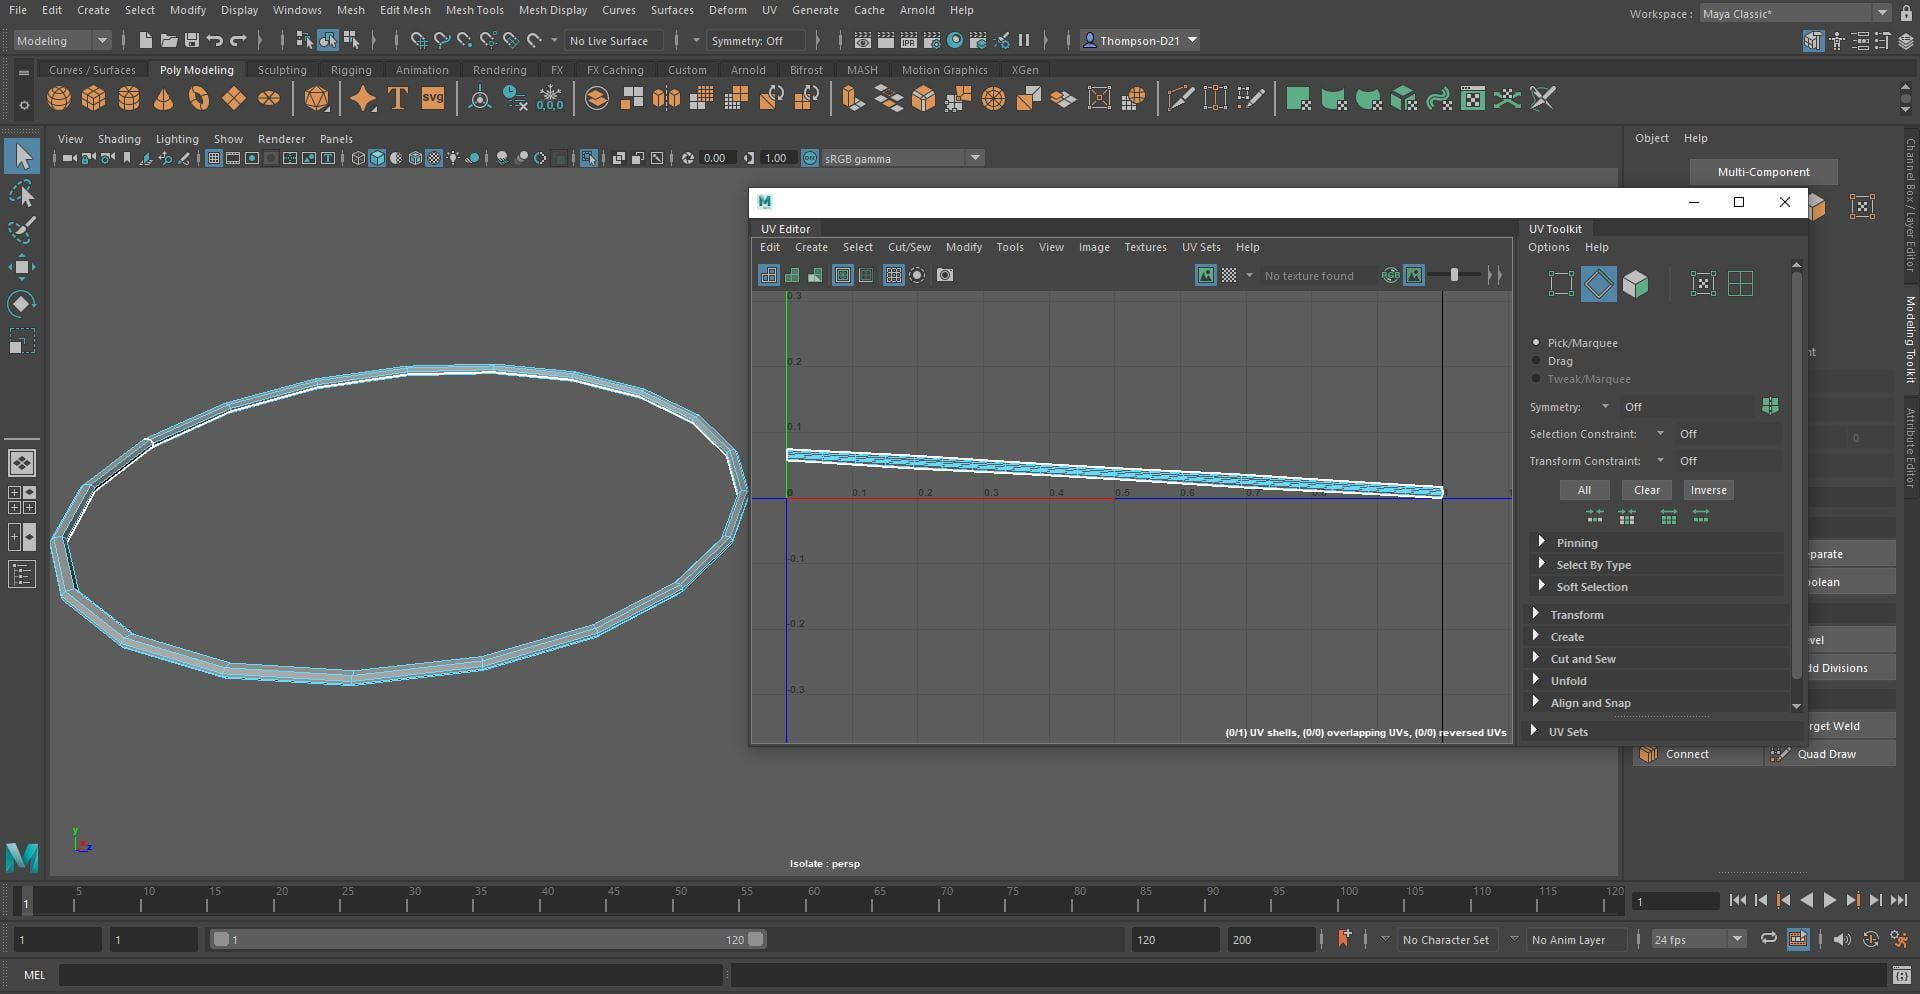


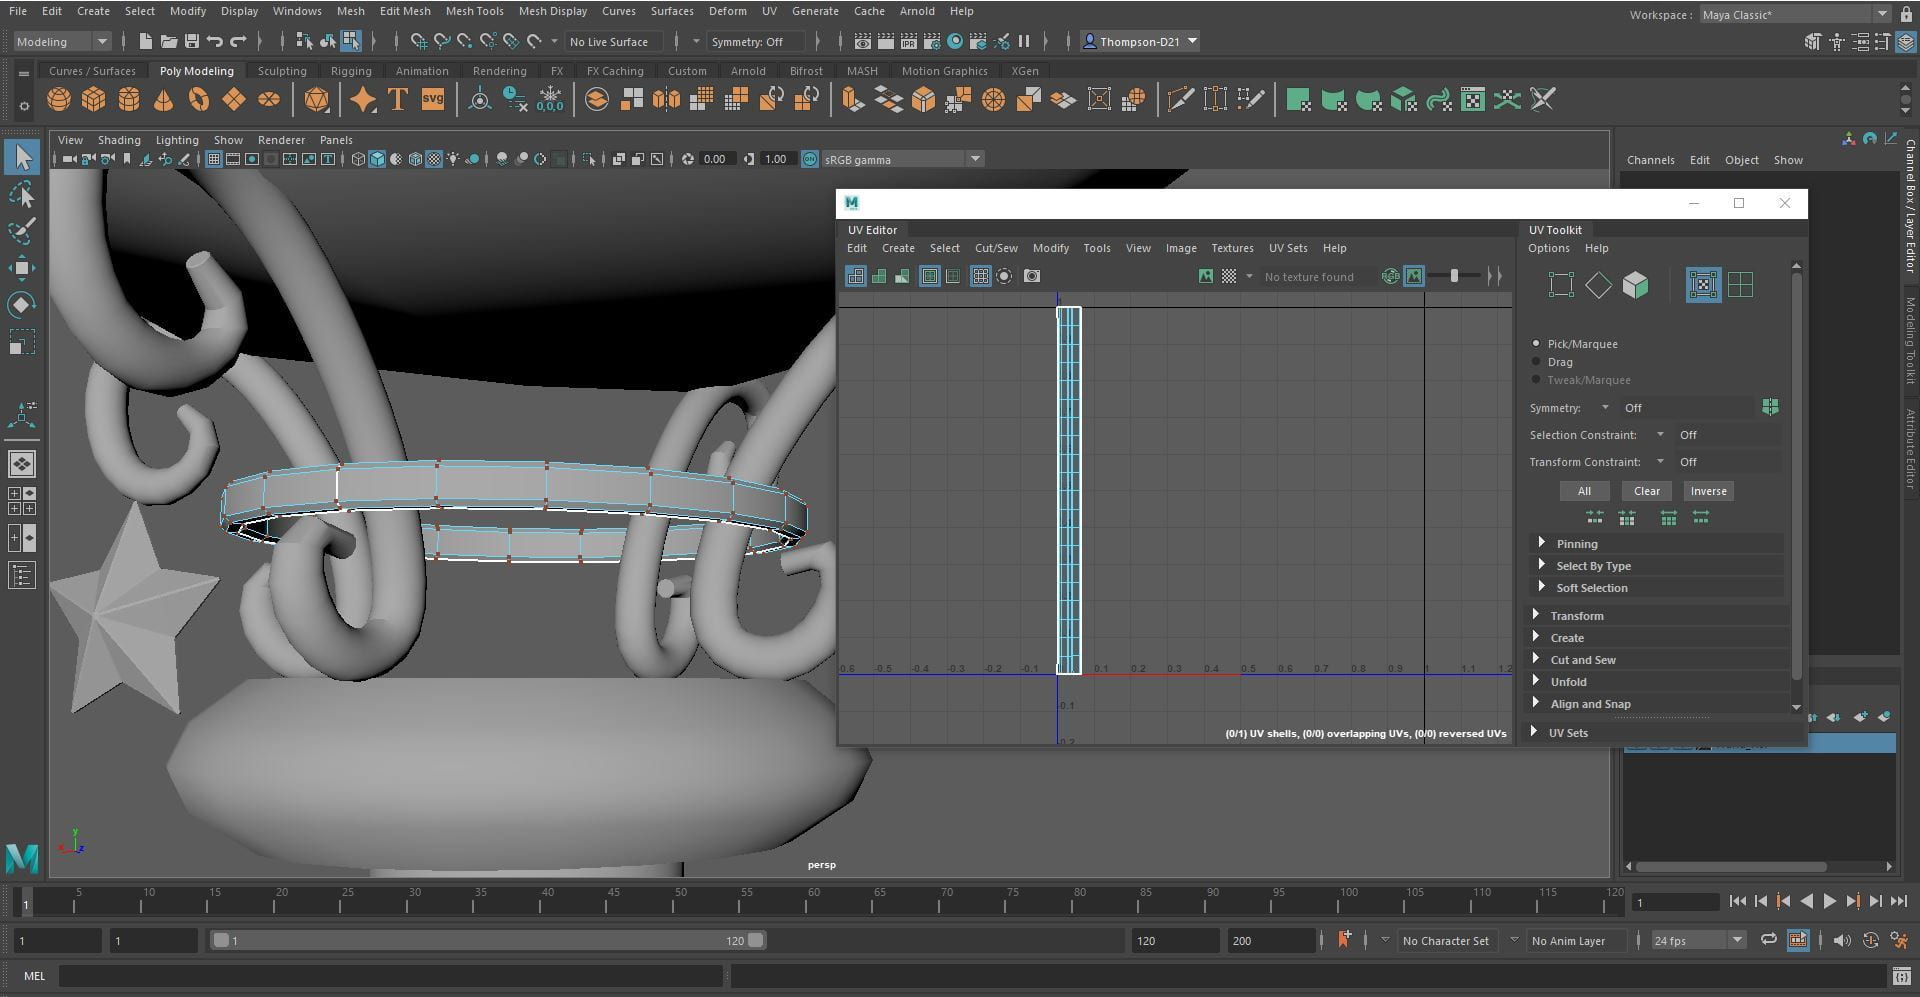


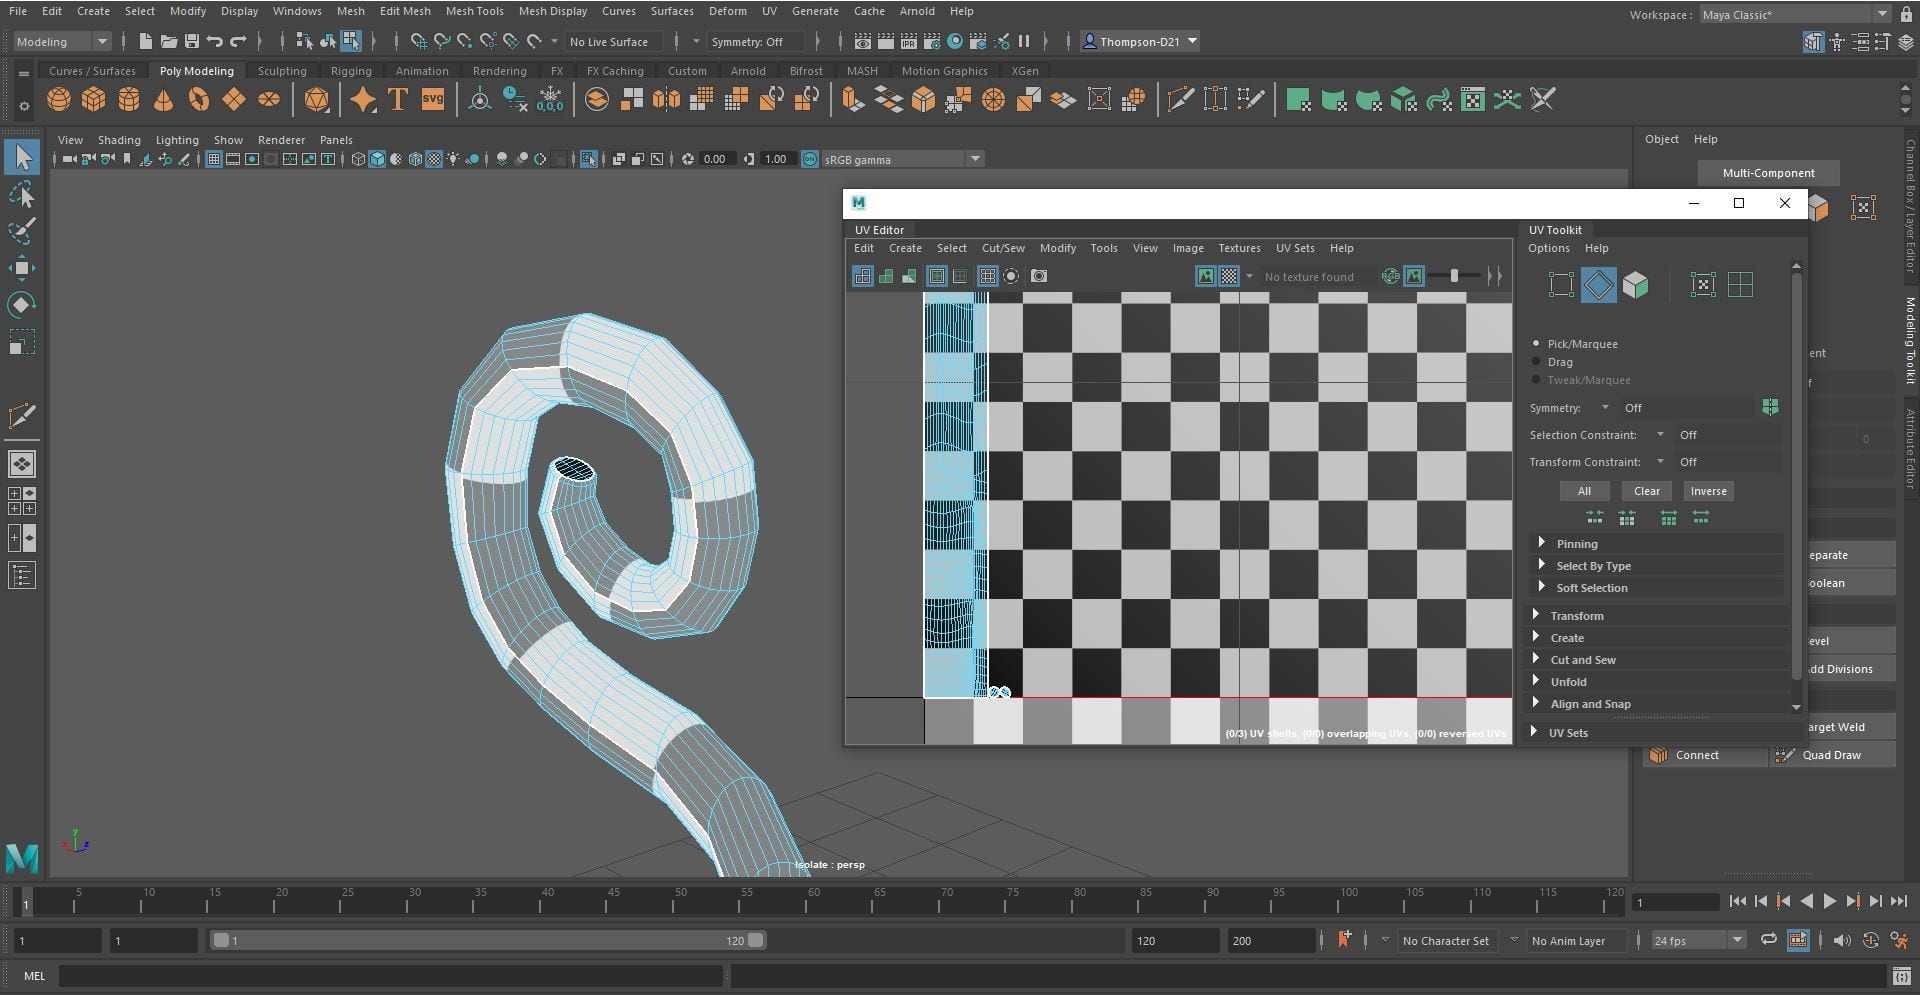


I also went through and straightened as many of the UV’s as possible as I knew this would make texturing the pieces a little easier.


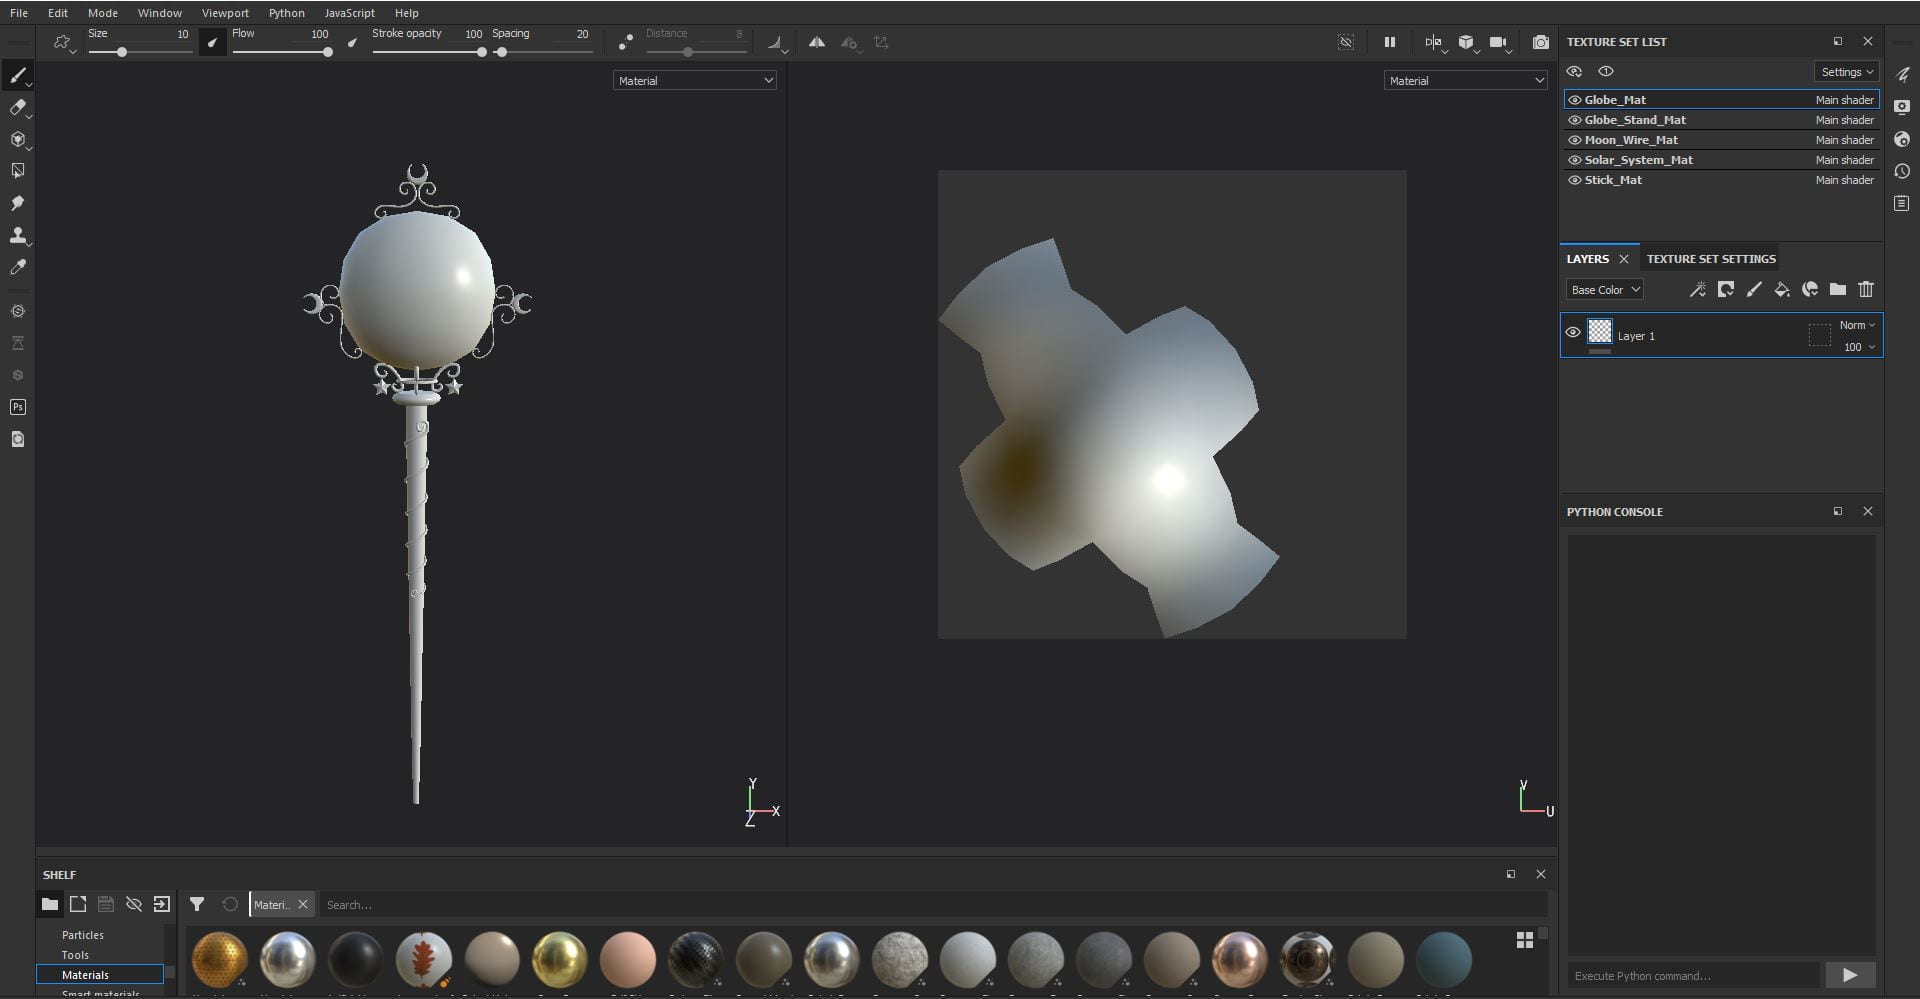
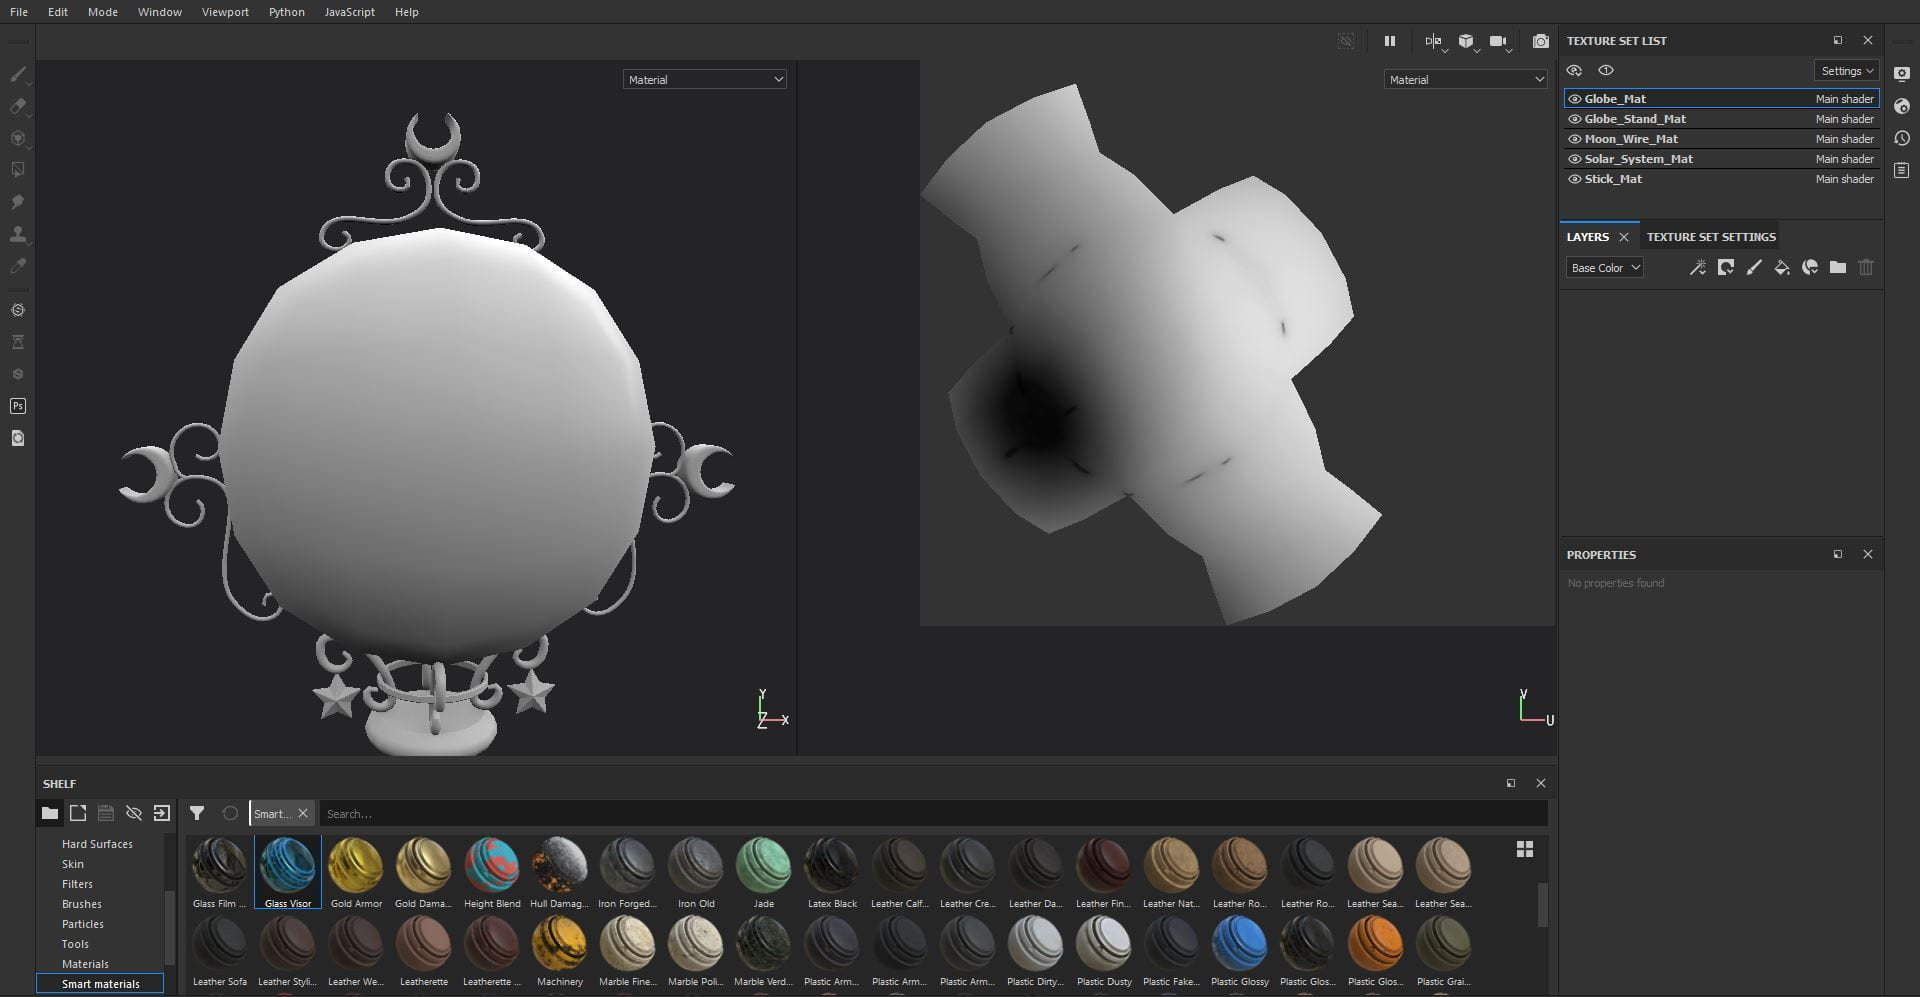
Texturing
Before texturing the model in Substance Painter, I deleted the history of the model and froze the transformations. I then grouped the model in the outliner so it could be exported easily. Next, I cleaned up the hypershade by deleting materials that where not used. I added a new material to separate parts of the model to make texturing easier.


I also re organized the UV’s to help with the texturing.


To export the file, I selected the group that the whole wand is in and click file, export selection and select the FBX export option. I imported the model into Substance Painter and baked the maps to make texturing piece neater and more efficient. I set the environment to ‘Studio Automotive Neutral’ so there would be no coloured lighting effecting the colours on the model.


Globe:
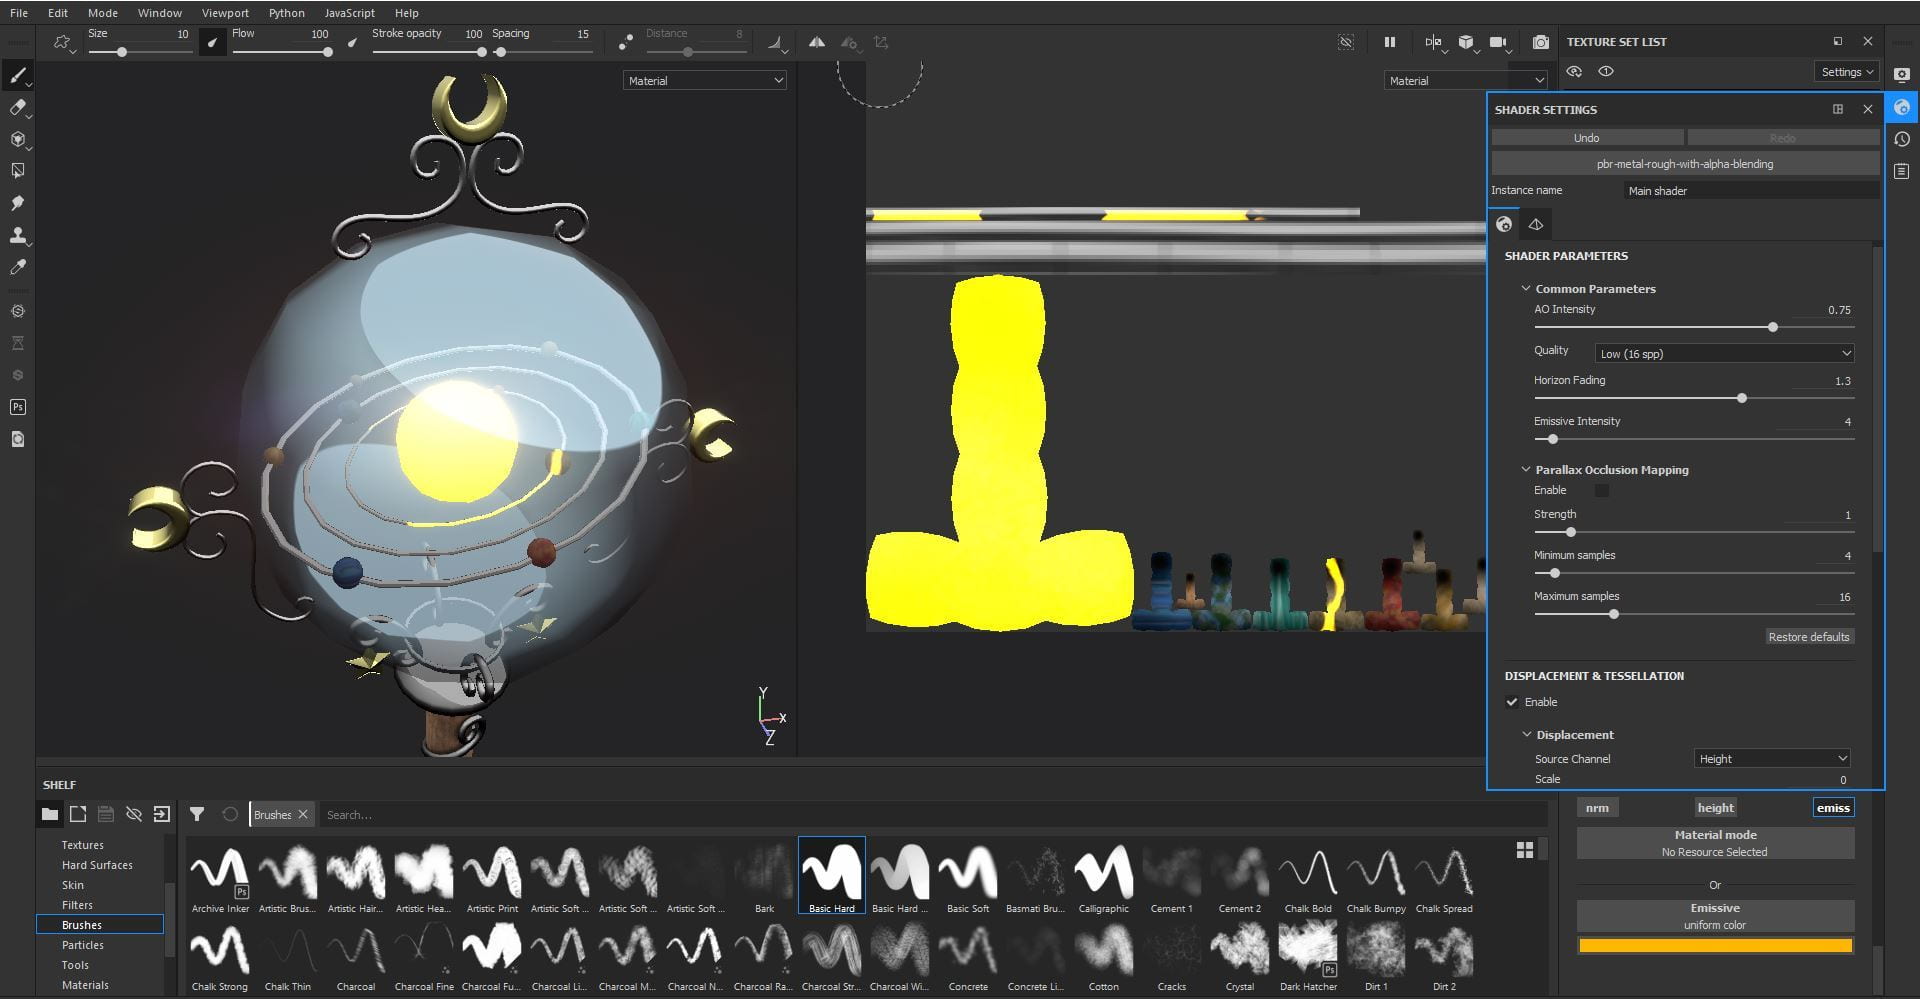
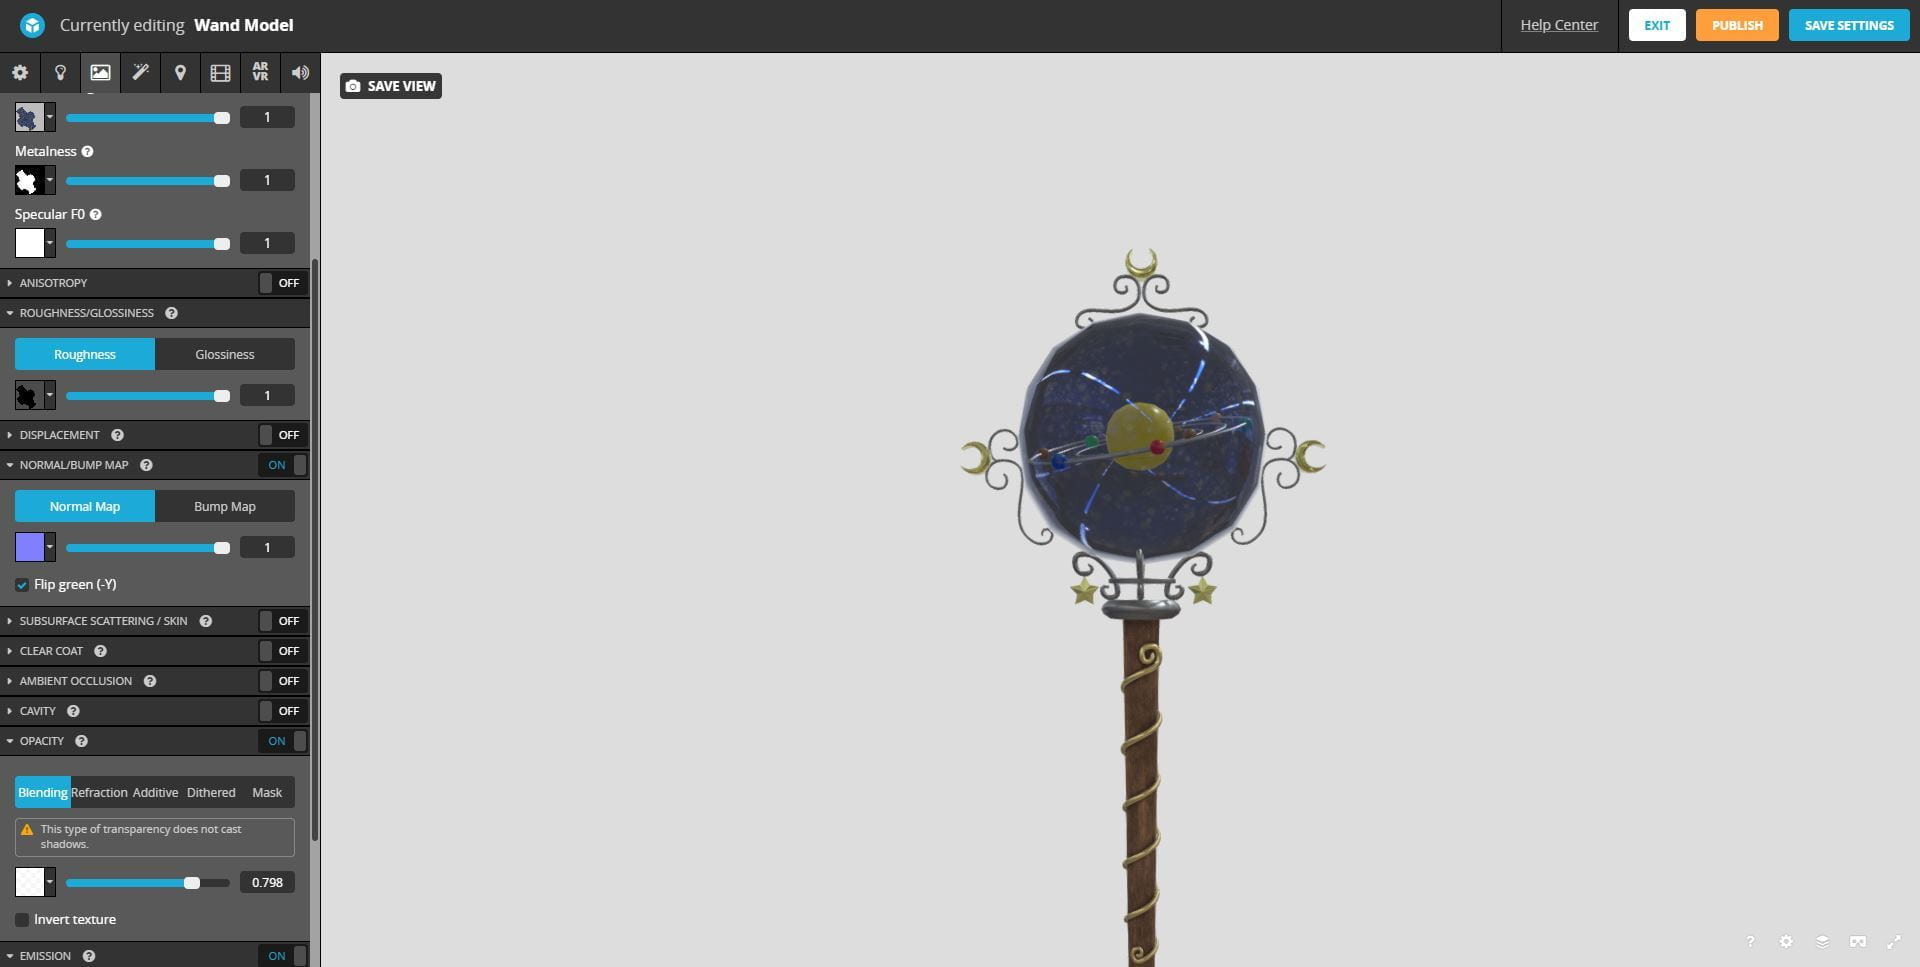
For the globe I wanted it to be made of glass so I looked up a tutorial: https://www.youtube.com/watch?v=lfufwfE1rA0. I clicked the smarts material tab and selected the material called glass visor. I adjusted the colour of the glass to be a light blue colour so the planets would be visible. I then clicked into the texture set settings tab and scrolled down to the channel section, I clicked the ‘+’ and selected the opacity option. Then I clicked the shader settings and changed the setting from ‘pbr-metal-rough (outdated)’, to ‘pbr-metal-rough-with-alpha-blending’. Lastly, I moved the opacity slider to make the glass transparent.


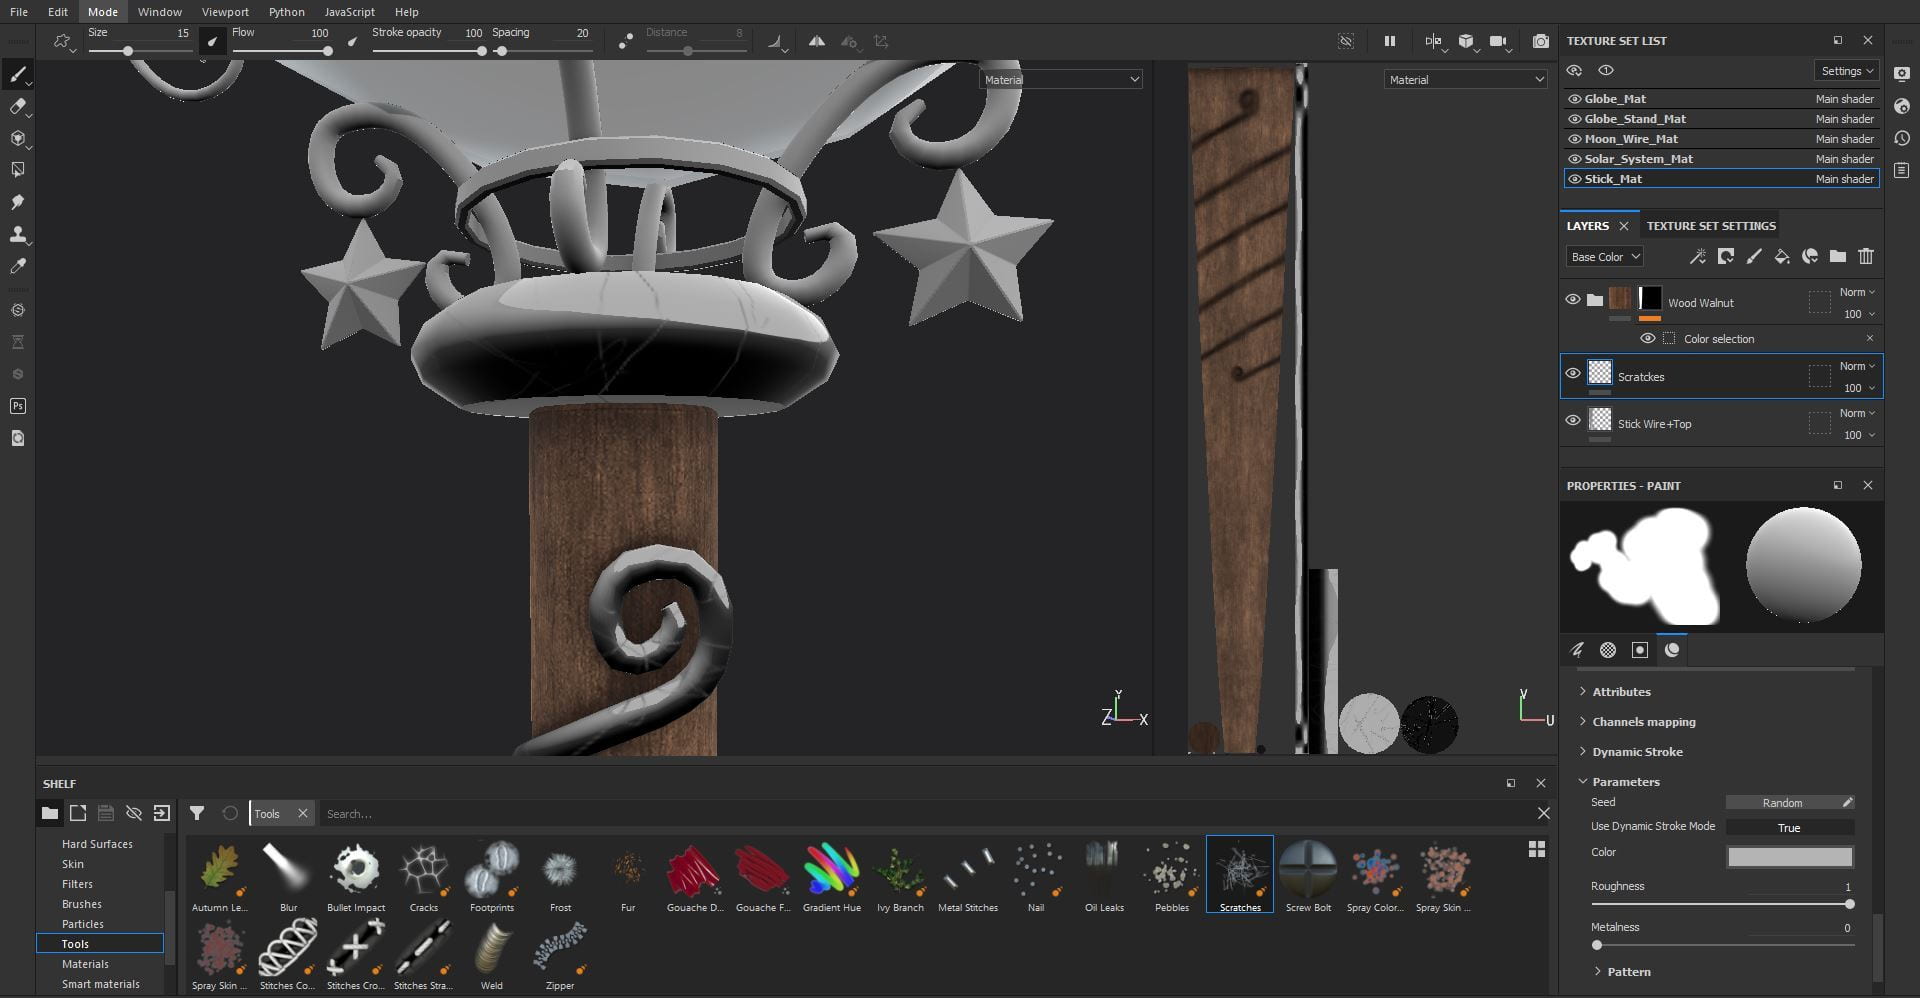
Wire:
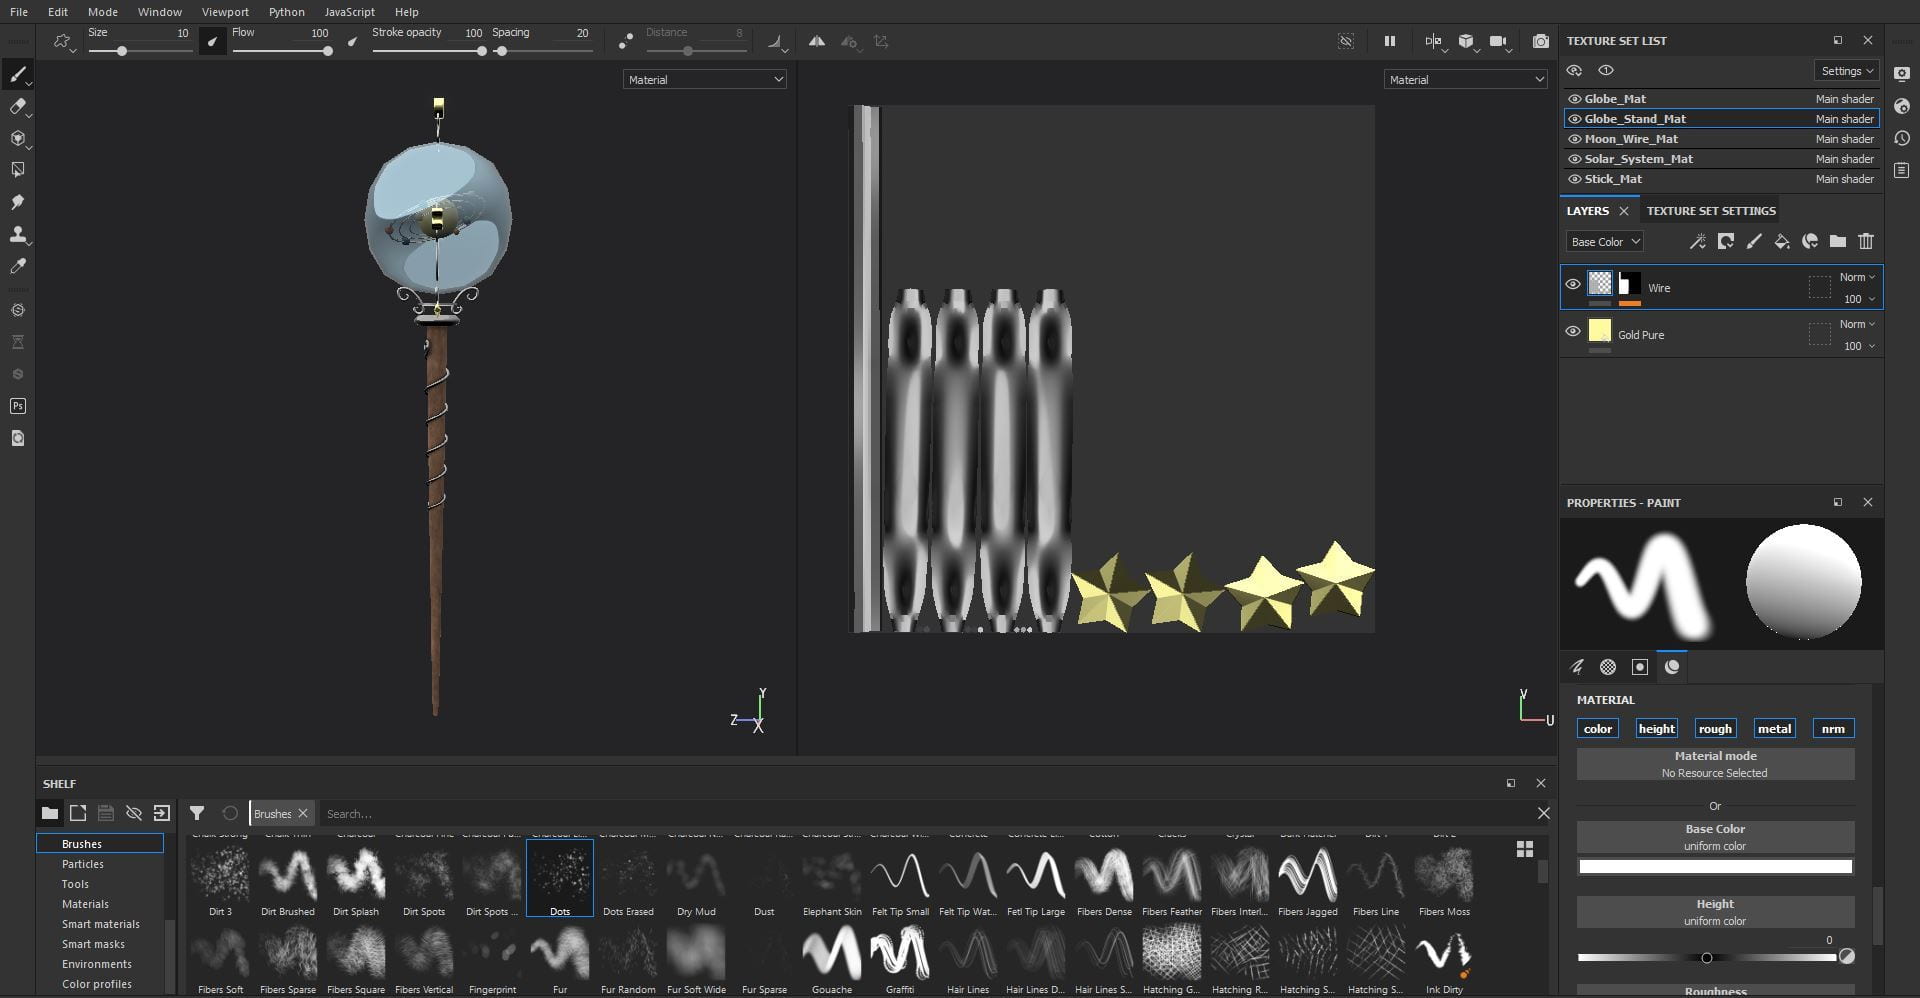
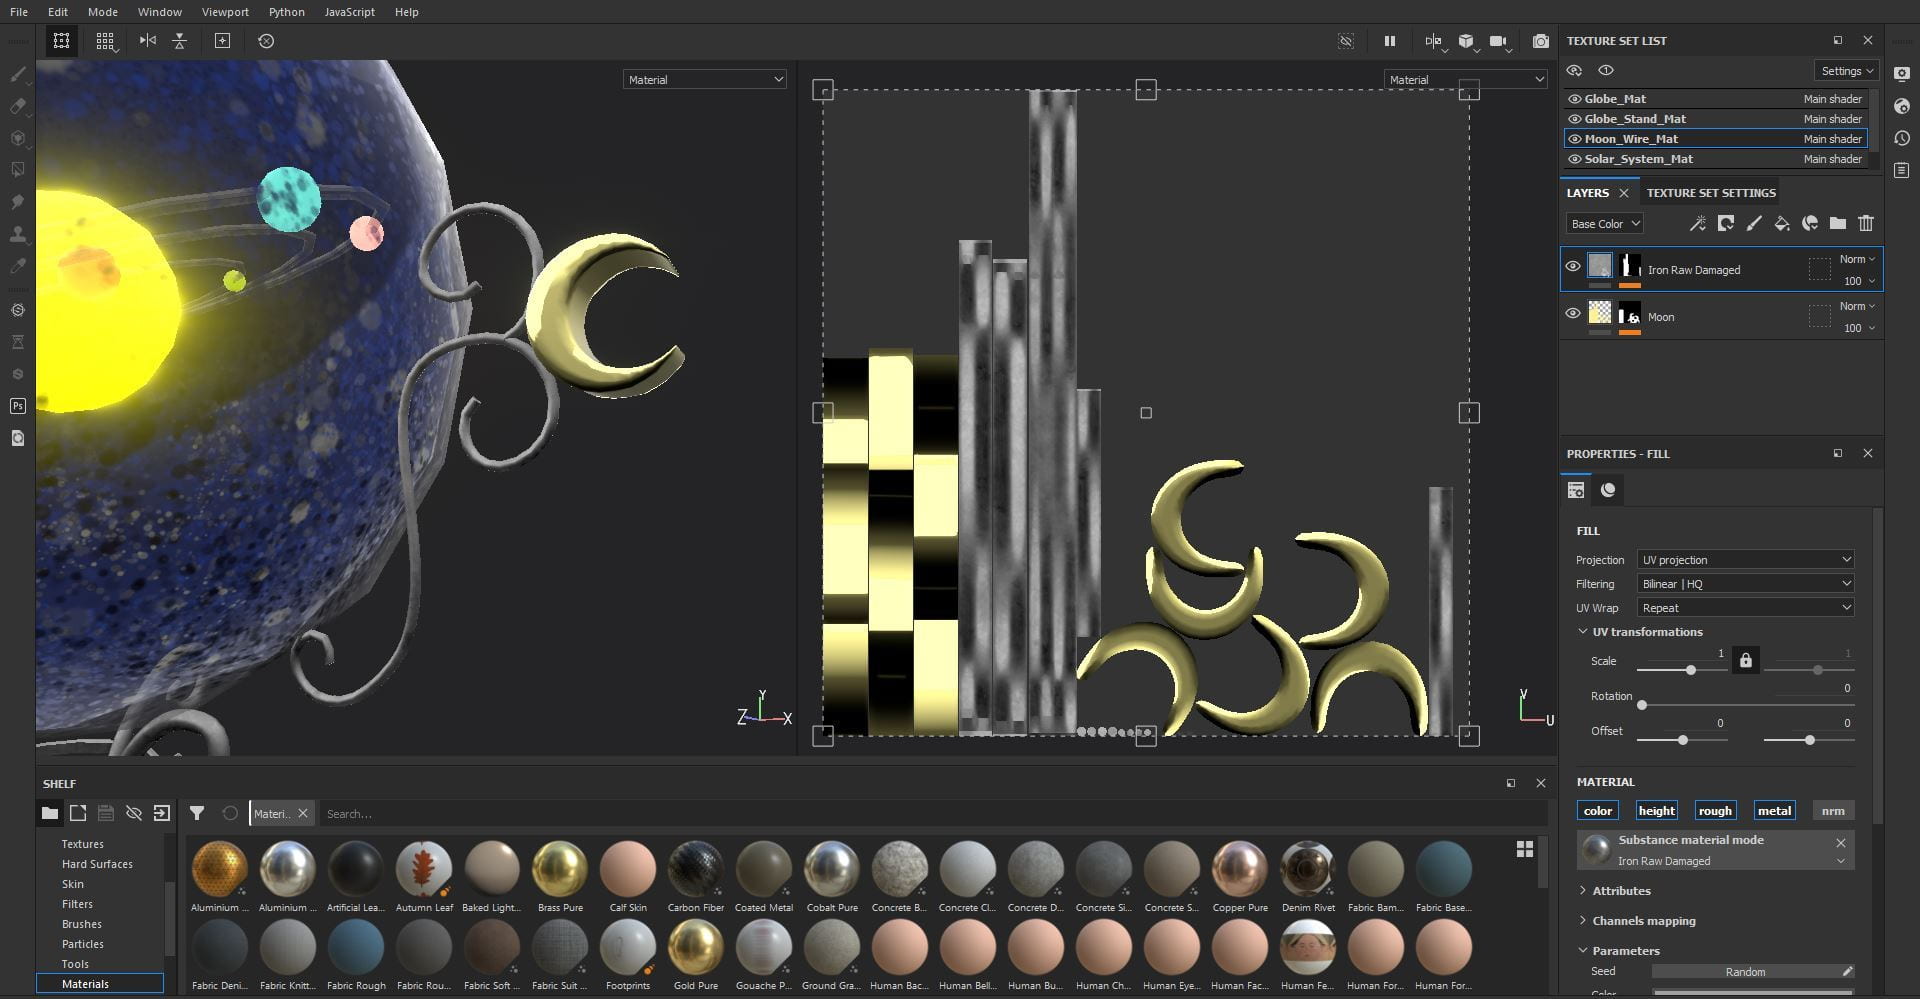
For all the wire pieces I used a grey colour and turned up the metal and roughness to make it look metallic. I added scratches to the wire wrapped around the stick by using by using the scratches in the tool menu, I wanted it to look worn.


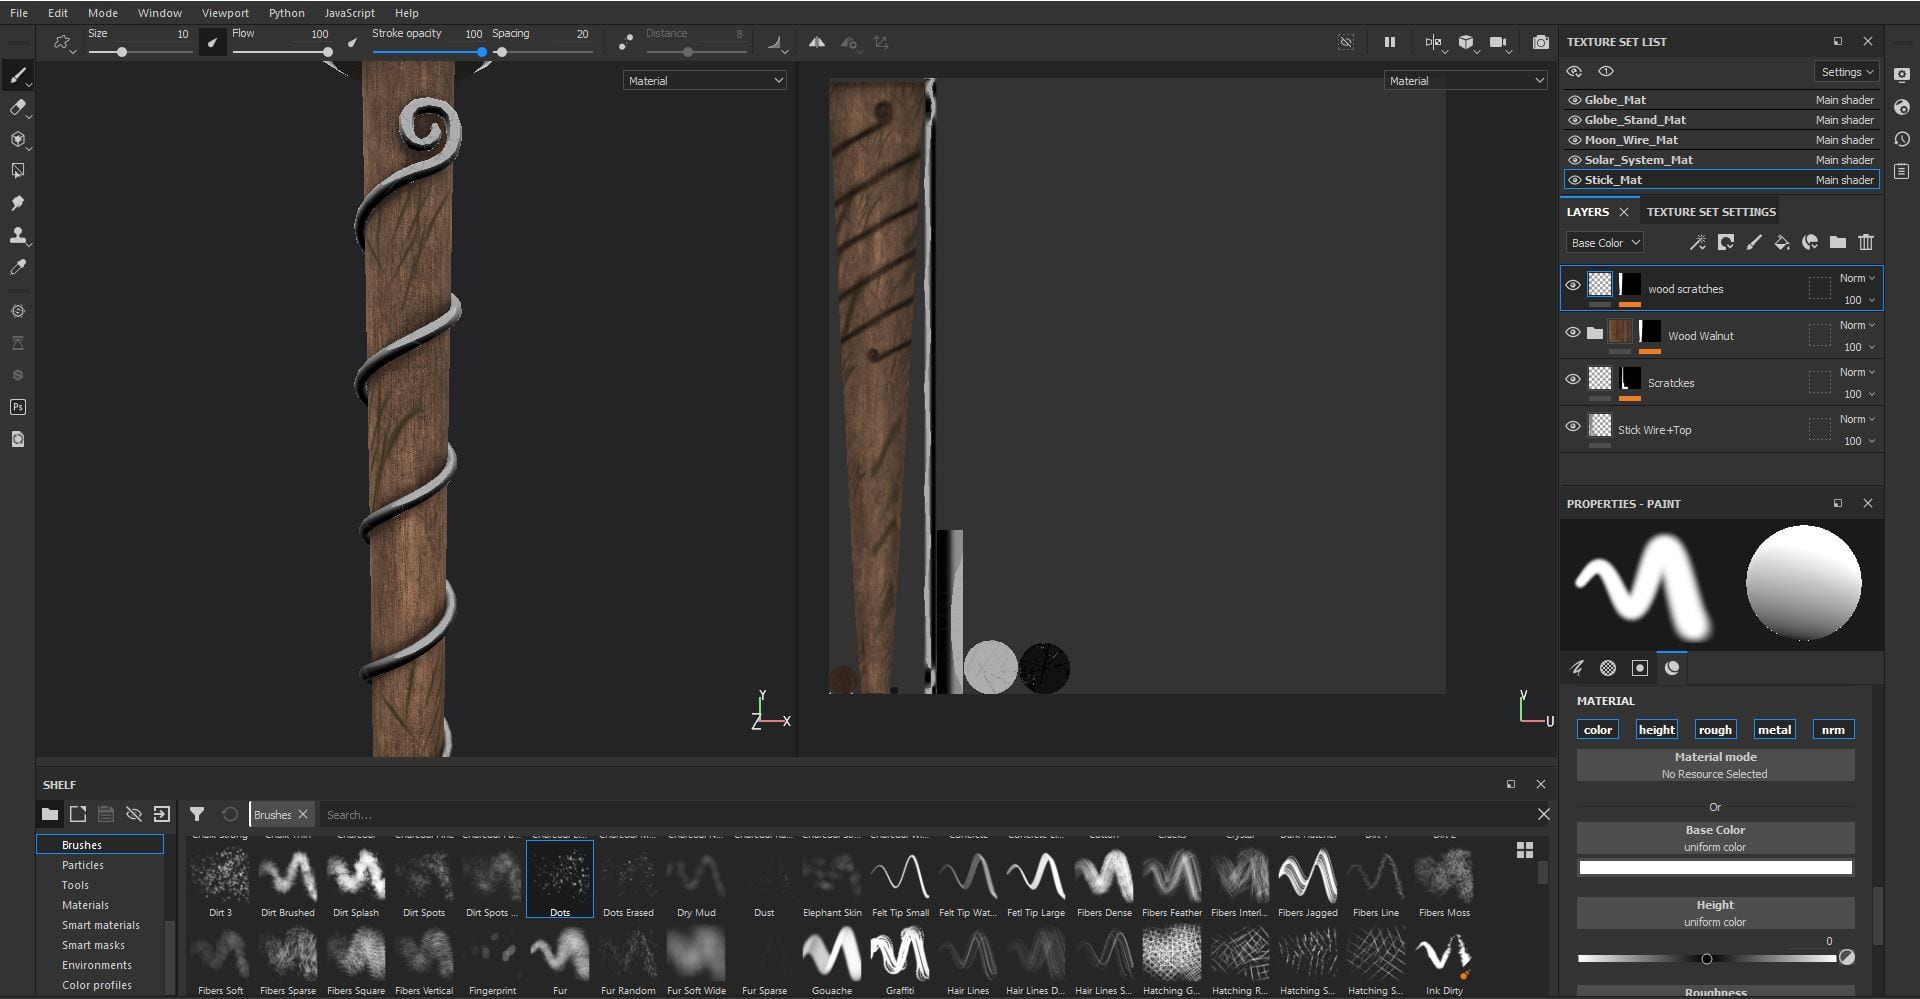
Wood:
For the wood I selected the material ‘wood walnut’, I adjusted the colour to make it a deeper brown. I added scratches into the wood using the scratches hard brush in the alphas menu.


Stars and Moons:
For the stars and moon I chose pure gold from the materials menu and adjusted the colour to be more of a bright yellow, I also adjusted the roughness to make them look shinier.


Rings:
For the rings I used the aluminium pure material and adjusted the colour to be a bit lighter as I didn’t want the rings to take away from the planets.

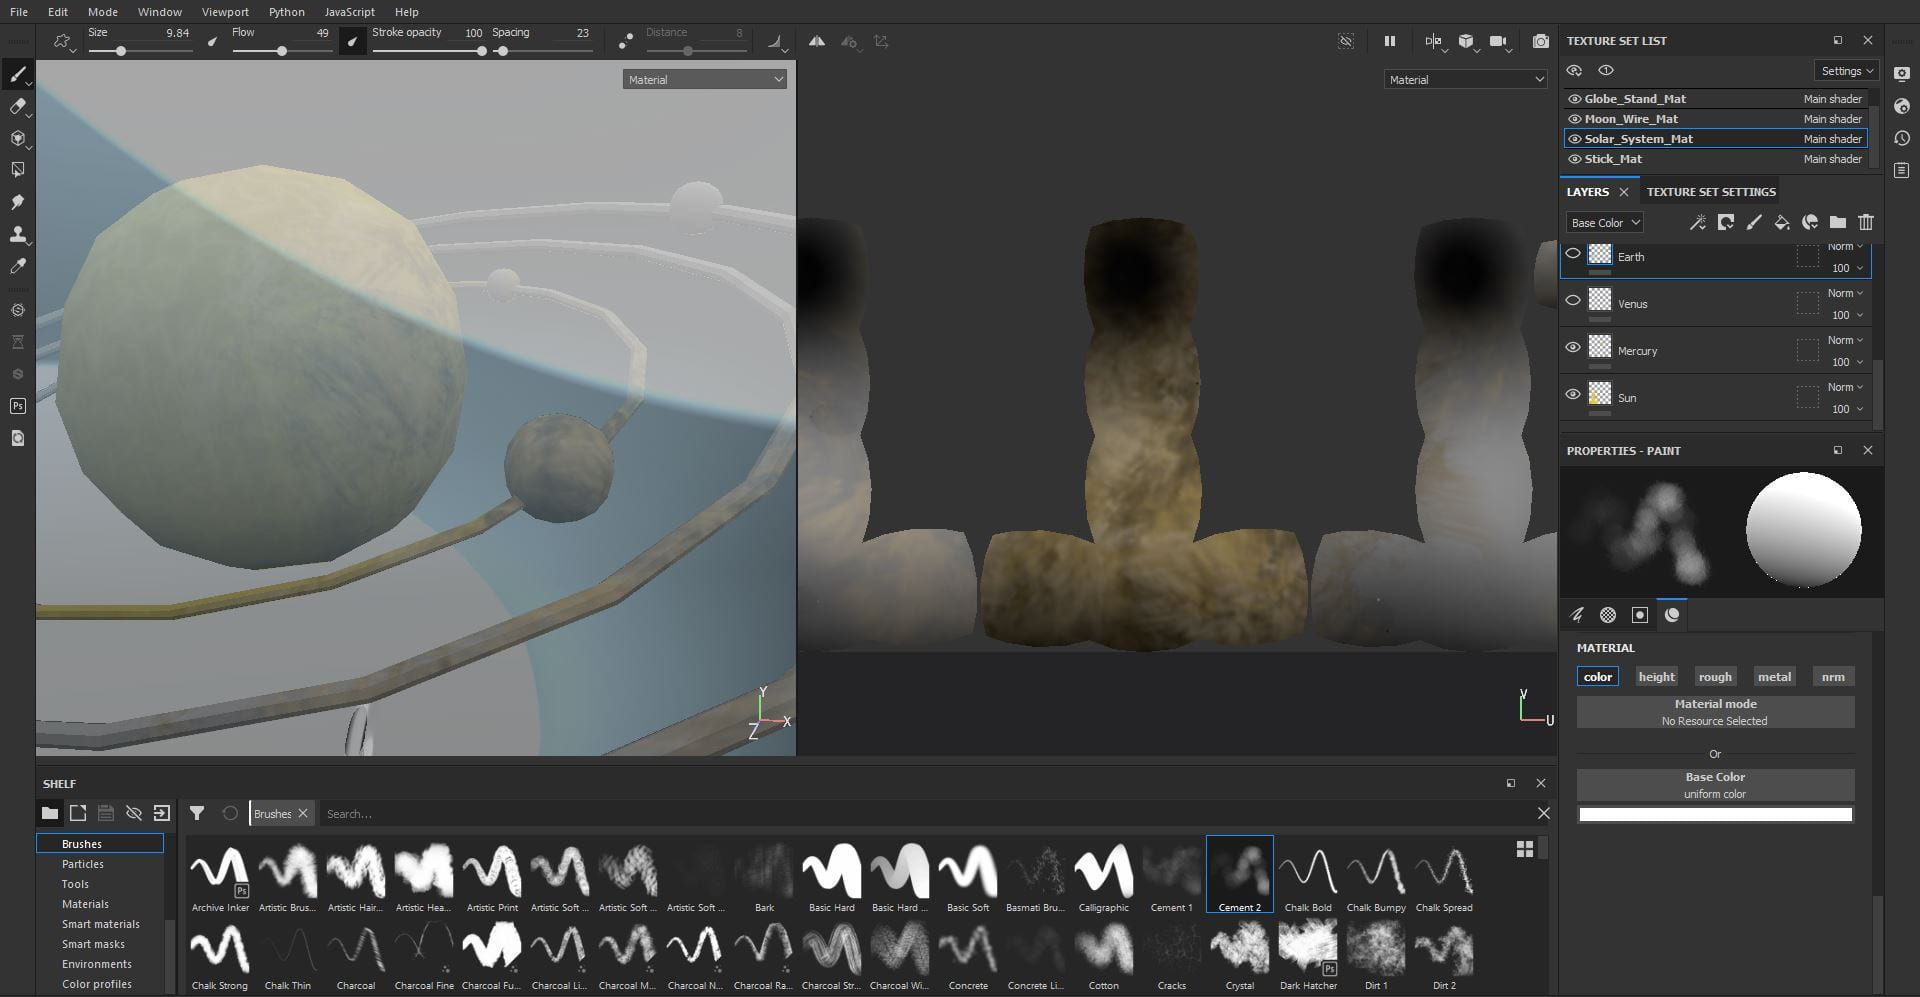
Solar System:
For the planets in the solar system, I designed them to look like the real planets as much as possible.
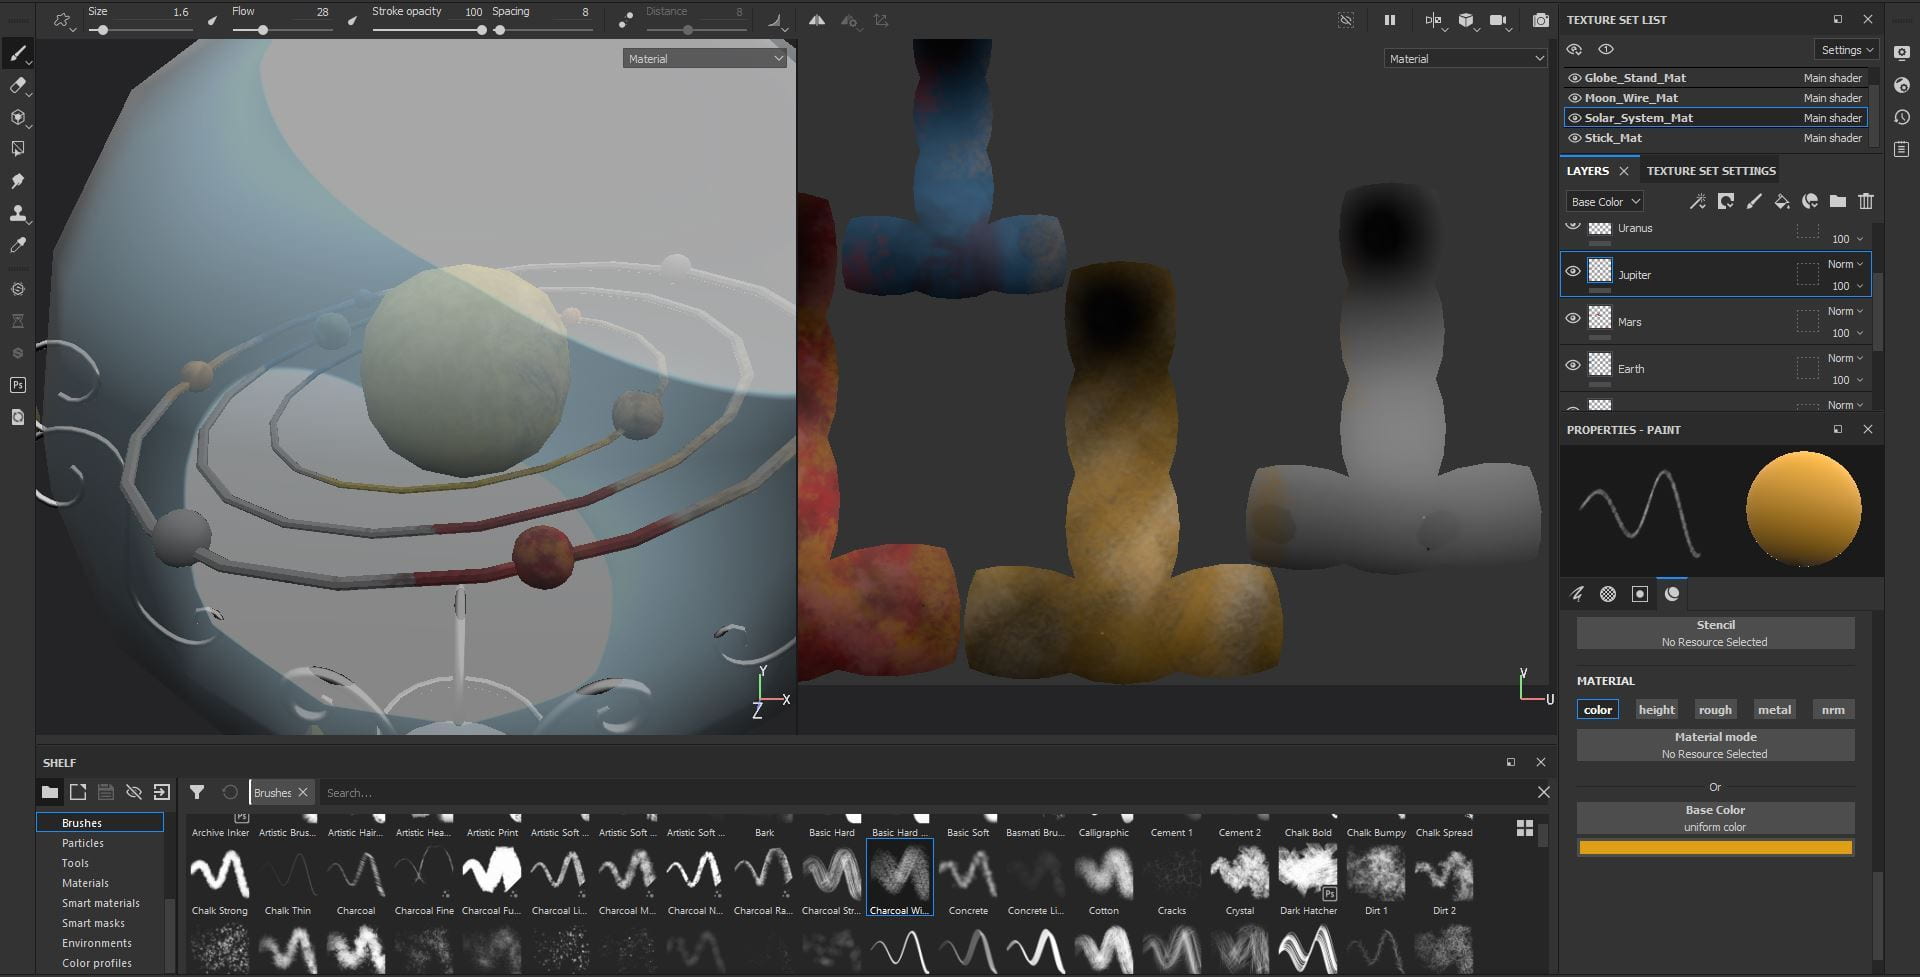
Sun: I used the ‘Crystal’ brush to create the texture. The colours I used were different shades of yellow.

Mercury: I used the ‘Dirt 1’ brush to create the texture. The colours I used were browns and creams.
Venus: I used the ‘Artic Soft Fingers’ and ‘Fur Random’ brushes to create the texture. The colours I used were oranges and creams.

Earth: I used the ‘Dirt 1’, ‘Crystal’ and ‘Cement 2’ brushes to create the texture. The colours I used were blues and greens.

Mars: I used the ‘Dirt 1’ and ‘Dirt 2’ brushes to create the texture. The colours I used were reds, pinks and browns.

Jupiter: I used the ‘Charcoal Wide’ brush to create the texture. The colours I used were creams and brown
Saturn: I used the ‘Fibers Jagged’ brush to create the texture. The colours I used were different shades of cream.

Uranus: I used the ‘Kyle’s Real Watercolour‘ brush to create the texture. The colours I used were turquoise and green.

Neptune: I used the ‘Kyle’s Real Watercolour‘ brush to create the texture. he colours I used were different shades of blues.

Pluto: I used the ‘Cracks’ and ‘Cement 1’ brushes to create the texture. The colours I used were browns and oranges.


Glowing planets:
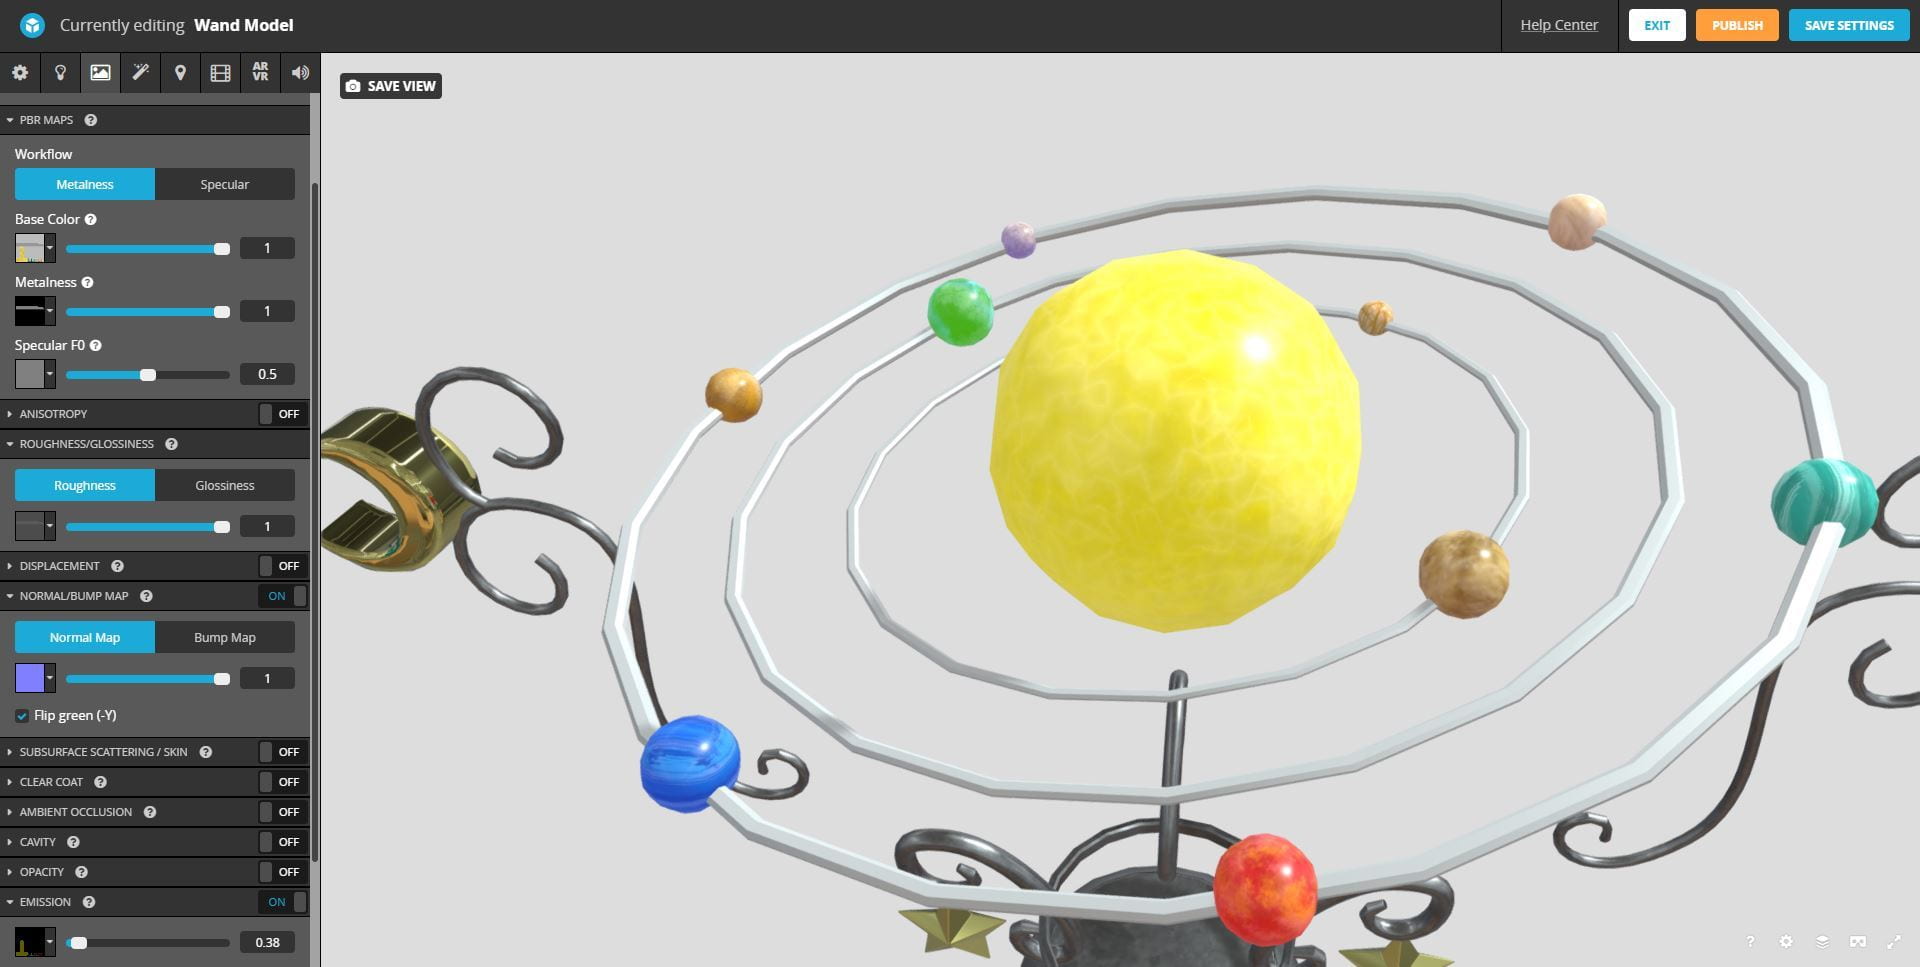
In my concept art I drew the planets glowing so I wanted to add that effect to the model. I watched this both of these videos to help me: https://www.youtube.com/watch?v=kNpQ_wkEy8o and https://www.youtube.com/watch?v=agrPbueG1Kw. I went into texture set settings tab and scrolled down to the channel section, clicked the ‘+’ and selected the emissive option. I then chose the colour I wanted and applied it to the model. Next, I clicked the shader settings tab and turn up emissive Intensity to 7. I repeated this process for all the planets giving them all a different colour of light. I like the effect the light gives however I don’t like the fact that it covers the detail of the planets.

Overall, I don’t really like the look of all the colours on the wand, I like the wood on the stick and the planets but the rest I not happy with. I will try to make the wand look closer to my initial colour scheme and see if I like it better.


Change of Colours
I first darkened the glass of the globe; I didn’t do this the first time as I was worried that the planets would not be visible. I also added some stars to the outside of the globe by using the brush ‘Dots’ in the colours white and yellow. Next, I made the planets glow but turned down the intensity of the glow so it would be a little easier to see the texture on the planets. I also changed all the wire to the material ‘Iron Raw Damaged’ and darkened the colour a little, it has a duller look and adds more texture to the wire rather than just being smooth. I turned down the opacity of the rings in the globe as I wanted them to look a little more transparent. Finally, I changed the wire around the stick to ‘Pure Gold’ to match the stars and moons.


Overall, I like the second colour scheme a lot better, it resembles my concept work a more and I think the colours work better together. I still find it hard to see the texture on the planets due to the glow so I don’t think the glow was successful. I will try and add a glow effect in SketchFab to see if it would work better.
Exporting and Uploading the Wand
To export the wand, I change the settings to what was recommended by Alec and hit export. To upload the wand to SketchFab I clicked the upload button and uploaded the FBX file and changed the setting to free so I didn’t use any credits.


Post Production in SketchFab
To add the textures to the wand I clicked the materials tab and added the maps to the corresponding section. For the solar system I also added an emissive map to the emission section, this map will add a glow to the planets, I set the value to 0.7 to not overpower the texture on the planets. I also adjusted the opacity of the glass to 0.75.


Background:
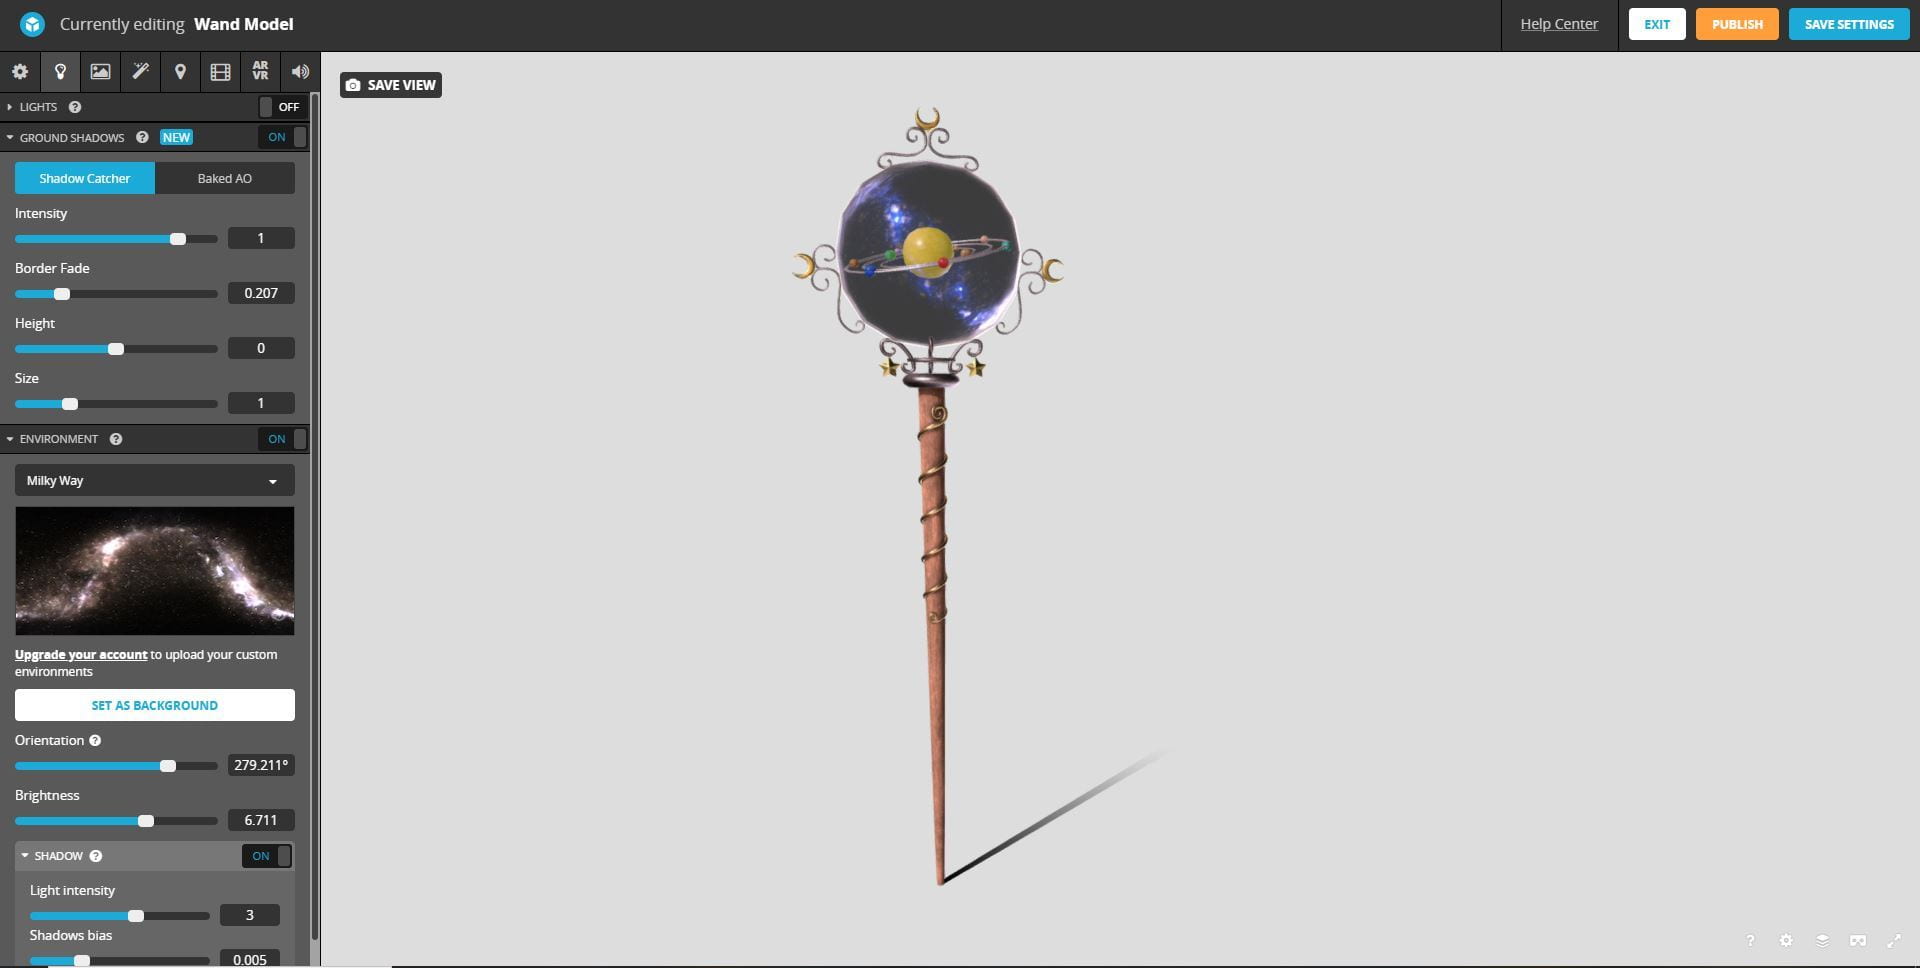
I changed the background to the ‘Milky Way’ and set the blur to 1, I chose this background as my wand is galaxy themed and it suits my wand. I also changed the lights to from directional to spot lights and changed the colours of the lighting to pink, yellow and blue to make it more intense. In post processing filters I turned on the ‘screen space reflection’ which makes parts of the model reflect onto each other and ‘SSAO’, this adds shadows onto the model. Lastly, I played with the sliders in the different menus till I was happy with the result. I also turned up the emission to make the planets glow brighter as it was not visible outside the glass.


Final Result


SketckFab Link: https://skfb.ly/6ZswI
Reflection
At the start of the year, I had no experience with using Maya and was very unsure of how to create anything in the system. As the year continued Alec uploaded video tutorials talking about the basics of Maya and broke down the process of modeling very well, I found these videos very helpful as I took notes as I went and looked back on them when I got stuck during the modeling process for this assessment. When I started to concept the wand, I tried to keep in mind if it would be possible to model and if I had any idea of how to do so. When it came to choosing a concept, I chose the wand that I knew I could model but would still challenge me as I had no idea of how to model swirled wire or the stars. When I started to model, I ran into different problems like how to make the stars and the wire so I looked up tutorials on the internet and learned how others did it. I started to learn more I gained confidence and eventually I got faster at modeling. I actually enjoyed UV unwrapping; I didn’t find it too difficult or confusing to do. Once it came to using Substance Painter, I felt like I was back at square one as I had no idea of what to do or how to use the system, however Alec uploaded videos on how to use Substance Painter and I also looked up some of my own so I followed those and got through it, I was quite enjoyable once I got started. Lastly, I uploaded the model to SketchFab and played with all the filter and backgrounds till I was happy with it. Overall, I have really enjoyed the process of designing, modeling and texturing this model. I had a lot of fun and trouble at every stage of the process but I think I did well for this being my first 3D model I made from scratch. I definitely feel more confident with modeling, UV unwrapping, texturing and rendering. If I was to do this again, I would try a more complicated design and be a little more ambitious.
References:
https://www.youtube.com/watch?v=DRD8fDK4WXQ
https://www.youtube.com/watch?v=AEgM4qB0wf8
https://www.youtube.com/watch?v=sVmXlCL9Qtk
https://www.youtube.com/watch?v=4igTVJOEJw0
https://www.youtube.com/watch?v=lfufwfE1rA0