Class
In class we learned looked at the modeling pipeline this involved the importance of references, how to break objects into simple shapes and the importance of modeling in phases.
Homework
Bottom of the leg
This week for homework the class were tasked with 3D modeling a table. Here is the reference:
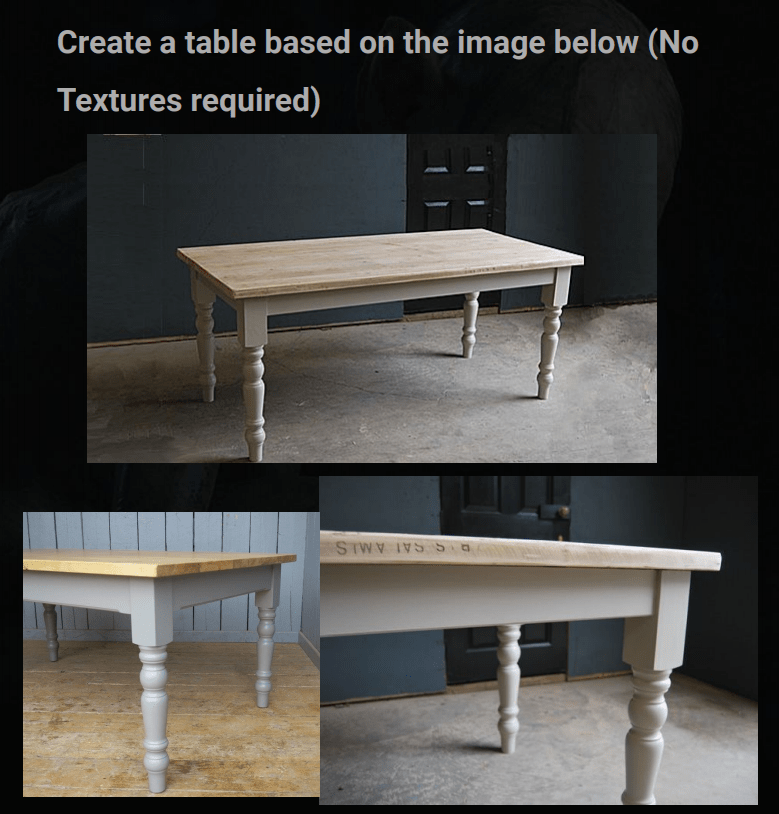
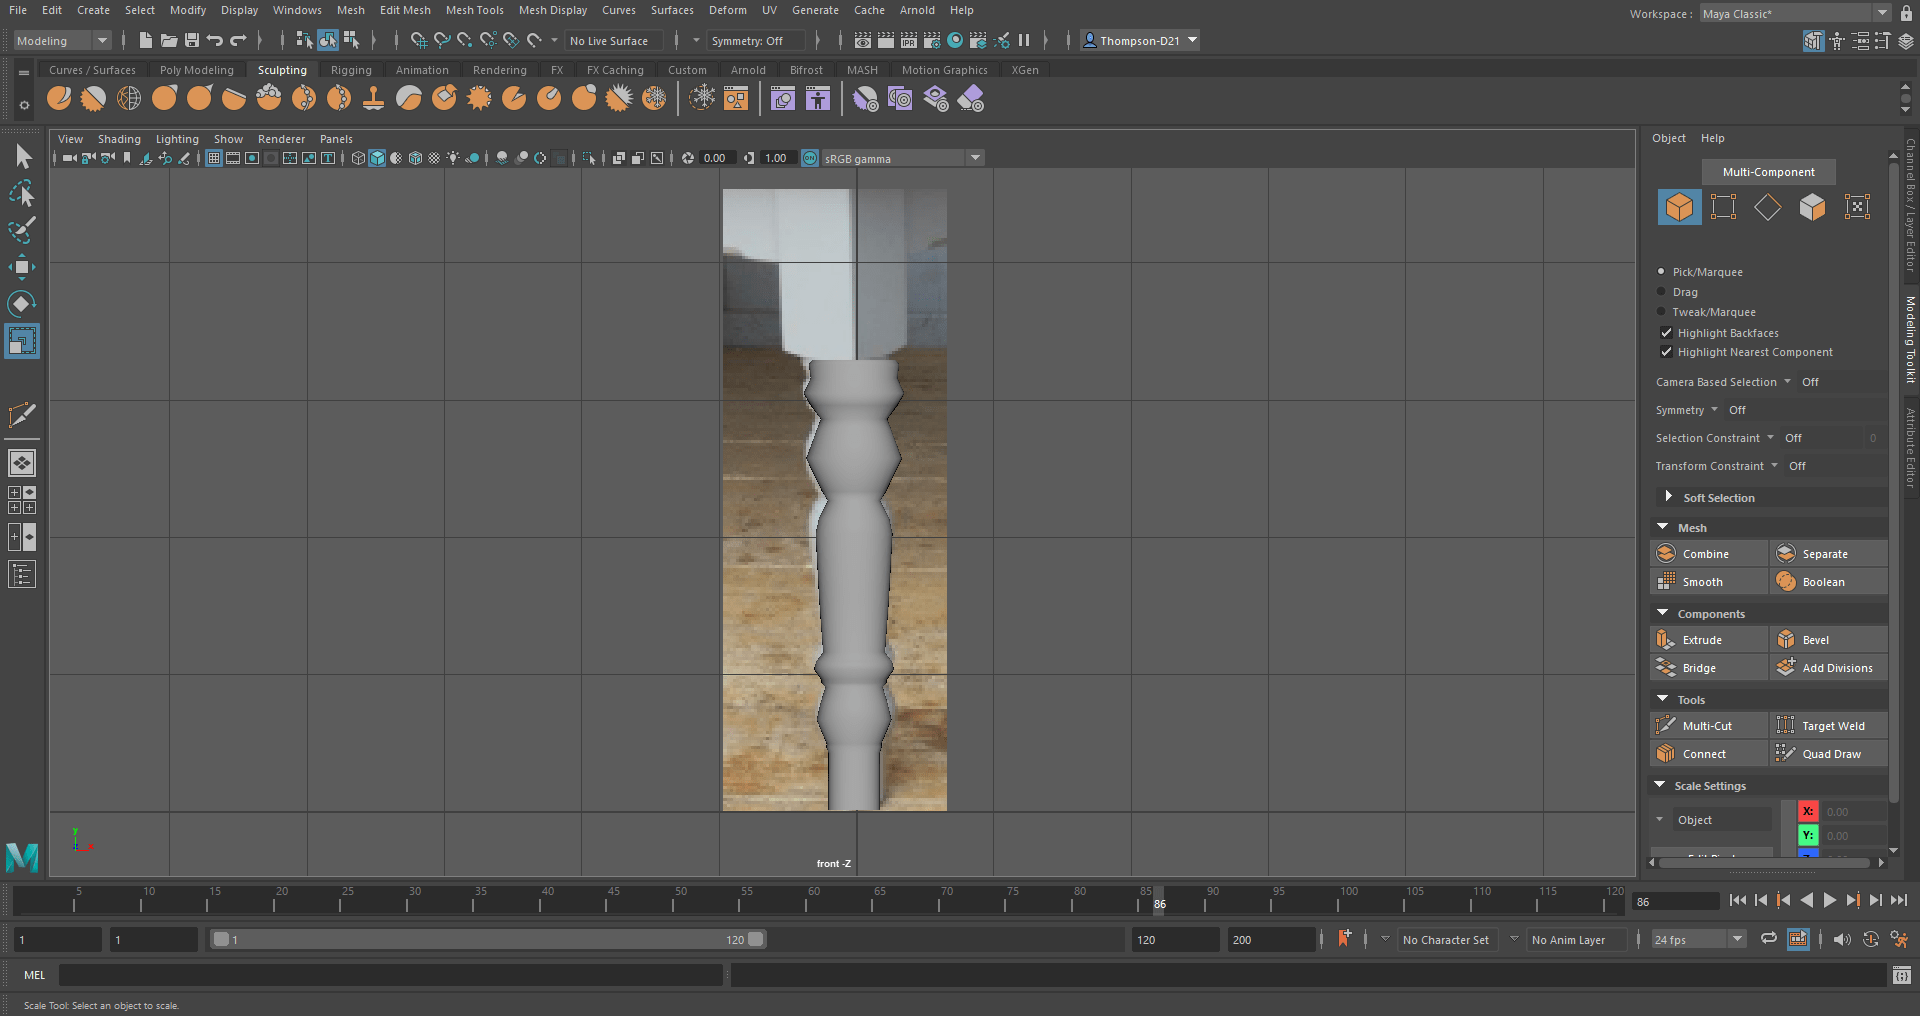
I started with modeling the legs; the legs looked complicated however they followed a similar process to the vase from week one. To start with I added my references to Maya and created a cylinder, I them subdivided it into 24 and stretched the cylinder to the correct height. After doing that I created edge loops up the cylinder and shaped them to get a rough shape for the leg.


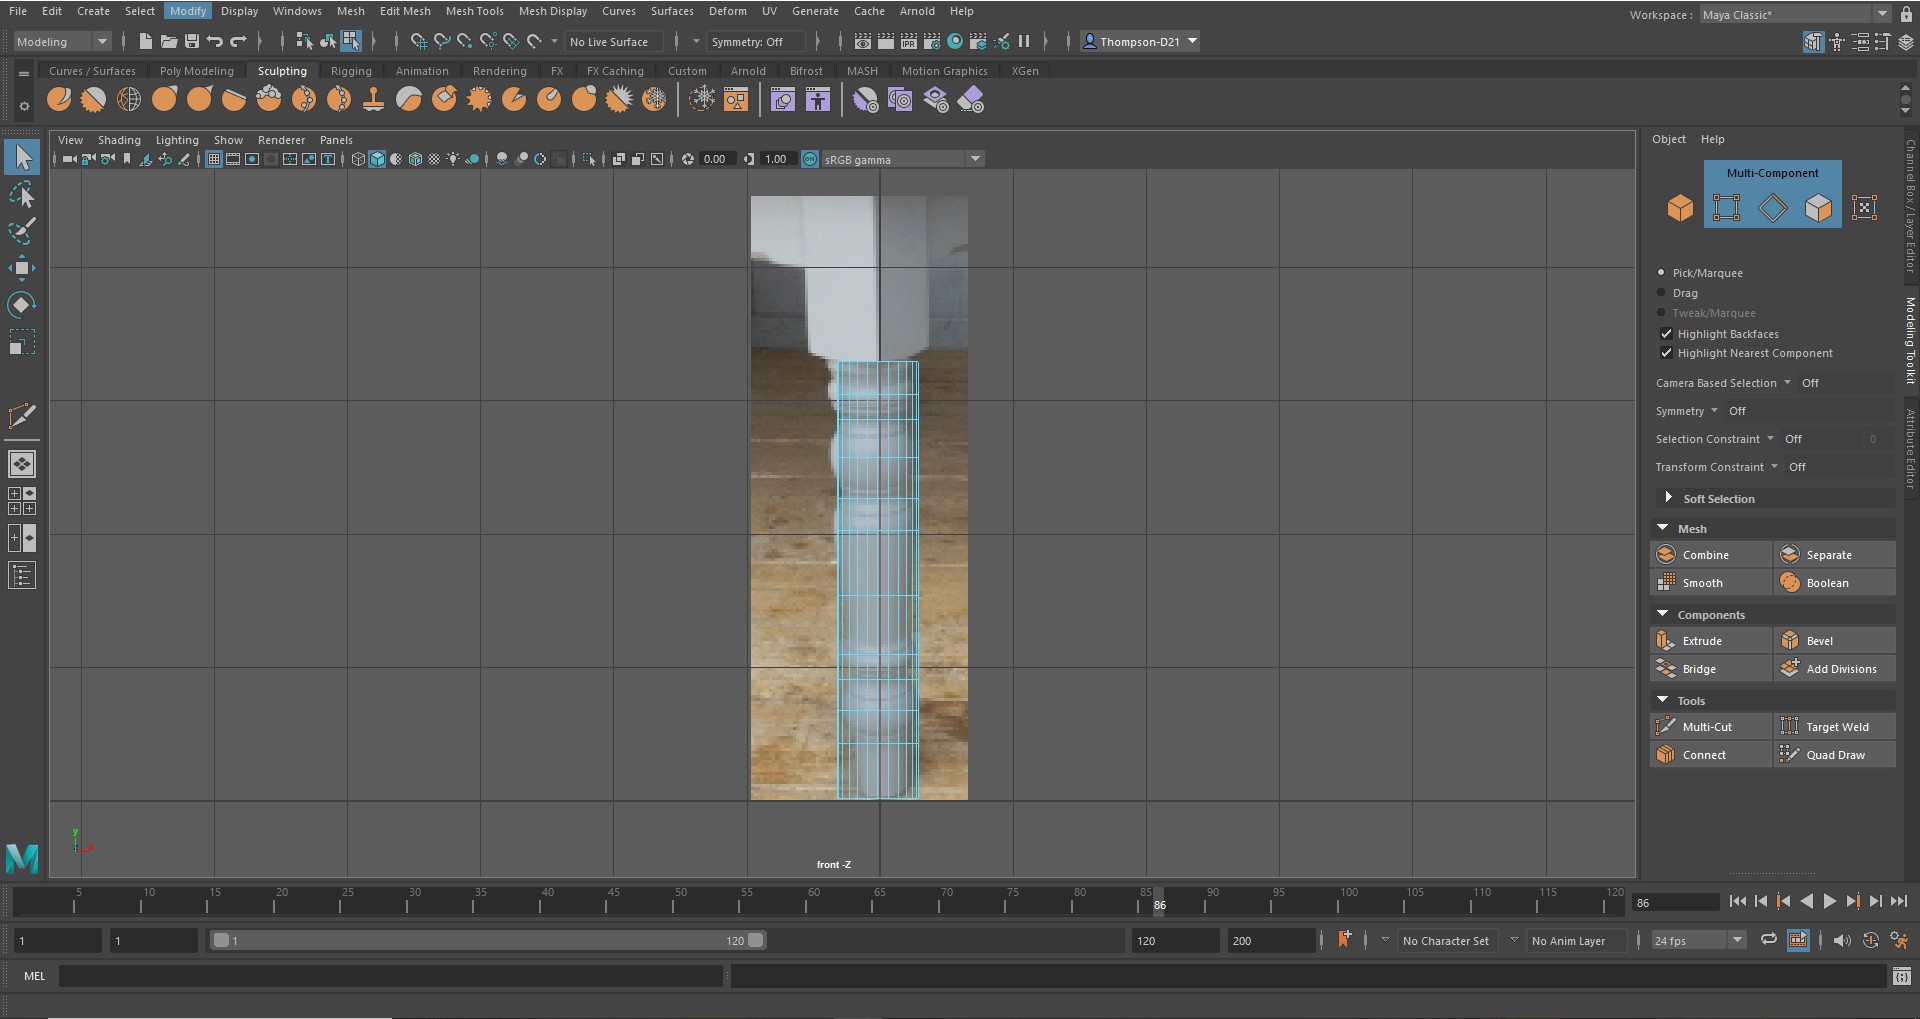

After this I continued to add edge loops and refine the shape of the leg.


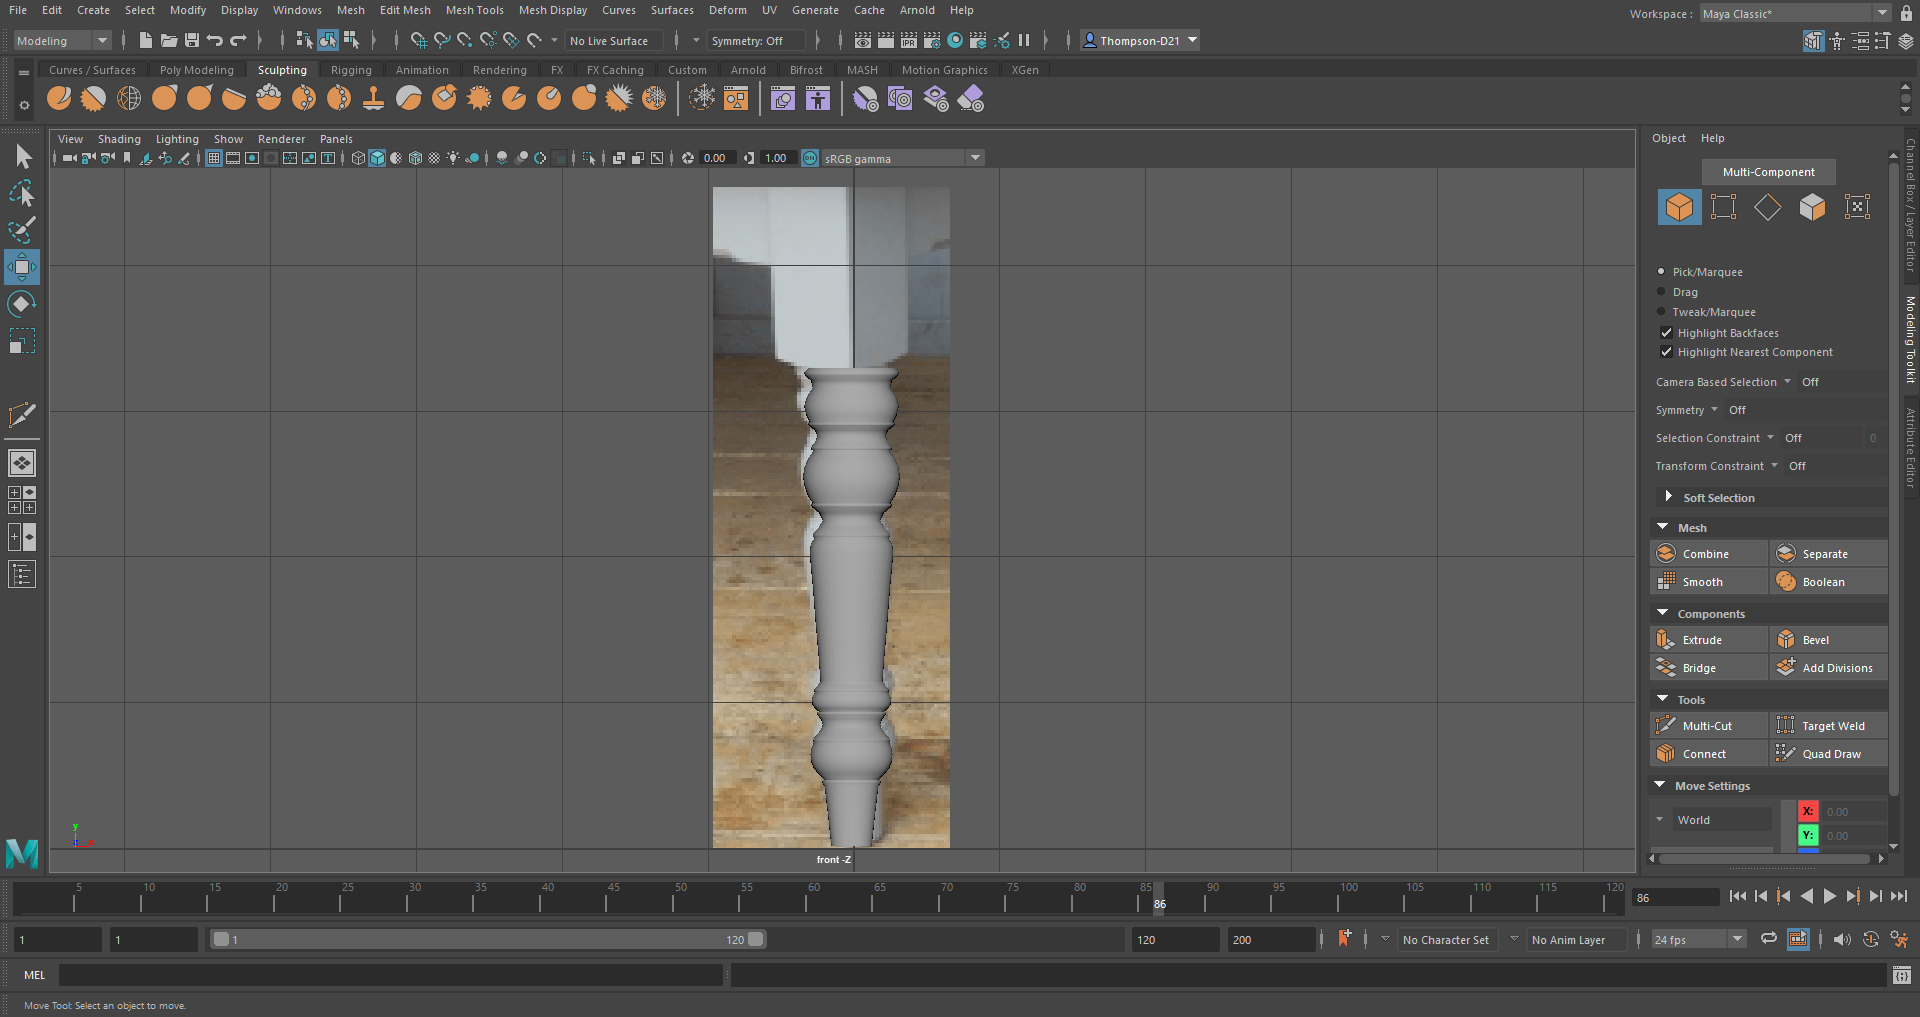
Once the leg looked the way I wanted it to I beveled the bottom of the leg, then I divided the circle to get rid of the ngon, this will allow textures to not glitch when applied to the model, I did the same for the top of the leg.

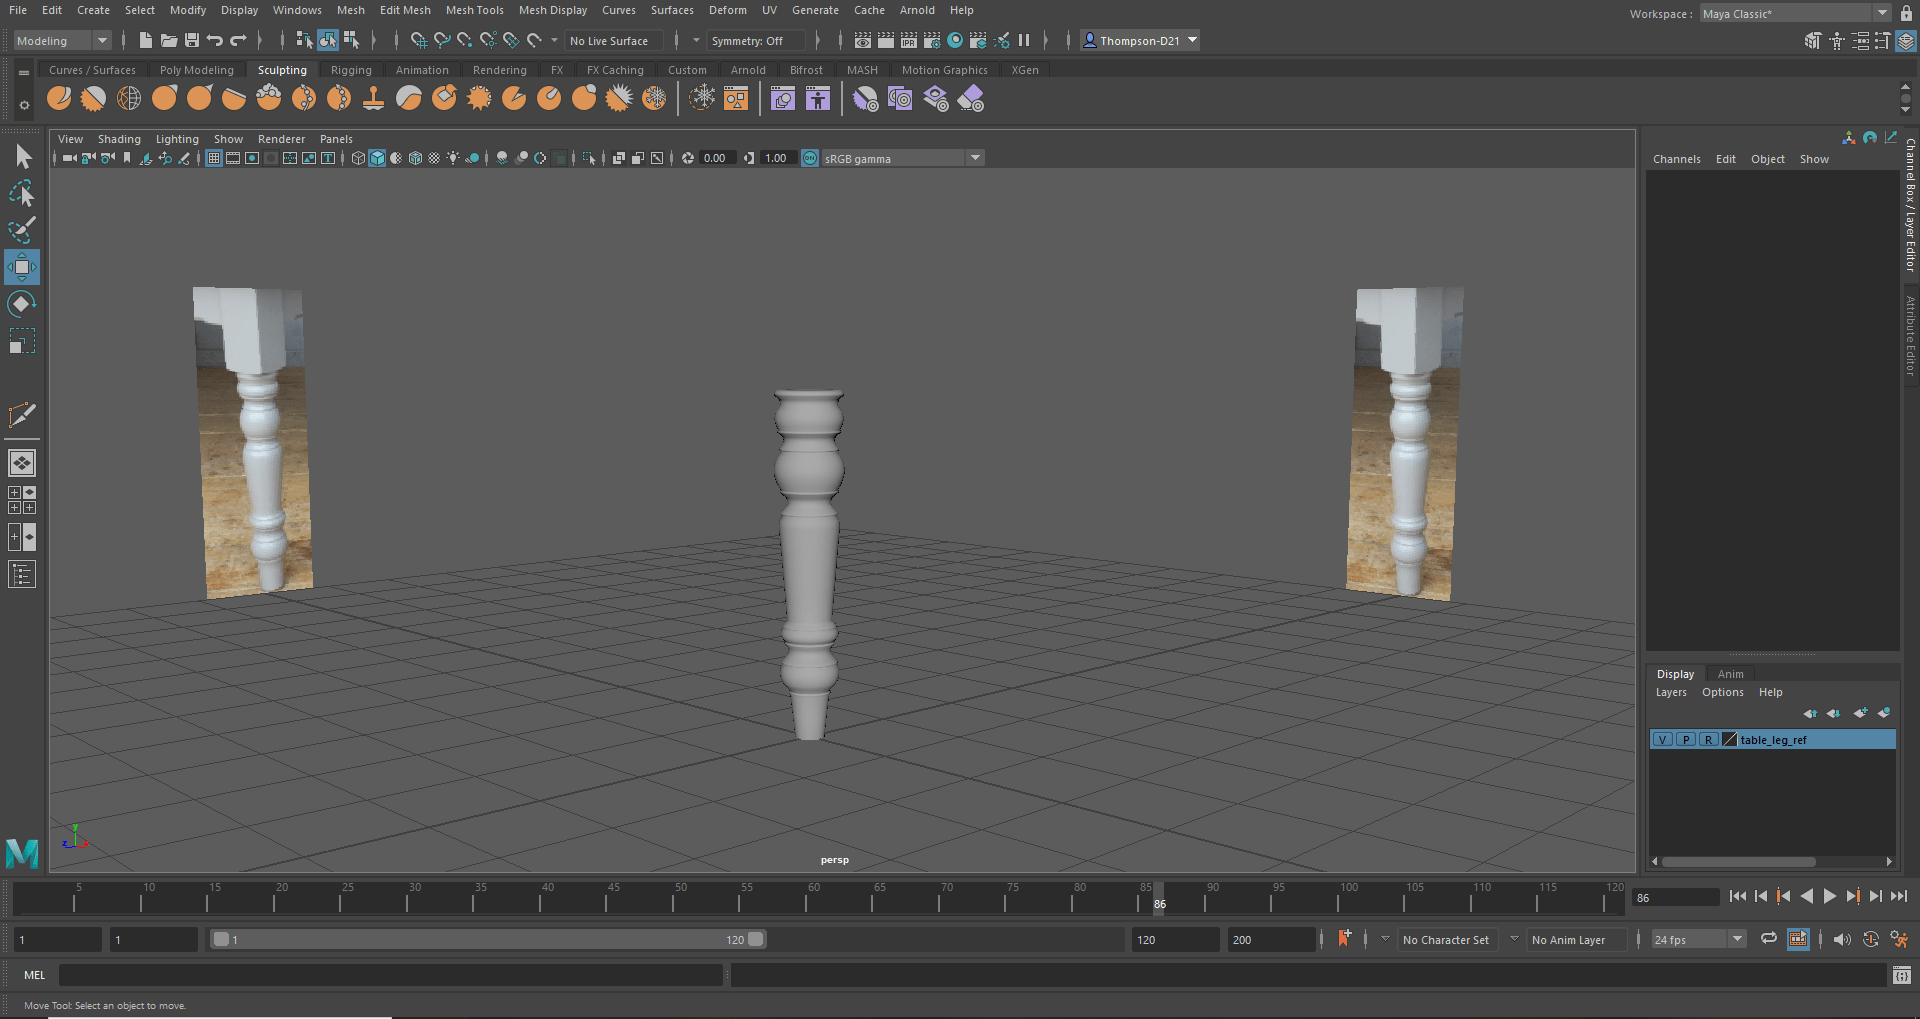
Then I smoothed the mesh, deleted the history and cleaned up the model. This is the final leg, I am really proud of it, I think it looks like the reference and the shape of the leg looks great.

Top of the leg
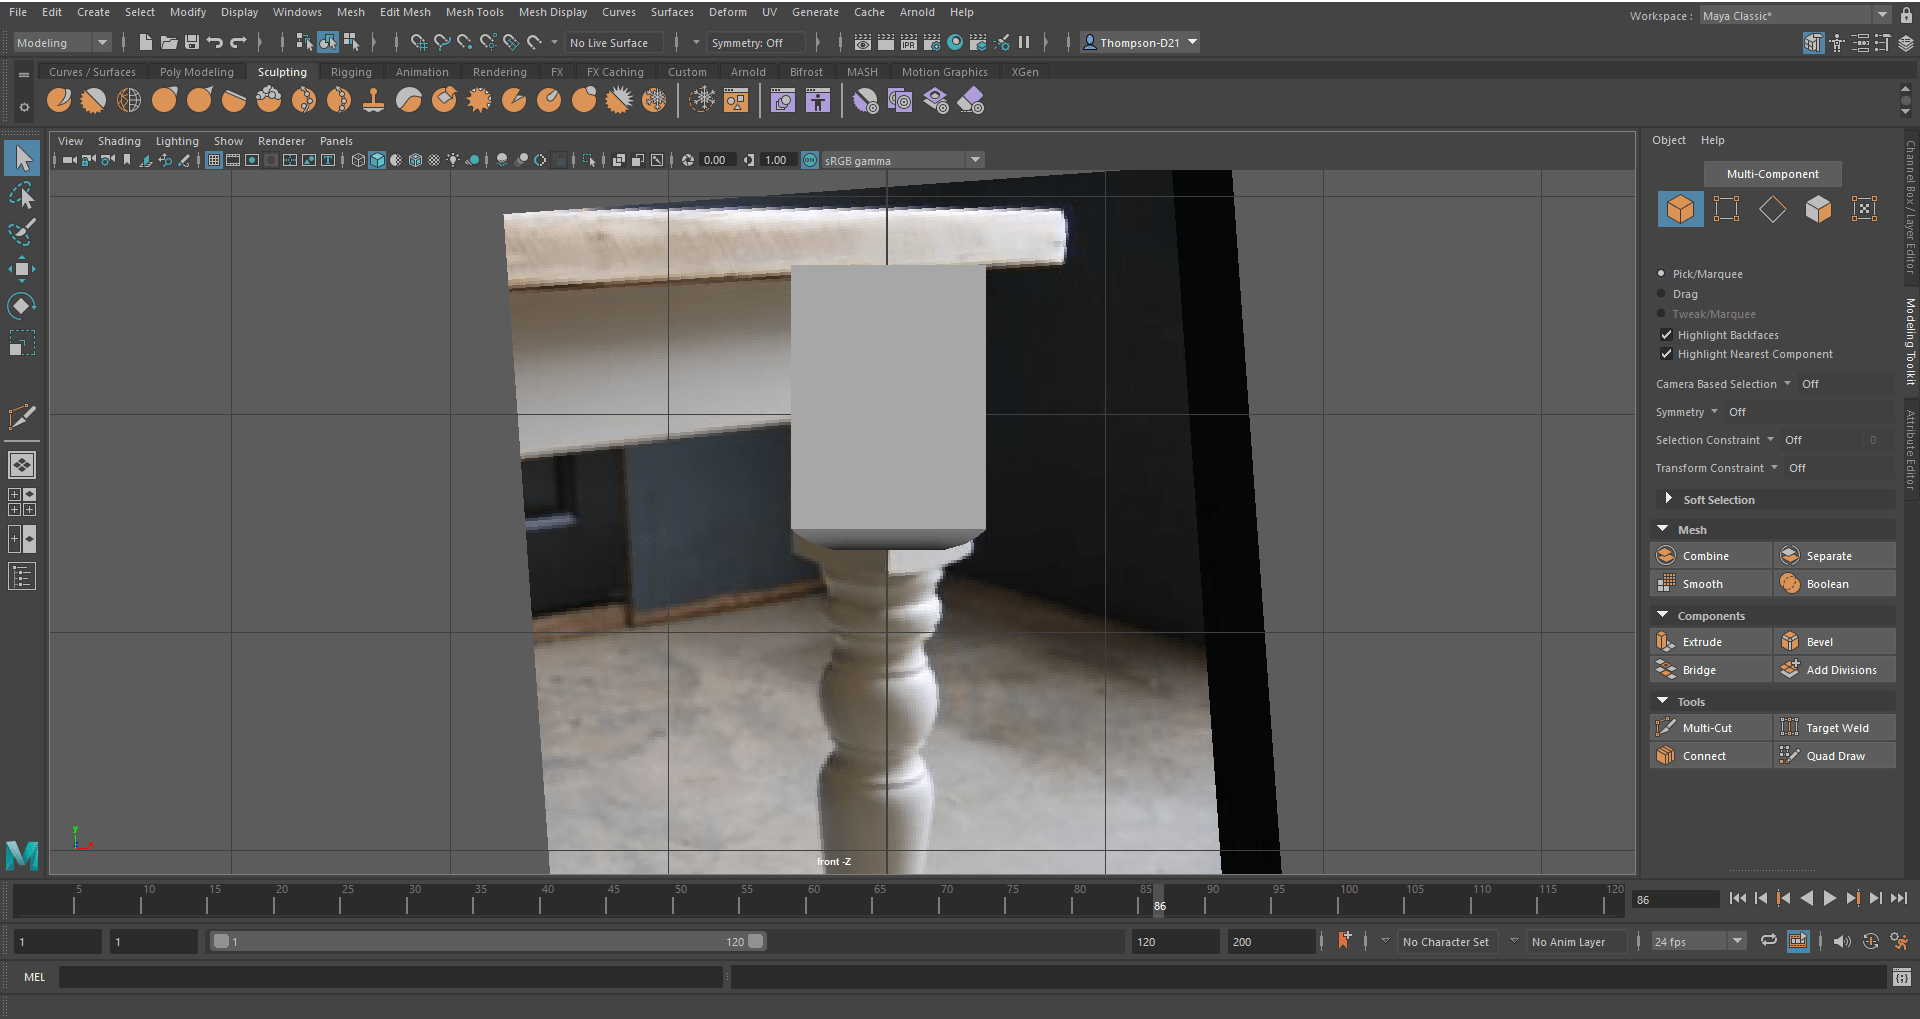
Next, I made the top of the leg, this was not as hard as the bottom as it was less detailed and a simpler shape to create. First, I imported in a reference into Maya and added a cube, then I stretched the cube to the correct height.

After that I beveled the bottom of the rectangle, this created a trapezium at the bottom of the rectangle, I then put edge loops on the beveled and shaped the bottom to a rounder shape. I adjusted the shape of the rectangle as I thought it was too short and then I was done.

This is the finished leg; I think the top of the leg looks good and fits onto the bottom part of the leg well.
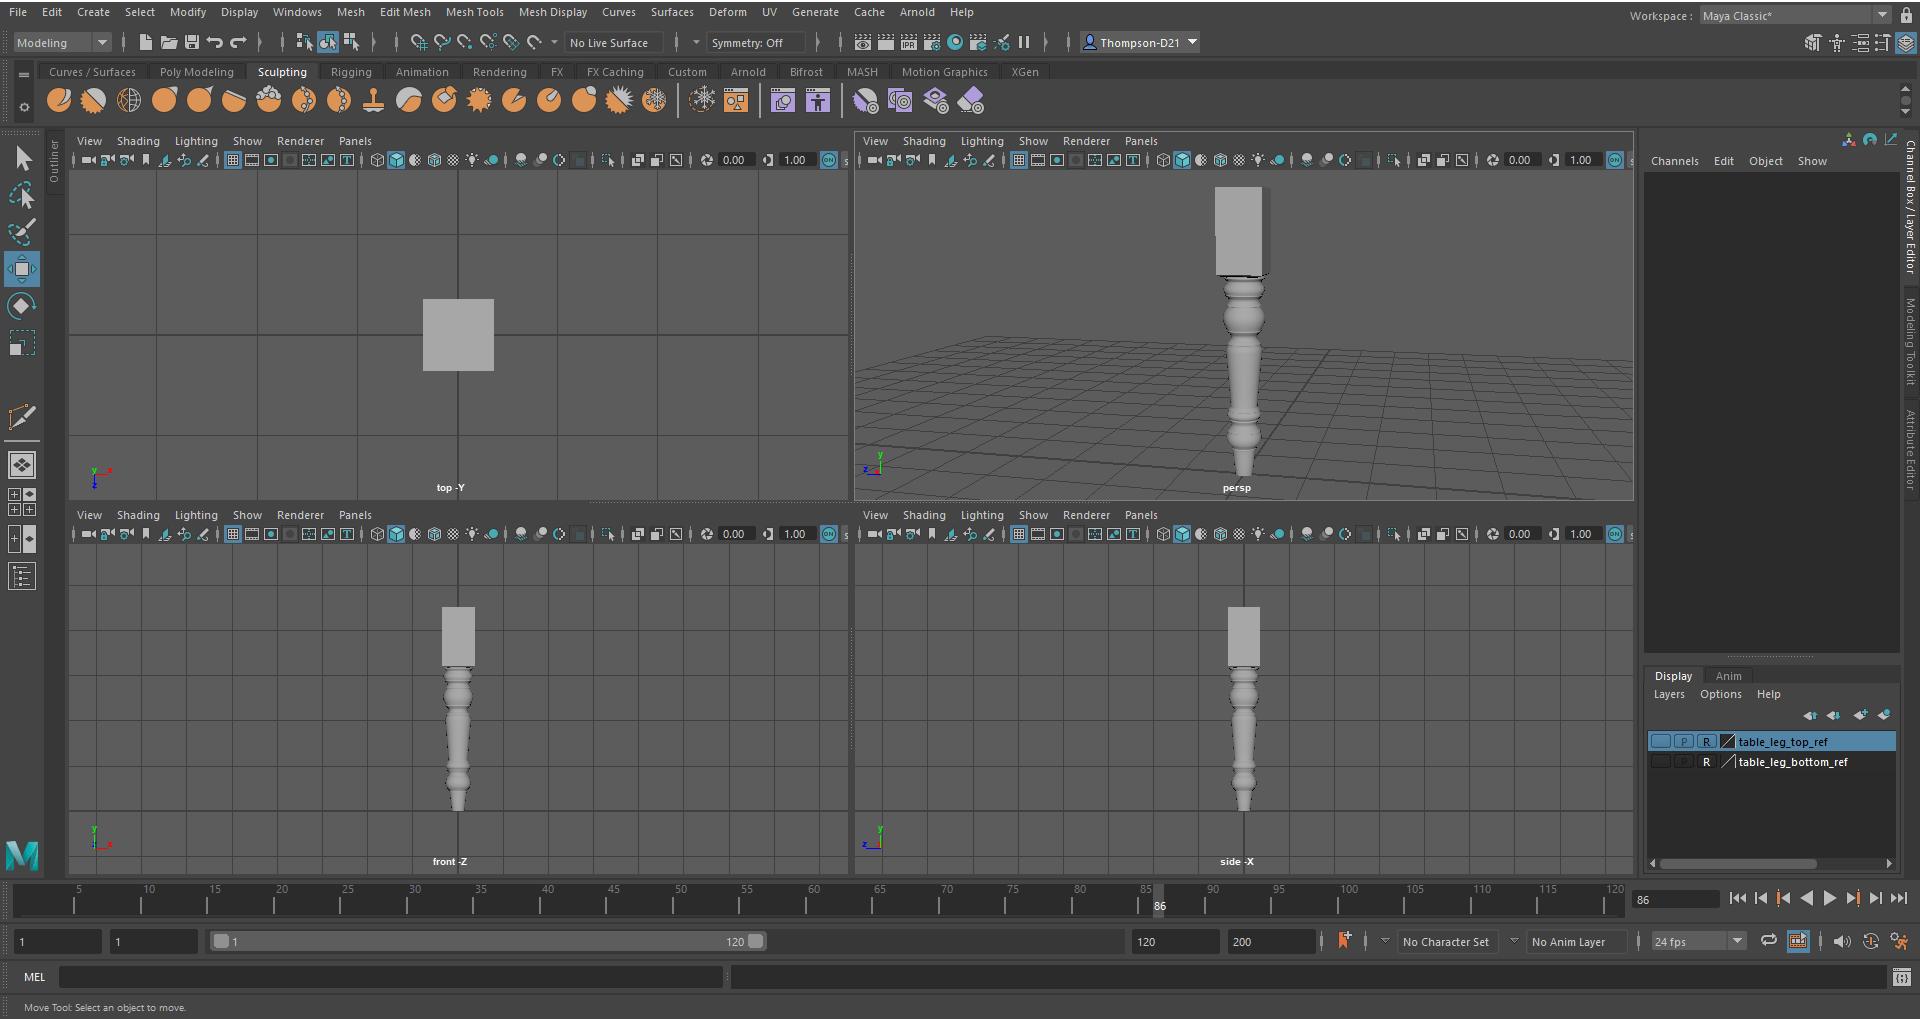

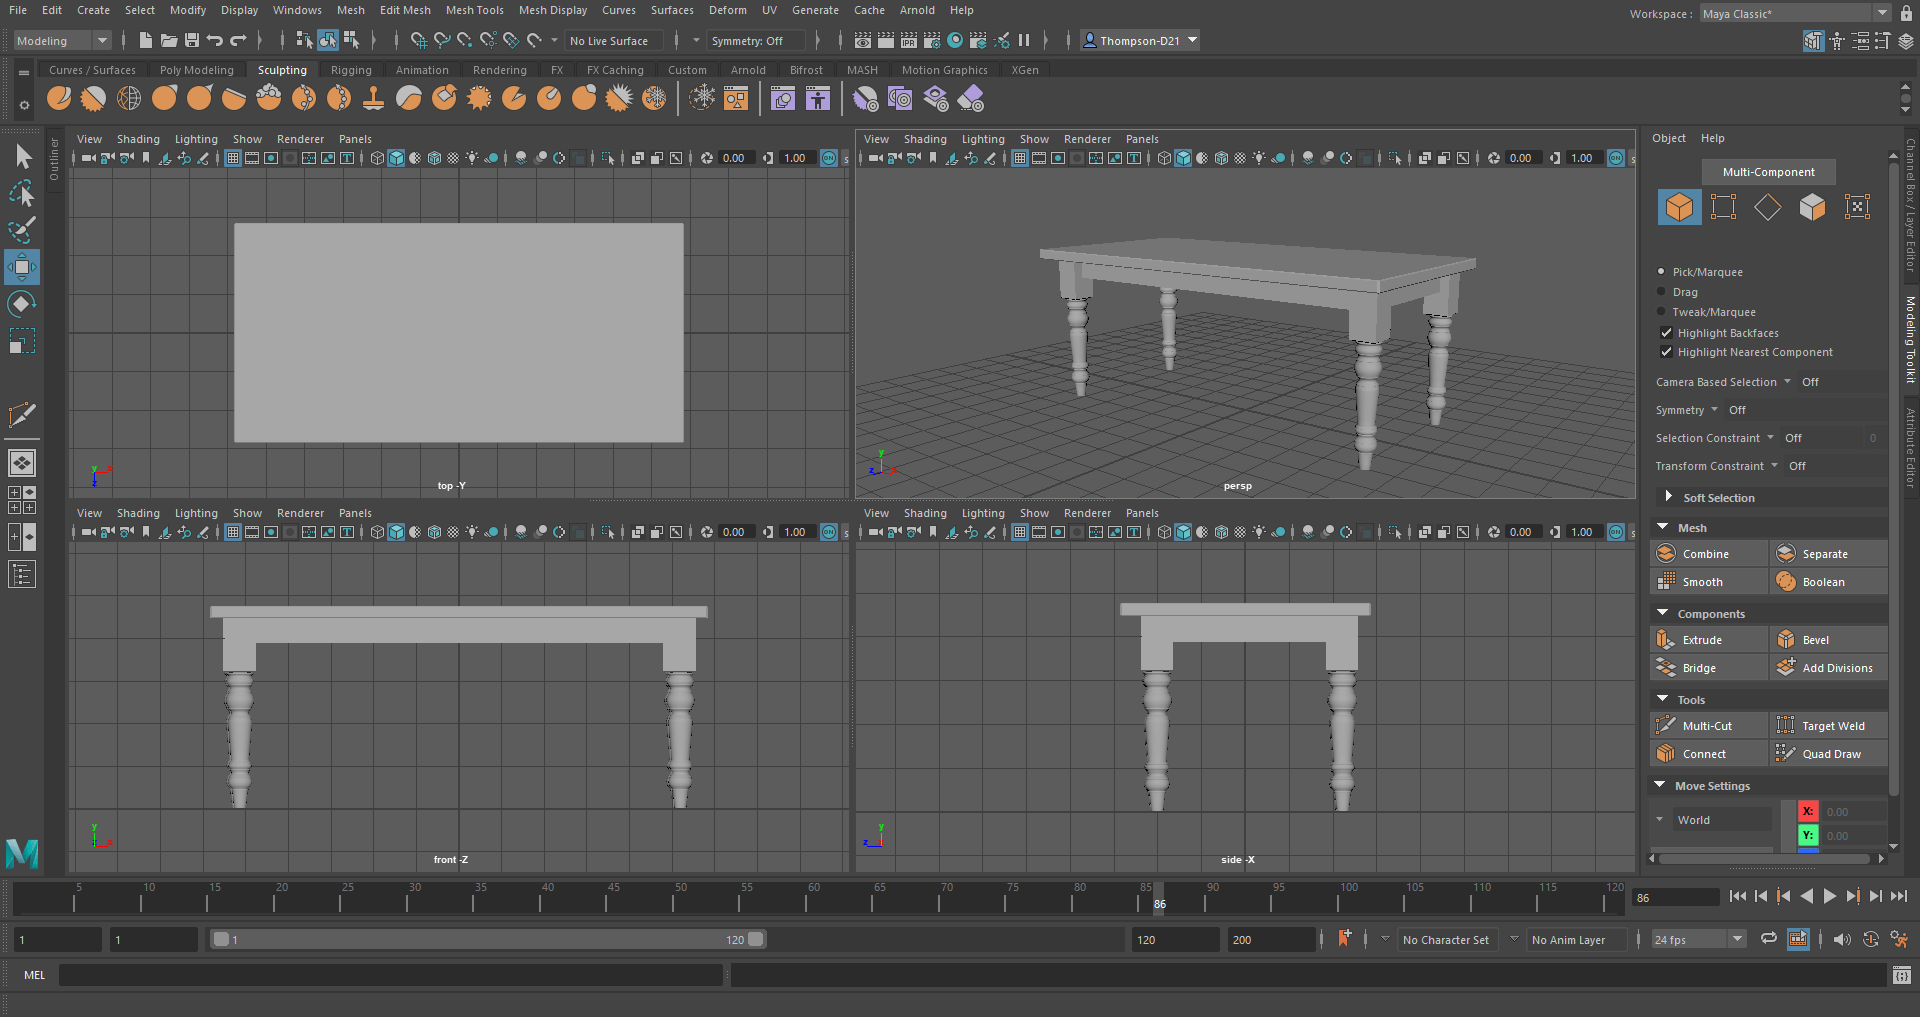
Table top and beams
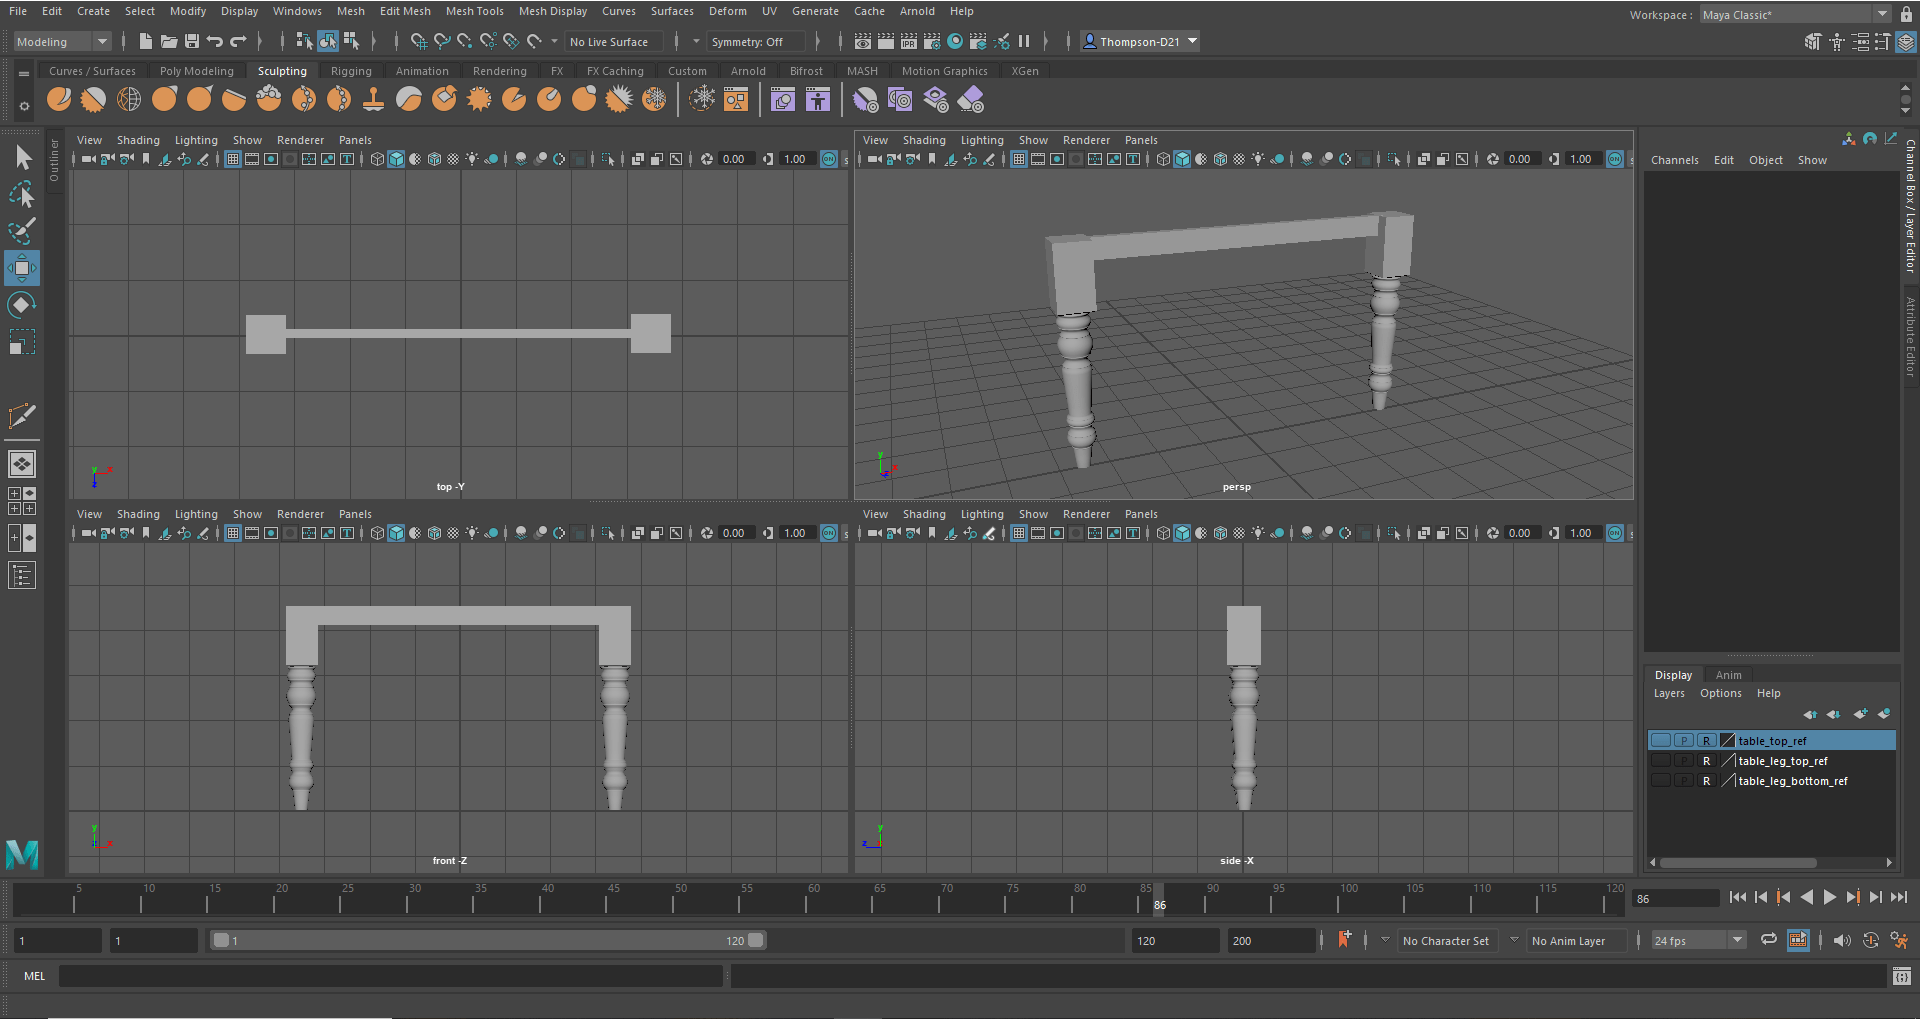
The final steps were to make the top of the table and attach the legs. To start I imported a reference of the table and created a square for the beams under the table. The beams where easy to make as they were just rectangles that were stretched into the right length and width. I added the beams to the legs of the table and adjusted the length of the beams according to the reference.


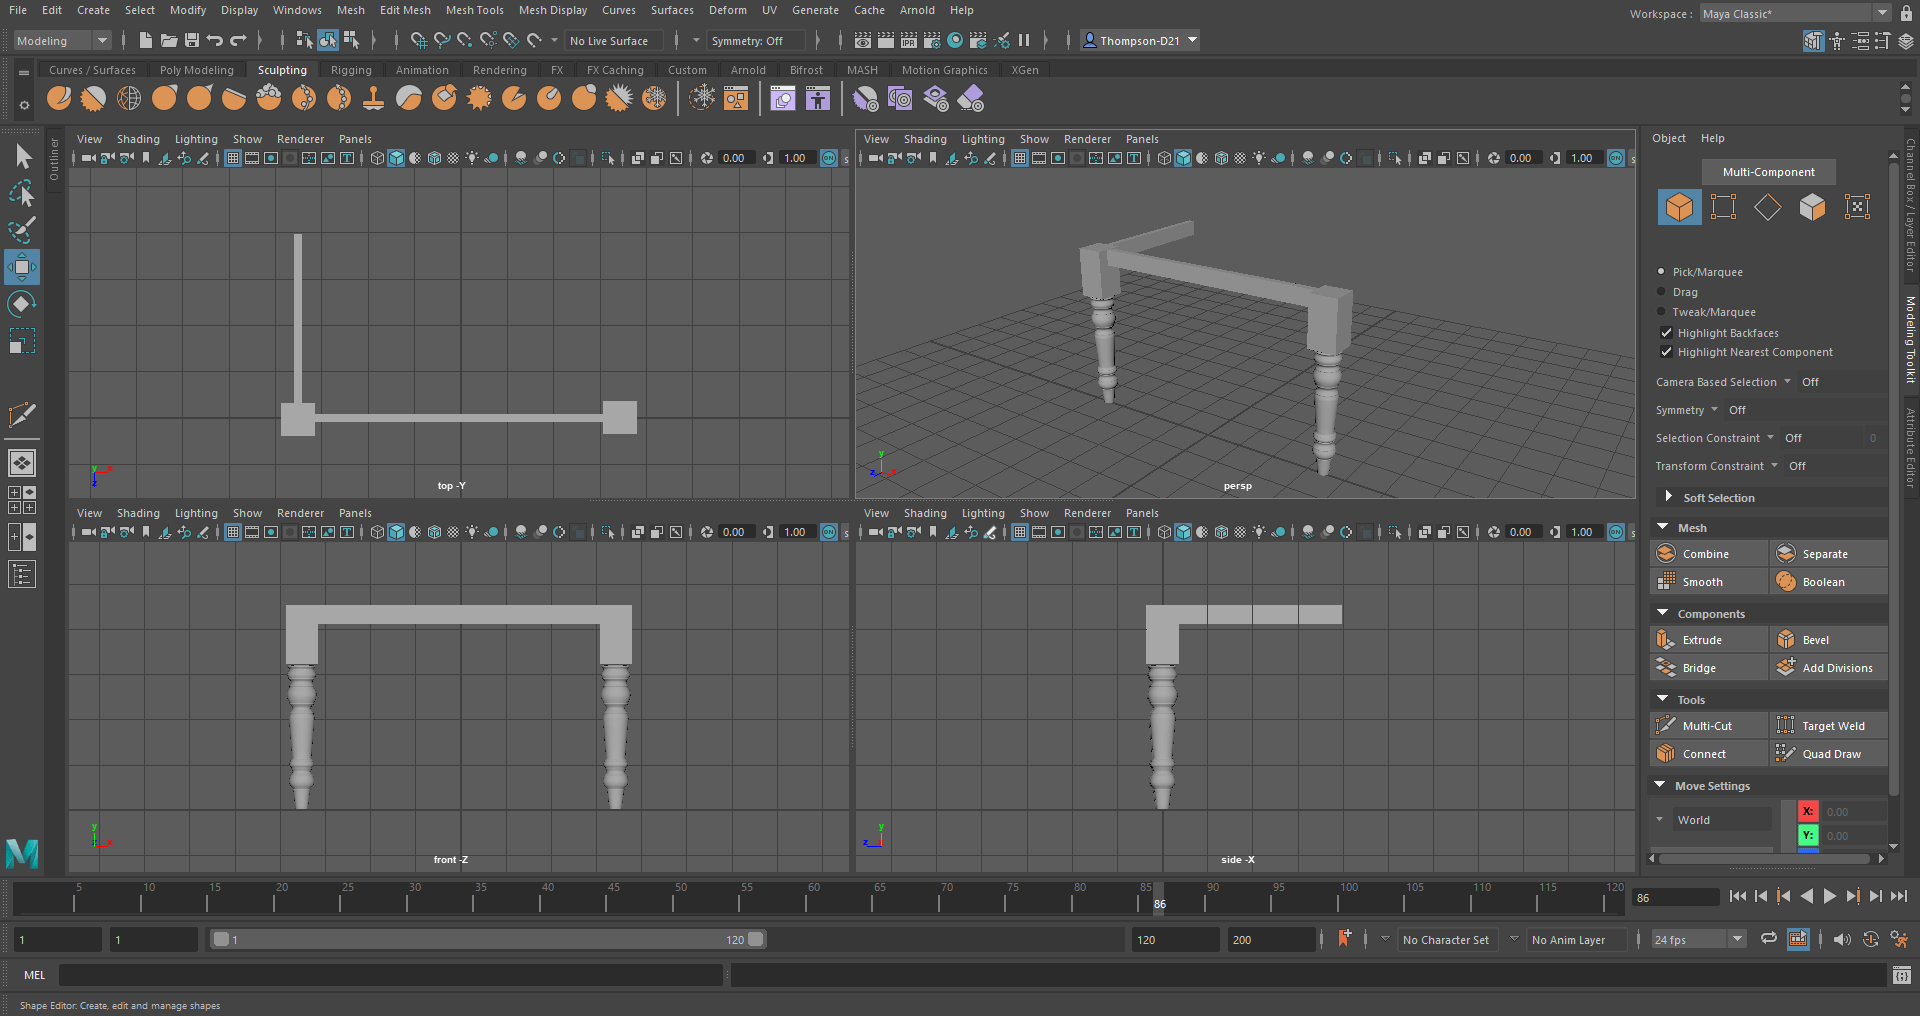
At this point the table didn’t look right as the beams were too short not wide enough, I adjusted this, and it looks a lot better. The last think to make was the top of the table. I created a rectangle and beveled the corners and the edges of the rectangle.
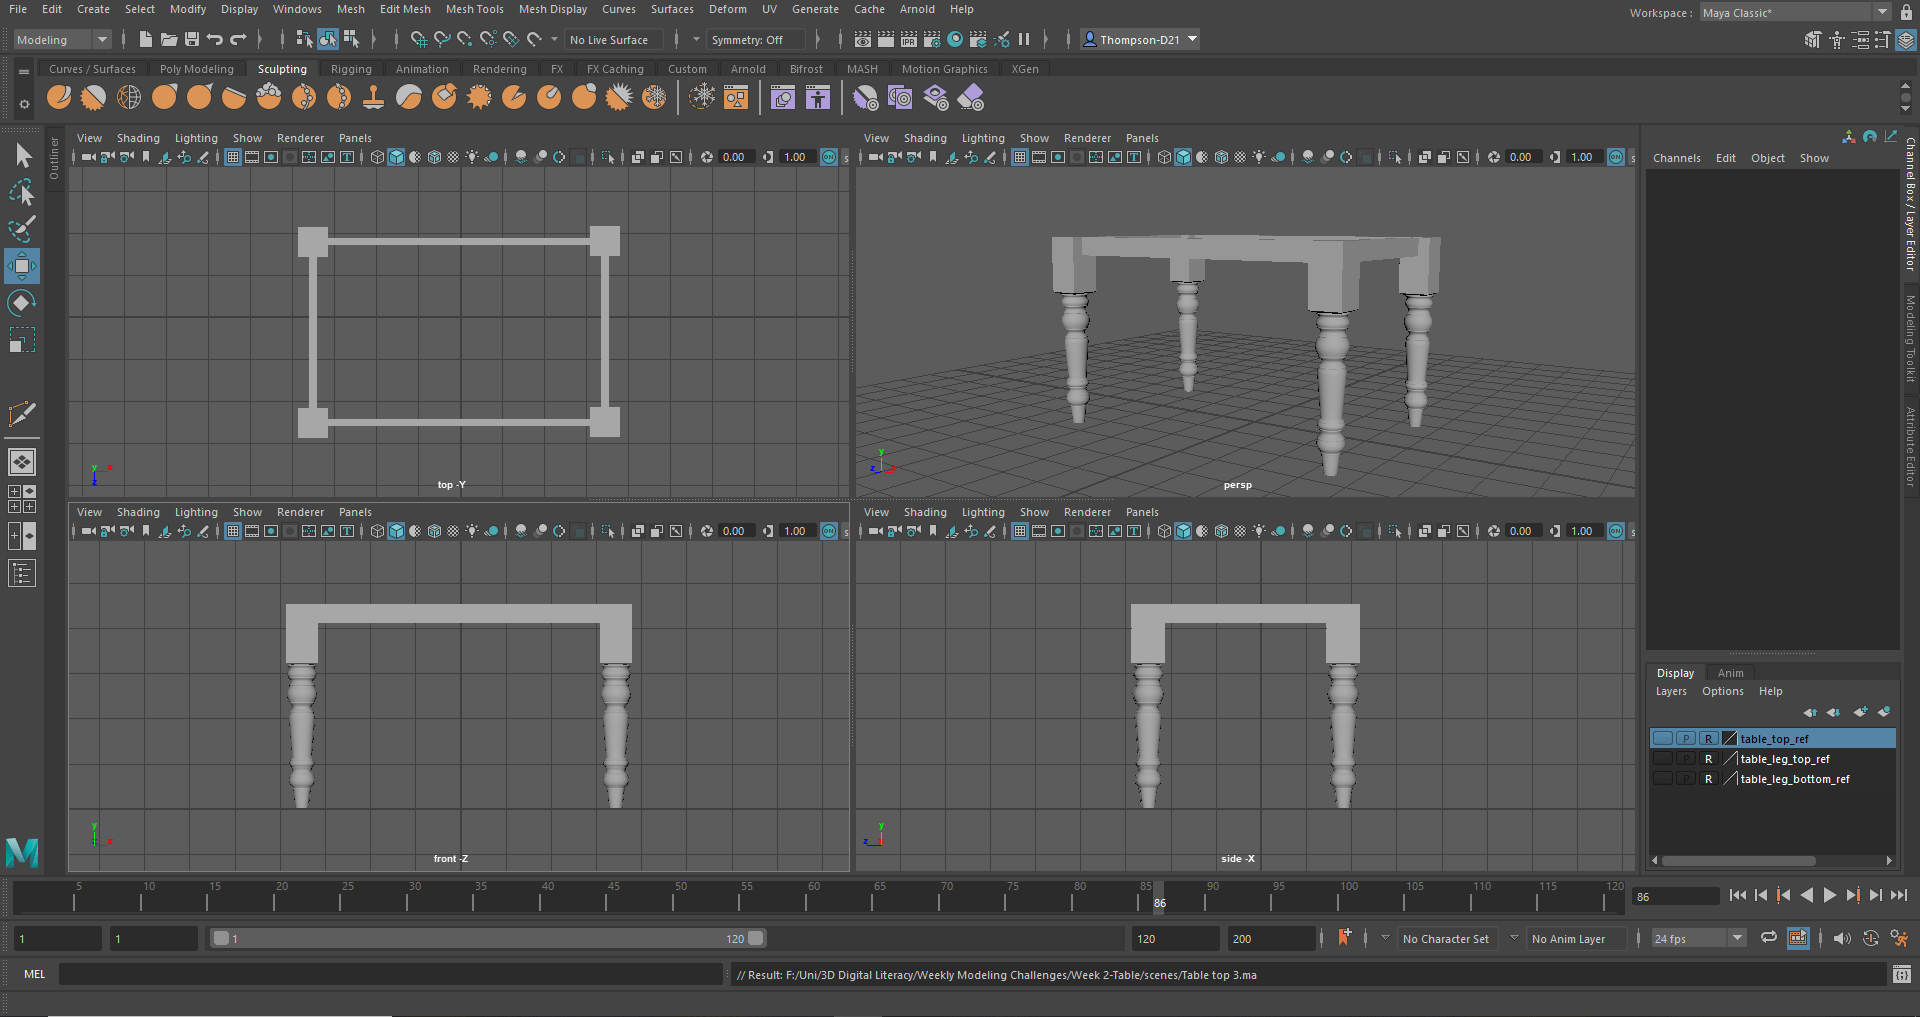

Overall, I really like the table. I learned a lot about shaping the legs and I have a better idea of how to use the bevel tool. The hardest part of the table was the bottom of the leg as it is very detailed and has a lot of curves. I think the table looks like the reference.