Before the semester started, I watched some videos about the basics of the Maya interface that were provided to me. These were immensely helpful as I felt very overwhelmed when I first opened Maya.
essential-training/create-high-quality-3d-models-and-animations-with-maya?u=35574164
Class
Week one of semester two, I was nervous about this topic as I have never 3D modeled in Maya before and I was quite intimidated by the interface as there seemed to be menu inside of menu. In class we went over what the module was about and how the mark scheme worked.
Homework
For homework we had to watch some videos made by Alec and create a vase in Maya. I was still a little intimated by Maya, but the videos were very helpful as he went through each step.
To begin I used the same vase Alec used as I wanted to follow his tutorial step by step so if I got lost, I would be able to look back and see exactly what I did wrong. This is how my first attempt came out, I am very happy with the result as I thought I would have messed it up somewhere along the lines, but I didn’t. Making the vase was not as hard as I thought it would have been.


After completing the first vase I challenged myself to try with a different vase and do as many of the steps from memory so I could see what I had learned.
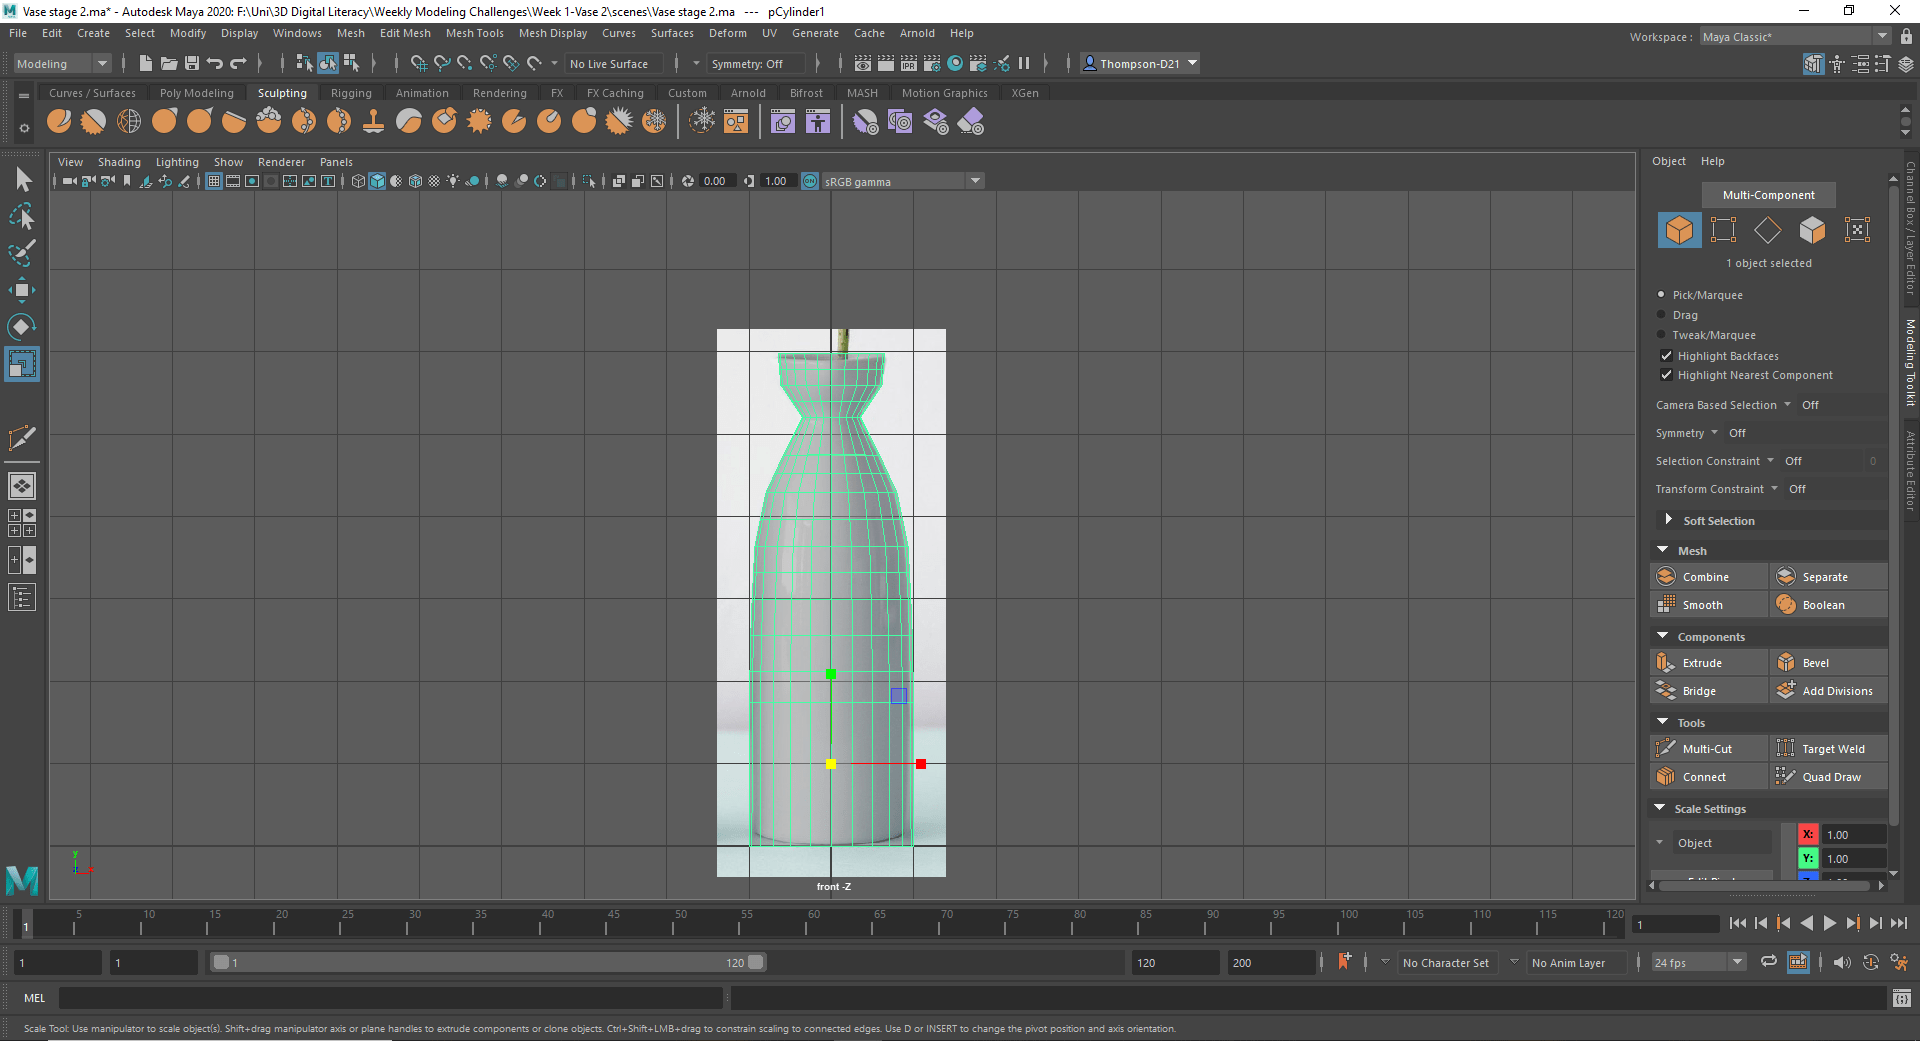
The first step was to find an image of a vase and import the image into Maya. Then I created a cylinder and changed the subdivisions to 24. The next steps were to scale the cylinder to the height of the vase in the reference image.


Using the multi-cut tool, I added edge loops to the vase where the vase curves in and out. After this I grabbed the vertices and moved them into place to create a rough shape for the vase. The next steps are the same as the last, create more edge loops to make the shape of the vase smoother.


Next was the bottom of the vase, I first beveled the center point to create a circle on the bottom, this allowed me to grab the vertices and widen the circle. Then I divided the circle to get rid of the ngon so if I added textures it would not glitch out.


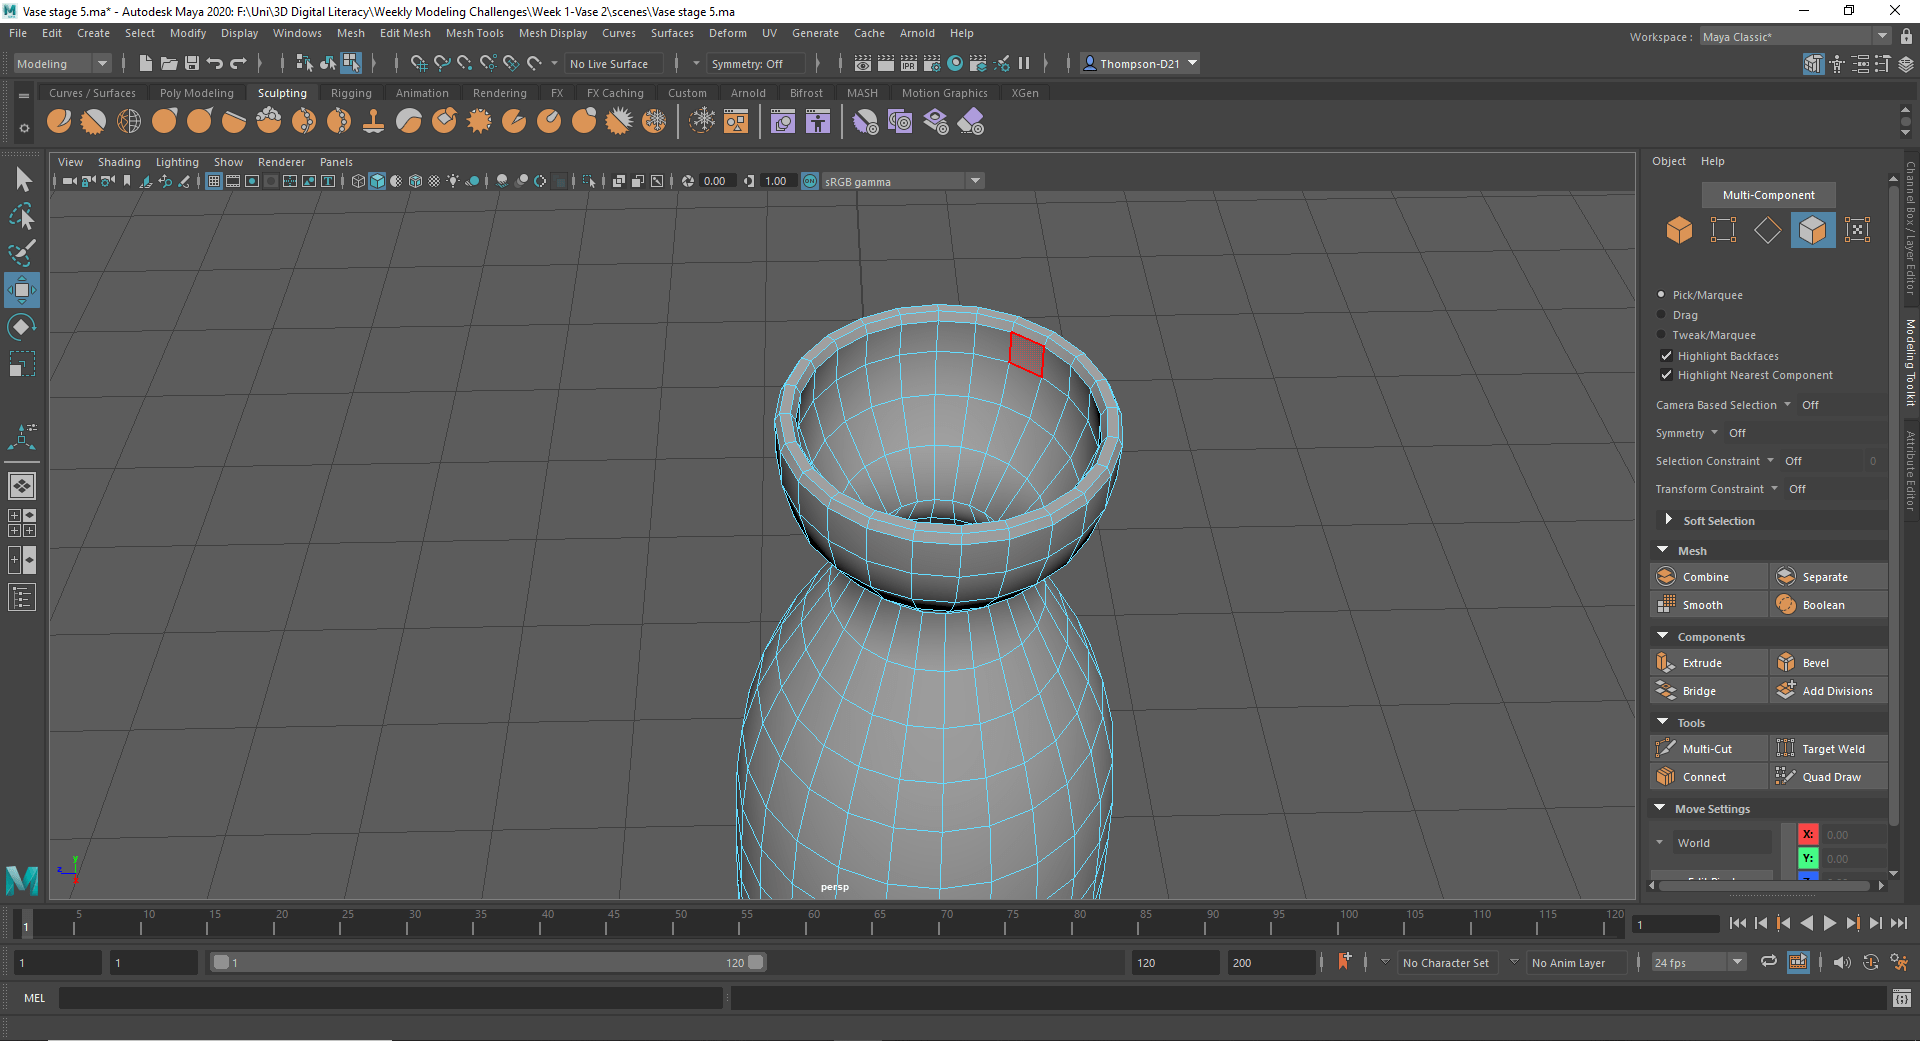
A similar process was done on the top of the vase as I beveled the center point and widened the circle that was created to the thickness, I wanted the vase to be. I extruded the inside of the vase by clicking the extrude tool and dragging the circle down, then I scaled the extruded part to follow the shape of the vase, I continued this process till I hit near the bottom of the vase. After that I did the same process that I did on the bottom of the vase to the inside of the vase.


Next, I smoothed the mesh by clicking on the mesh display tab and clicking soften edge. After this I beveled the top edge of the vase to bring back some of the hard edges. The last things I did were deleting the history, moving the pivot point to the bottom of the vase, snapping the vase to the grid, and changing the transforms to zero.
This is the final vase, I am extremely proud of how this turned out, especially since I tried to not look at the tutorial videos as much as possible so I could see how much I picked up and what I needed to watch again.


Images I used for modeling:

