Reflection

We have learnt a lot this term in our animation study class. We have looked at various areas and how to apply these concepts and skills to our animations.  We have looked at shape and form, perspective, tone and colour theory, character development, story board development, animatic and finally produced a rough animation. So, we have gone through the whole creative process of animation from concept to finish.  This has been educational. I have enjoyed this term a lot and have learnt many new skills which I have had the chance to develop and  I look forward to honing in the future. However,  there have been challenges too.

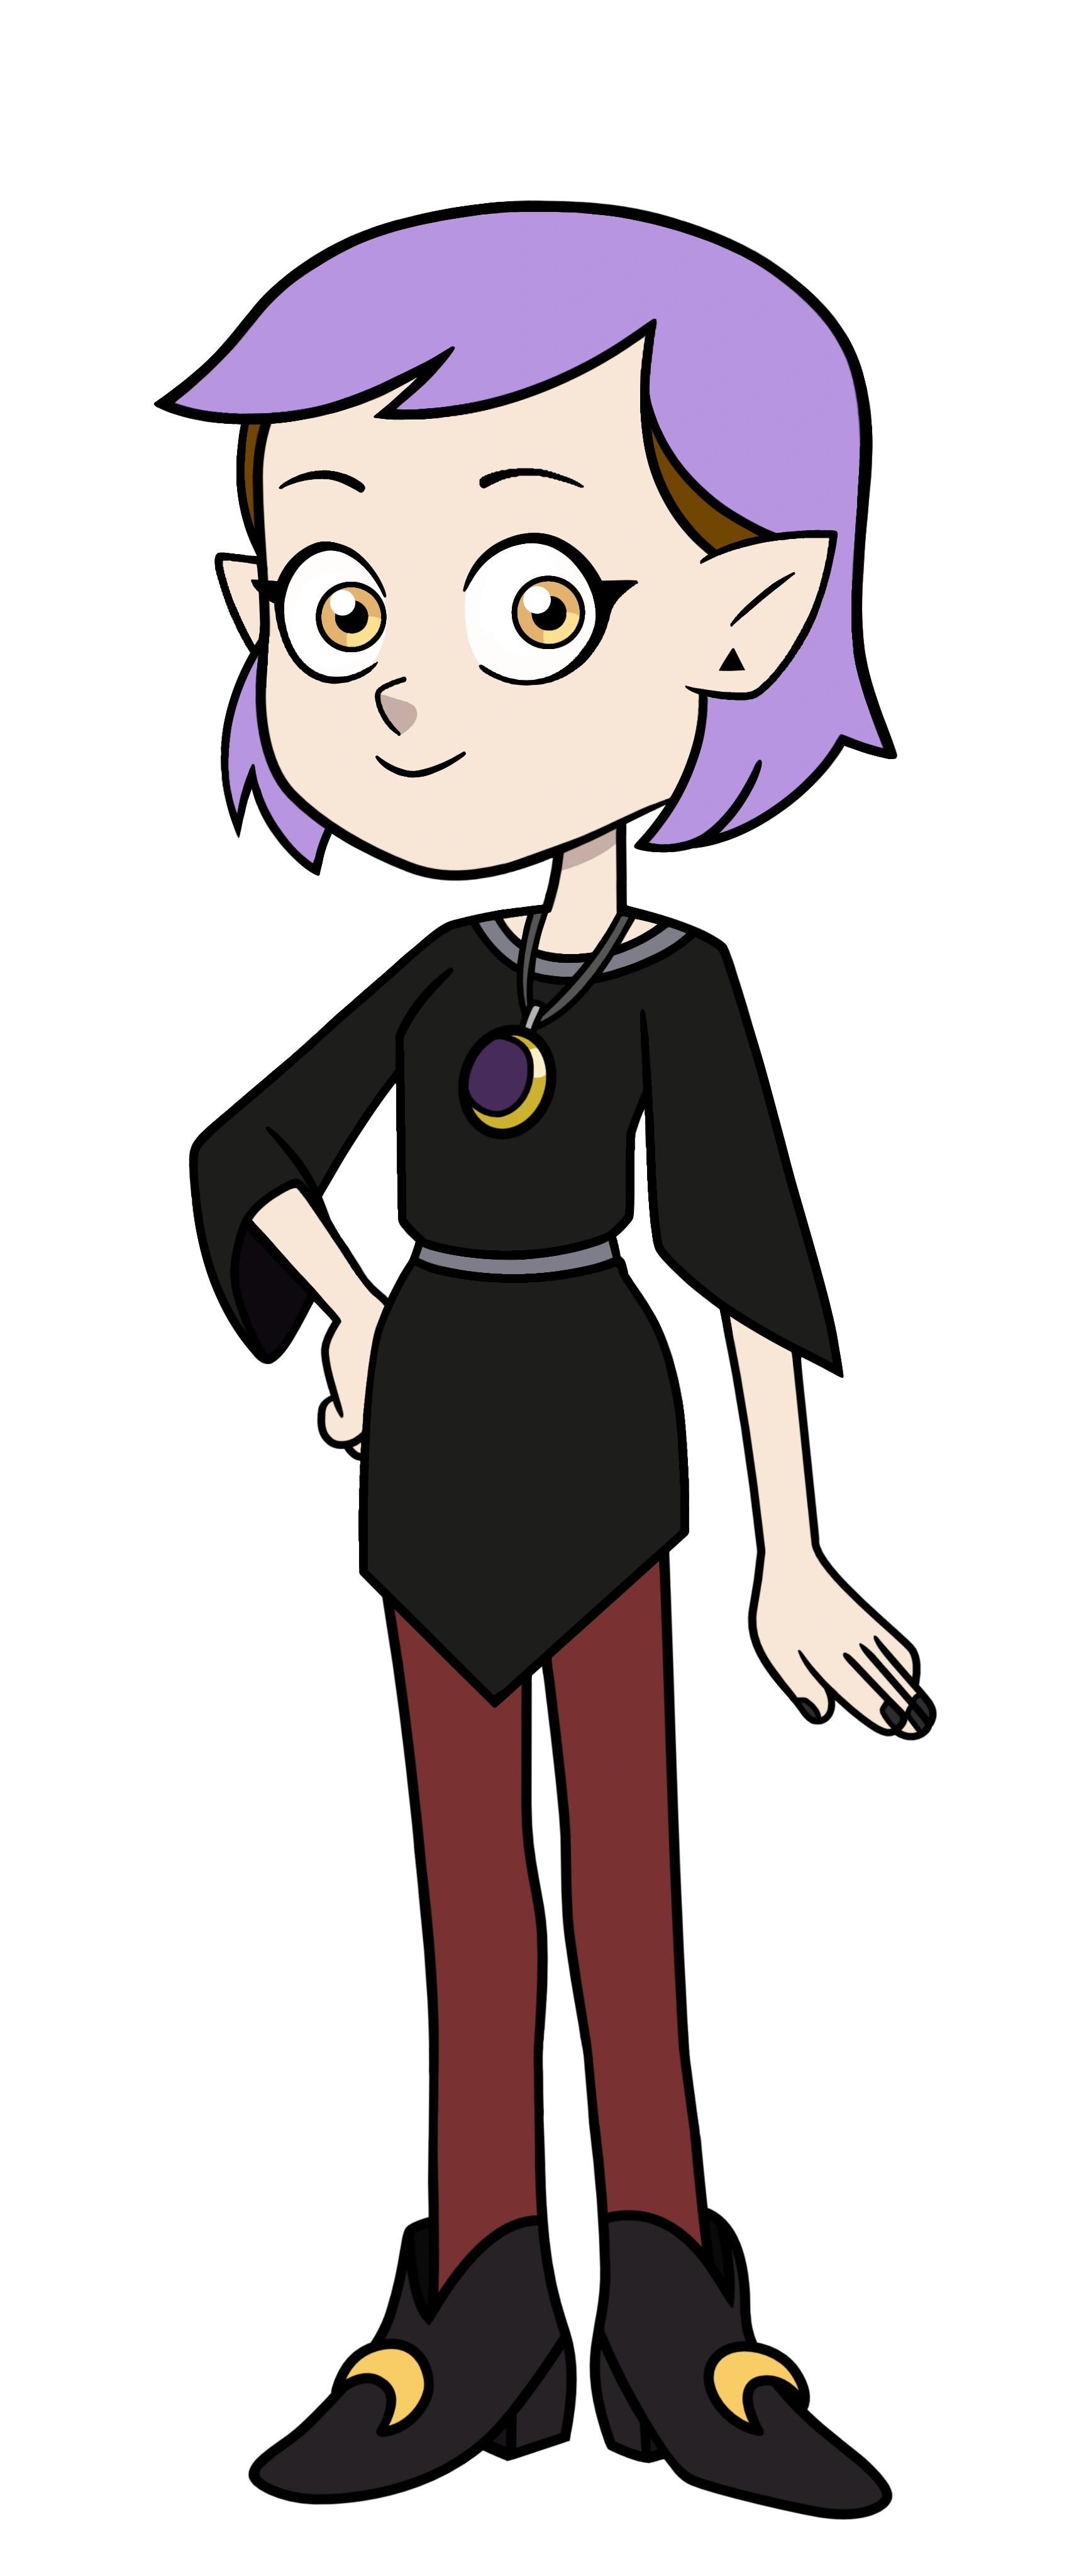
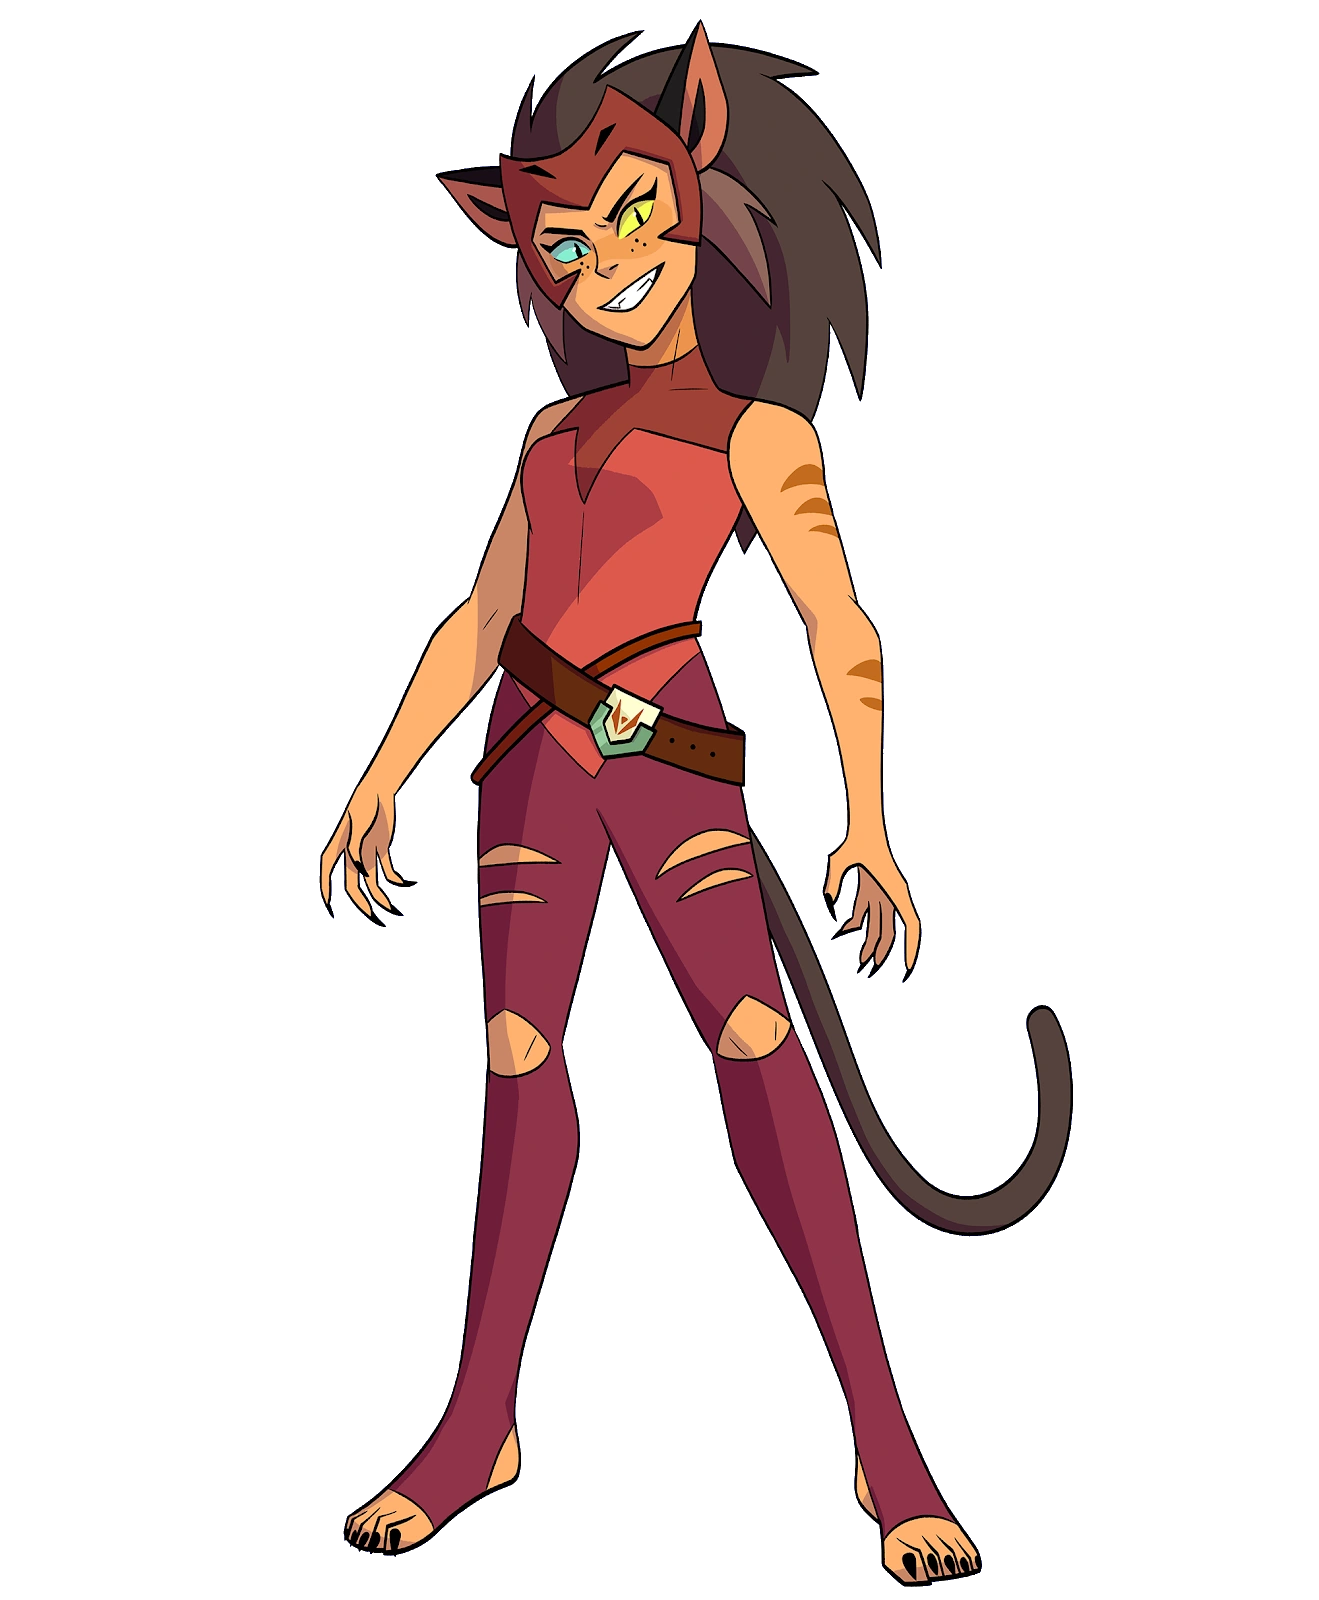
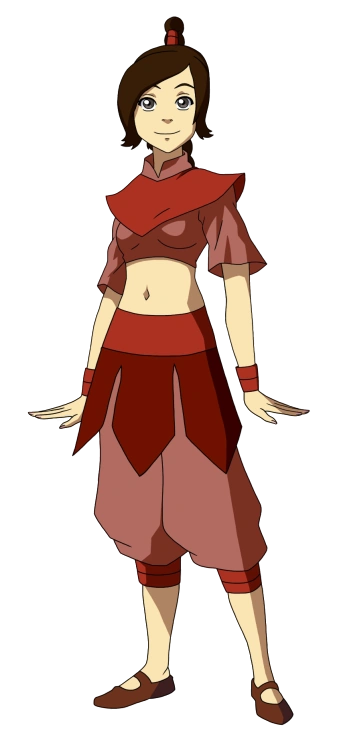
I particularly enjoyed the character design aspect of the college time loop.  I love getting a brief and designing different characters that fit the brief.  Drawing is something that brings me joy and I have been drawing characters since I was little.  I have learnt to further develop my drawing skills by looking at the basic shapes which make up characters when animating.  I found it helpful that you can break characters into basic shapes which makes the drawing process a little easier.  I found that this also allows me to develop more detail in my characters as I can adapt basic shapes into the form for their bodies, clothes, hair and any accessories that I may want the characters to hold.

I also enjoy the final animation process.  It is great to see characters come to life on screen and tell a story.

There are areas that I do need to develop further.  In the future I would hope to be more reflective when animating and ensure that I have used the 12 principles of animation (squash and stretch, anticipation, staging straight ahead and pose to pose, follow through and overlapping actions, slow in and slow out, arcs, secondary action, timing, exaggeration , solidi drawing and appeal) effectively in the final animation. I would make a check list and check these off when reviewing and re-edit if necessary. 

I know further work is needed  on storyboard development.  This is definitely more difficult for me as this requires language and narrative, and as I am dyslexic, is challenging.  It is much easier for me to animate when the story is given to me, but I know this needs work.

Another area that is challenging is drawing environments in perspective. We learnt about single, double and triple point perspectives, this is where there are one, two or three vanishing points to be aware of when drawing.  This is a skill that I need to further practice.

I made an error in the frame rate of the animation so in future I need to check this.  My animation was in 12fps instead of 24 or 25fps. I was able to correct this by making some frames last longer and adding in some other frames which made the animation look smoother.

I am looking forward to developing my skills further and improving on the areas I find challenging.

Environment thumbnails

For this class we are doing perspective work.

It is necessary to have a good composition in perspective work.

Perspective is the technique used for creating an illusion with three – dimensional objects on a two – dimensional surface. This three-dimensional objects are arranged to give the right impression of their height, width, depth and position in relation to each other. Good perspective creates depth and a sense of space in a scene.

For homework we had to draw 6 different perspectives of the  environment for the theme of our group project.

In this project we had a dragon and a dragon egg, at the end of the story the stolen egg will hatch. I drew some quick sketches of baby dragon designs.

Animating in Krita


For this class we learnt how to animate in Krita.

When animating we need to have timing and spacing in mind.

Timing is the number of drawings/frames witch translates to the speed of the animation when it’s played.

Spacing is where an object is at each frame of an animation, distance in spacing between each frames will imply an acceleration of speed, deceleration of speed or a constant level of speed in an animation.

For homework we had to animate 3 balls with different weights.

For this I did a tennis ball, golf ball and a bowling ball.  I looked up videos on YouTube to see how each of these balls would look like when they hit the floor from a height and then tried to recreate this in each of the animations.


For this class we did had to animation a jumping sandbag

We had to draw a sandbag in a couple of different poses as a quick warm up.

When animating it’s best to have a good understanding of the 12 principles of animation.

  1. squash and stretch
  2. anticipation
  3. staging
  4. straight ahead and pose to pose
  5. follow through and overlapping action
  6. slow in and slow out (ease win and ease out)
  7. arcs
  8. secondary action
  9. timing
  10. exaggeration
  11. solid drawing
  12. appeal

Secondary Actions

Secondary actions help give depth to an animation by adding realistic complexity and makes the animation look more interesting. These secondary actions are often delayed from the main animation they are use to exaggerate the main movement of the character.

When a character stops moving, pieces of clothing and their hair will continue moving until they catch up to the main body of the character.(follow the path of action). This is called follow through.

Practice character model

Before I continue with my monster character I wanted some more practice with 3D modelling. I asked a friend if I could 3D model one of their original characters.

Once the character was finished and textured I did a turn table of the model, one full model and one close up.

I did a quick animation test.

Reference images:

I did another very quick animation test with another character model I made with the cloth modifier.

https://youtu.be/iNiGTBEowfY


Character model (test)

Once the model was finished I decided to render out turn tables, one of the full model and a close up of the character’s face.

I added in some substance painter texture to the model and added an armature onto the model. However for me to do this I had to add the decimate modifier to lower the face count which allowed me to parent the model to to bones with automatic weights. Once I had that done, I went into pose mode and change her pose slightly.

I rendered out another turn table.

Then I tested out a every rough quick animation.

Character rigging

During week 11 we learned how to rig a character. Rigging a character is how you make it move and involves using bones to create a character armature.

We add bones on one side of the model first, the placement of the bones determines how the character moves, once you’ve got once side done you can select the bones (not including the middles bones) in edited mode. Then click the armature tab and go two names and select auto-name right/left.  Now we can symmertise the bones. (Bones will only mirror if they are named first)

Once the armature is made, then select the character model and the bones parenting them with automatic weights.


Character rigging (monster)


As my character has wings I need to add in the bones there to. If I don’t, when I go to pose the character after I parented with weights the wings will bend and move along with the arms or head warping the wings. By adding in extra bones in wings prevents that from happening.

Once my character is fully rigged and parented the model to the bones with automated weights I can now pose my character. (I also parent the hair, eyes and eyelashes to the bones with automated weights)

I imported my mirror model along with the textures into the file and posed the character with it.