Category: AAD012

Final Submission

After creating my final prototype, I then made images and text for my poster for the show at the end of the year.

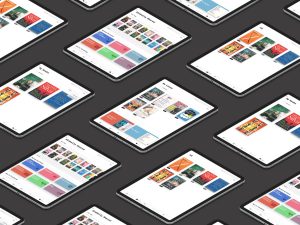
This is the image that will be on the poster, I used Photoshop to add each of the different frames that I made to the Ipad layout design. The same was done with the 2-week project but on an apple watch which will be added to the poster.

The text is “My project consists of an add on feature to Apple books. Allows users to loan out books for a set period of time, between friends and globally. The benefits for loaning books consist of, allows you to broaden your library, explore your friends’ taste and try something new. A reward scheme to encourage usage is also included. This means for every 10 books you loan out you can select a free book of your choice.” this will be under the image explaining what my project is.

The poster will also include a QR code to my linked tree which allows access to my workspaces, research, prototypes and video for the show.

https://linktr.ee/erinwarde

That is the link to my linktree where you can go on to access all my work and research.

Below is the video that I have made for exhibit which contains some research, sketches and a screen-recording of me using my prototype.


Interaction Design – streaming figma and prototyping

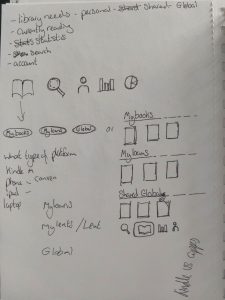
After doing my first Ipad sketches, I had the idea to add more options to allow for loaning out and options to buy.

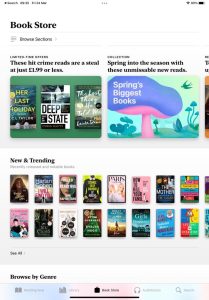
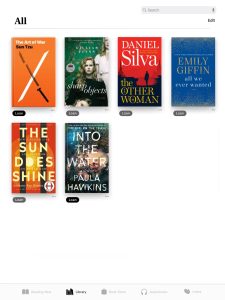
After sketching out my ideas, I research the current layout of apple books on an Ipad. Here are some of the screenshots that I went on to use on figma.

Here the link to my figma where I have created the lending options.

https://www.figma.com/file/Z4ZqzvncLMvX3OmQFP11zD/Ipad-designs?node-id=0%3A1&t=gruGbOC5eberY1JG-1

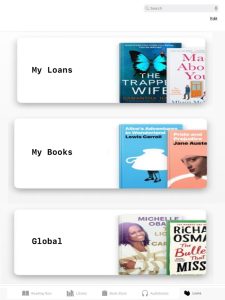
These are the pages I have made that I will use for prototyping with are the Library that give you options to loan out a book but also shows what you have already loaned out. The my loans page can be accessed by the icon I made and removed the search tab and replaced it with a option at the top of the page. My loans page also contains what you have borrowed, an option to buy and the page gives you options to open the Globally shared that has genres and for you books that I added the plus tabs to easily loan. The loan page also contains the My book page that show the ones you personally are loaning out and the tracking bar that shows how many you have loaned out as every 10 you share you get a free book of your choice which is to encourage usage. I had to also make search pages that could be linked up.


These are the pages I made which as well, I choice not to use as I thought the other layouts are better. One of these is the library page with the … options showing that I built in a loan out option with my icon.


I also went on to create dropdown options and link them up as well, I did experiment to see how the dropdown would look with the “due to be returned in (how many) days” but decided that it was too long and didn’t fit the space so I just added the Readers information option and return.

This is the link to my first Prototype which helped me realize a lot of issues and mistakes so I decided after fixing them on my original page I would do the final prototyping on a new page as it should how I have progressed and changed it.

https://www.figma.com/proto/q8nWODn5JeuUP34yO5pbvL/prototype?node-id=1-80&scaling=scale-down&page-id=0%3A1&starting-point-node-id=1%3A80

This the link to my final prototype which I am really happy with.

https://www.figma.com/proto/aaAJqwiFMkuZ6CP4M7whel/final-prototype?node-id=6-328&scaling=scale-down&page-id=0%3A1&starting-point-node-id=6%3A328

Interaction Design – streaming planning

After getting the brief, I explored different streaming services and then decided to explore book streaming services. The concept I came up with is, after buying a copy of a book it could contain a code that allows an eBook version to be downloaded. You can share the eBook version with another person without giving them the physical book as it may return damage.

Here is a link to my miro board which shows my thinking process and research like asking people questions and other apps. The second link is other ways I have researched with articles.

https://miro.com/welcomeonboard/eEJJa2FWbkNMeWFnQkhkdXA4SUtWN1M4QldQcTdydFI3UTJxM1FLZ1EwREpRa2IweXgycWhWcFpqaGhLdjMzWXwzNDU4NzY0NTQ4MzU0NjM2MzQxfDI=?share_link_id=962457607655

https://www.notion.so/Streaming-Project-1f267f8d50de4e599b9ad59e8ce25be0?pvs=4

Here are sketches of layout ideas to add the lending feature to apple books.

After deciding to use an iPad as the device, I sketched out on printouts of an iPad different layout ideas. The three sketches below are of one idea where the first sketch is the page which will the opening with the two different tabs opening each to the two different sketches.

These are two different layout ideas, one allowing each tab to be open separately and the other to not have any tabs but that the page just one page with the 3 different areas.

Jewellery and Silversmithing Complete Project


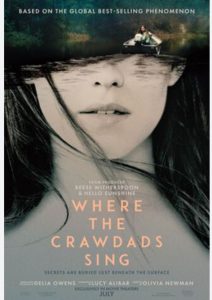
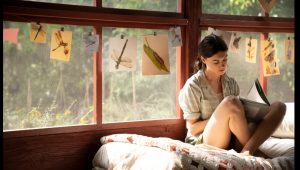
We were given the brief to pick a movie that we then would create 3 charms based on it, I picked ‘Where The Crawdads Sing’ which was based on the book of the same name, here are some photos of the book covers and scenes from the movie.


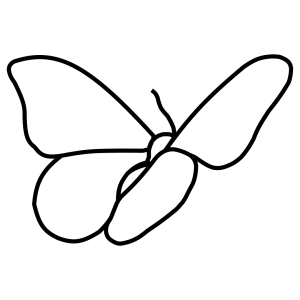
I then went on to create digital art of some of the key symbols in the movie. Butterflies, a claw from a Crawdad and the state that it was based in, North Carolina. I also created a storyboard of the movie using scenes, a quote and the icons I created before.


This was our first day in studio where we had a wire of copper that we heated up then pickled before rapping it around a tube in the wench, holding tension to create a really tight knit coil. We then hammered round the ends to make it all coiled.

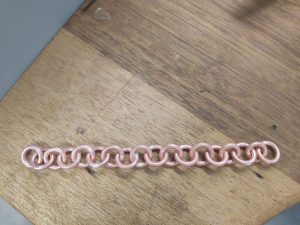
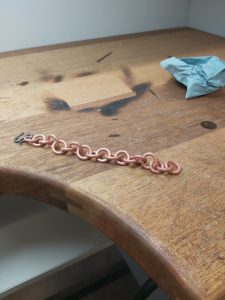
After that, I sawed through them all creating jump rings, that we hooked all together to check the length against my wrist.


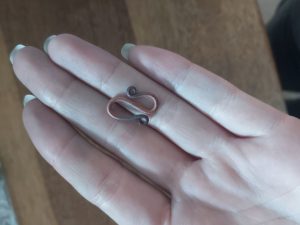
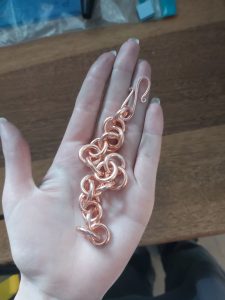
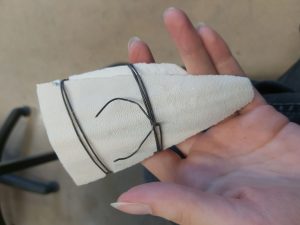
We then created an s hook out of copper by tapering the ends and used the tools to make the curls and swirls. The photos are of one of the hooks we made as it was too small, we made another bigger one.


Then we soldered all the rings together and connected the s hook.


This was after we copper plated the bracelet to cover the solder and then tumbled.

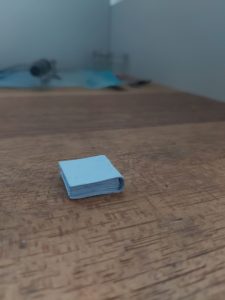
When we were talking about the charms, I knew one would be casting with cuttlefish so out of card I made a tiny book for the movie to hopefully cast, but I could use it as the cast would be lose the page details as it would be undercut.

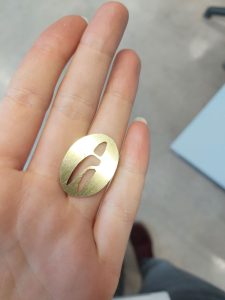
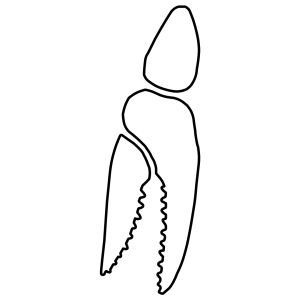
This was me piercing out the claw from my drawing on brass after drilling tiny holes.

This is claw charm after being fully cut out, rounded off and the surface scraped on sandpaper to finish.


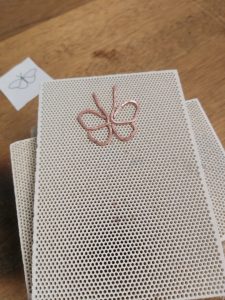
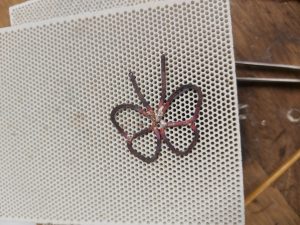
This charm of the butterfly was also using copper wire that we made square and then I used my drawing as reference to move it into shape. I then soldered all the pieces together and sanded it all flat.
This was the cuttlefish casting that we used a small piece of wood that was sanded to a book shape and casted in sliver.

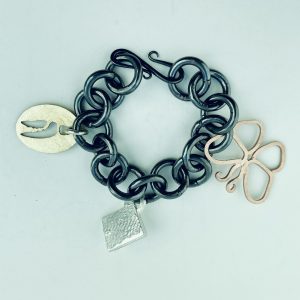
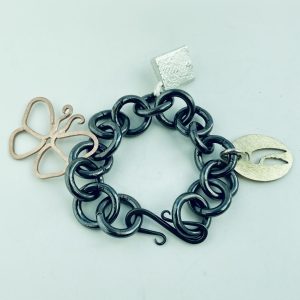
This is a size comparison of the charms to the bracelet.

Unfortunately, I was sick on the last day but very kindly it was finished for me with the burnishing and the charms connected but this is my finished bracelet and charms.


Interaction Design Prototype


https://www.figma.com/proto/7YPlfNFg0TksThKefMCmex/Untitled?node-id=1%3A336&scaling=scale-down&page-id=0%3A1&starting-point-node-id=1%3A336

After creating my icons, I then started to create a apple watch face with my icons as apps and then linked then so when you tap you on each it gives you a close-up version and you can tap it to be taken to the home screen again. I really enjoyed mapping it all out and seeing a usable version of them all, I adjusted the colours of the background to help bring it to live so tried out multiple different colours and shade before deciding.

Interaction Design Icon Crit

These are my icons that were made on figma this is the black and white version of them.

After experimenting with colours I created this version with a cream and dark blue to have a softer less bold and harsh icons, but I still prefer the black and white versions as it’s so much clearer and bold though I would most likely use the blue ones as icons.

Interaction Design Icon Brief

The brief we were given was to create 5 icons of 5 everyday objects in the house. First I wrote out notes of the brief and background we were given from the presentation, it included want the brief was, want it required, the types and style you could create. I moved on to different areas I could create icons on and decided on the technology appliances.
This page from my sketchbook is when I started exploring different designs for the different icons (I did a websearch for different ones on the market) most were straight forward like the phone, laptop and headphones. Others were more subjective like the tablet I added the pen to make it clear it was different from a phone, the other was the earbuds I was unsure on which of the 3 designs, the small buds, the long buds and the sport style buds to use, so I went and asked multiple people and it was unanimous that the long buds would be the most recognizable as buds.

I these pages are of ruff icons that I edited.


These are the screenshots of each item that are available.

These are images I took of peoples own technology to use as references.


These are my icons on the grid to help me understand how I can make these as simple and readable as possible.

These are my icons on the grid with rounded more understandable as the icons.

I did complete research on some well-known icon designers before finishing my own. Susan Kare studied fine art in NYC with a Ph.D. afterwards she started her career which quicky lead to big things like becoming an original member of the Apple development team to design typeface, then she began creating icons for them with a very limited pace only 32×32 sq these would have to be incredible clear and readable. Her work is instantly recognizable with the company Apple I really like her style as it’s so readable and she has had such a large impact as well. These are some of her icons.


First Day – Interaction Design

This a page from my sketchbook of the brief of the group work where we talked about our different ideas for words and then decided one want would look best, at the bottom of the page it’s the notes and sketches of the second task.

Some photos of us working together to make the first task.

These were my group work piece we completed.

These were everyone’s piece.

These were the second task pieces we completed, my groups ones were the mouse, boat and glasses.