I had intended to post lots of progress shots of my modelling process, but I kept forgetting to grab screenshots. In future, I will set alarms and reminders on my phone so I capture more.
I modelled the sword first using a cylinder primitive. I then used separate primitives, both cubes to create the crossguard and blade. I extruded out the shapes using the multi cut tool. During the process of both models I had to redo areas over and over again as I discovered issues, but each time I learnt another technique or a better way of doing something, so I am actually quite happy. There’s still a lot of problems and things that my inexperience made more complicated than it needed to be. I struggled using the shrink wrap tool, and even now I think I could’ve made the leather straps look like they had more weight and thickness.
(1) Easy Leather Wraps in Maya – Shrink Wrap Tool – YouTube
I referenced this video to create the leather straps.

The flowers and the blade caused me the most grief, with the way I modelled the blade, I struggled to make it look sharp. I think it looks ok, but I could’ve done more. The flowers are all variations of the same model, which was a matter of time constraints on my part. I left the flowers close to the end and then had issues with creating different types of flowers, they wouldn’t look right and there were a few clipping issues. I forgot to freeze transformations, which was the source of a lot of my problems, and by the time I’d figured it out, I’d already decided to use the same model and edit it. I think this was for the better, because my sword looked quite busy by the end of the texturing process, I think the one type of flower helped even the colour palette.
I based the flowers off of a few types. I mixed together flowers like forget me nots and brunneras to create my model, because the concept is a faerie sword, I wanted to create a flower that would look like it belonged in a fantasy realm.


Here’s the finished model before texturing.

My shield is less defined, and I do think I could’ve done a lot better with the construction of the model. I would soften more of the edges and smooth the faces down because it was still quite blocky even after I was done. I also think the centre piece could’ve been modelled better, I’d make the top part thicker and more spread out if I were to do this again.
While looking at my model, Alec accidentally deleted a few faces on the back and they are very noticeably replaced polygonal faces. I hadn’t noticed with until after texturing, and I was getting close to the deadline. I now know I can import a model into Substance Painter without disrupting the textures I’ve already applied.
 Here’s the model in Substance before applying textures.
I wanted to do engraving on the blade and shield, so I went into Clip Studio and drew out stencils. This was a lot of trial and error, figuring out how thick the lines should be and the general layout. It was quite fiddly, and I’m sure there’s an easier way to do this technique, but this is the one I used. I actually really liked how it turned out in the end.


The shield design was actually greatly inspired by a piece of artwork done by Bon Orthwick, who drew this piece for a book called Empire Of The Vampire.
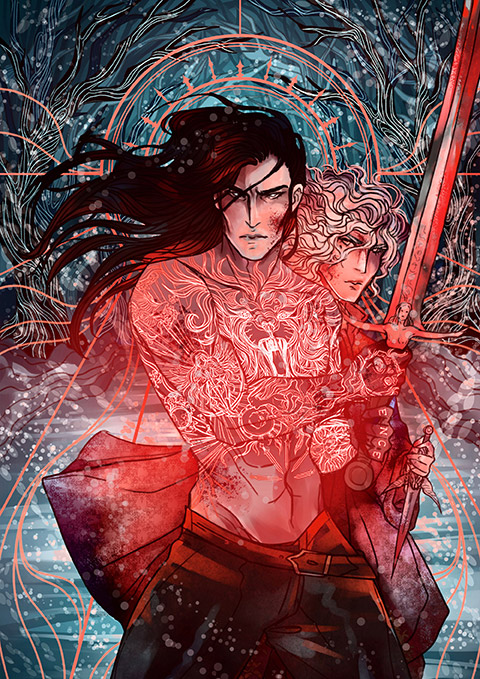
The character’s tattoos had the general look I was going for, but I didn’t want it to be overly detailed because it needed to match with the sword. So I took the general idea and applied it to the bottom half of the shield, it’s not a very obvious inspiration but it helped me consider where I should put lines to create the shape.


