I enjoyed working on this project more towards the end of the project when all of the models where finished, putting it all together in a scene was very satisfying to watch and I feel like I genuinely learned a lot by doing this project, I feel like my modelling skills have improved from last year however my uv mapping skills still need some work.
the tutors where extremely helpful during this project and gave back some really good feed back that was given very quickly, they really helped me with my 3d models when I was trying to create something a little more difficult and organic.
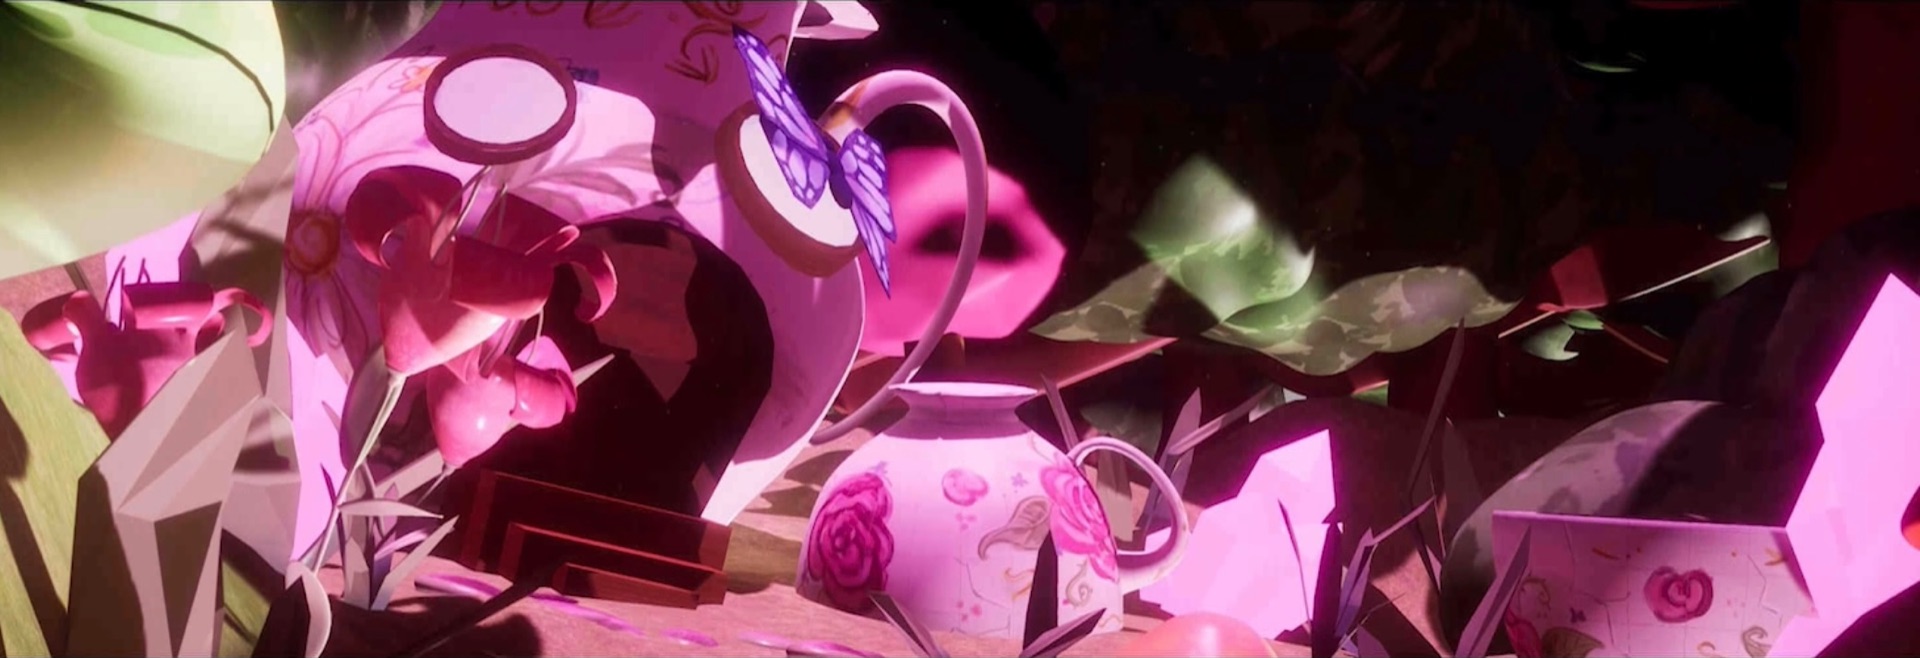
I was a little stressed out during the middle of the project as I think we where having some communication problems in our group and a few of our models where given very close to the deadline, I was also stressed that I had so many models to texture and uv map since uv mapping isn’t my strongest skill, I could of used a little help, but overall I think the models our group made turned out very well, I really liked how the teapot,crystals,bridge and mushrooms looked all together.
making the ideas and concepts with my group was very fun as we all had the same kind of idea.
I have never used premier pro until this project so it was very interesting to learn that as well as unreal.

 ANIMATIONS-


 Iv also added magenta shadows everywhere so it all looks slightly pink, i also turned up bloom quite a bit as I really liked the look it game my scene, I felt as though it made it look very dreamy, however I was told by tutors to turn down my bloom slightly as i was over doing it.


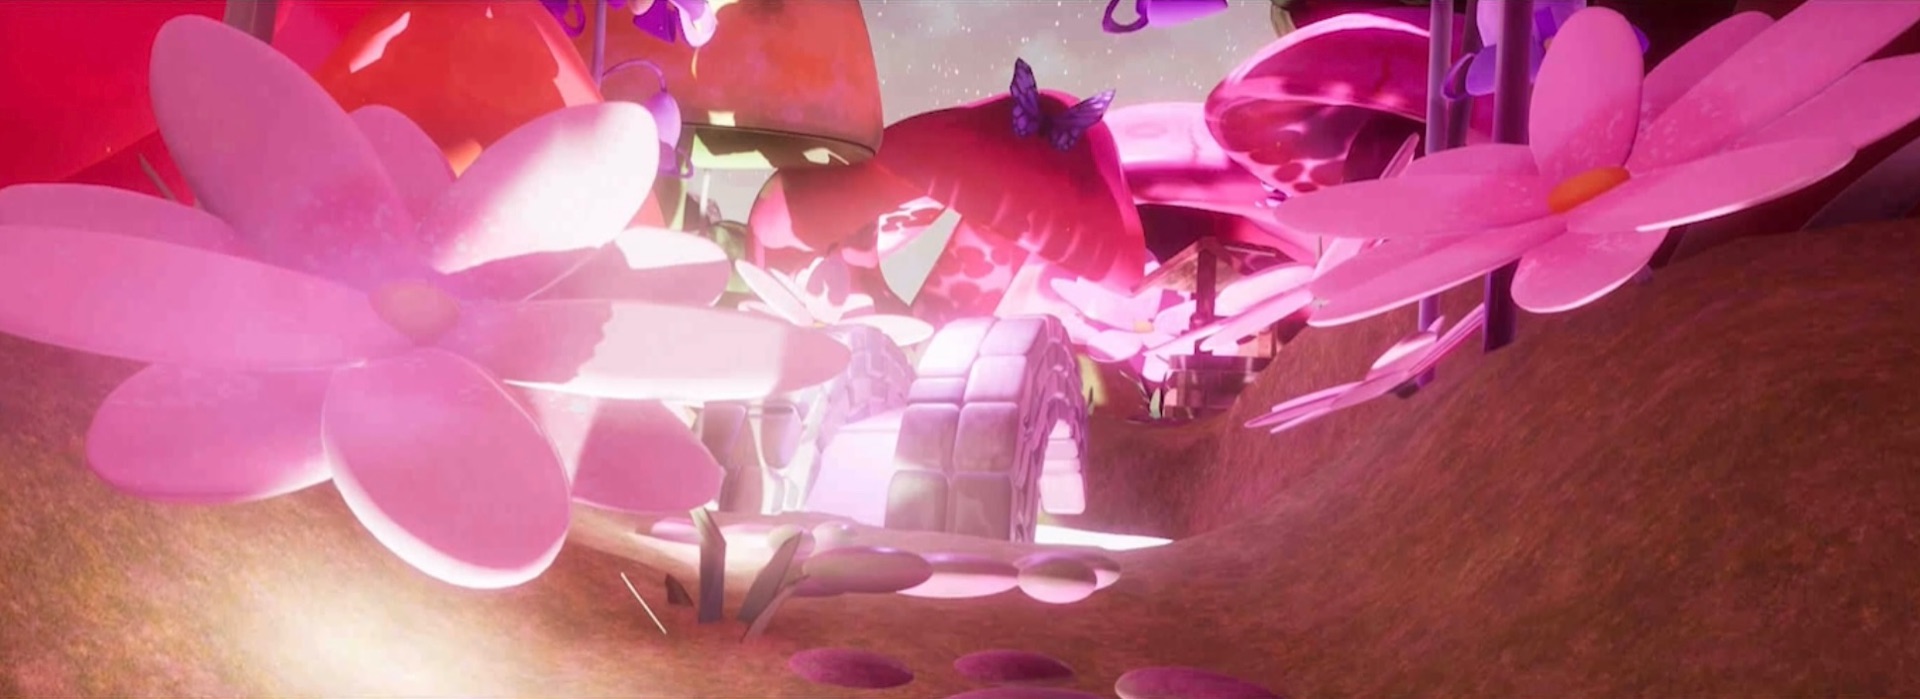
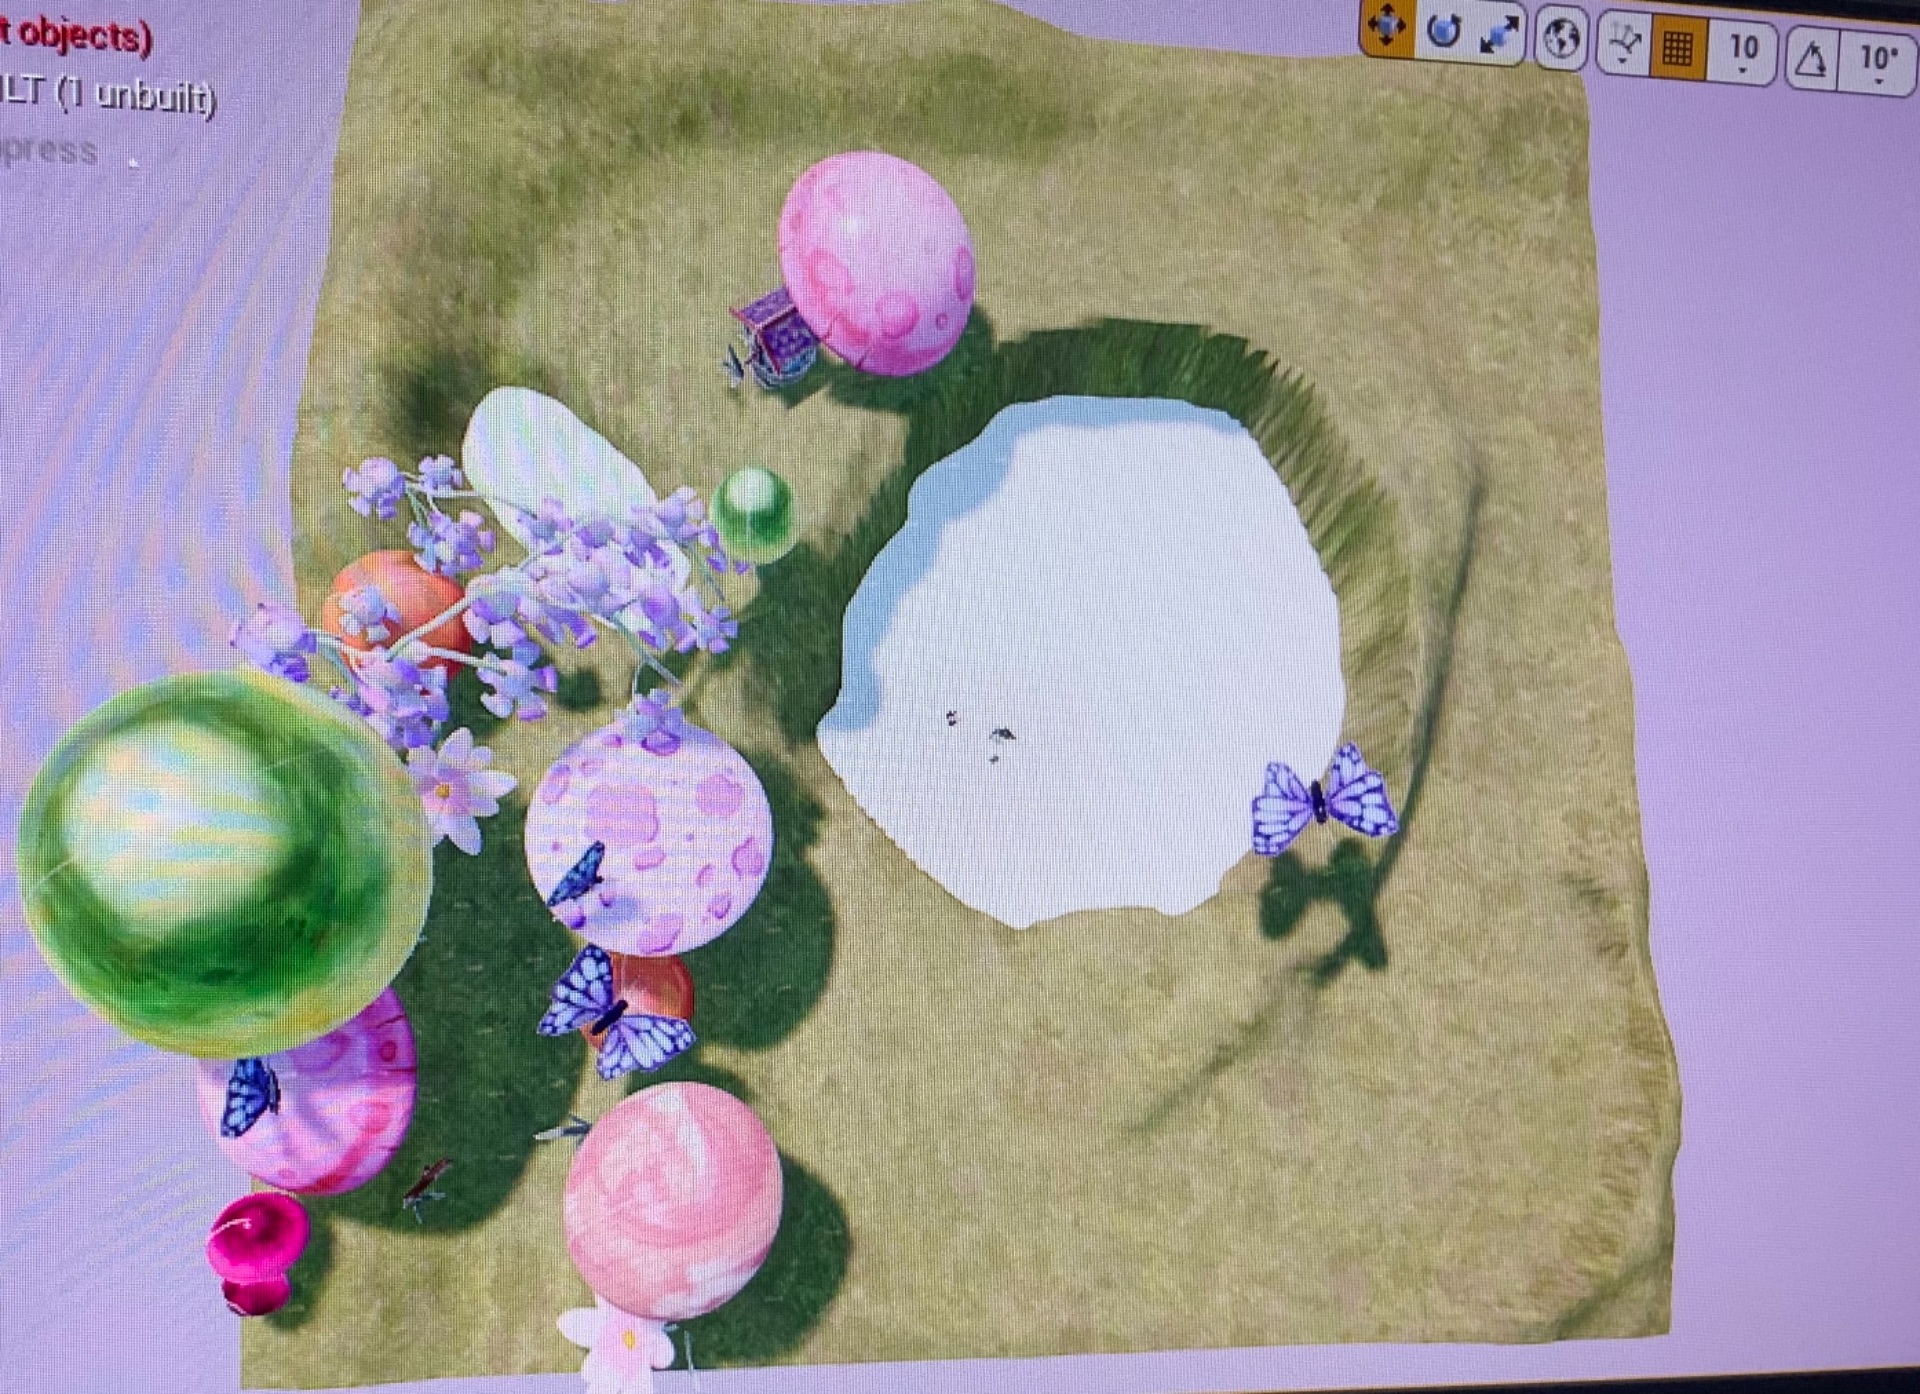 I inserted the majority of the models I would need in the scene and began placing them around in the way I wanted, there would be the entrance which is supposed to make it look like you are coming in from a forest, the. You’d immediately see the sign fairy realm pointing you in the directing to go straight ahead.then as your walking your surrounded by big mushrooms and giant plants in which you would cross the bridge.
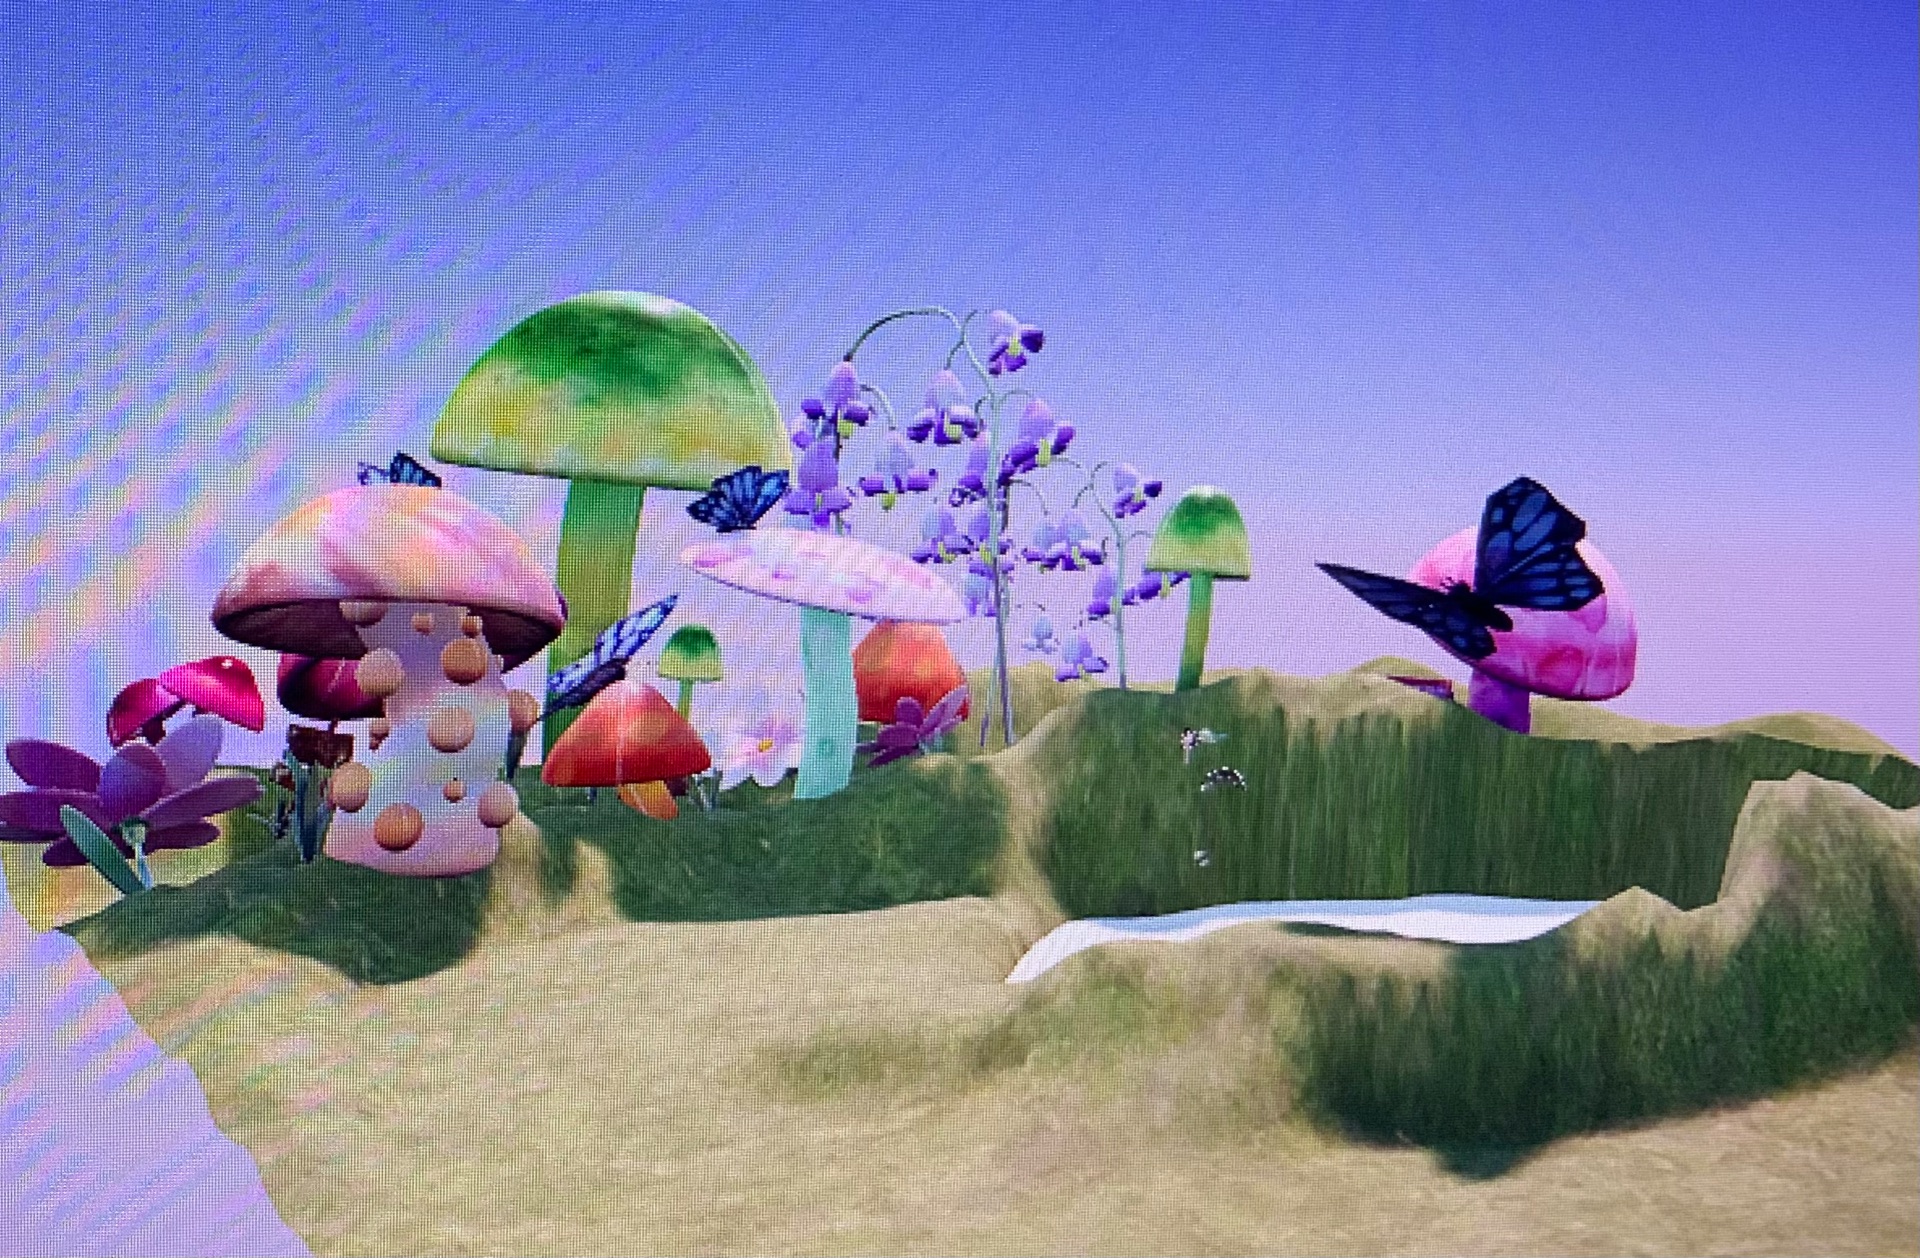 I had to smooth out my land scape as the higher the hills got they would sometimes get distorted.
 Some tutors had suggested that I place my grass blades around my objects so they didn’t look as harsh and blocky being just inserted into the grass landscape, I think this helped with the look of the realm a lot.
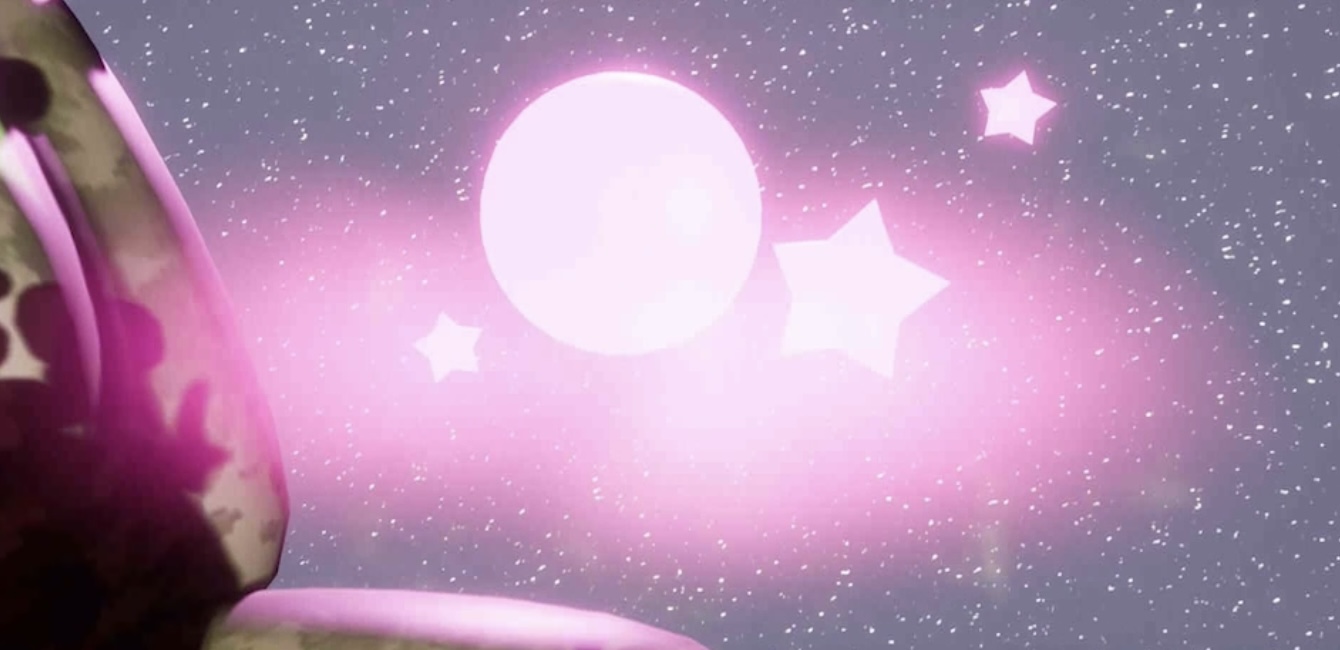
 although I had previously designed a sky to be used as the texture we would put as our “sky dome” I ended up preferring the sky in unreal had way better as it had many stars that moved along as you walked through your landscape and the clouds would also moved which brought so much life to it.I gave the sky a slight magenta undertone and I think it turned out pretty well.
 this is my work in progress before I had built any of my lighting or inserted any lights at all, I actually found the unlit no shadowed look very cute. I am trying to use my trees to make an entrance for the world, the entrance instead being quite plane in comparison to what your about to walk into, to try and give the impression you really are walking into another realm.
 I needed to model a big tree since it hadn’t been created yet, our group wasn’t sure who was originally assigned the big tree but since my original pink tree I had created was not working for unknown reasons I created this one instead, I made it green because I thought it would make sense for the big important tree to be a more natural colour.
 I also modelled a few rocks that could be mixed and matched on the ground to create a pathway, I tried adding green moss around the sides so it would blend in better with the grass in the ground.
 I created this vine texture that could be used to hang on the big tree as it would make it look more grand and make it appear less rounded off perhaps.
 the original moon idea was supposed to be a smiling half moon but since this was nearing the end I just decided to create a very simple moon which was full and for the texturing I took an image of a free to use moon image and placed it Over the circle I had brought in.
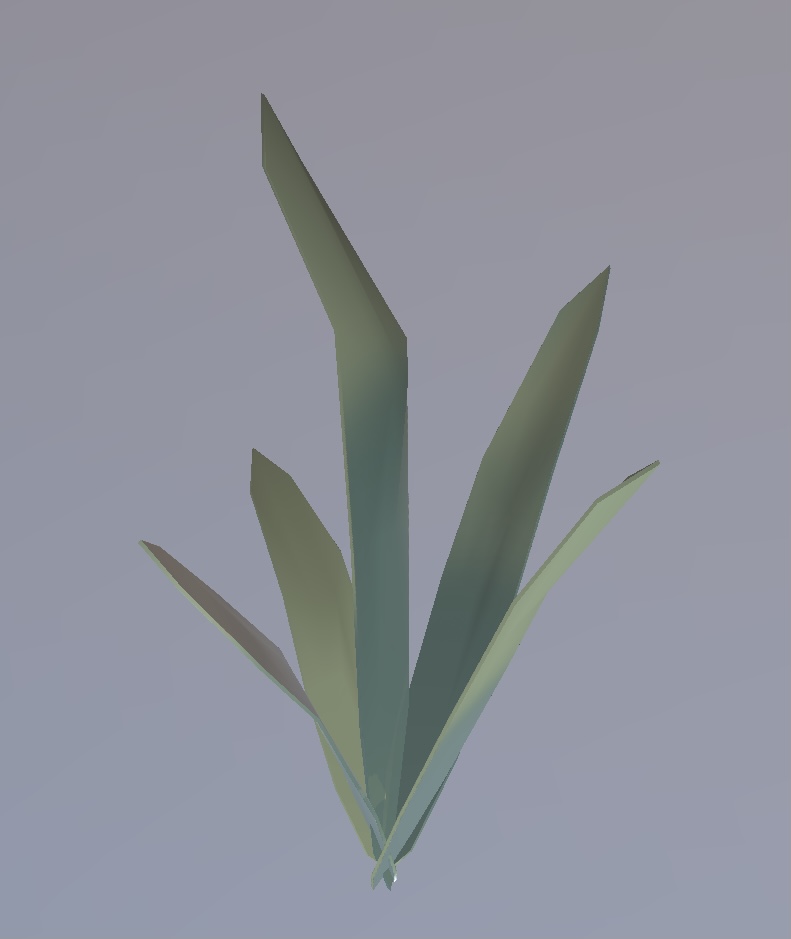 I have modelled and textures a bunch of blades of grass by creating a plane and extruding it slightly, then bending the faces and vertices to get the look of bend blades of grass, these are just so when our worlds landscape is textured it will have 3d assets to make the other models look less flat.
 I also modelled a little sign which is going to say fairy realm on it, I thought it would be a nice touch if it looked as though it was painted by the fairies them selves to help with the world building.it is also there to help direct the camera as to where it is going into. The long base of the sign is a square which I extended and then messed with a few of the vertices to give it a chipped off wood look. Then the actual sign parts are two squares which I flattened then have a chipped off look to as well, for the arrow I selected a the faces at the top of the square and extended , then pinched the very top to give it a pointed look, making it look like an arrow head.
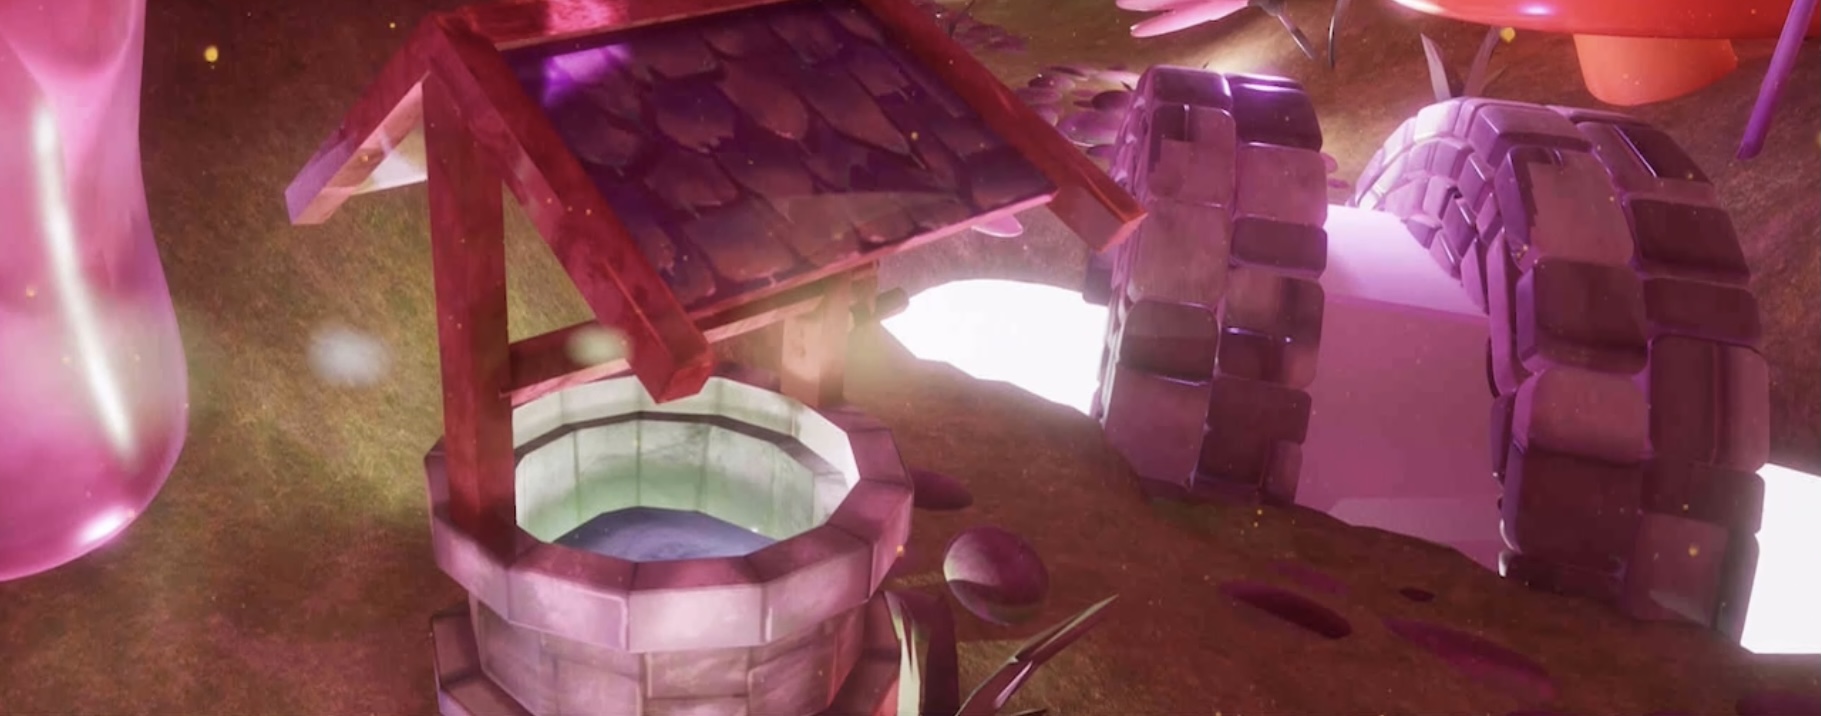
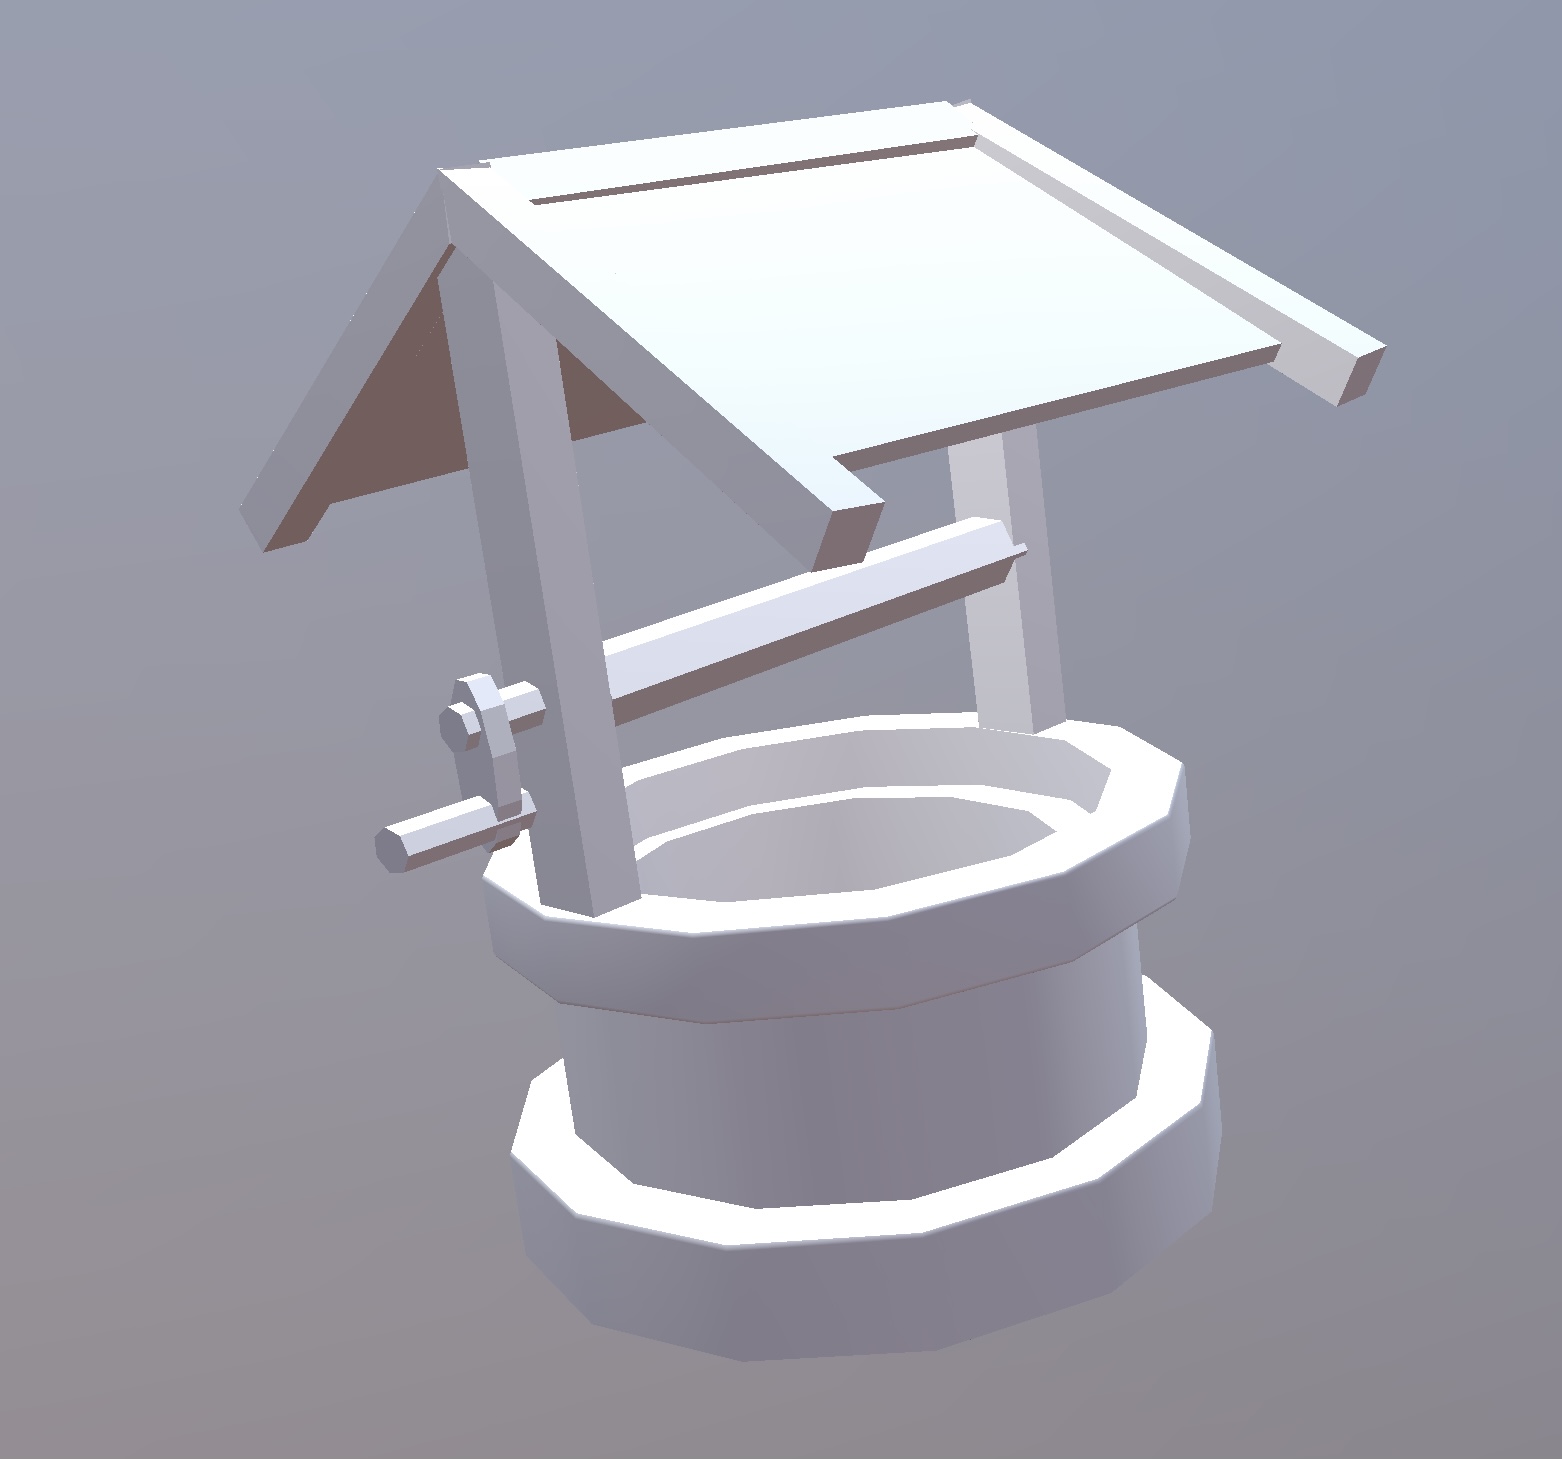 And I modelled a well, I was looking at inspiration on sketchfab of little gardens people had made, and alot of them had wells and I thought it would be perfect to go into our fairy realm as it just fit the vibe we where going for,I modelled by well while looking at other stylised well 3d models,I made 3 cylinders and deleted its top and bottom , the cylinder on the bottom and top I just made slightly wider than the middle cylinder,I also bevelled the edges to made it appear softer, then I made a much of squared and cylinders to create the wooden parts that hold the roof up, I fixed them up by extending a few of the vertices. And the roof is another 2 slightly extruded planes.
 I created the stars that can be seem in the sky, our group decided it would look interesting if some of the stars that can be seen in the sky where 3d, I quite like this idea and I think it will make our sky look less 2d and will stand out more.
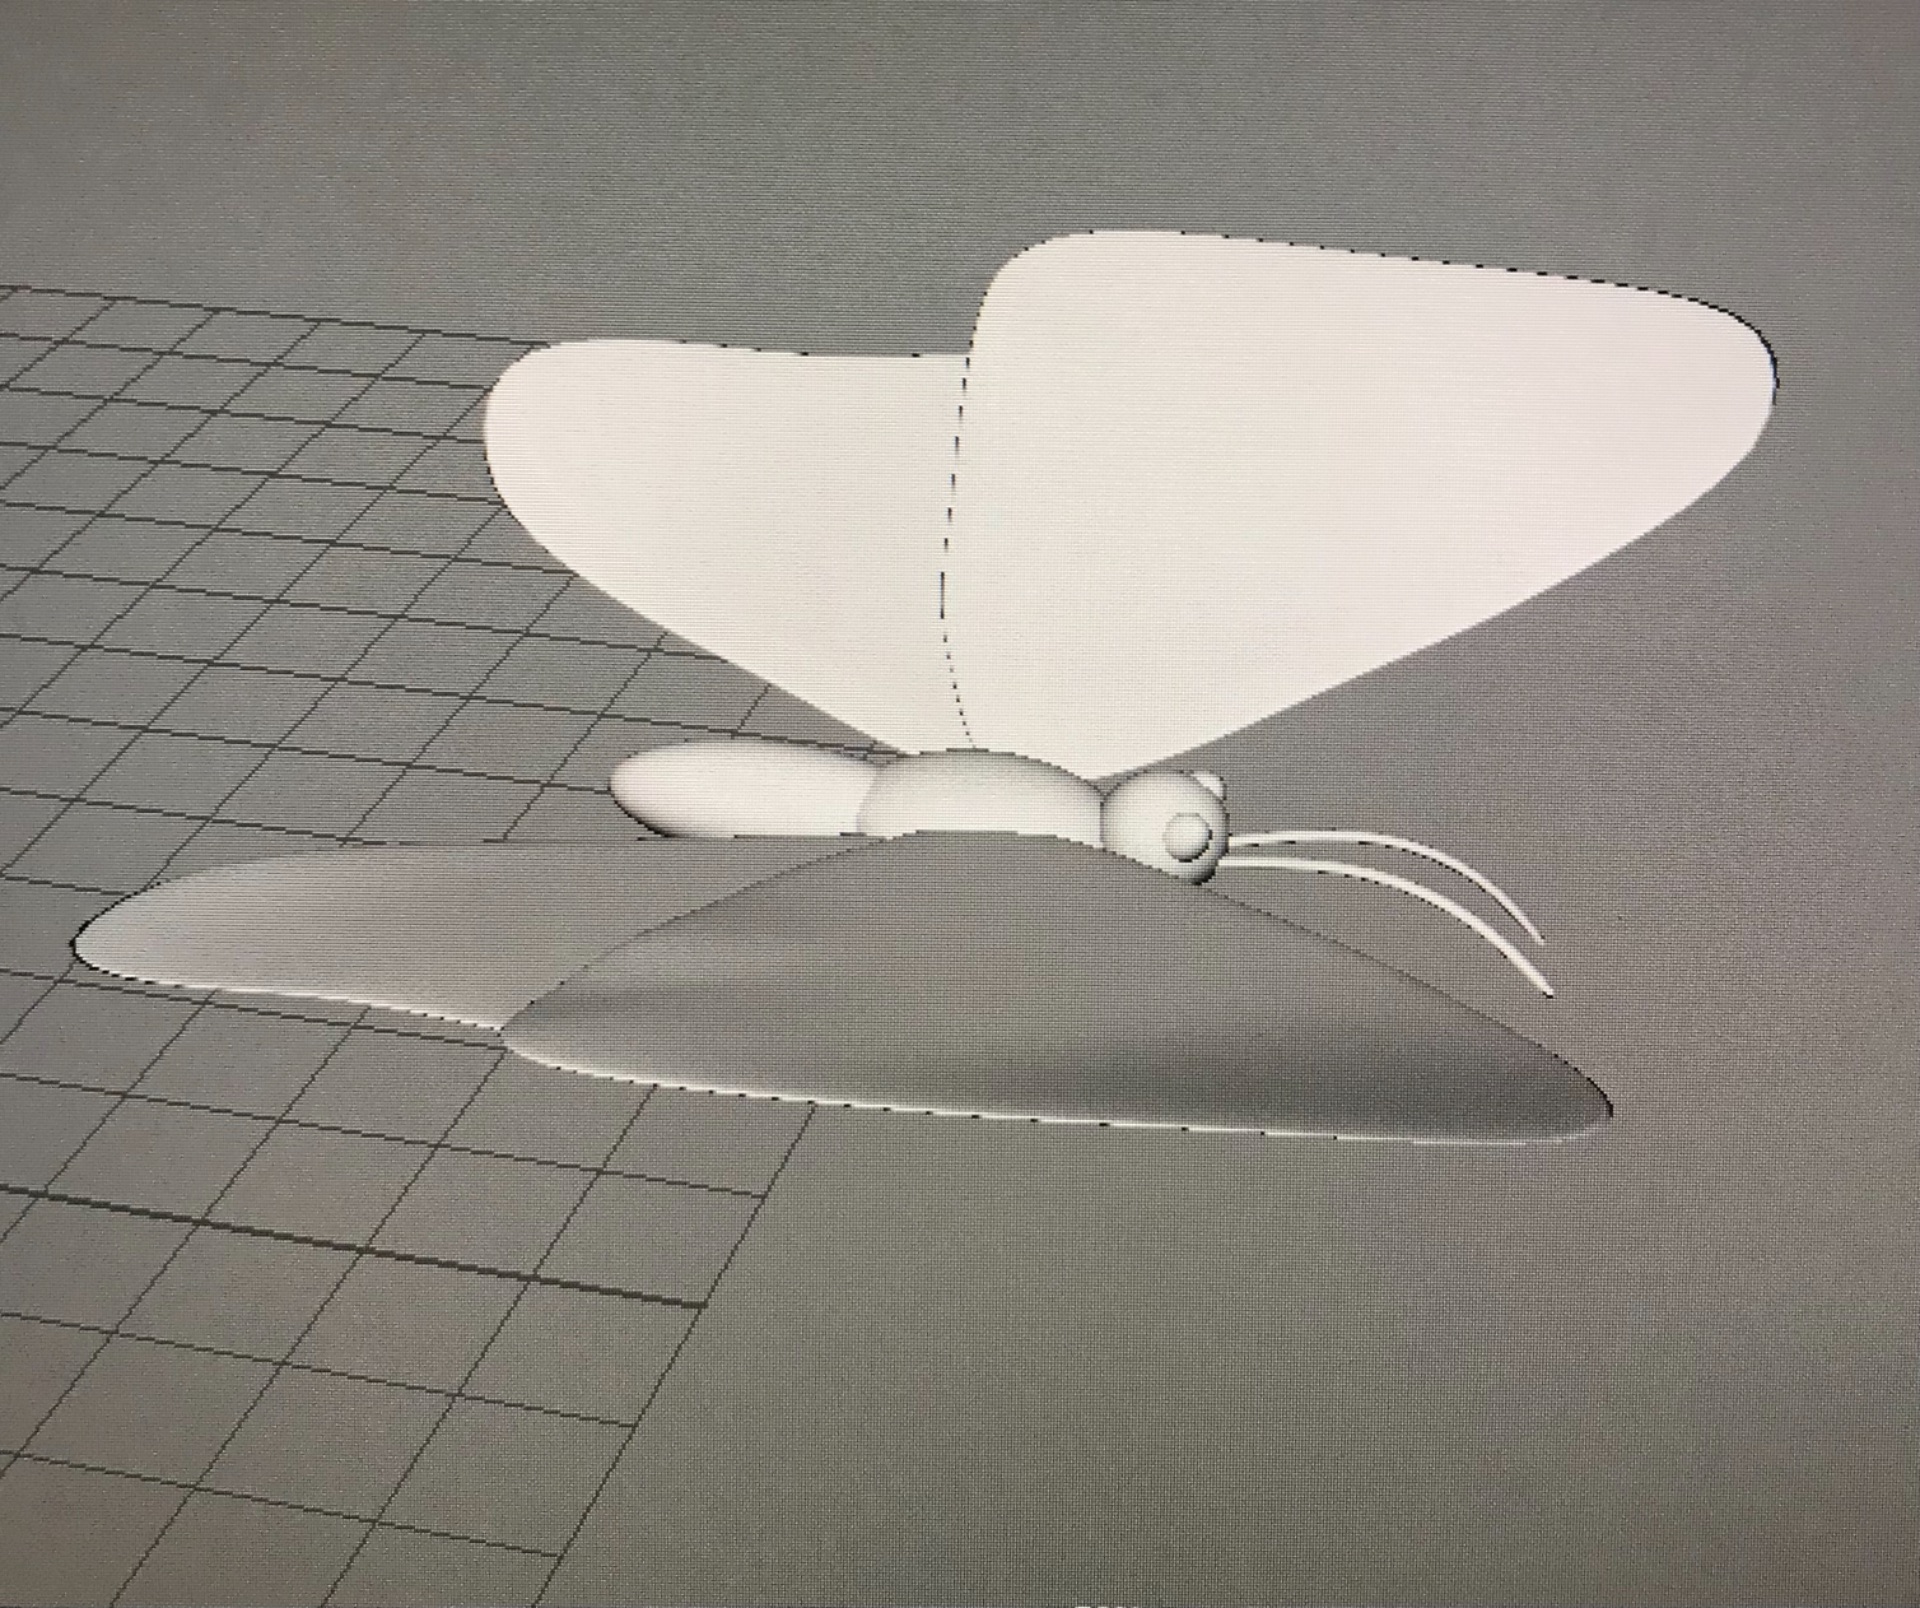 I then modelled a butter fly, we wanted to incorporate at least one insect to show the size of the fairies in comparison to this small but very large realm, I think this model will be seen from the sky, as if it was flying.
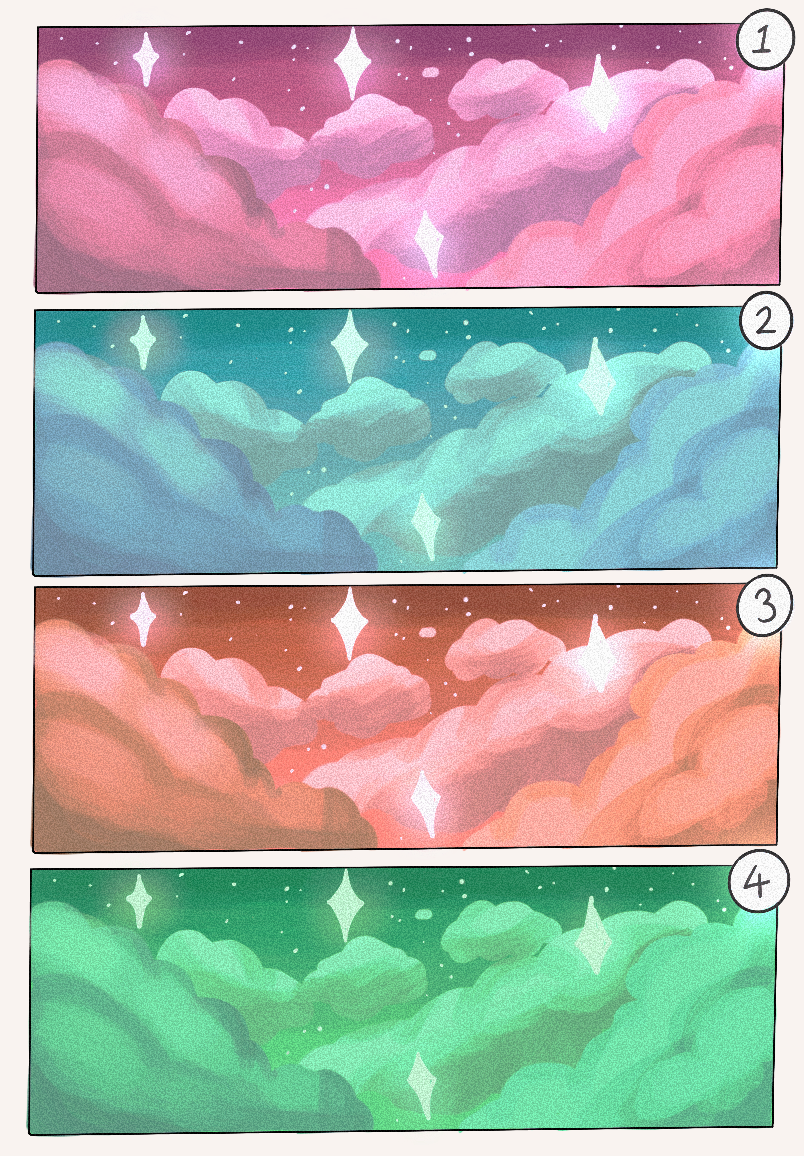
 This is the sky dome texture I have created , it is more detailed than my concept art since it will be seen much larger when seen in our fairy realm.
 It doesn’t quite look right yet when inserted into maya but I will tweak my art to work better for the sky dome.
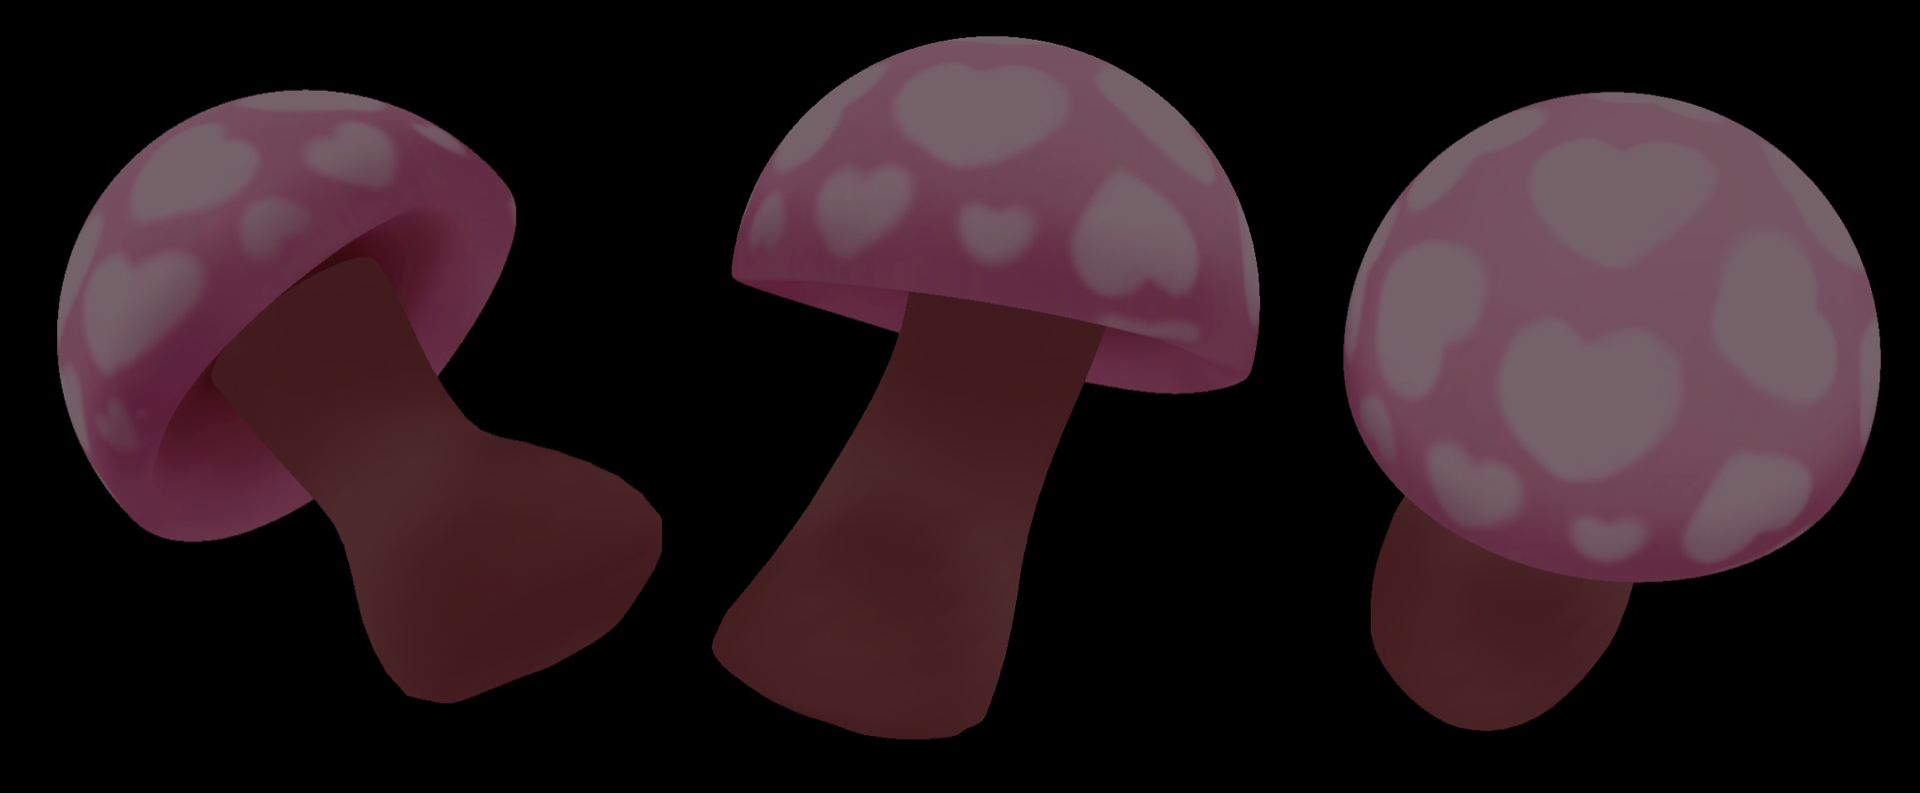
 I modelled and fixed a few more of my mushrooms.
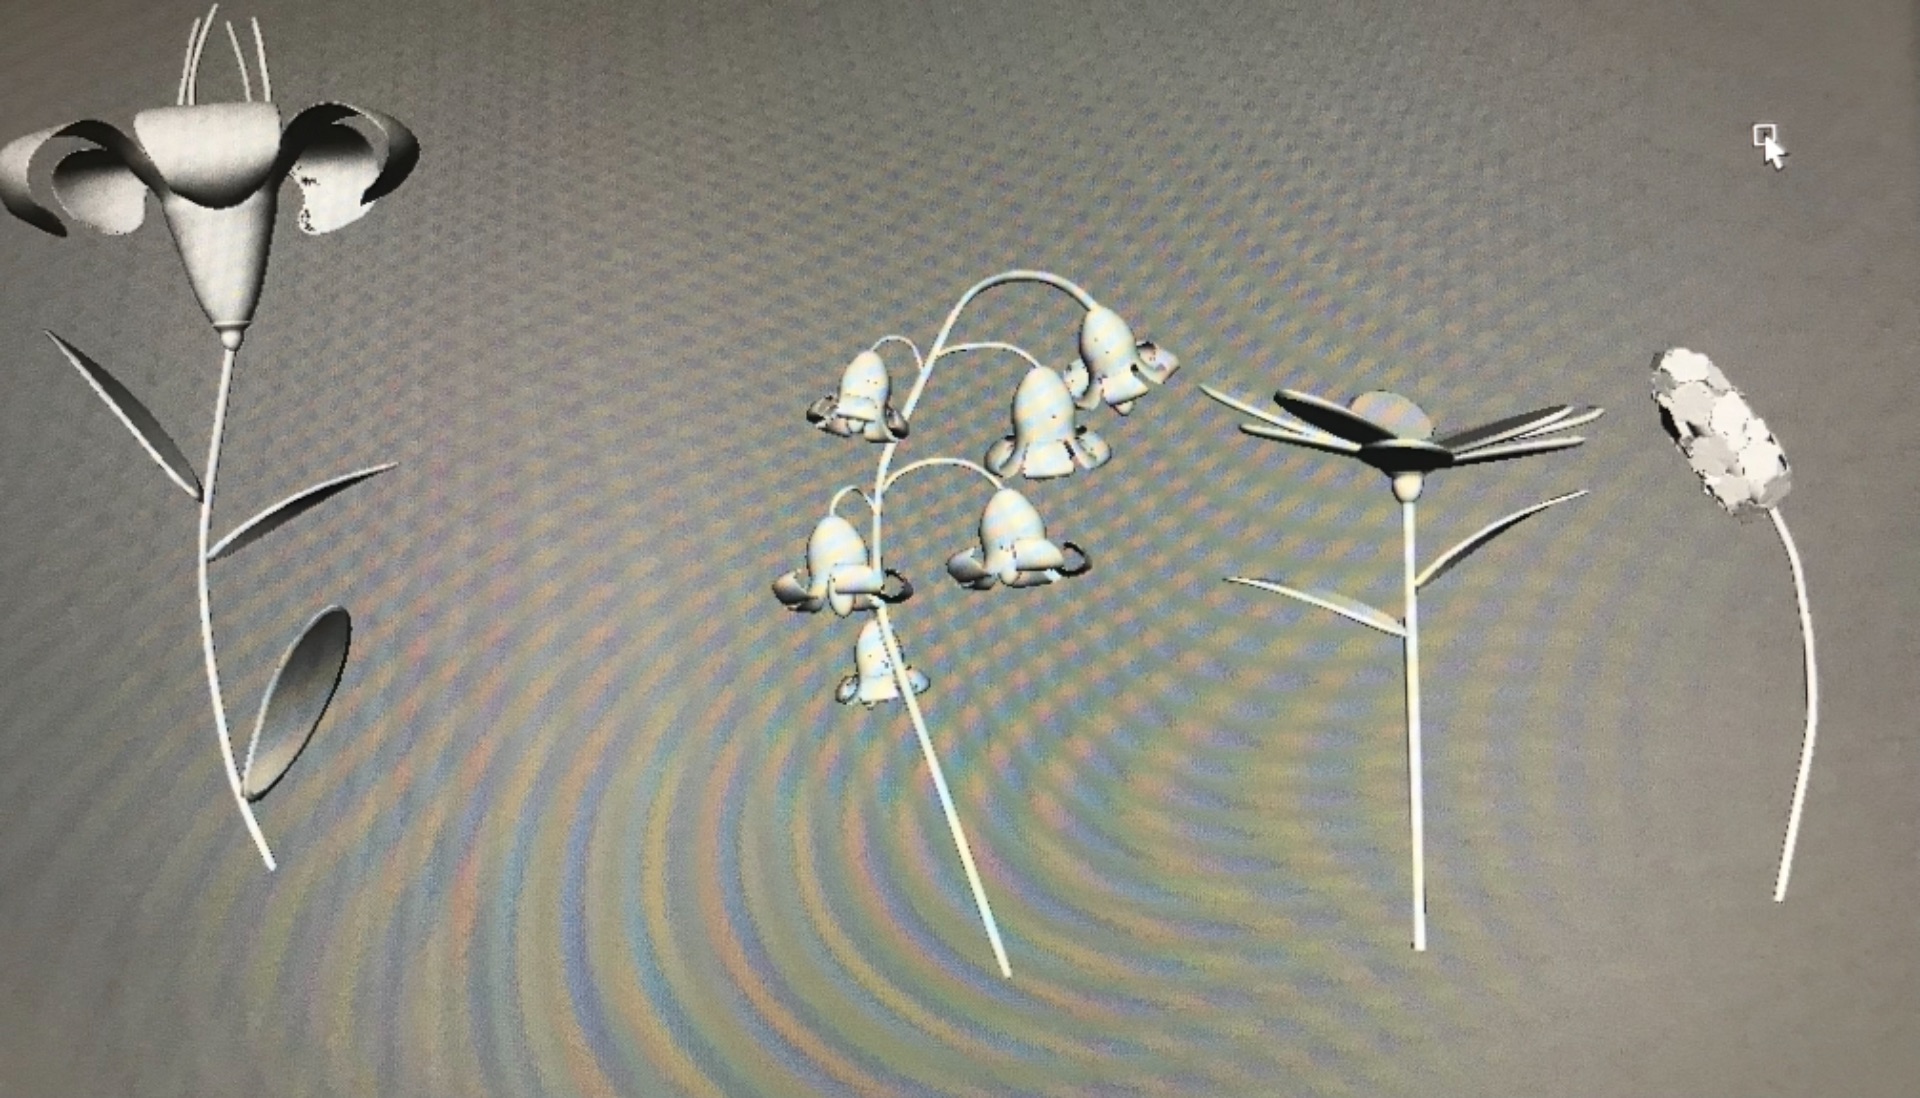
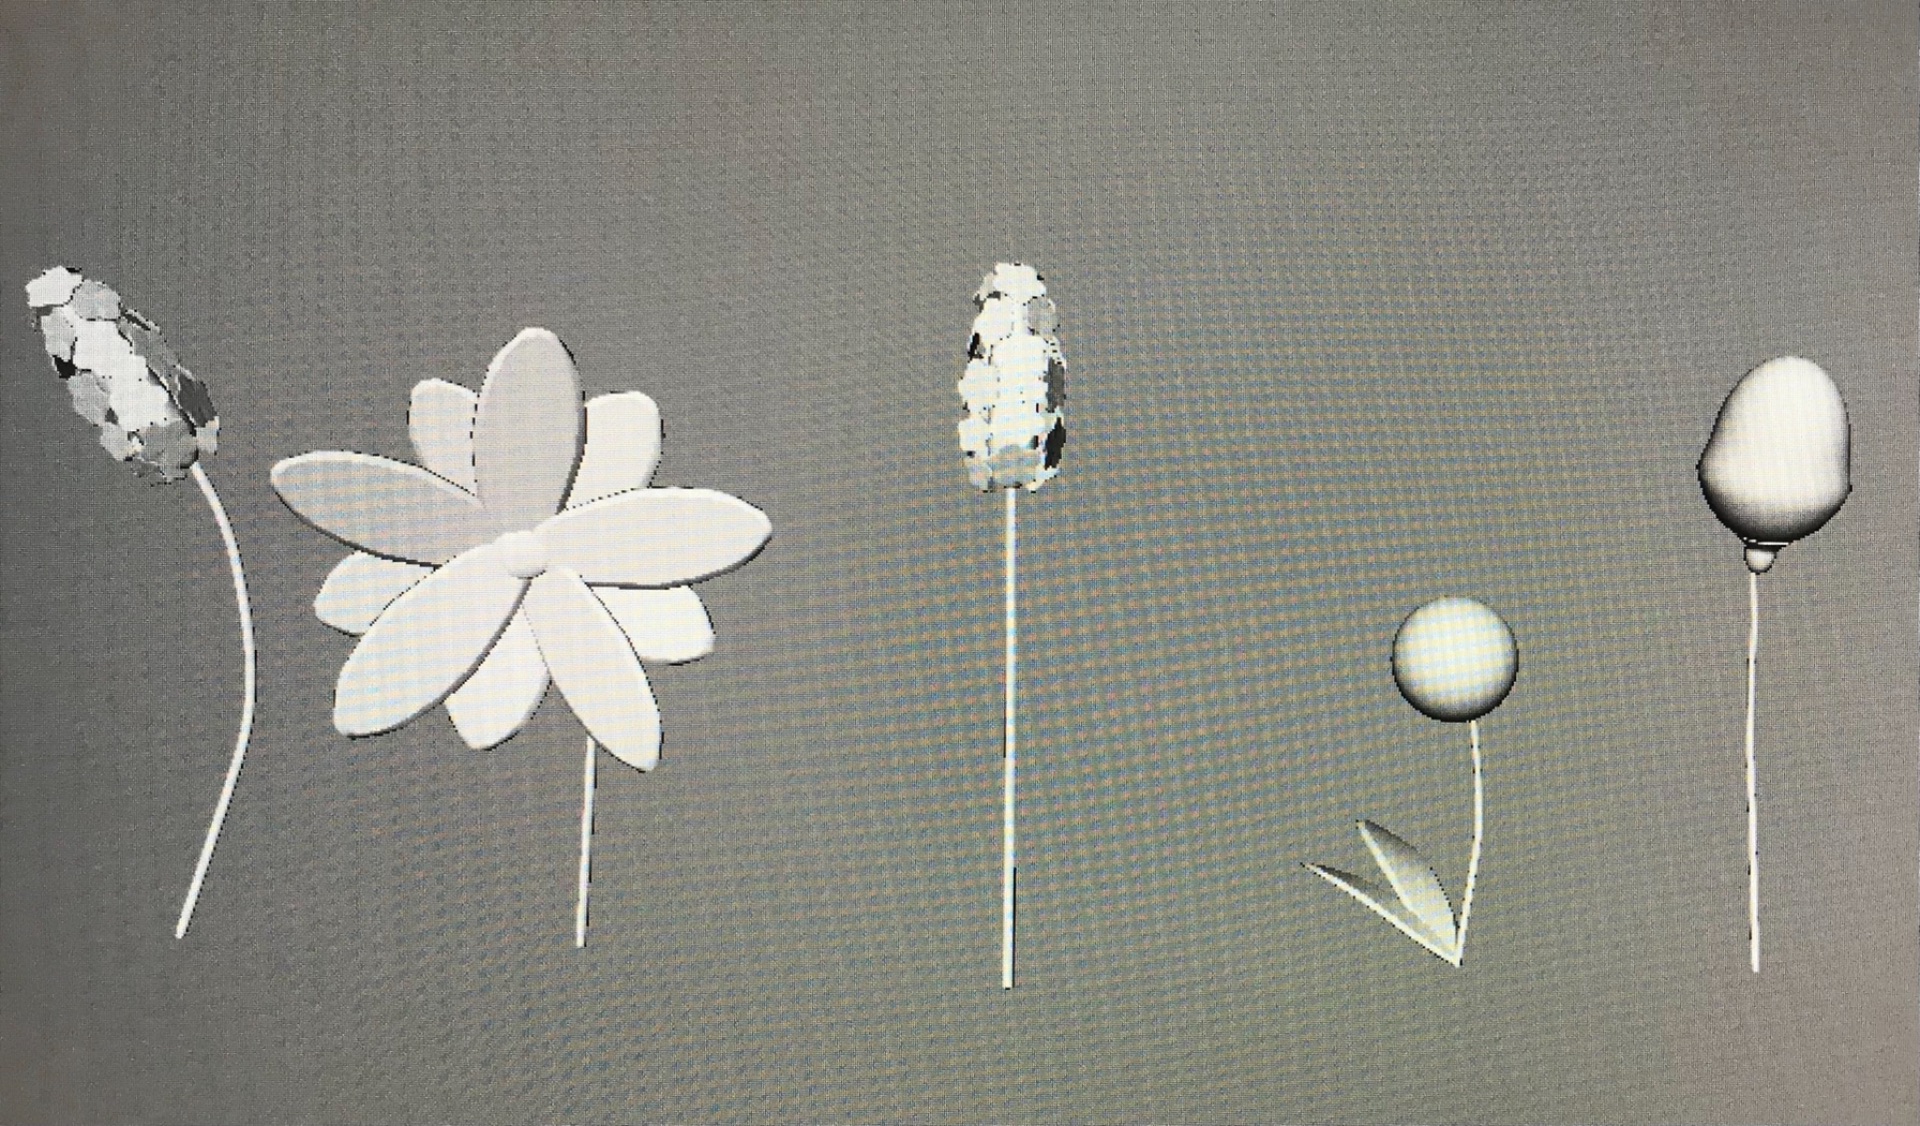 I have 3d modelled some flowers to go into our environment, these models are more detailed than some of my other ones since they have a lot of little things added on to them to identify what flower they are, I have created a daisy, dandelion , unopened flower, lavender, blue bells and a lily.
 This is how the lavender looks up close, I went for a more stylised look as it has very small flowers all among each other, I want to paint this to give a more desired effect.