
Introduction
Last week our tutors introduced us to Blender alongside showing us how to sculpt in the app and how to download it. So for the homework we had to sculpt an apple, a pear and a bell pepper.
Getting started
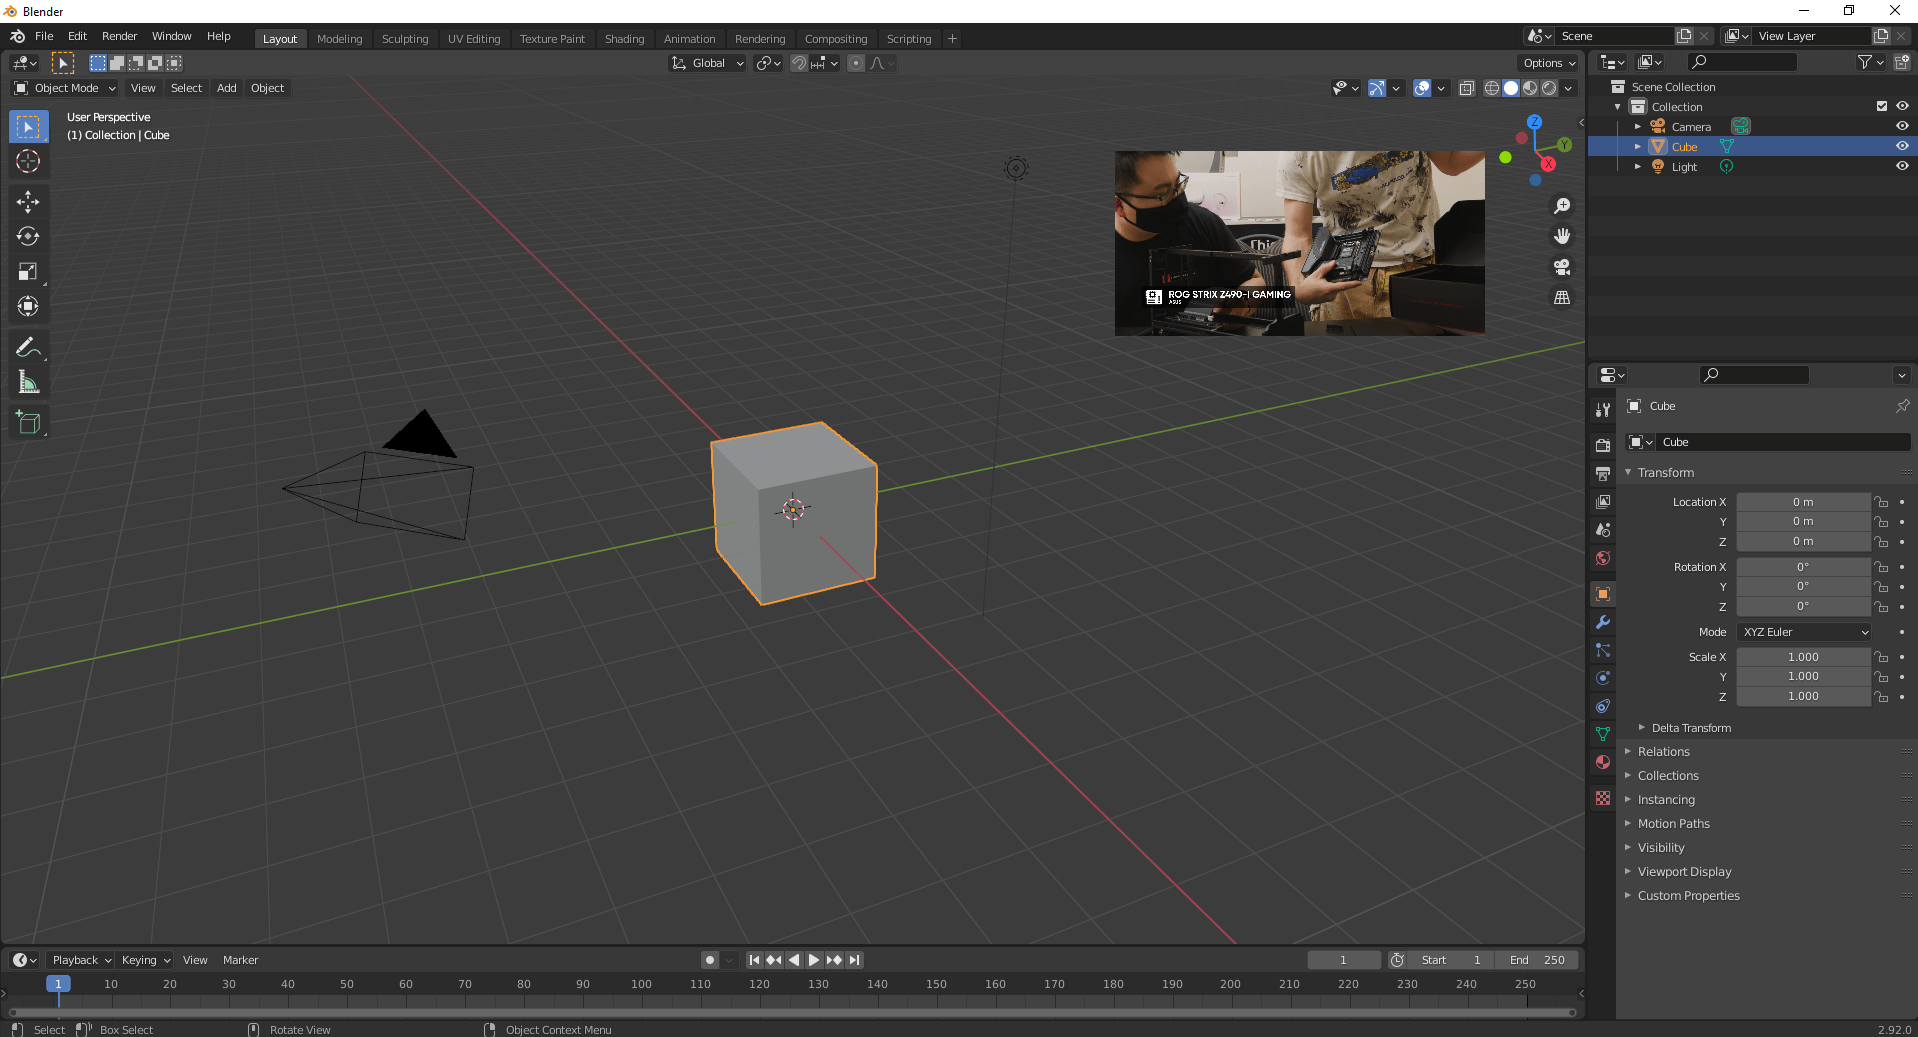
The first thing I did was open program. It greeted me with a bunch of options for opening a scene. Since the scene was already setup I clicked around it to get rid of the menu. (Ignore the small corner, it was a video I was watching while working on this.)
Then all the objects of the scene will be cleaned by selecting everything and pressing delete on the keyboard to make room for the sculpture. Now that it i done, I grabbed the references that were requested to use by the tutors from blackboard and put it in Blender by using its Reference image feature in it by clicking on the X and Z axis and then going onto add image and reference image. Then use the move tool to set it up for sculpting.

Next I had to spawn a UV Sphere from the Add tab and then accessed the sculpting tab which can be found at the top of the program. Which brings up a new set of tools that are specifically built for sculpting.

One that it is set up, its time to get sculpting. With the grab tool I begin to match the shape of the apple on both the Y and X axis. Once I am happy with the look of the apple, I stop using the reference, and move around the object and adjust it before I use Dyntopo to remesh the object to make it look like an apple. I get it into the right shape, I go and tik the Dyntopo in the brush settings, select relative detail and change it with constant detail, change the number from 3.00 to 20.00 and select Detail Flood Fill.

With this it allowed me to have the model at a larger poly count which meant I could sculpt it better without having to witness tiny squares on it. All I have to do now is use the different brushes such as inflate, draw and drag to get to the right shape. Here is the result:

Now, it is time to make the twig of the apple. To do that, I had to spawn in a thin and long cylinder and give it the Dyntopo effect to it with the same setting but only changing it from 20.00 to 15.00 and then go onto Fill. This will allow me to deform the shape to create a curve. To do the curve, I go onto the tool logo and click it. Then go onto add modifier and select Simple Deform. This will allow me to bend the object. Once that is done, I will use the sculpting tools again to create a natural looking like a twig.
Once that is done, I go onto file, export, select the file type as FBX in a new window and press save. That is how I made the model. Here are the other two models. They follow similar steps.
Pear:
Apple:
Bell Pepper: