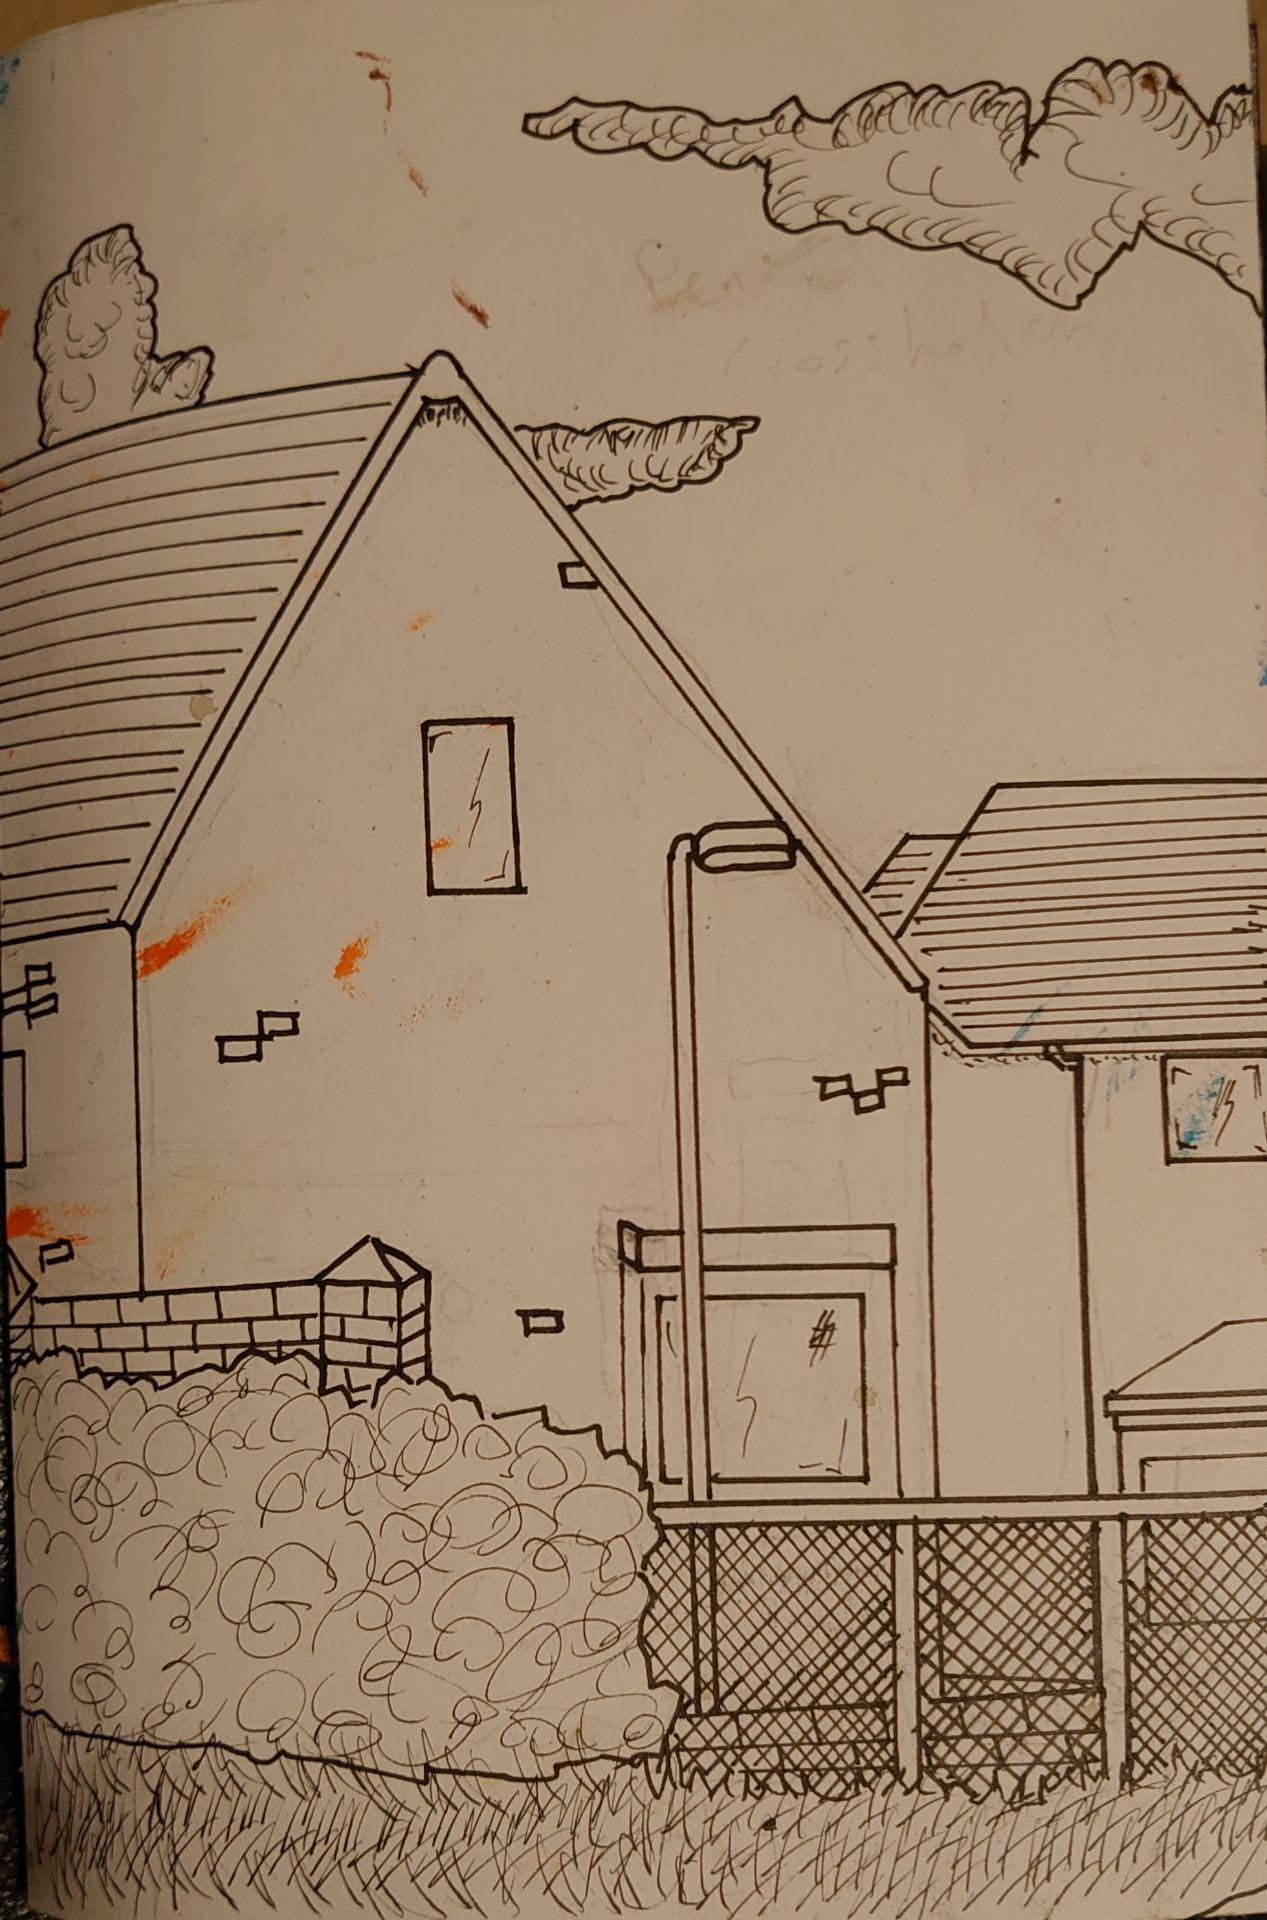
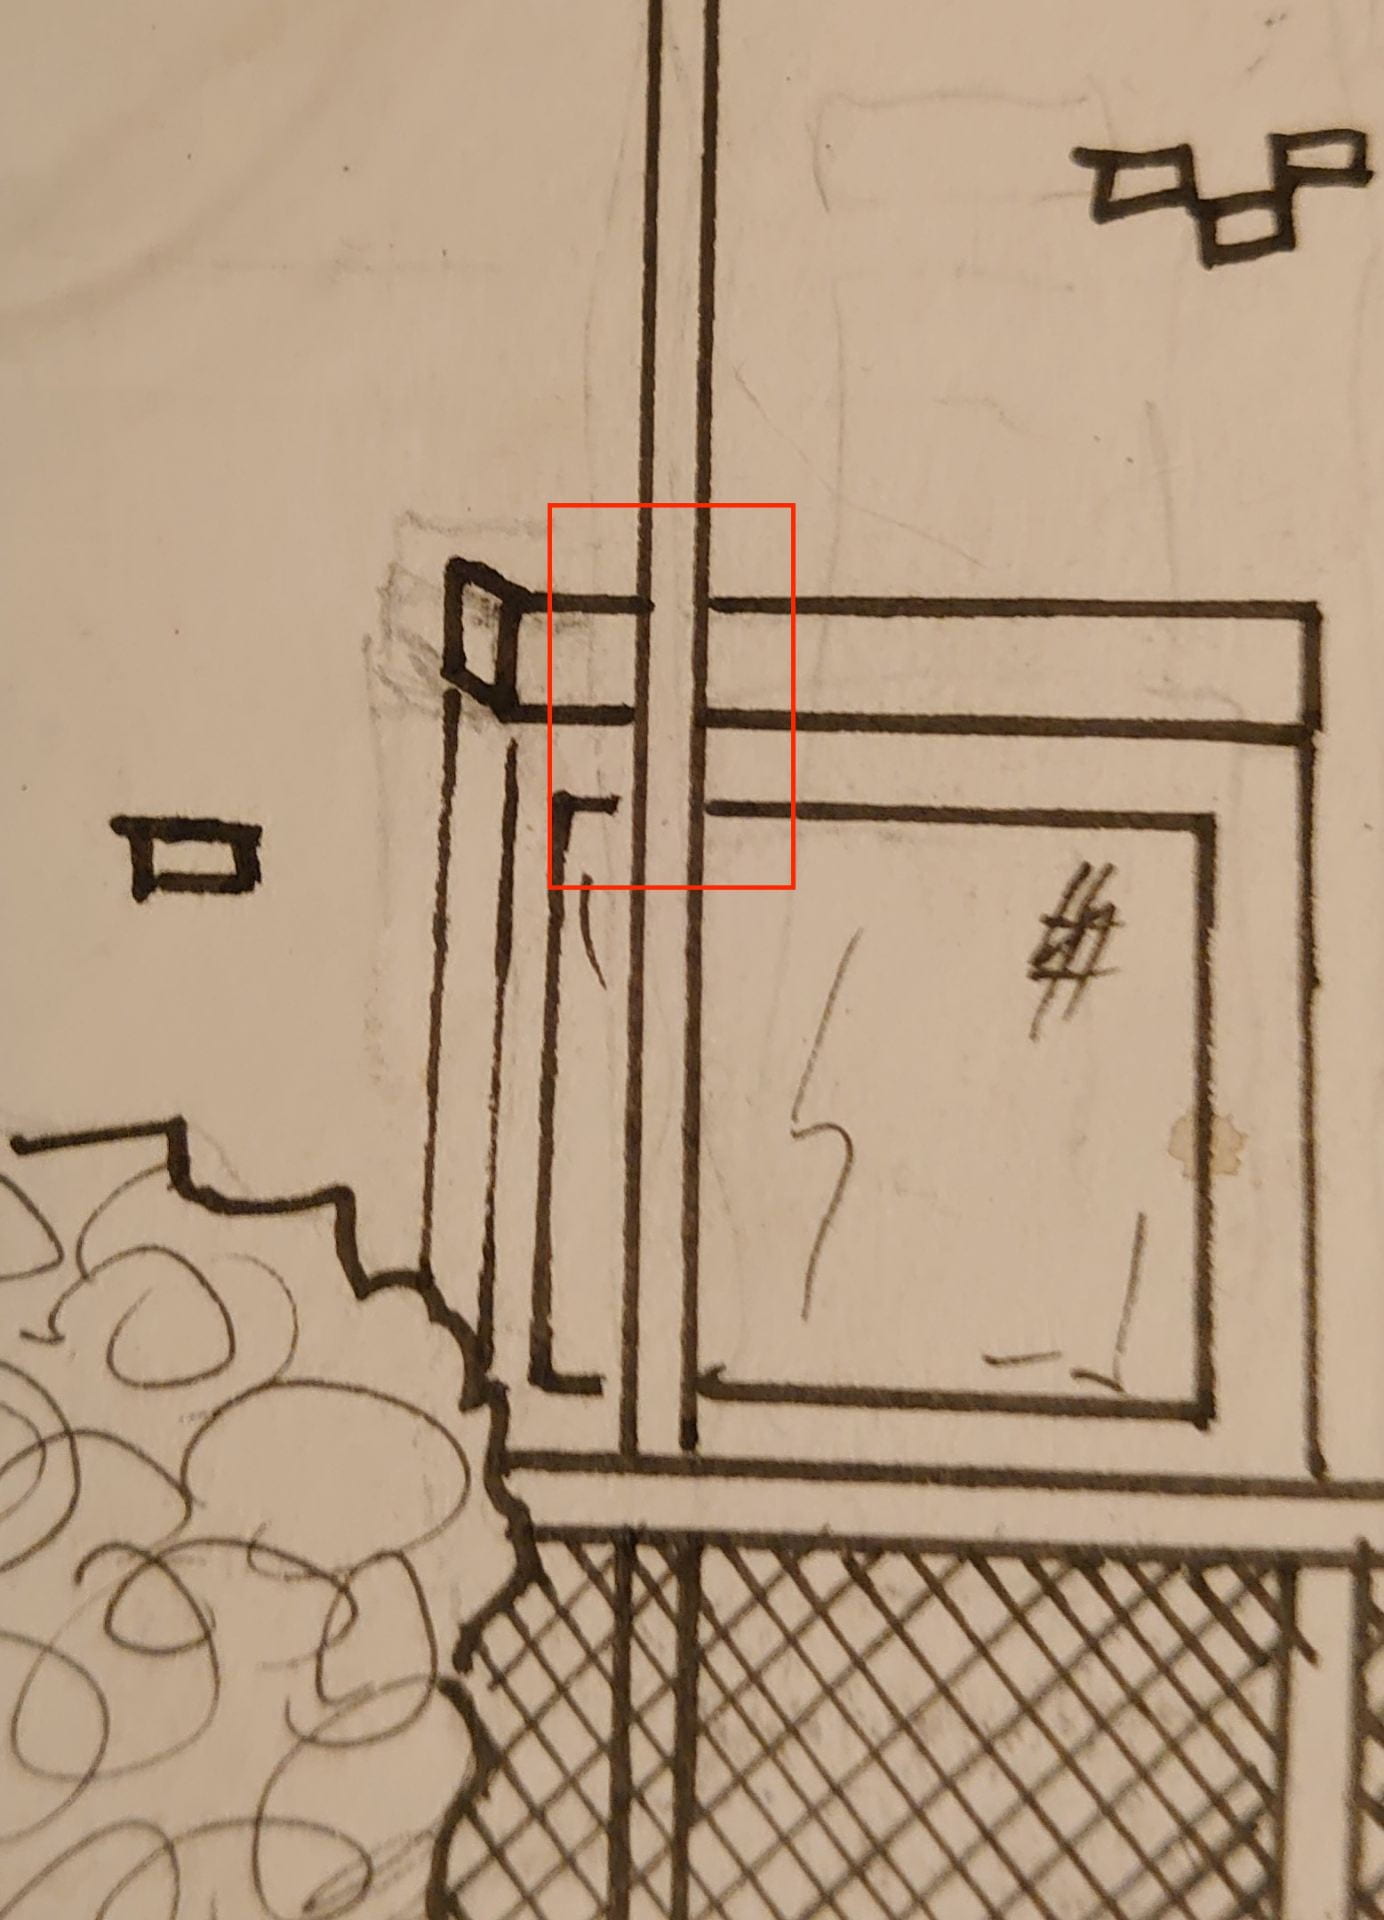
Firstly, i decided on an image that had nicely defined, straight line patterns with perpendicular points of contact, a previous attempt taught me that this made for easier construction and better structural integrity.
 .
.  .
. 
From this final cropped image I created a template, roughly the size of an A6 piece of paper. I added a middle strut to bridge a largely unsupported gap, fearing it would collapse. I removed 2 of the bottom struts of one of the sides, to create a slightly a-symmetrical look. Admittedly, I should have photographed the template before using clay on-top of it.

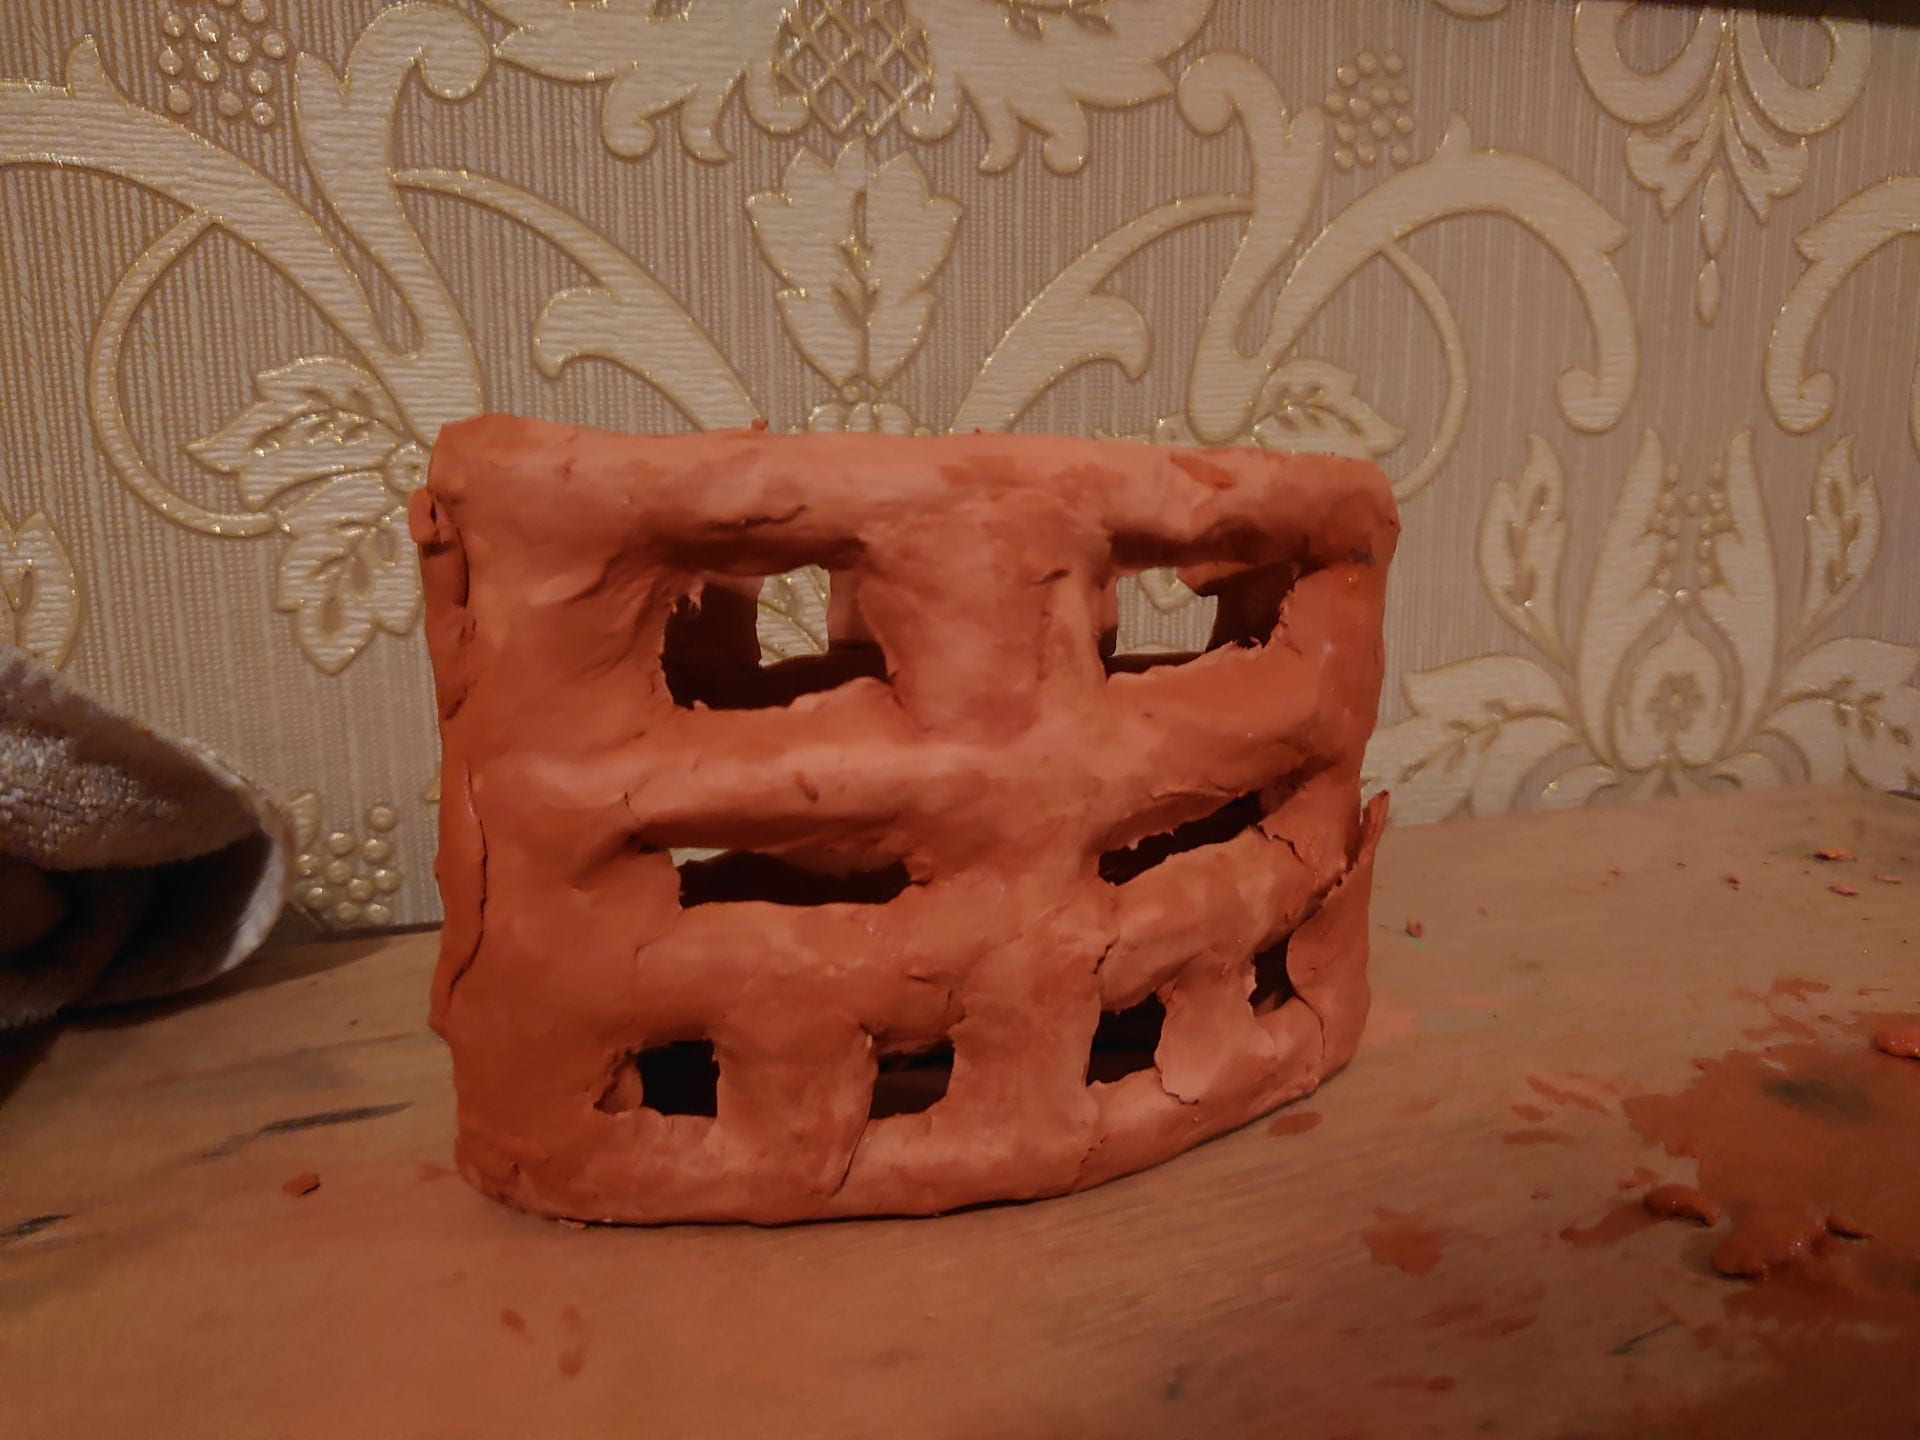
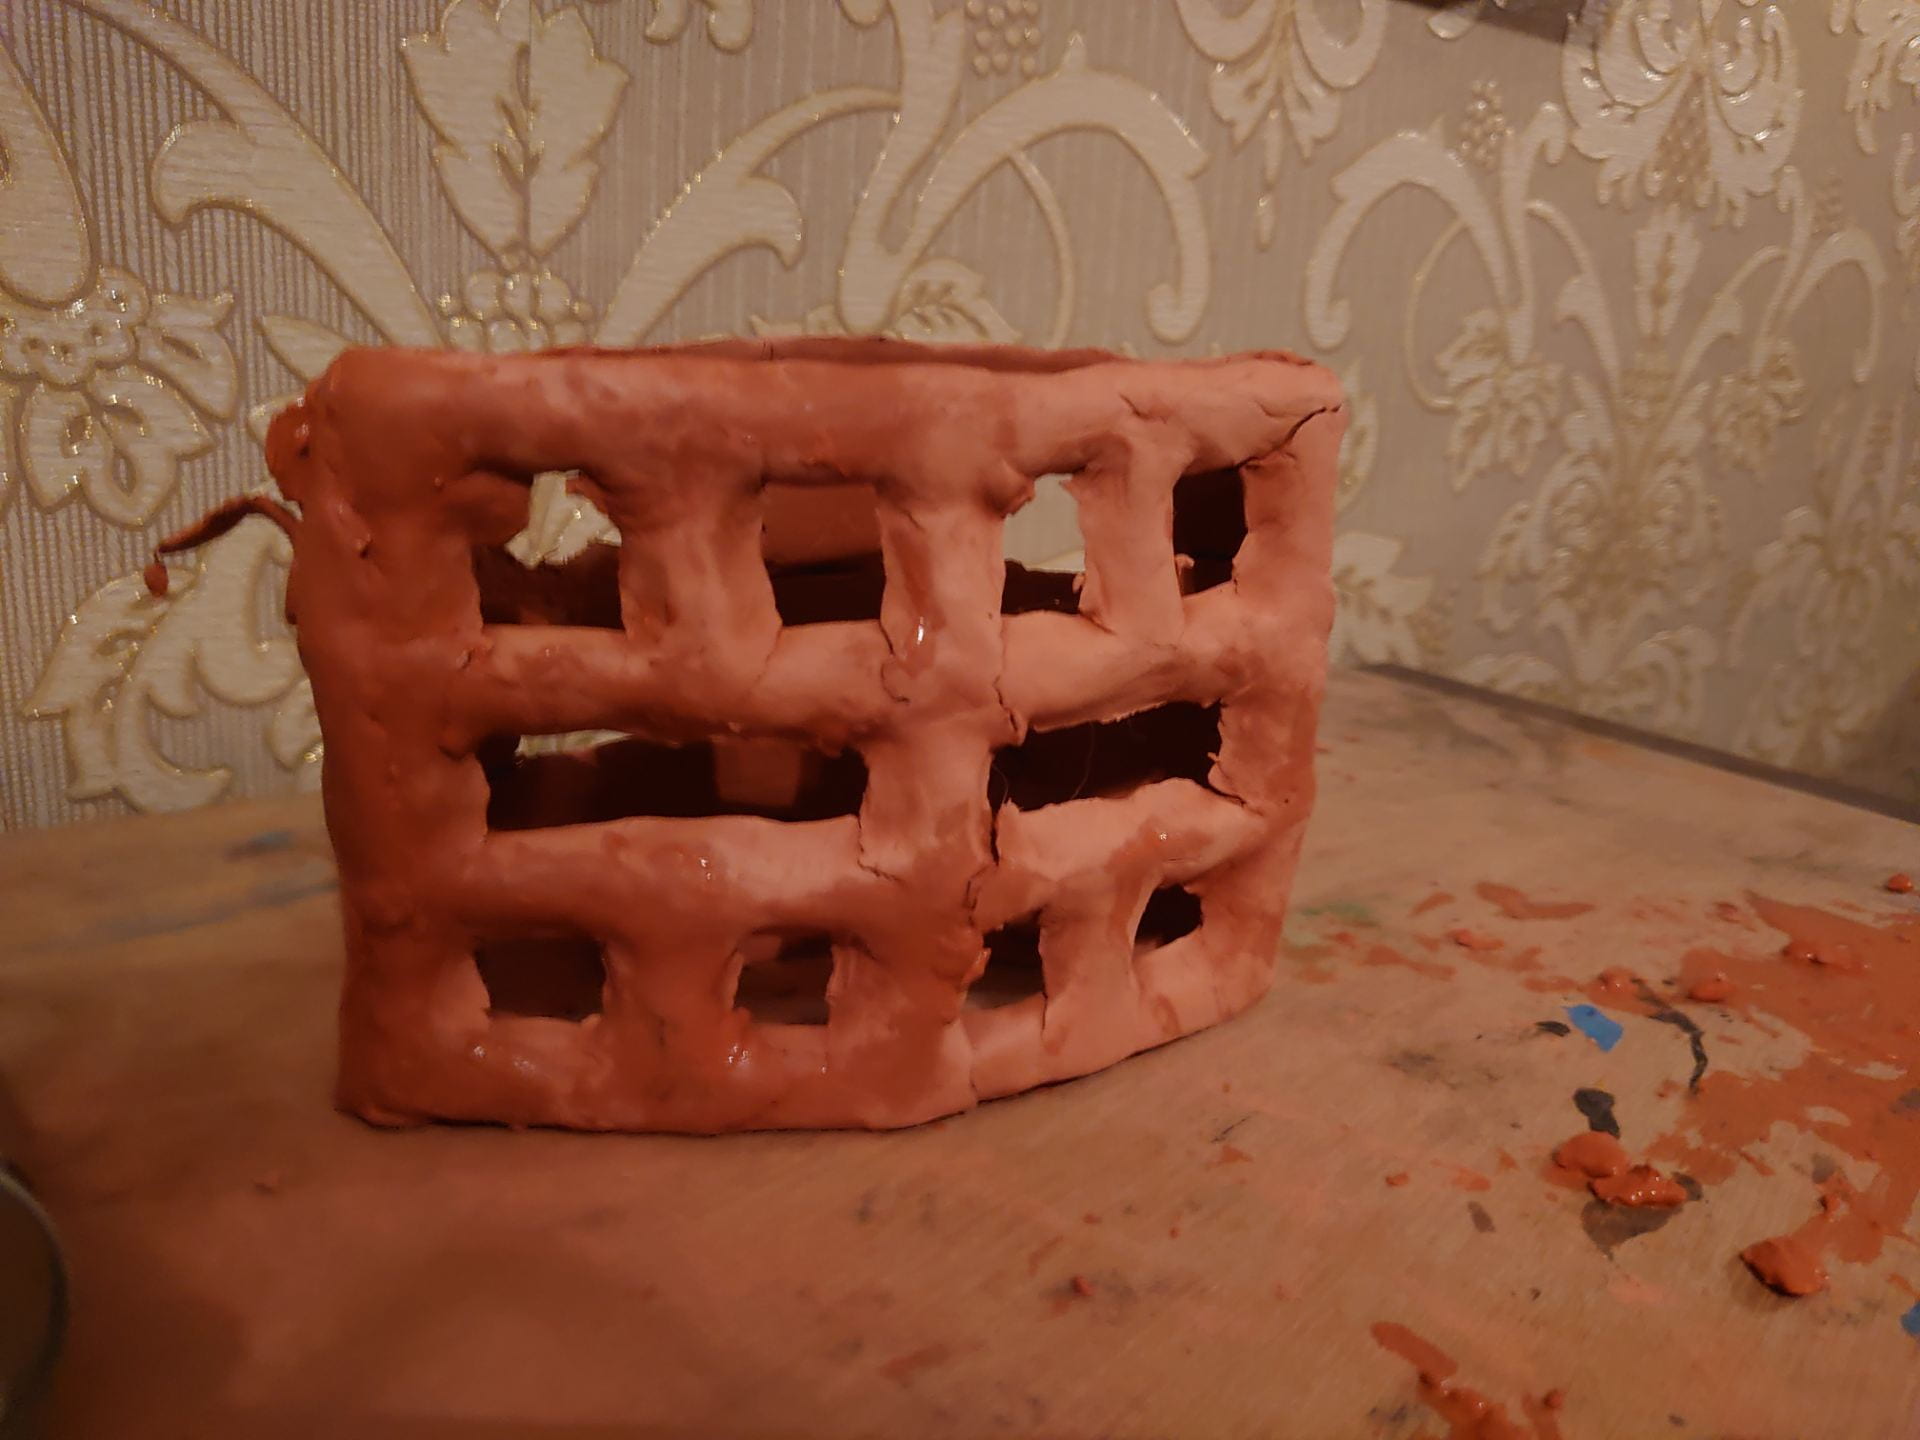
These are the 2, nearly finished sides, at leather hard.

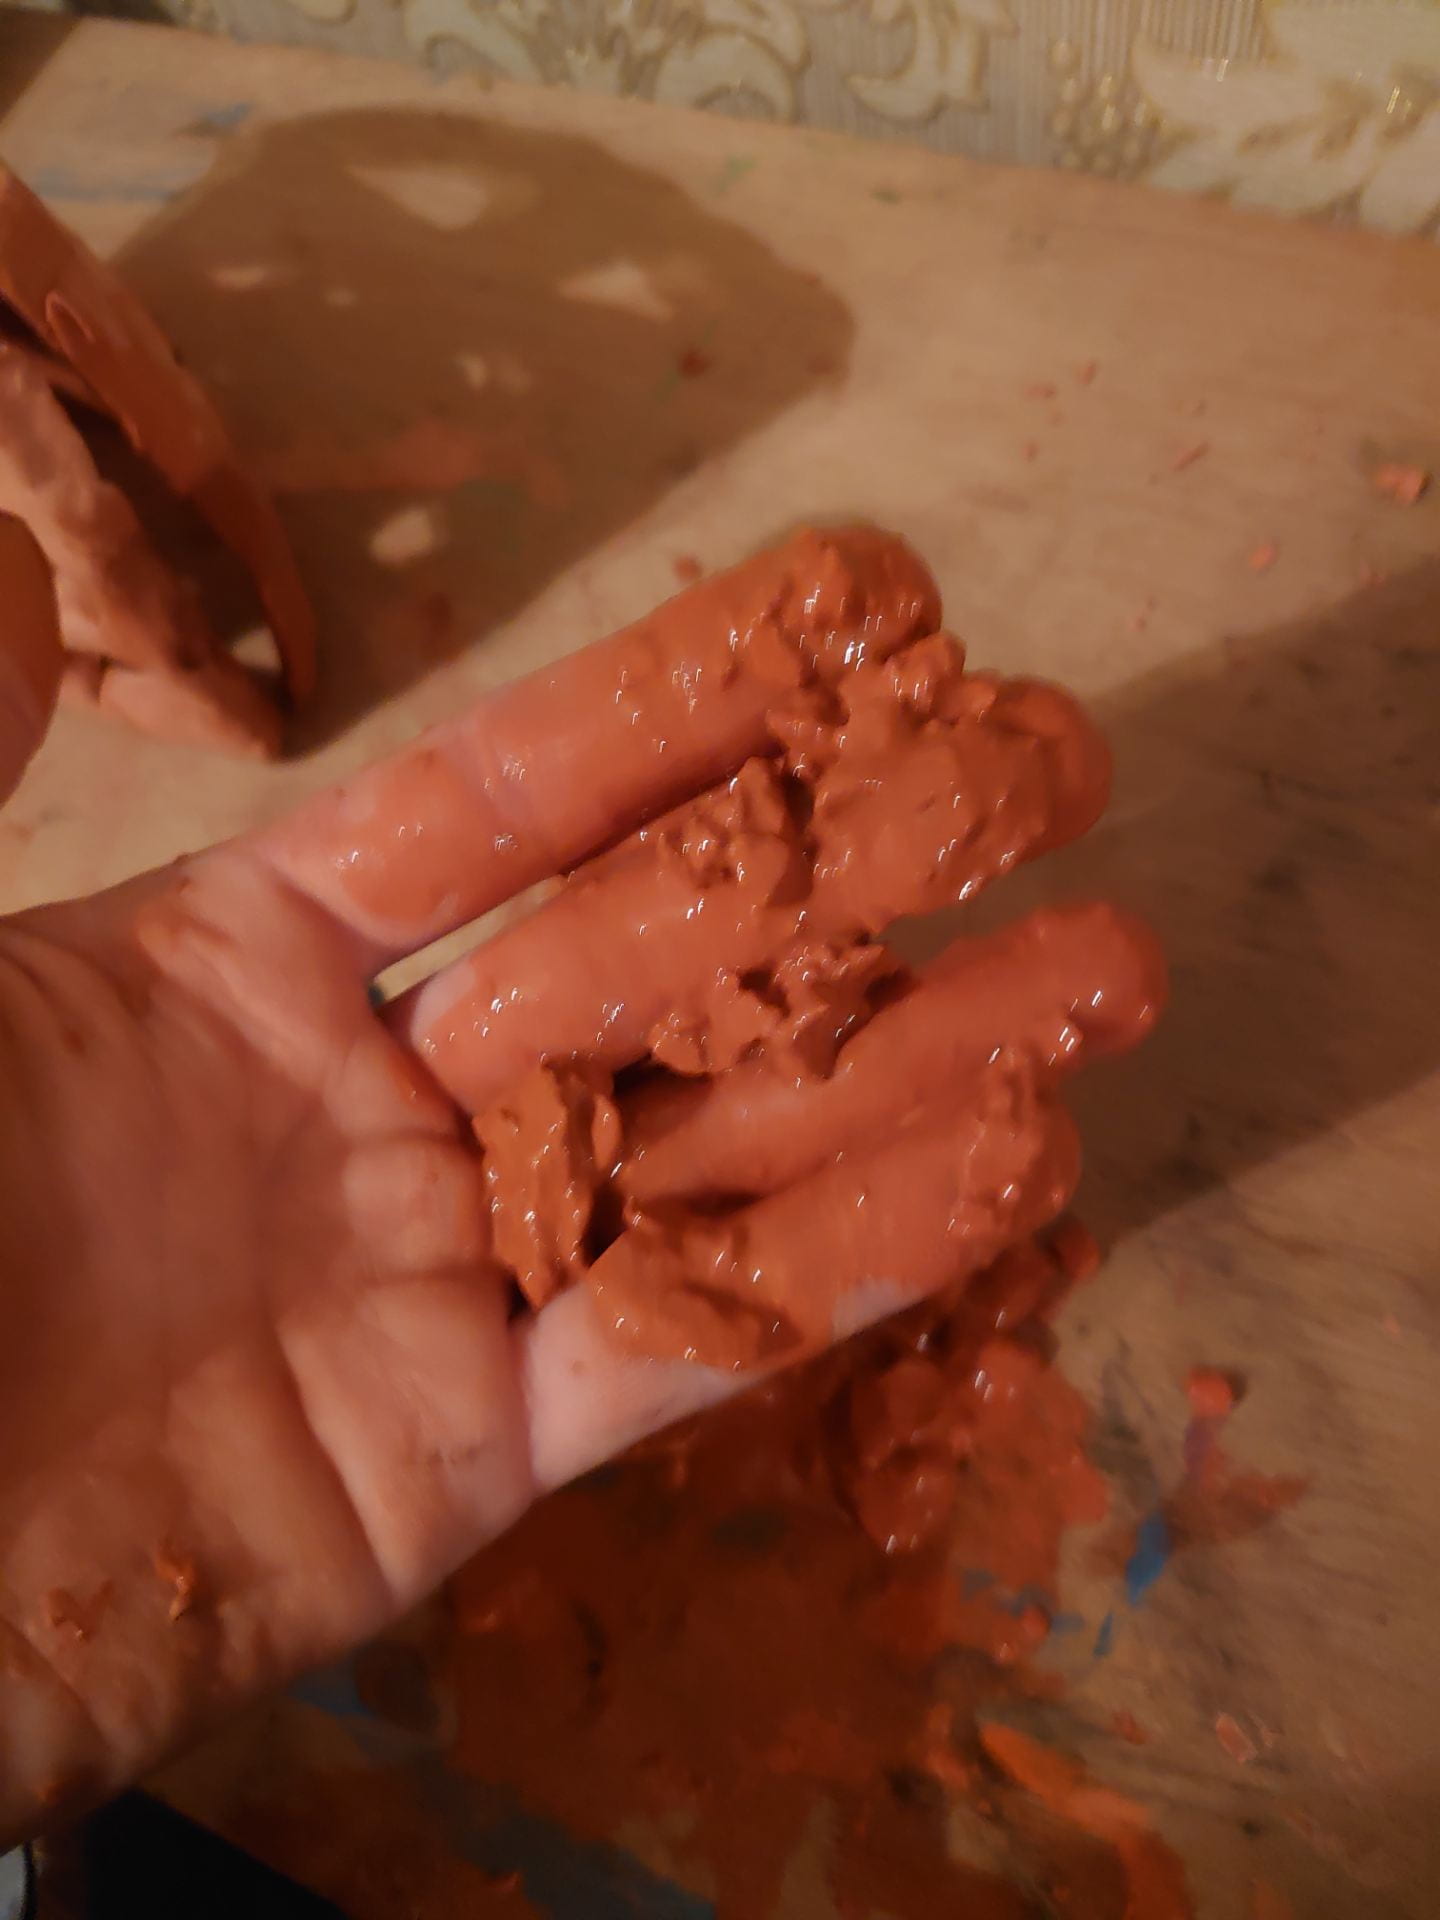
Although I was told that air-drying clay, would be sufficient for making slip. This did not appear to be the case with mine. I tried with cold, warm and boiling water, even leaving it overnight but it was still too firm and lumpy. It was too difficult to work with which eventually led to the near destruction of my piece.
Unfortunately some of the joins just wouldn’t stay sealed but I am happy with what I have learned from the process.